


Preparation time : 35 minutes
Cooking time : 30 minutes + assembling and decorating 20-25 minutes
Serves : 10 members
Description
Birthday cake’s always bring in a splash of child like delight to all of us. I remember those by gone days of our local bakery birthday cakes with florescent coloured hard icing roses where the birthday celebrating person gets to choose their favourite rose first, with the rest of us just left to gaze. I always wanted those half bloomed roses but have never ever finished eating one. Then came the days of ordering 2 1/2 kg cake at boarding school and it always had to be a chocolate cake. The joy in cutting the cake to celebrate with friends and there after getting to manage the left over cakes was a big task. Umm.. Birthday’s are natures way of to telling us to eat more cake. After marriage birthdays were just another normal day until my beloved gal started to bake and decorate cakes. She made a lovely fondant cake with roses (yet again roses that took me back to those by gone days of hard icing roses) and after a long while we as a family were together to celebrate. seeing my gal bake and decorate cakes and helping her when ever I could made me want to give a try as well. I did with my baby steps of few cakes as a beginner but not to the extent of my gals perfection. Now it’s become a must at home to bake a cake for every ones birthday and when it is hubby dear’s birthday who was sick then.. It had to be the best as well to pep him up. Broke my head and came up with this butter scotch cake. Made it but could not taste it until it was cut. The cake was cut with just the two of us letting us know the reality of the future that’s ahead for our togetherness. Sick hubby dear loved the cake. I was blown away and could not stop with one big piece. Made sure to share the cake immediately with my in – laws, cousins and my friends not wanting to gulp in more calories. Took the remaining to my Zumba class and it was a celebration of cake eating that took all of us to the child like delight I mentioned before….. Well cakes are for life not just for birthdays.
Recipe source : taste of home .com
Ingredients for the cake
Ingredients | Quantity |
|---|---|
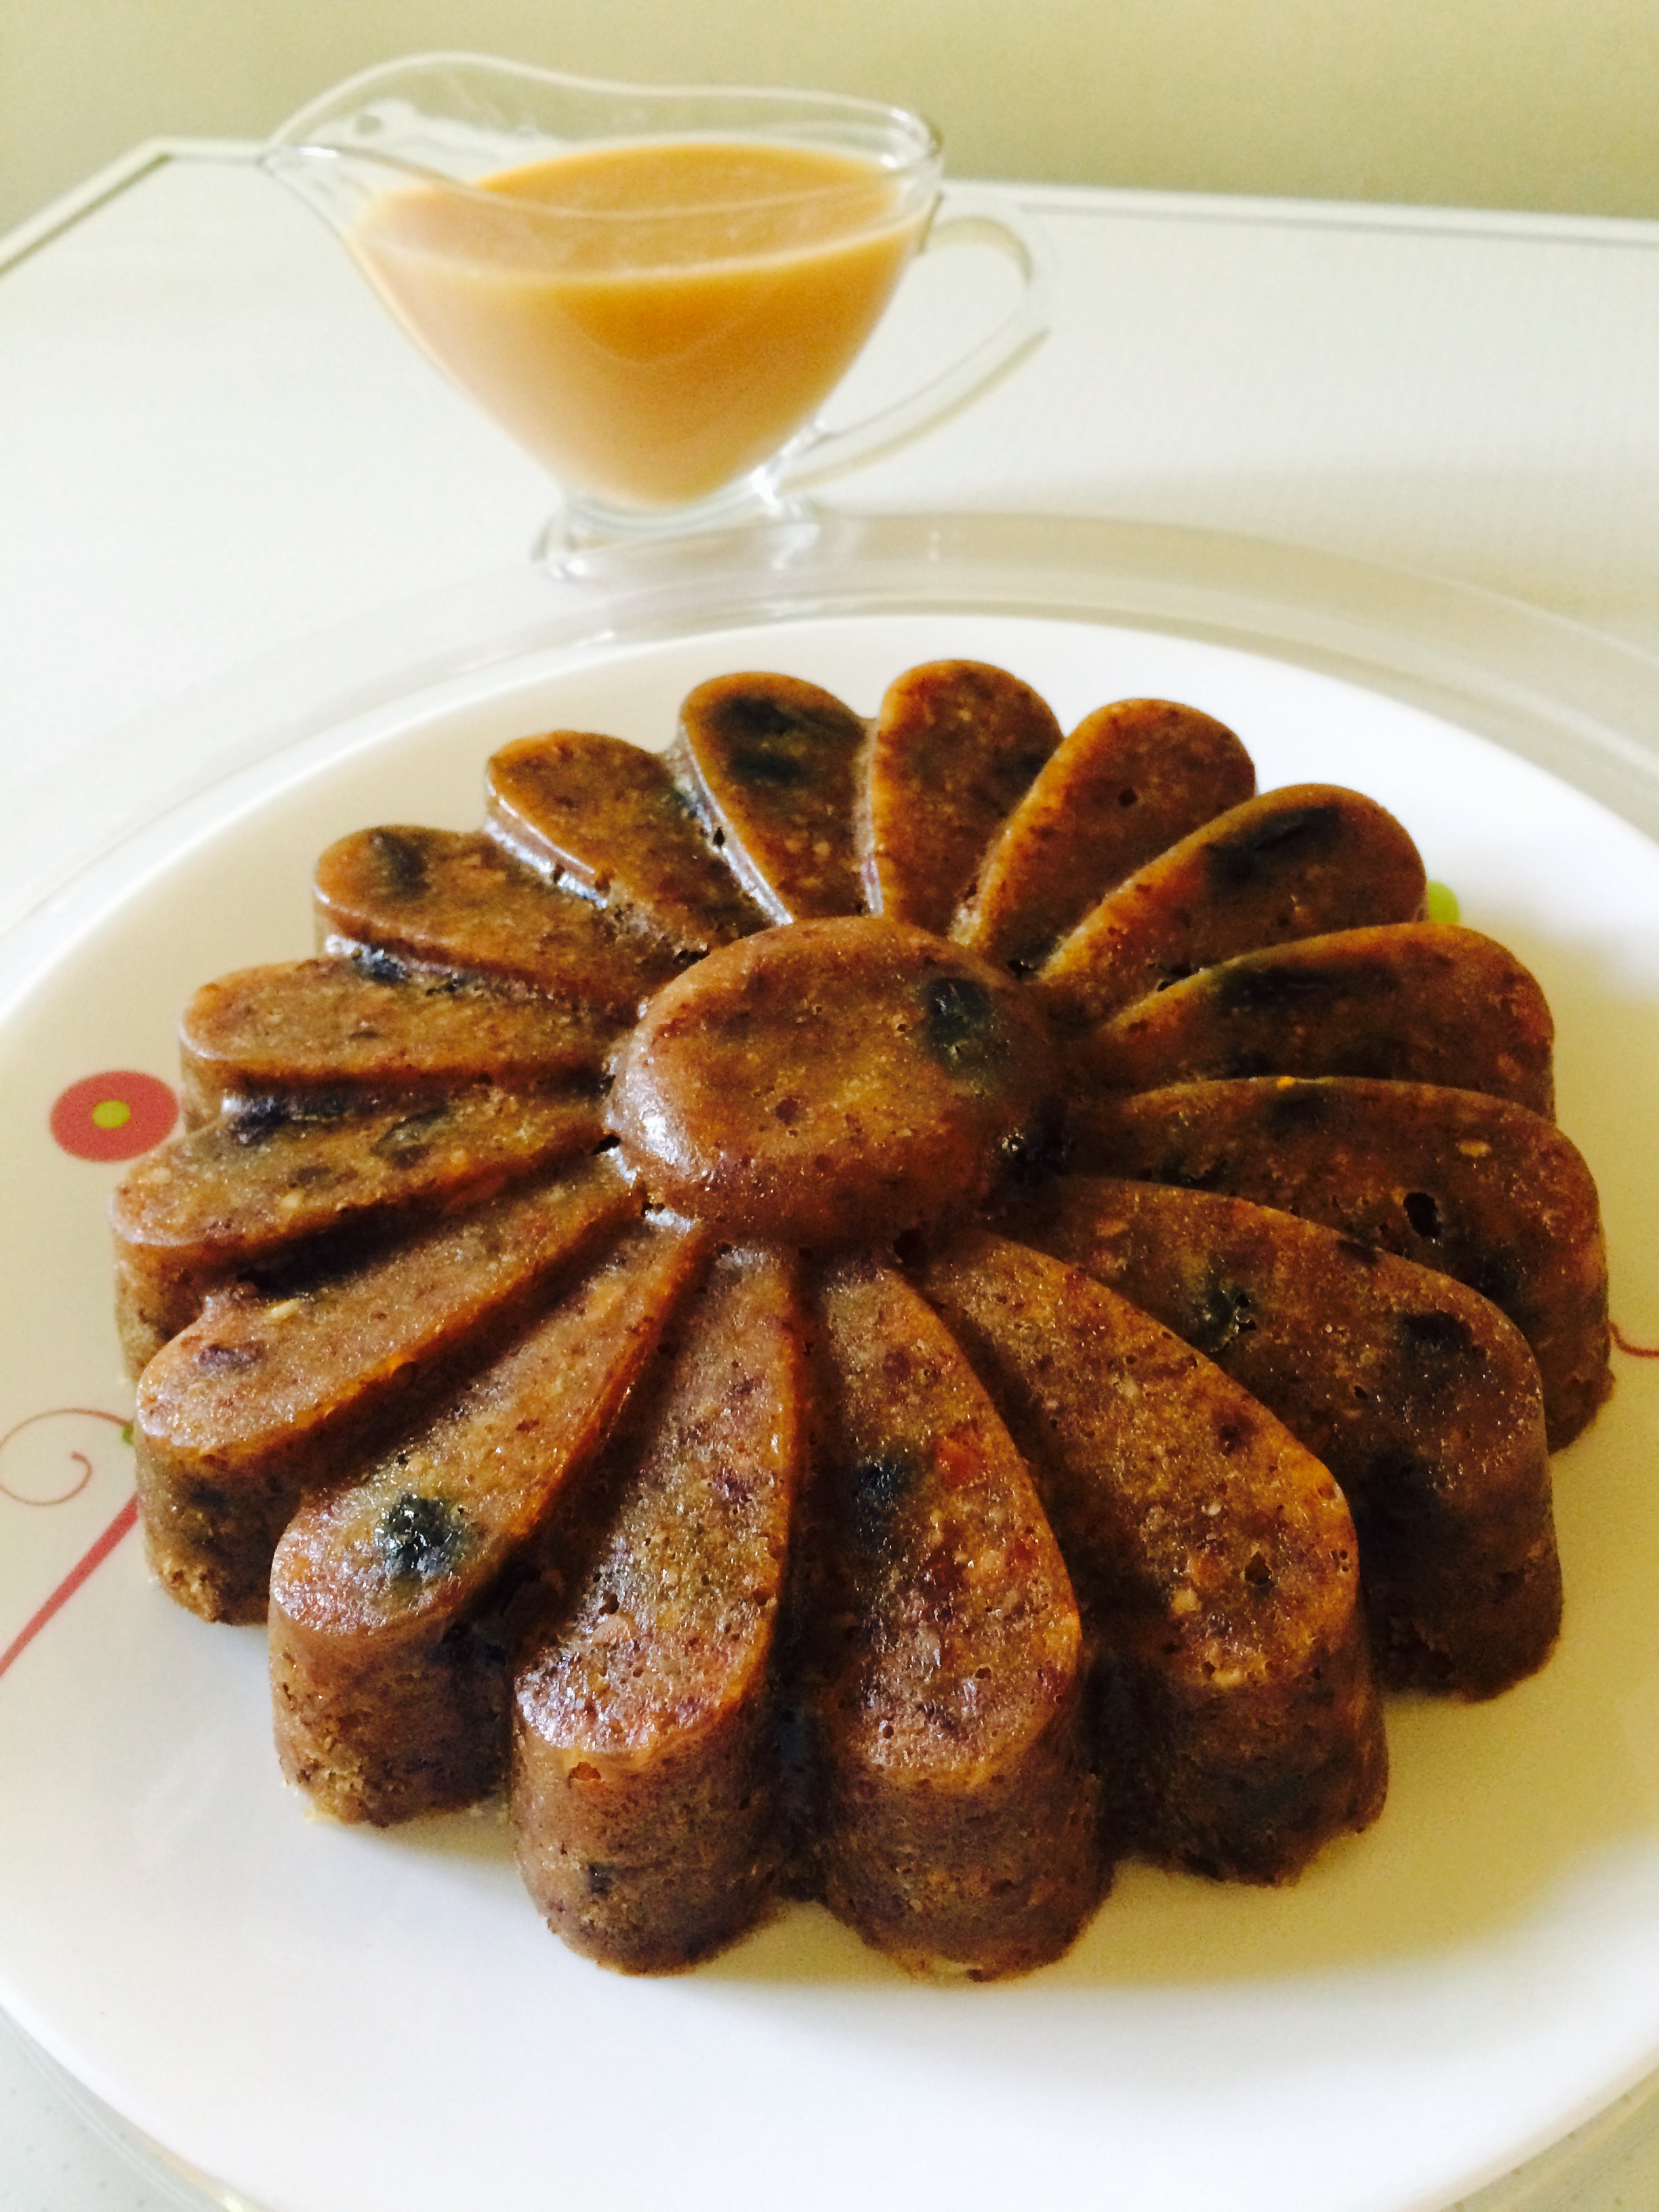
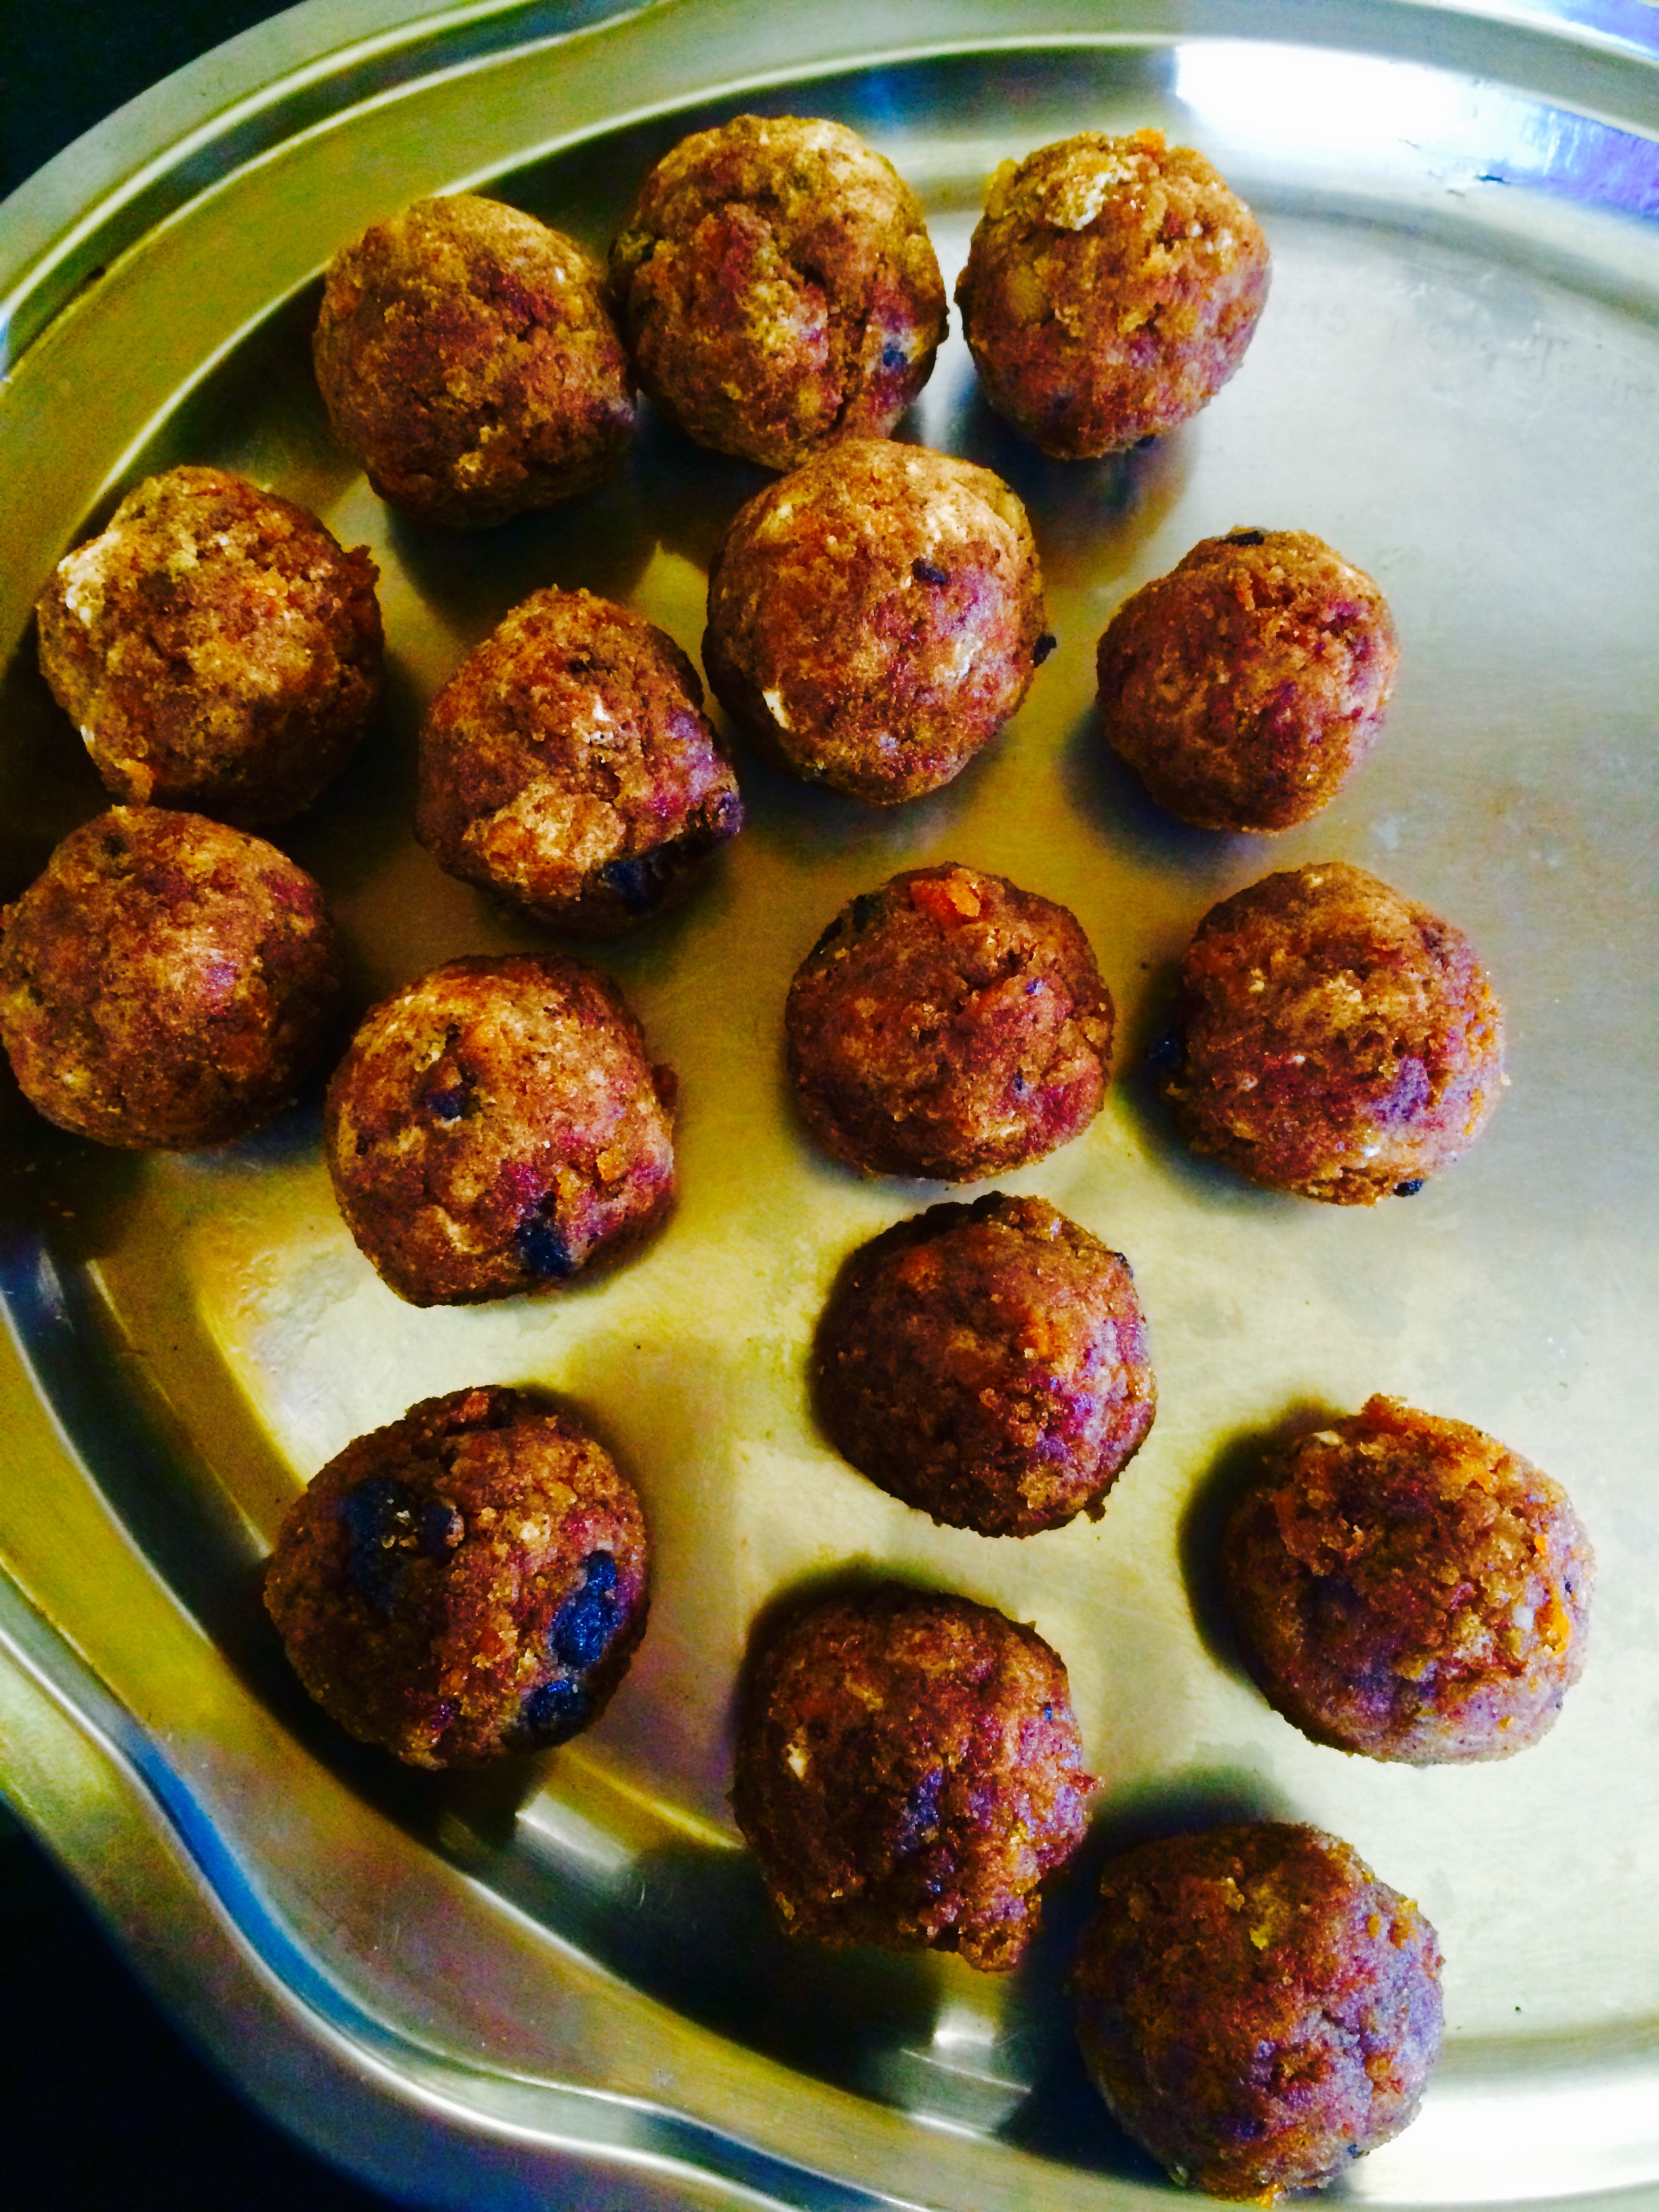
| Butter scotch chips | 2/3 cup ( I used caramelised nuts in sugar balls instead which taste like chikki ) |
| Water | 1/4 cup |
| Butter | 1/2 cup |
| Sugar | 3/4 cup |
| Brown sugar | 3/4 cup |
| Eggs | 3 |
| Flour | 2 and 1/4 cups |
| Baking soda | 3/4 teaspoon |
| Baking powder | 1/2 teaspoon |
| Salt | 1/2 teaspoon |
| Butter milk | 1 cup |
Ingredients for filling
Ingredients | Quantity |
|---|---|
| Sugar | 1/2 cup |
| Corn flour | 1 tablespoon |
| Condensed milk | 1/2 cup |
| Water | 1/3 cup |
| Egg yolk | 1 lightly beaten |
| Butter scotch chips | 1/3 cup ( I used caramelised nuts in sugar which taste like chikki ) |
| Butter | 2 tablespoons |
| Walnuts | 1 cup chopped |
| Coconut flakes | 1 cup ( I used fresh grated coconut ) |
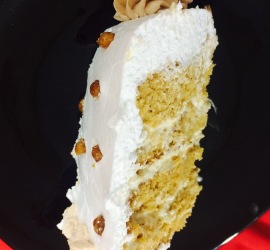
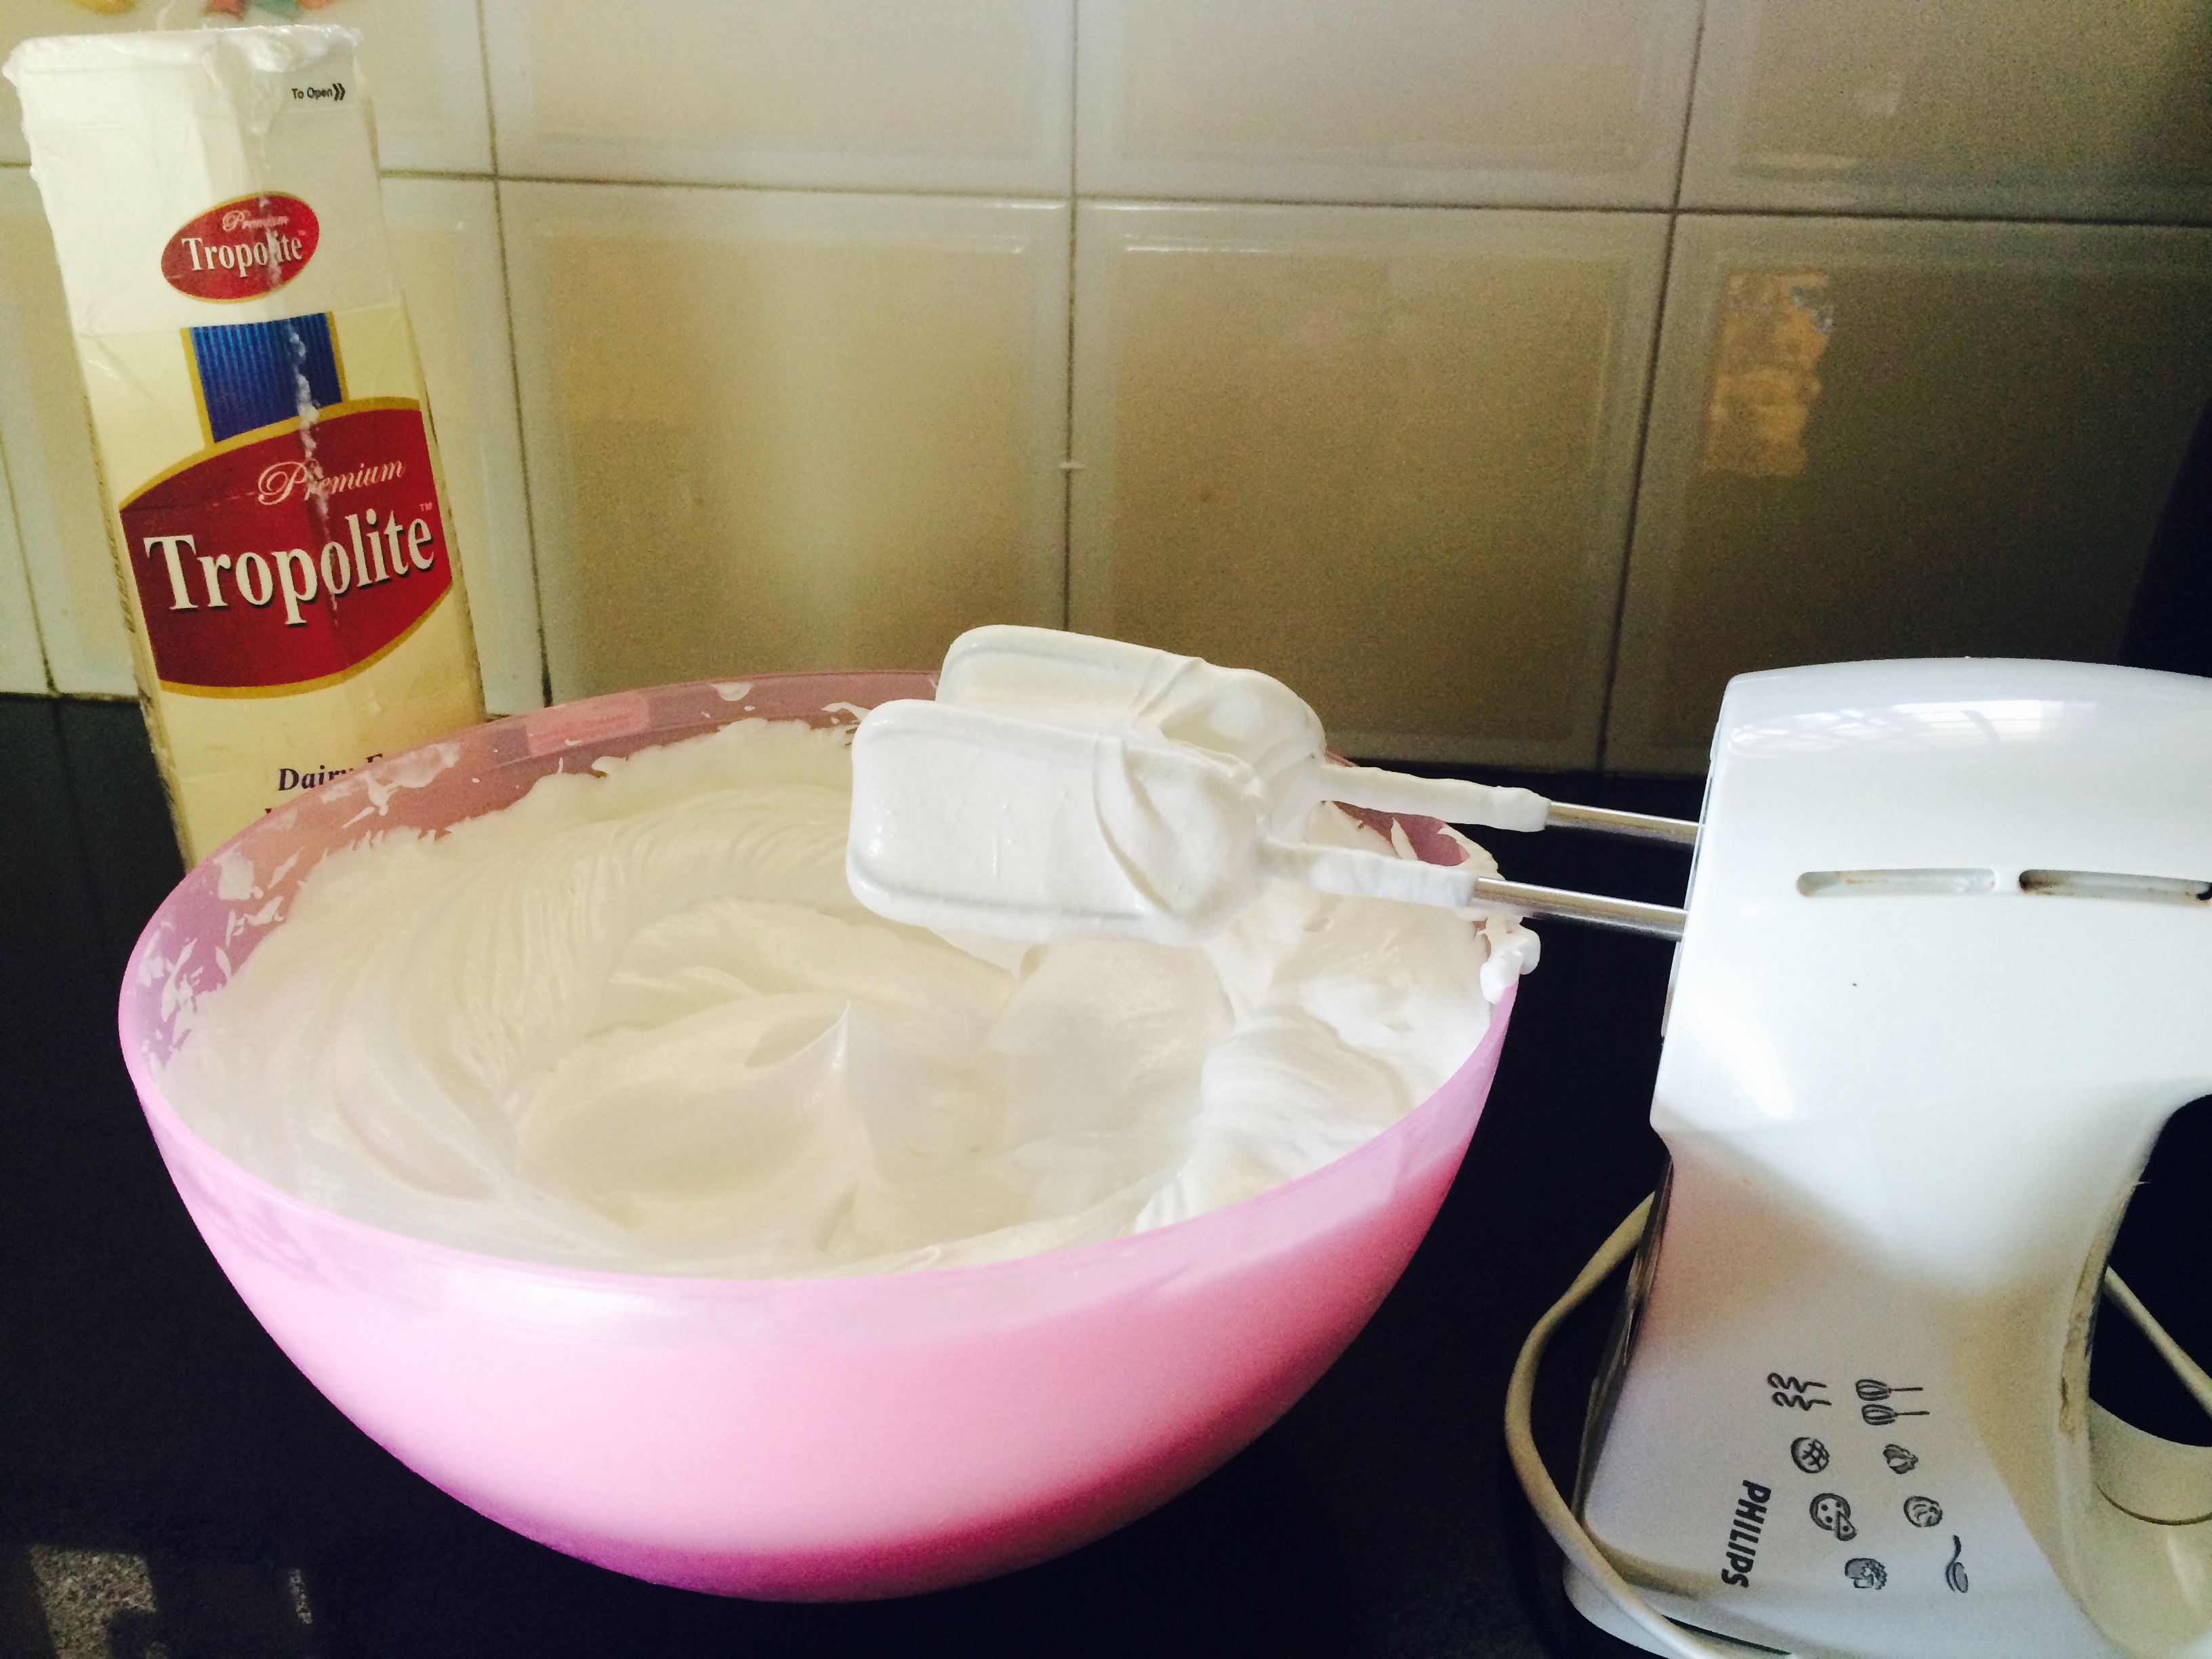
| Whipped cream | 3 to 4 cups or more depending on the decoration done |
Method
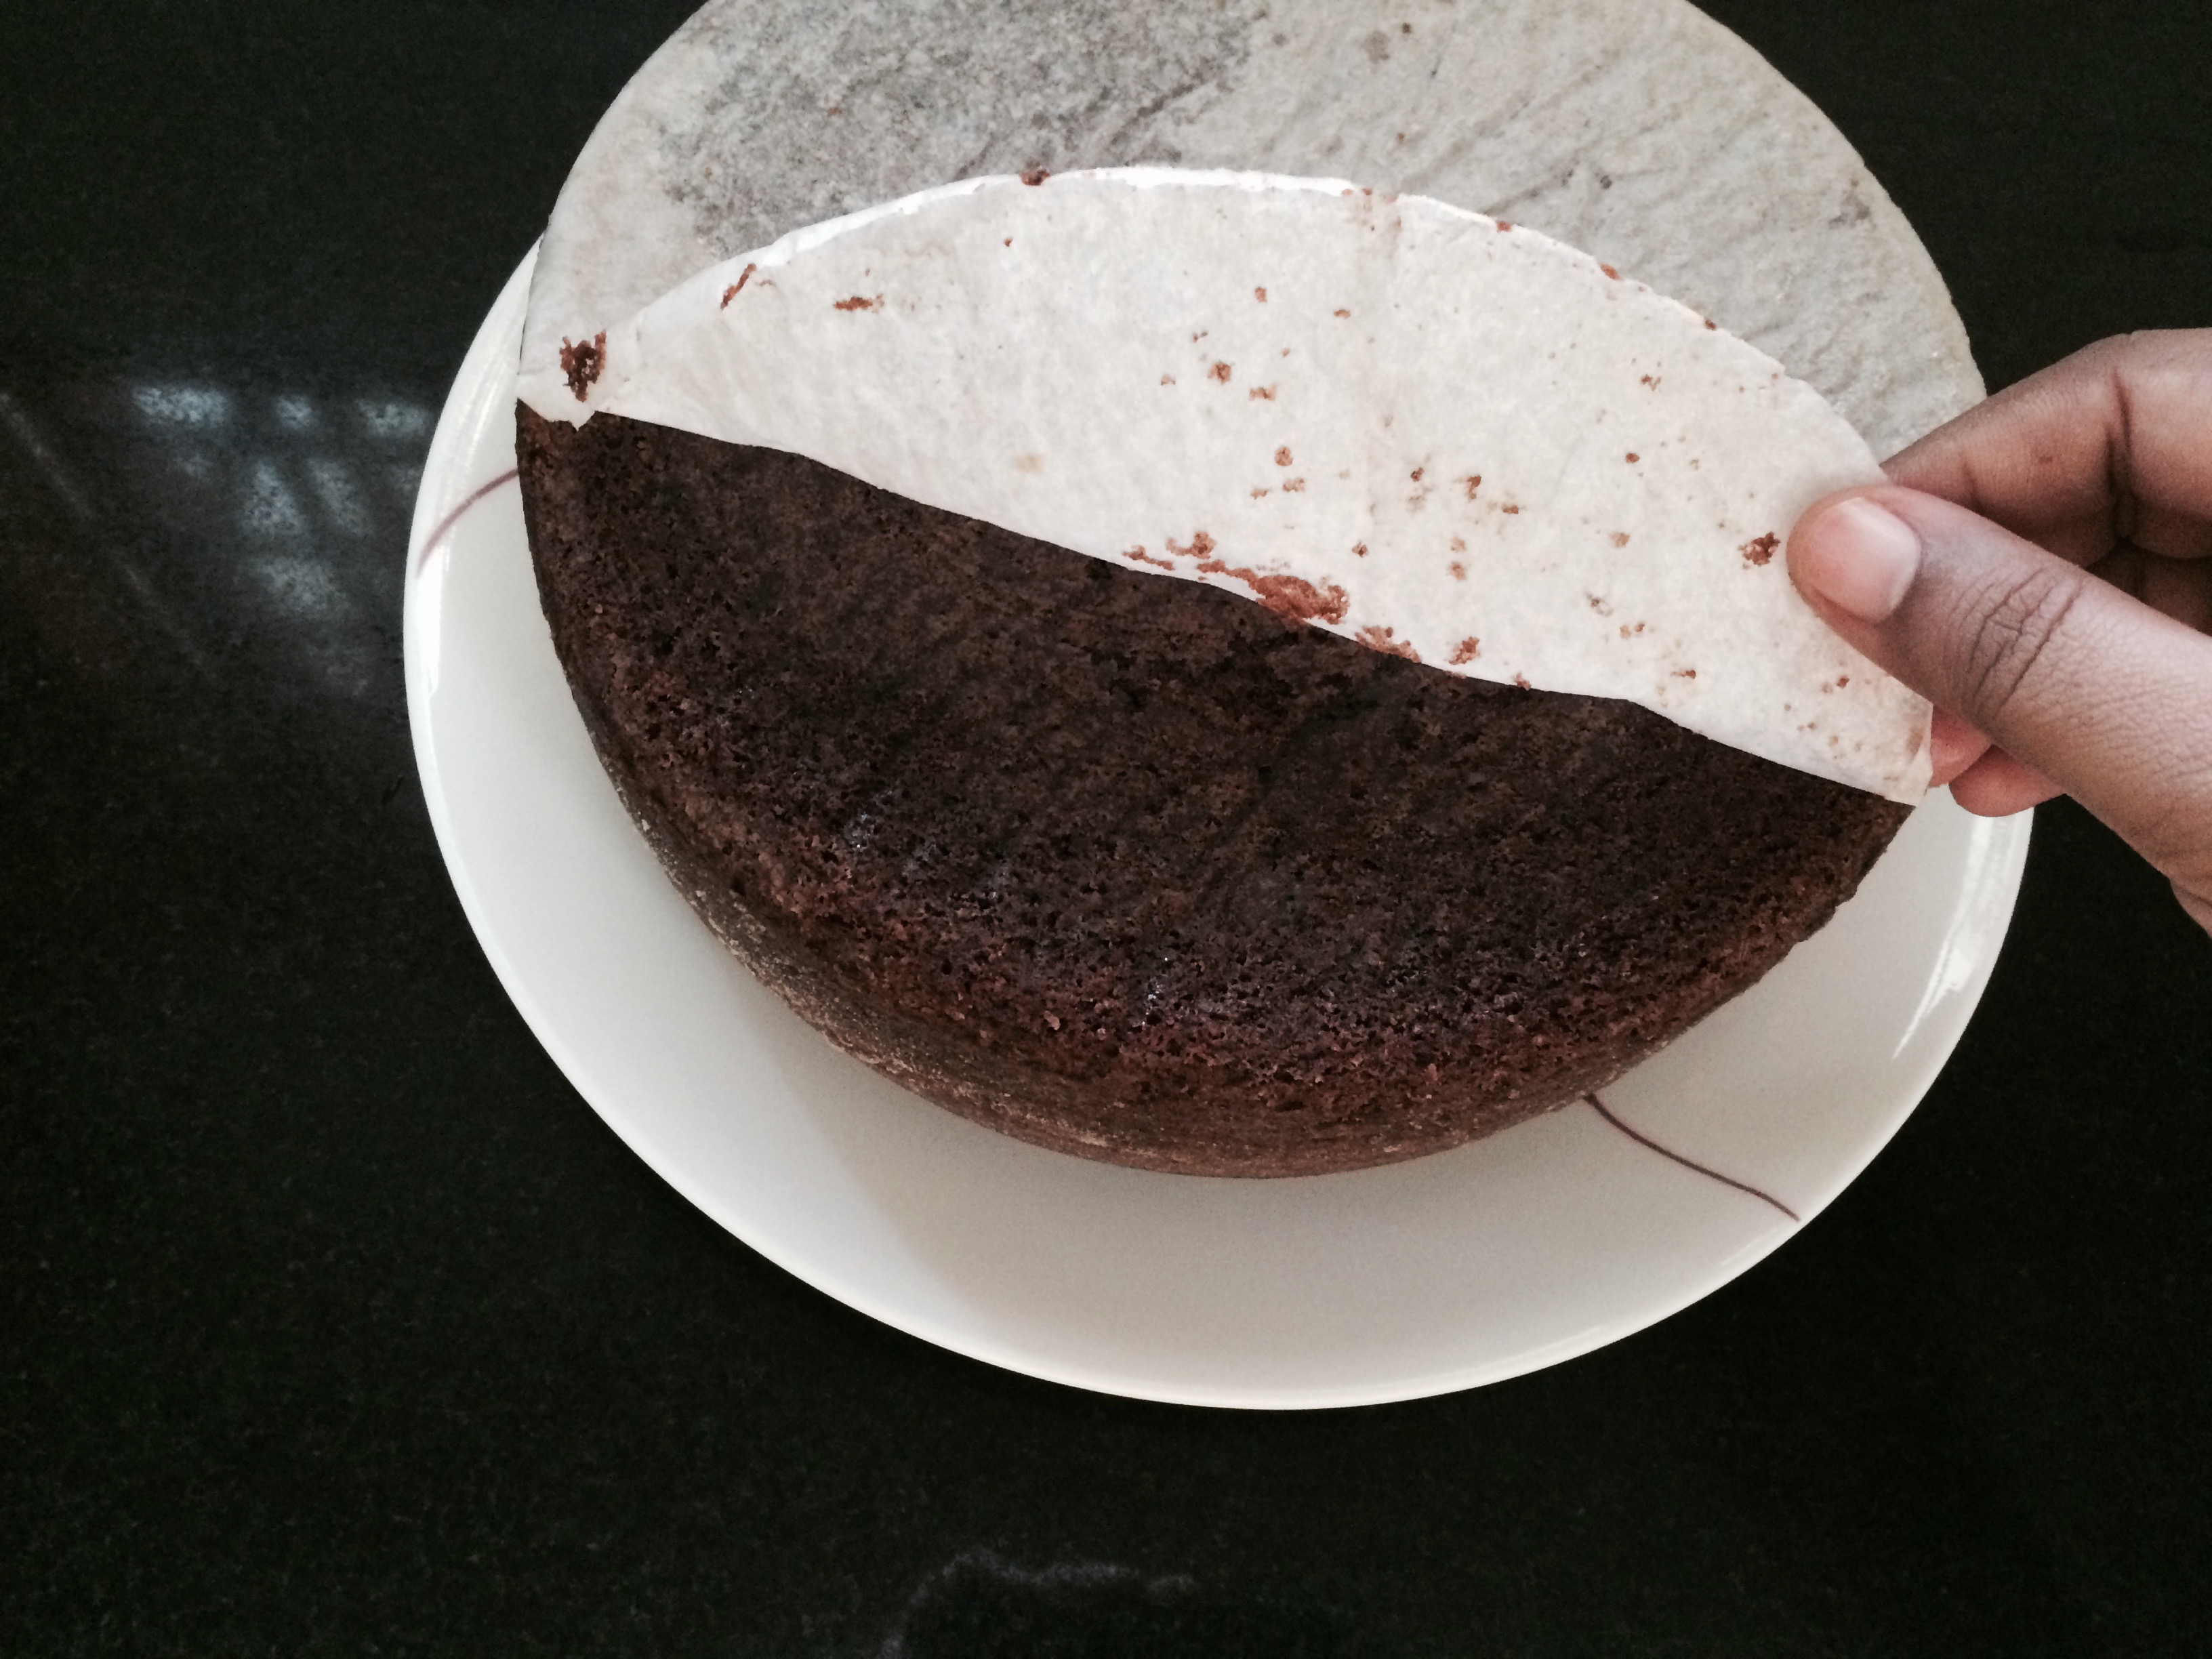
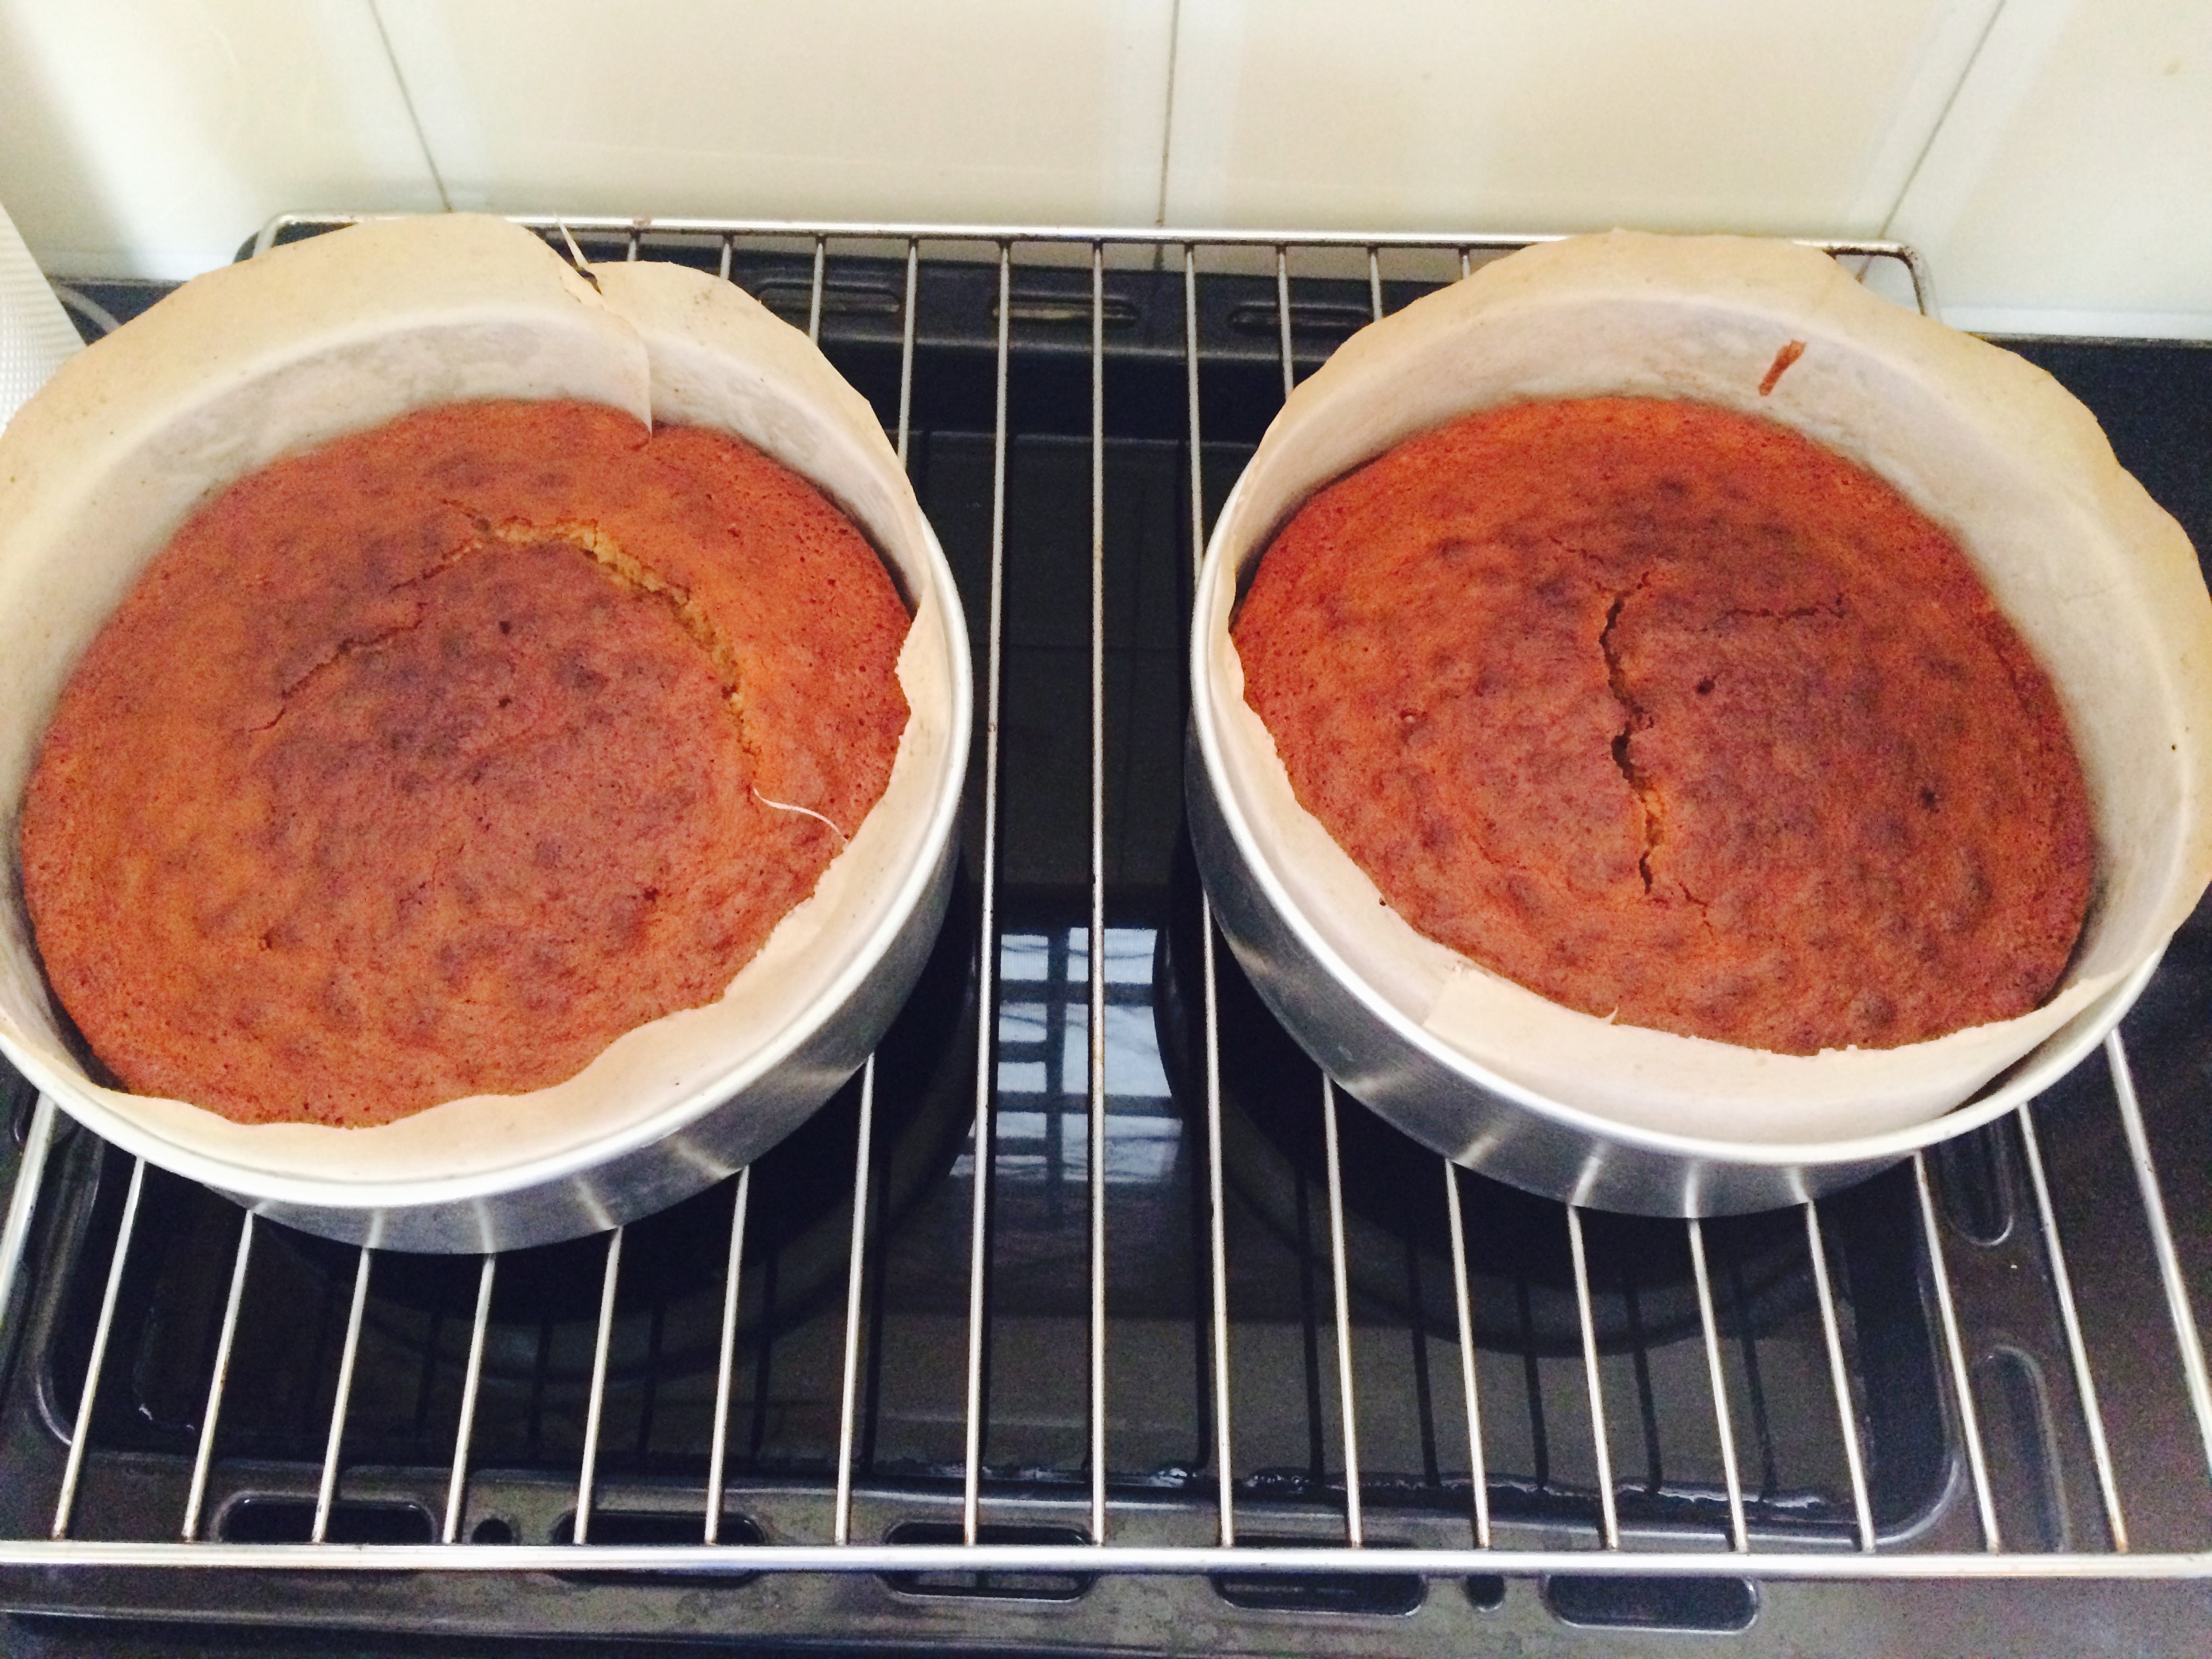
- Preheat the oven to 375 degree Fahrenheit. Line two 9 inch cake pans with butter paper and grease well.
- Microwave the butter scotch chips and water for one minute. Mix in every interval of 20 seconds to smooth. Cool to room temperature.
- With the help of an electric beater beat butter and sugar to fluffy. Add eggs one at a time beating well.
- Mix flour, baking powder, baking soda and salt together.
- Alternatively add flour mix, melted butter scotch mix and butter milk into the butter and beat well in three batches. Mix well to get a cake batter.
- Pour into prepared pans. Bake at 375 degree Fahrenheit for 25 to 30 minutes to done in the preheated oven. Remove and cool completely.
Filling method
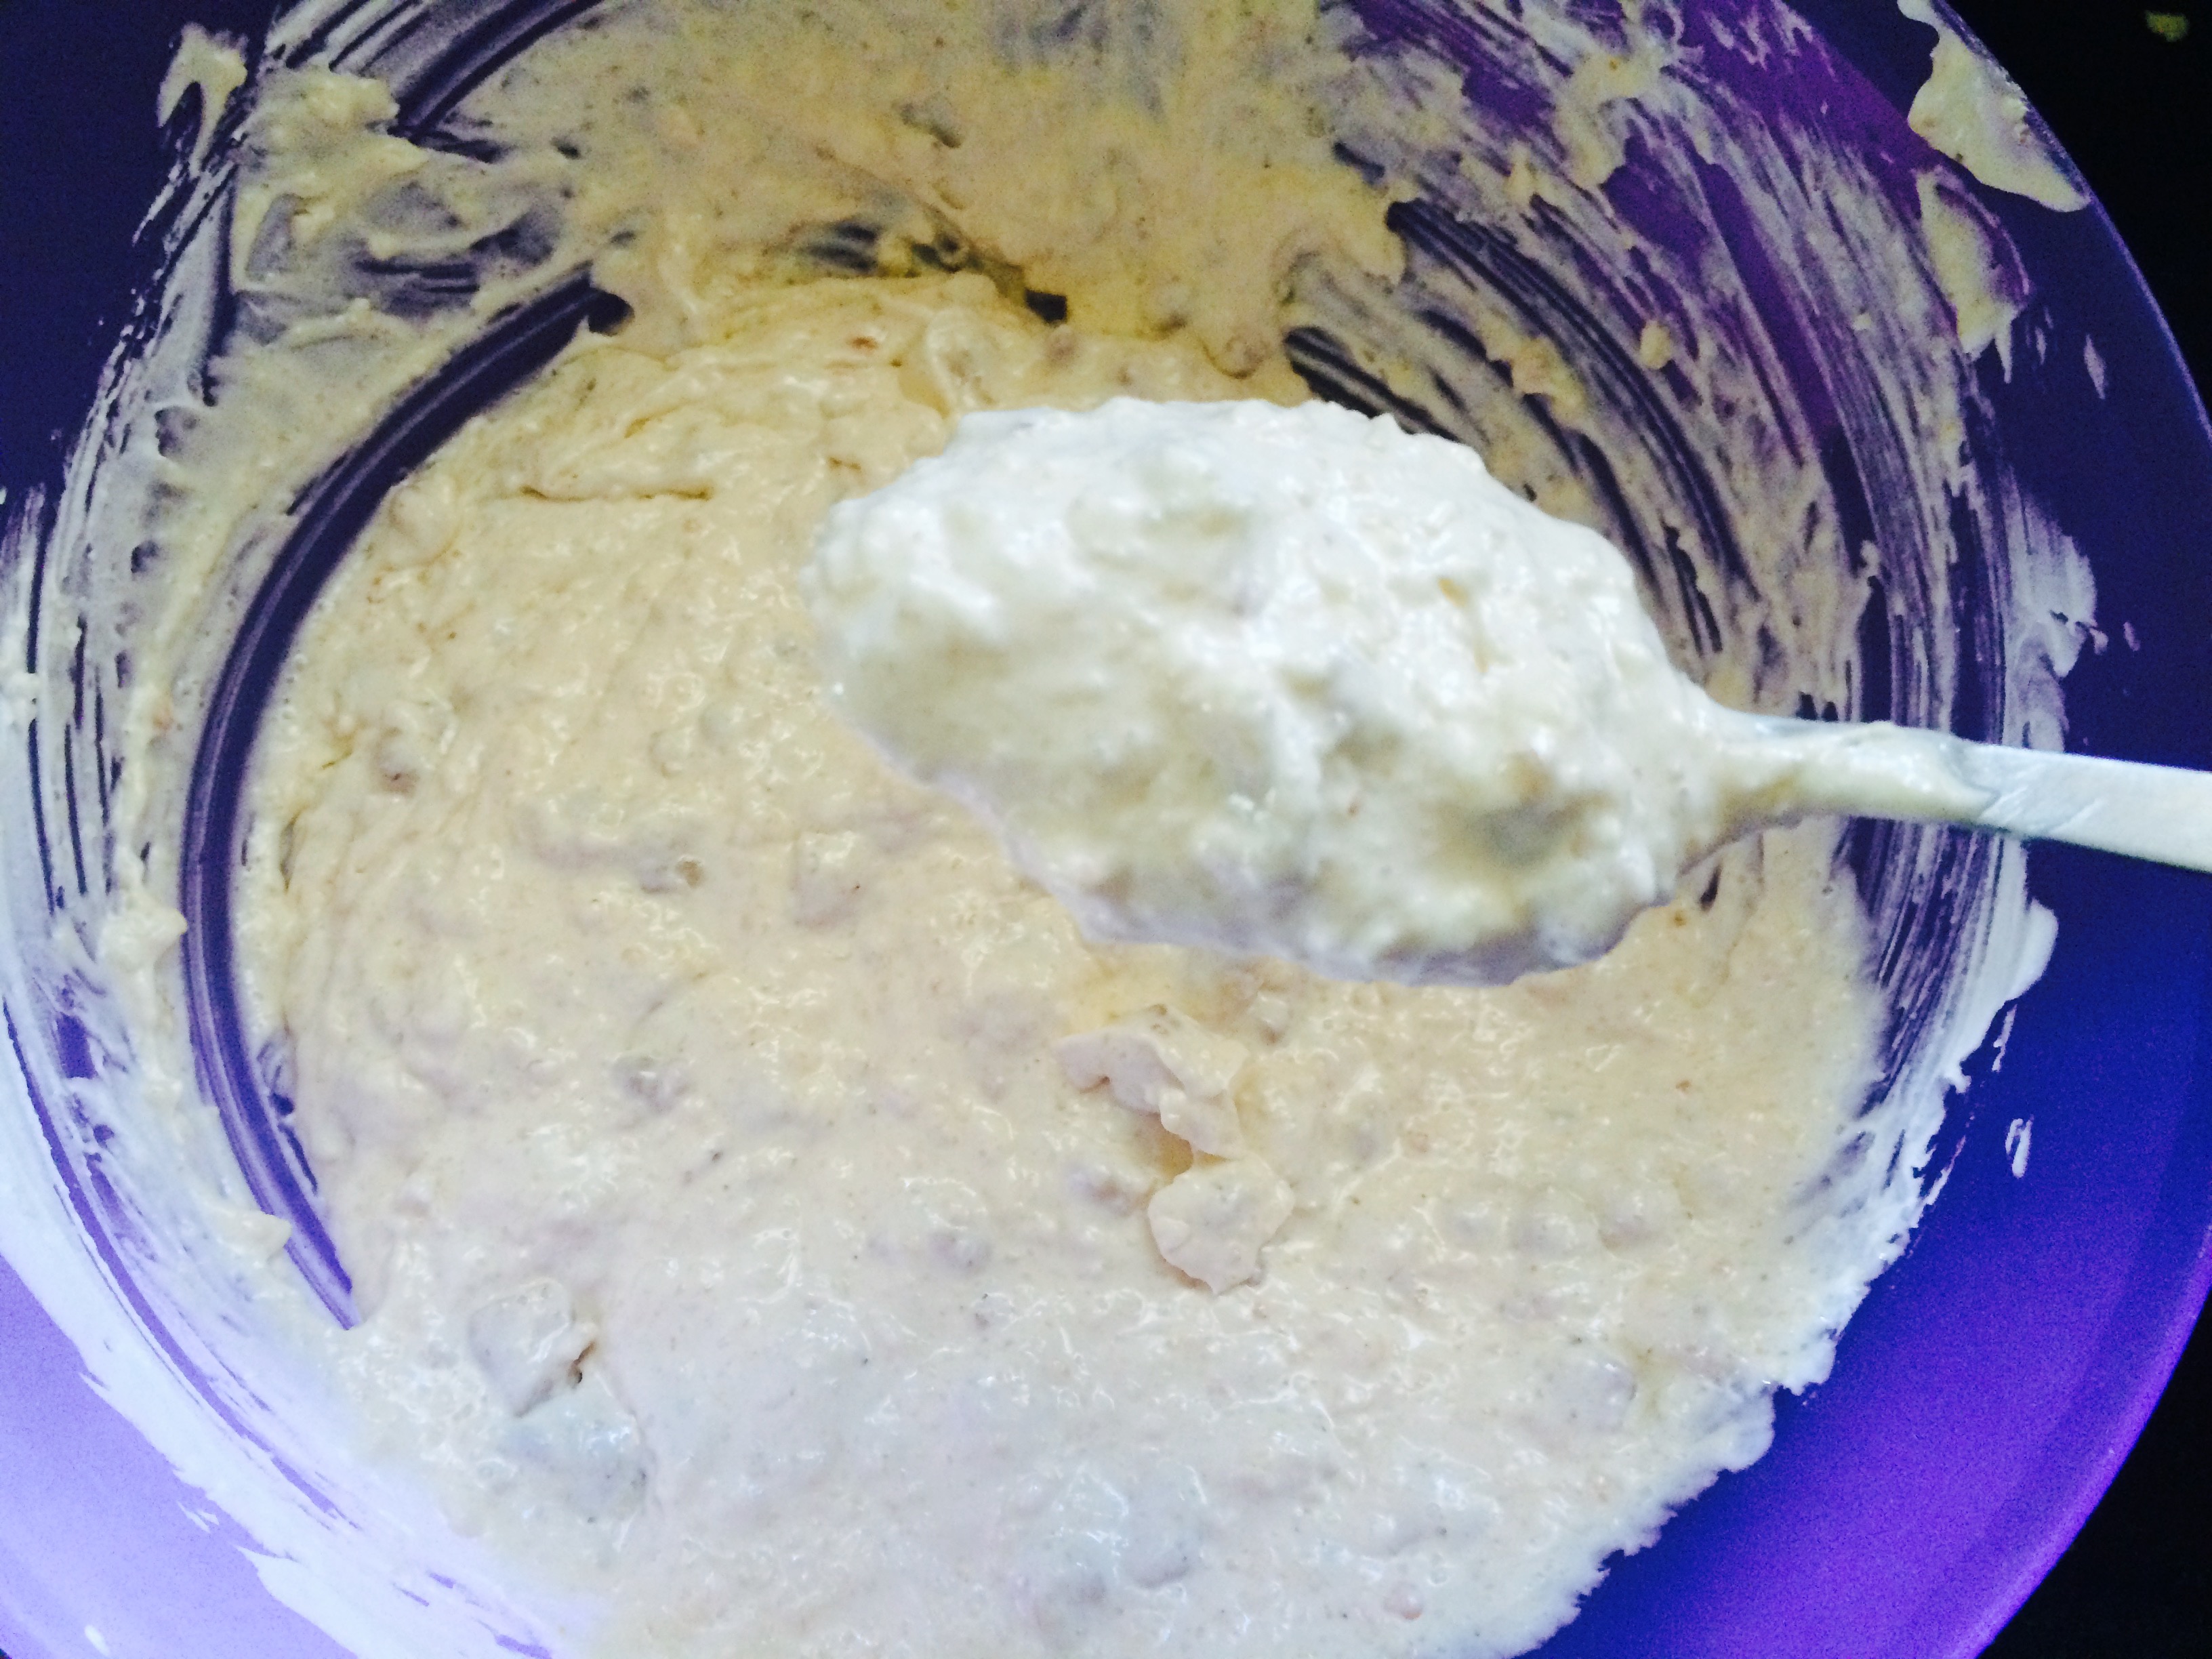
- Mix sugar, corn flour and milk together. Bring to boil over medium heat.
- Remove the mix from heat and add the beaten egg yolk mixing vigorously making sure it blends into the milk with out getting split or cooked.
- Place over low flame and keeping stirring for two minutes.
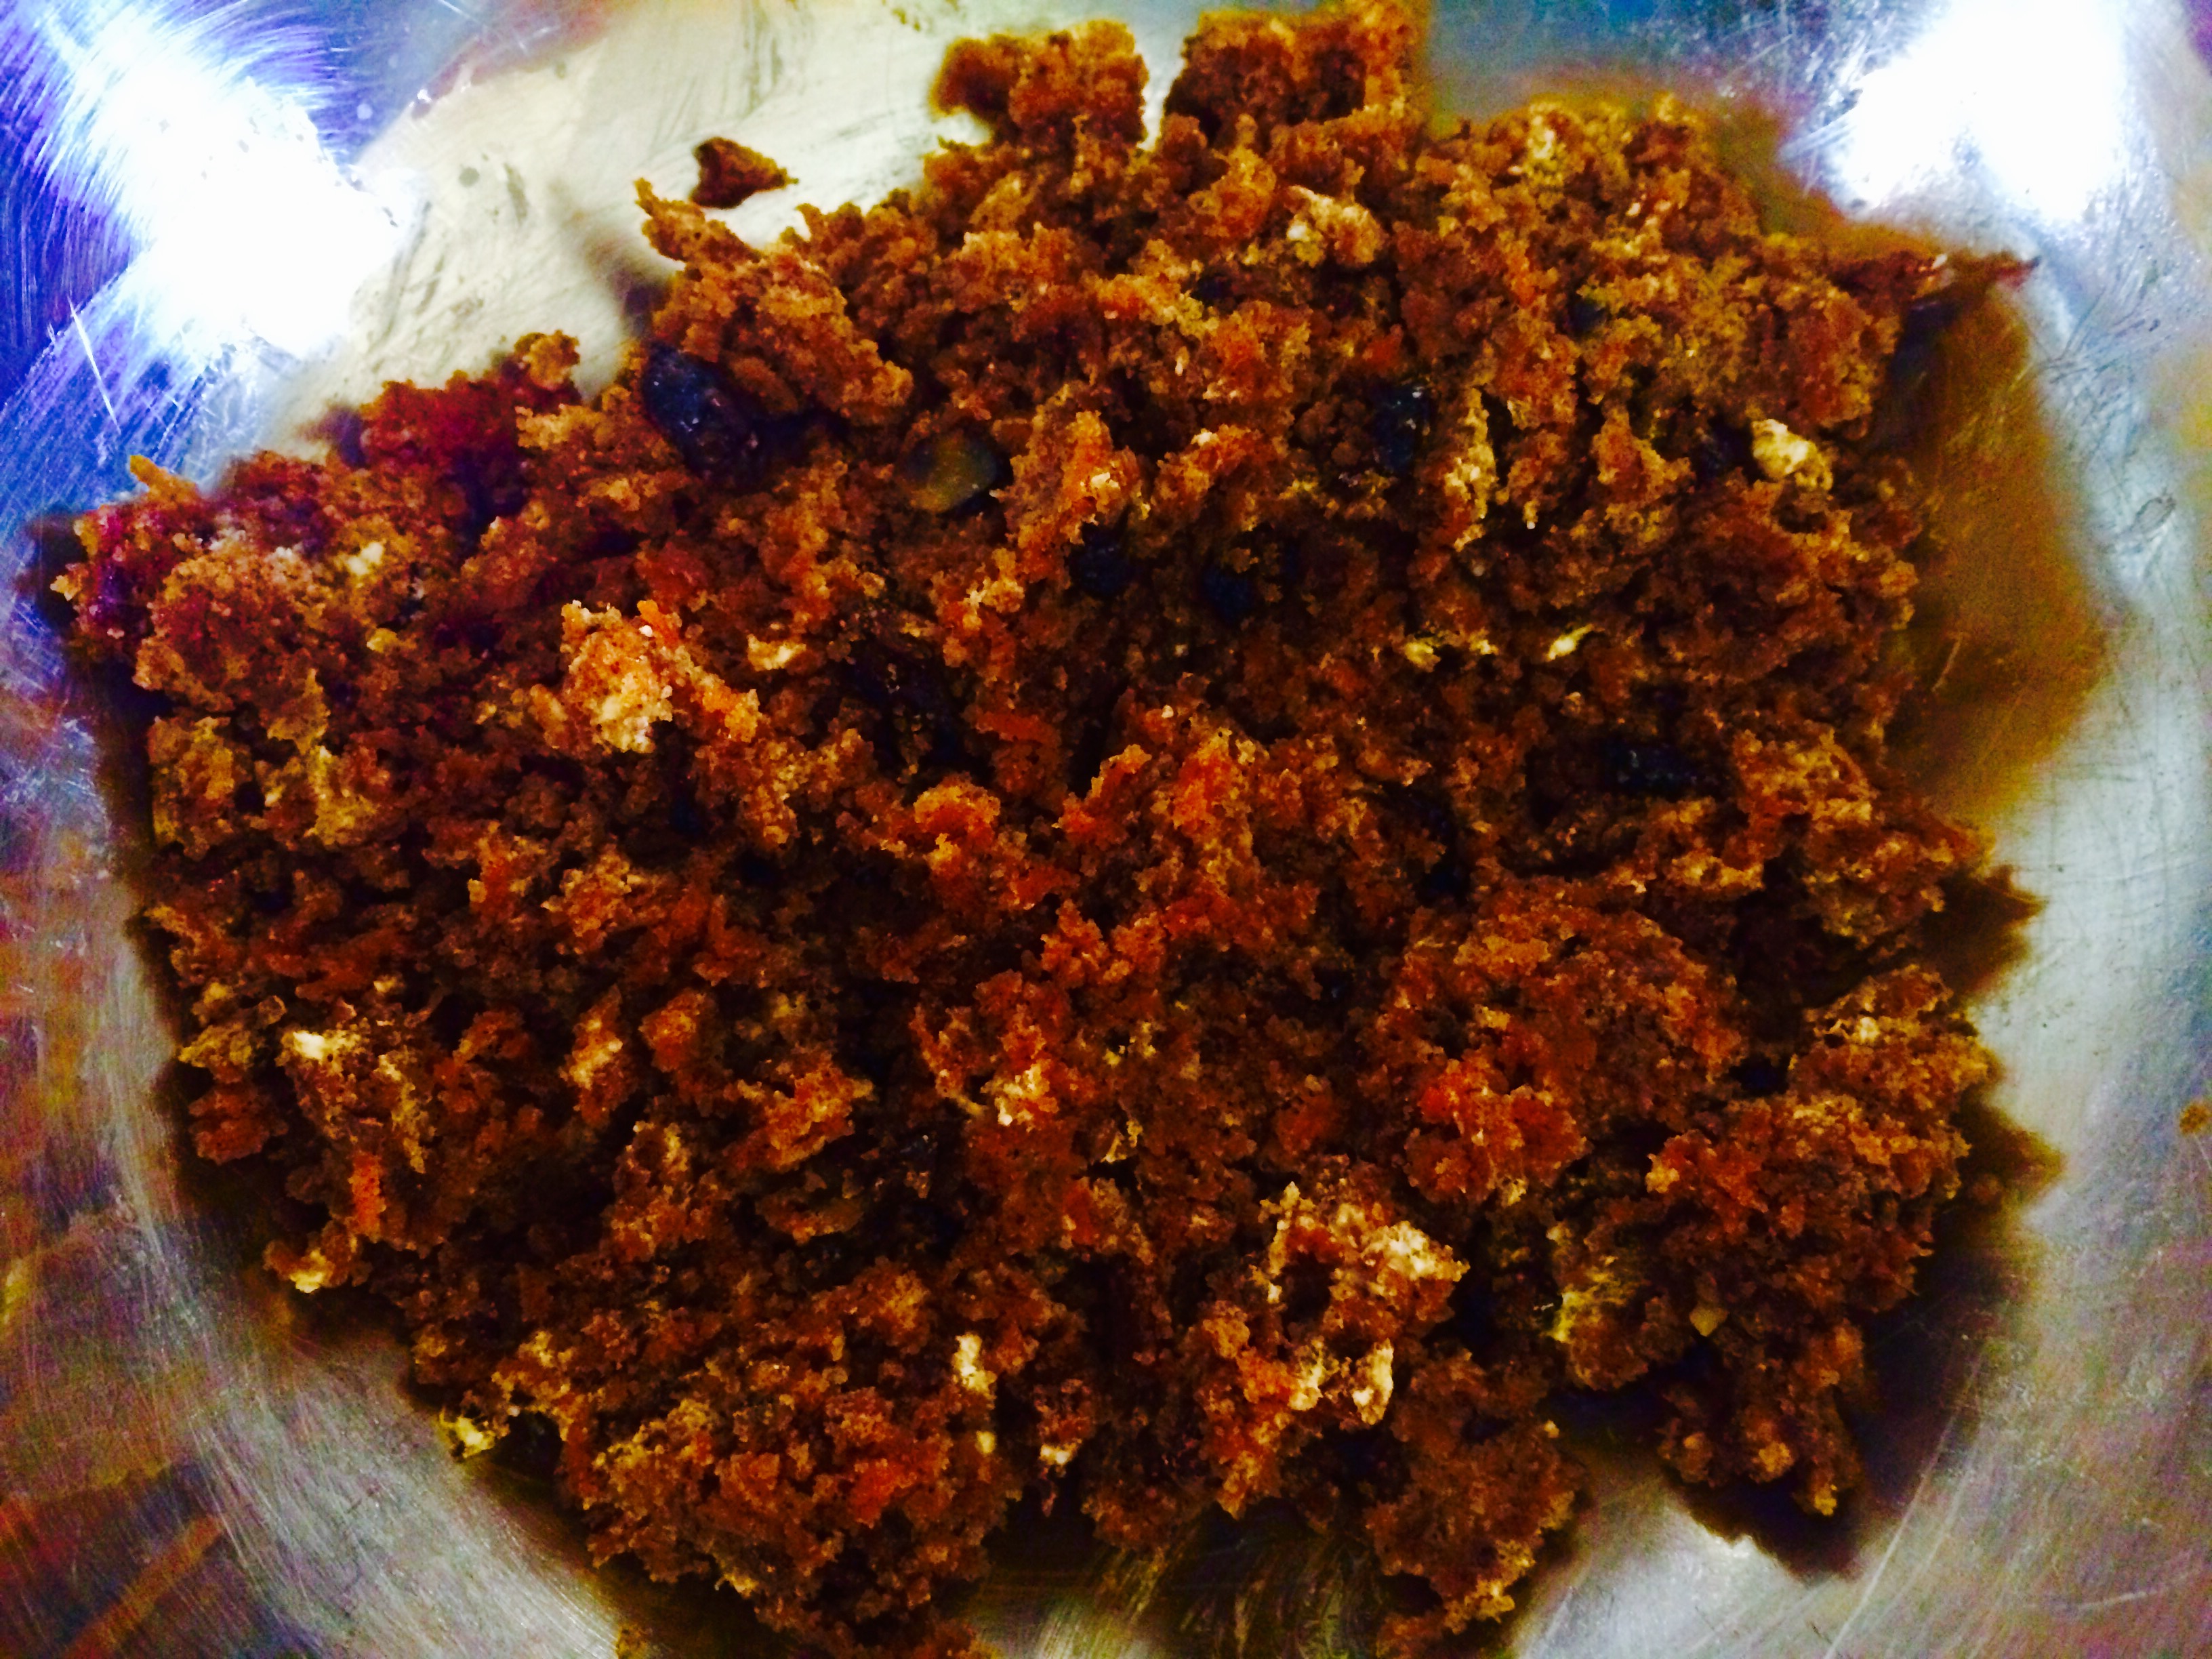
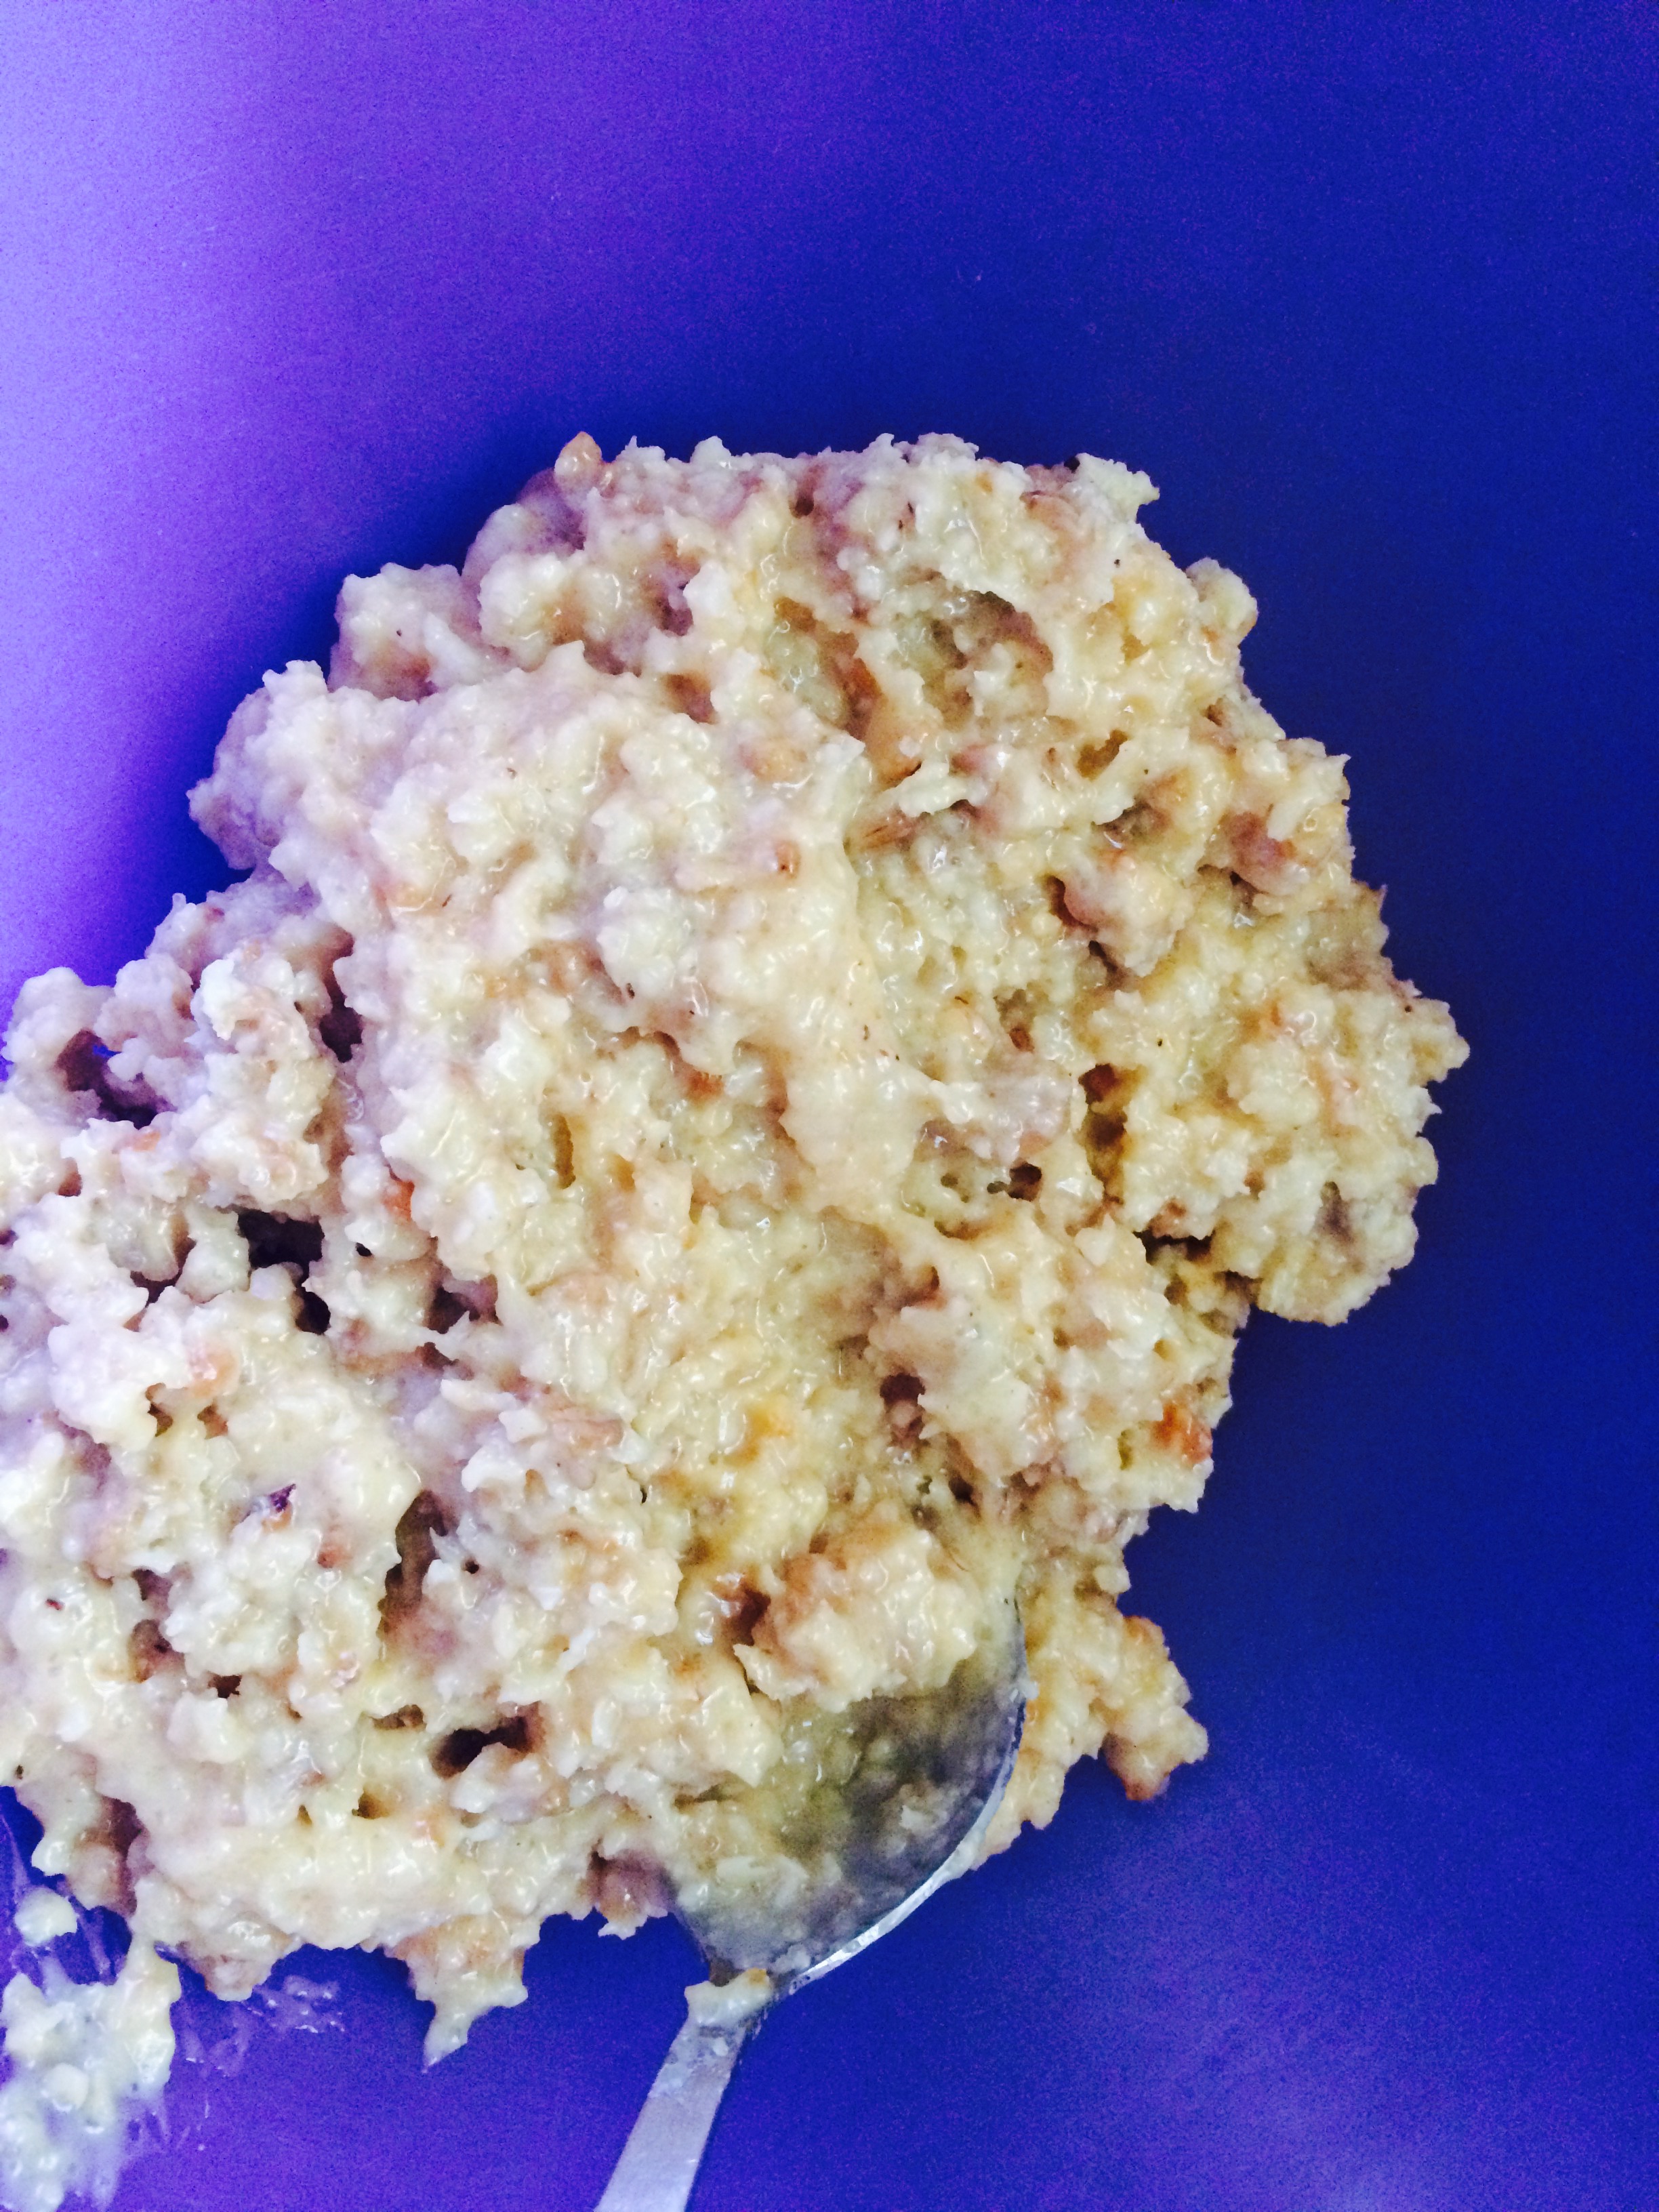
- Remove from heat and add the butter scotch nuts, butter, coconut and milk maid. Mix well and Cool completely.
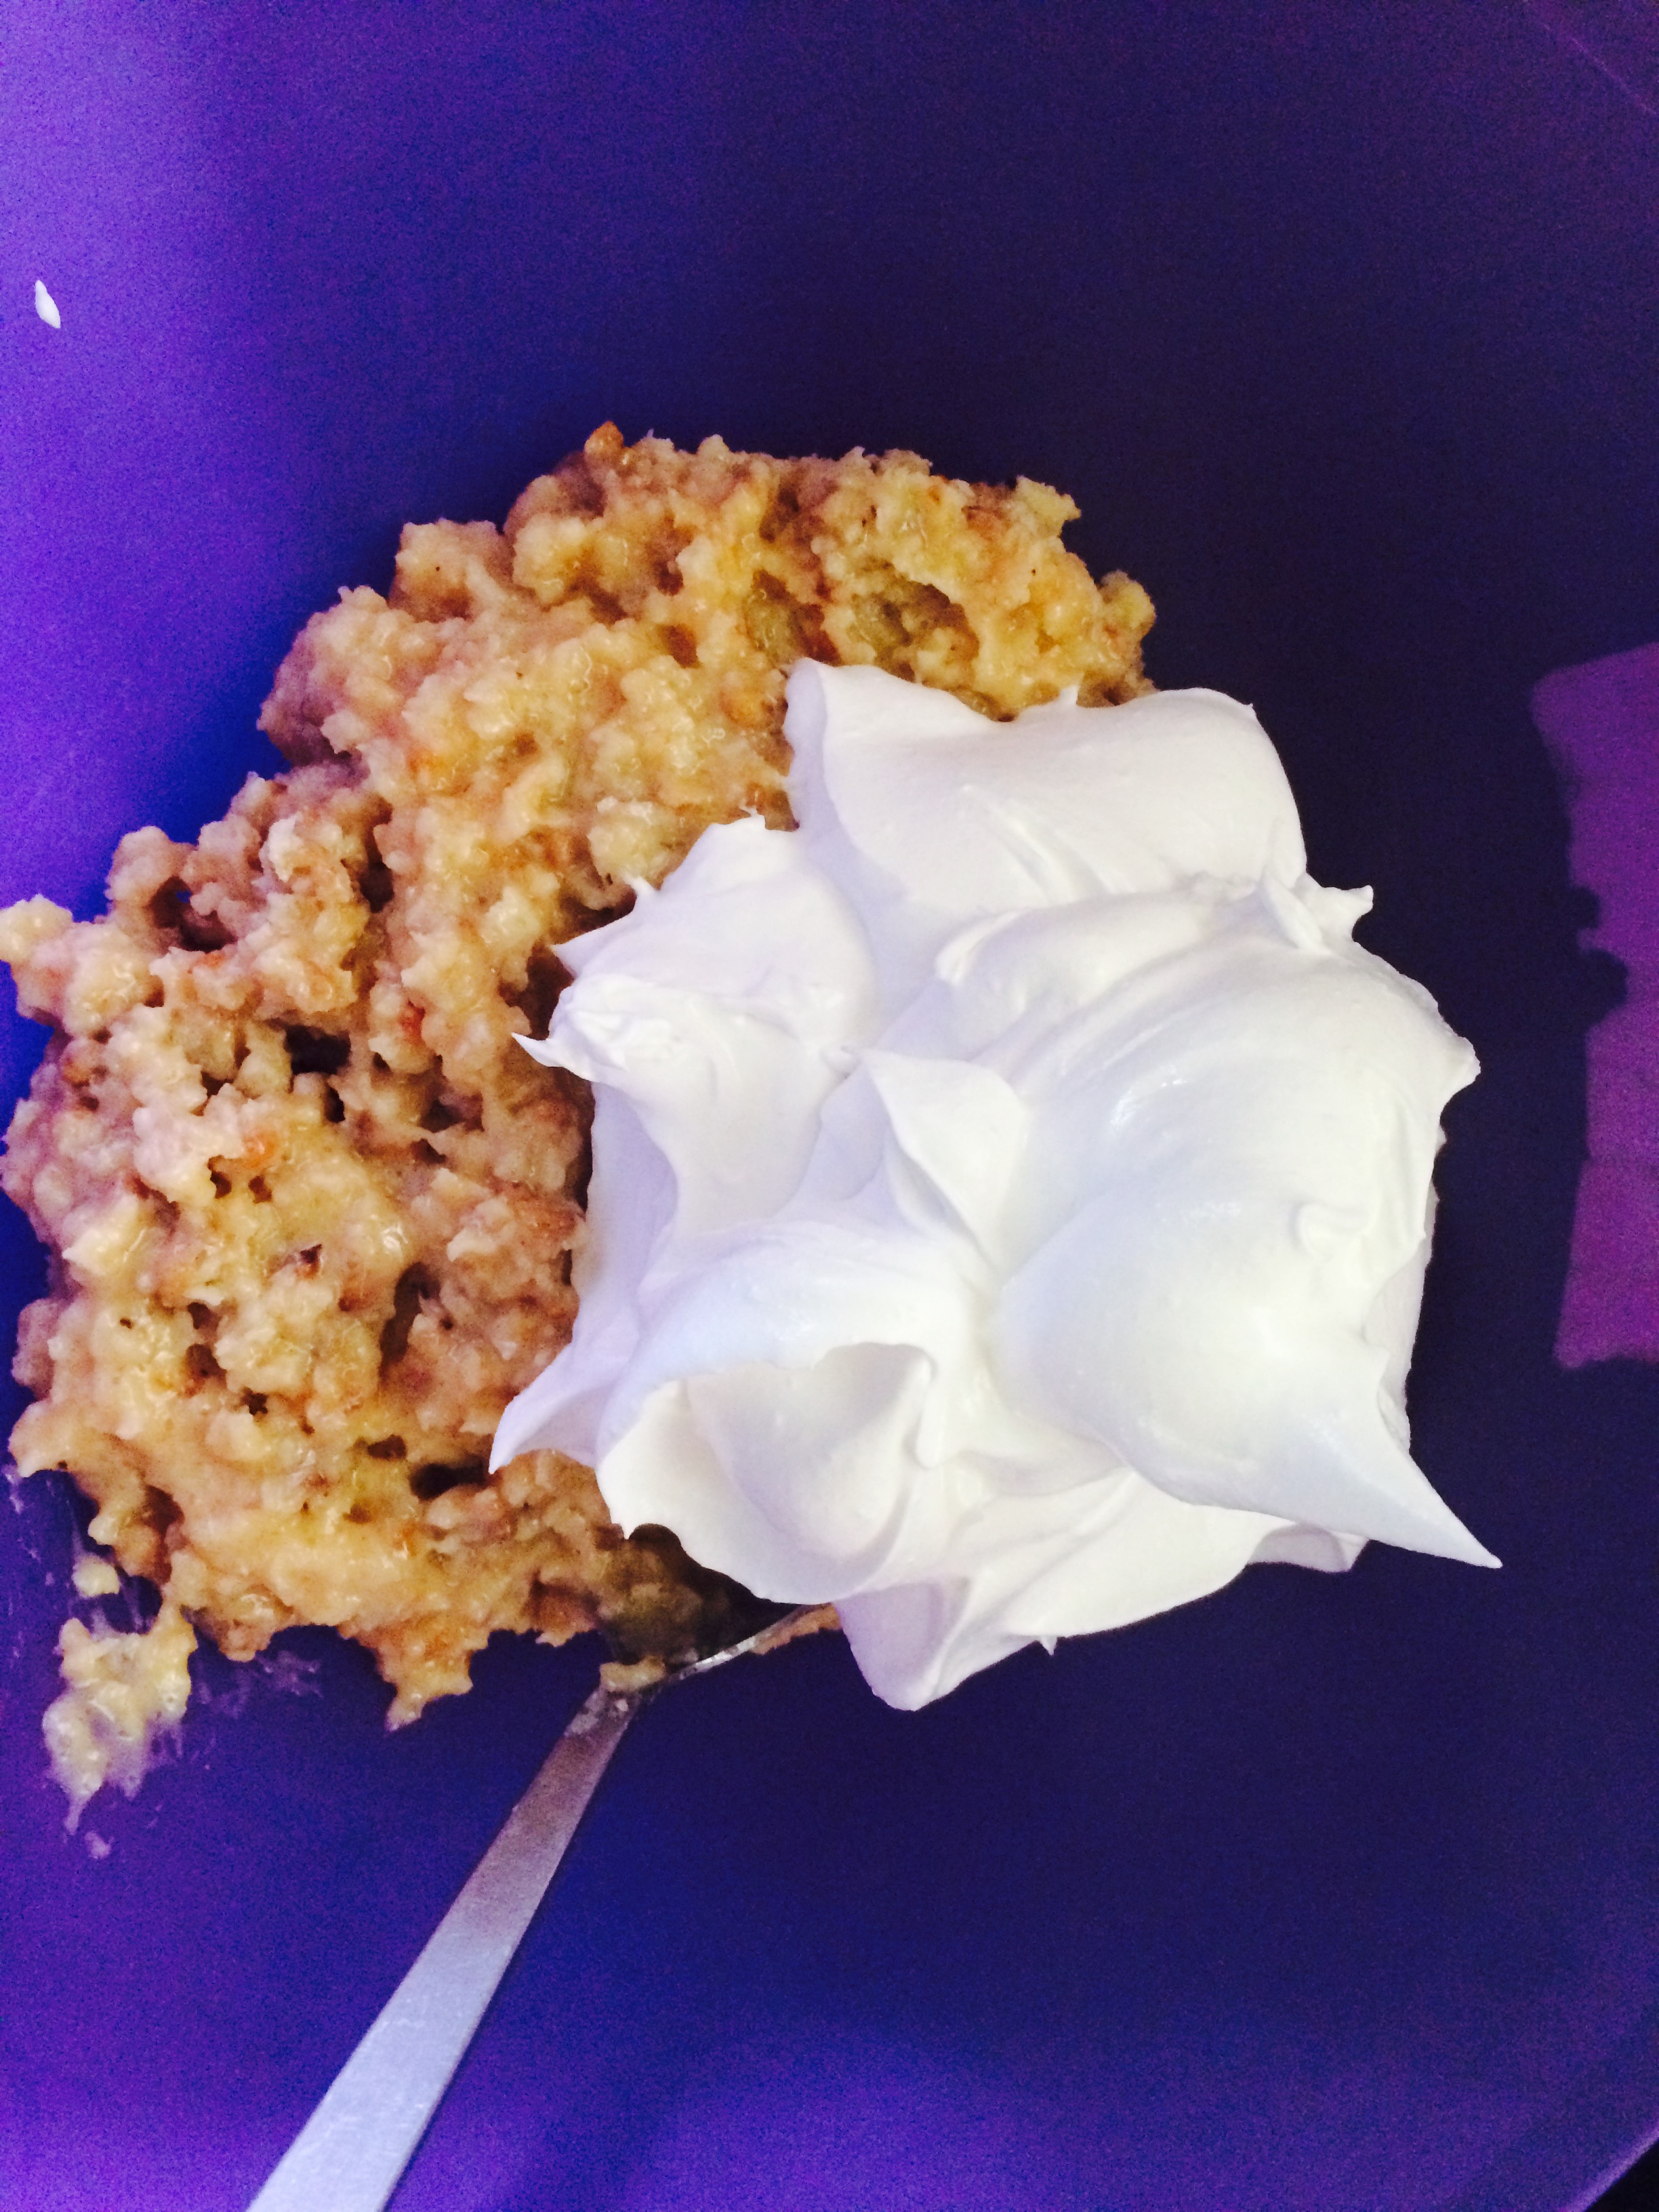
- Add one cup of whipped cream to the cooled filling and keep aside in the refrigerator.
How to proceed
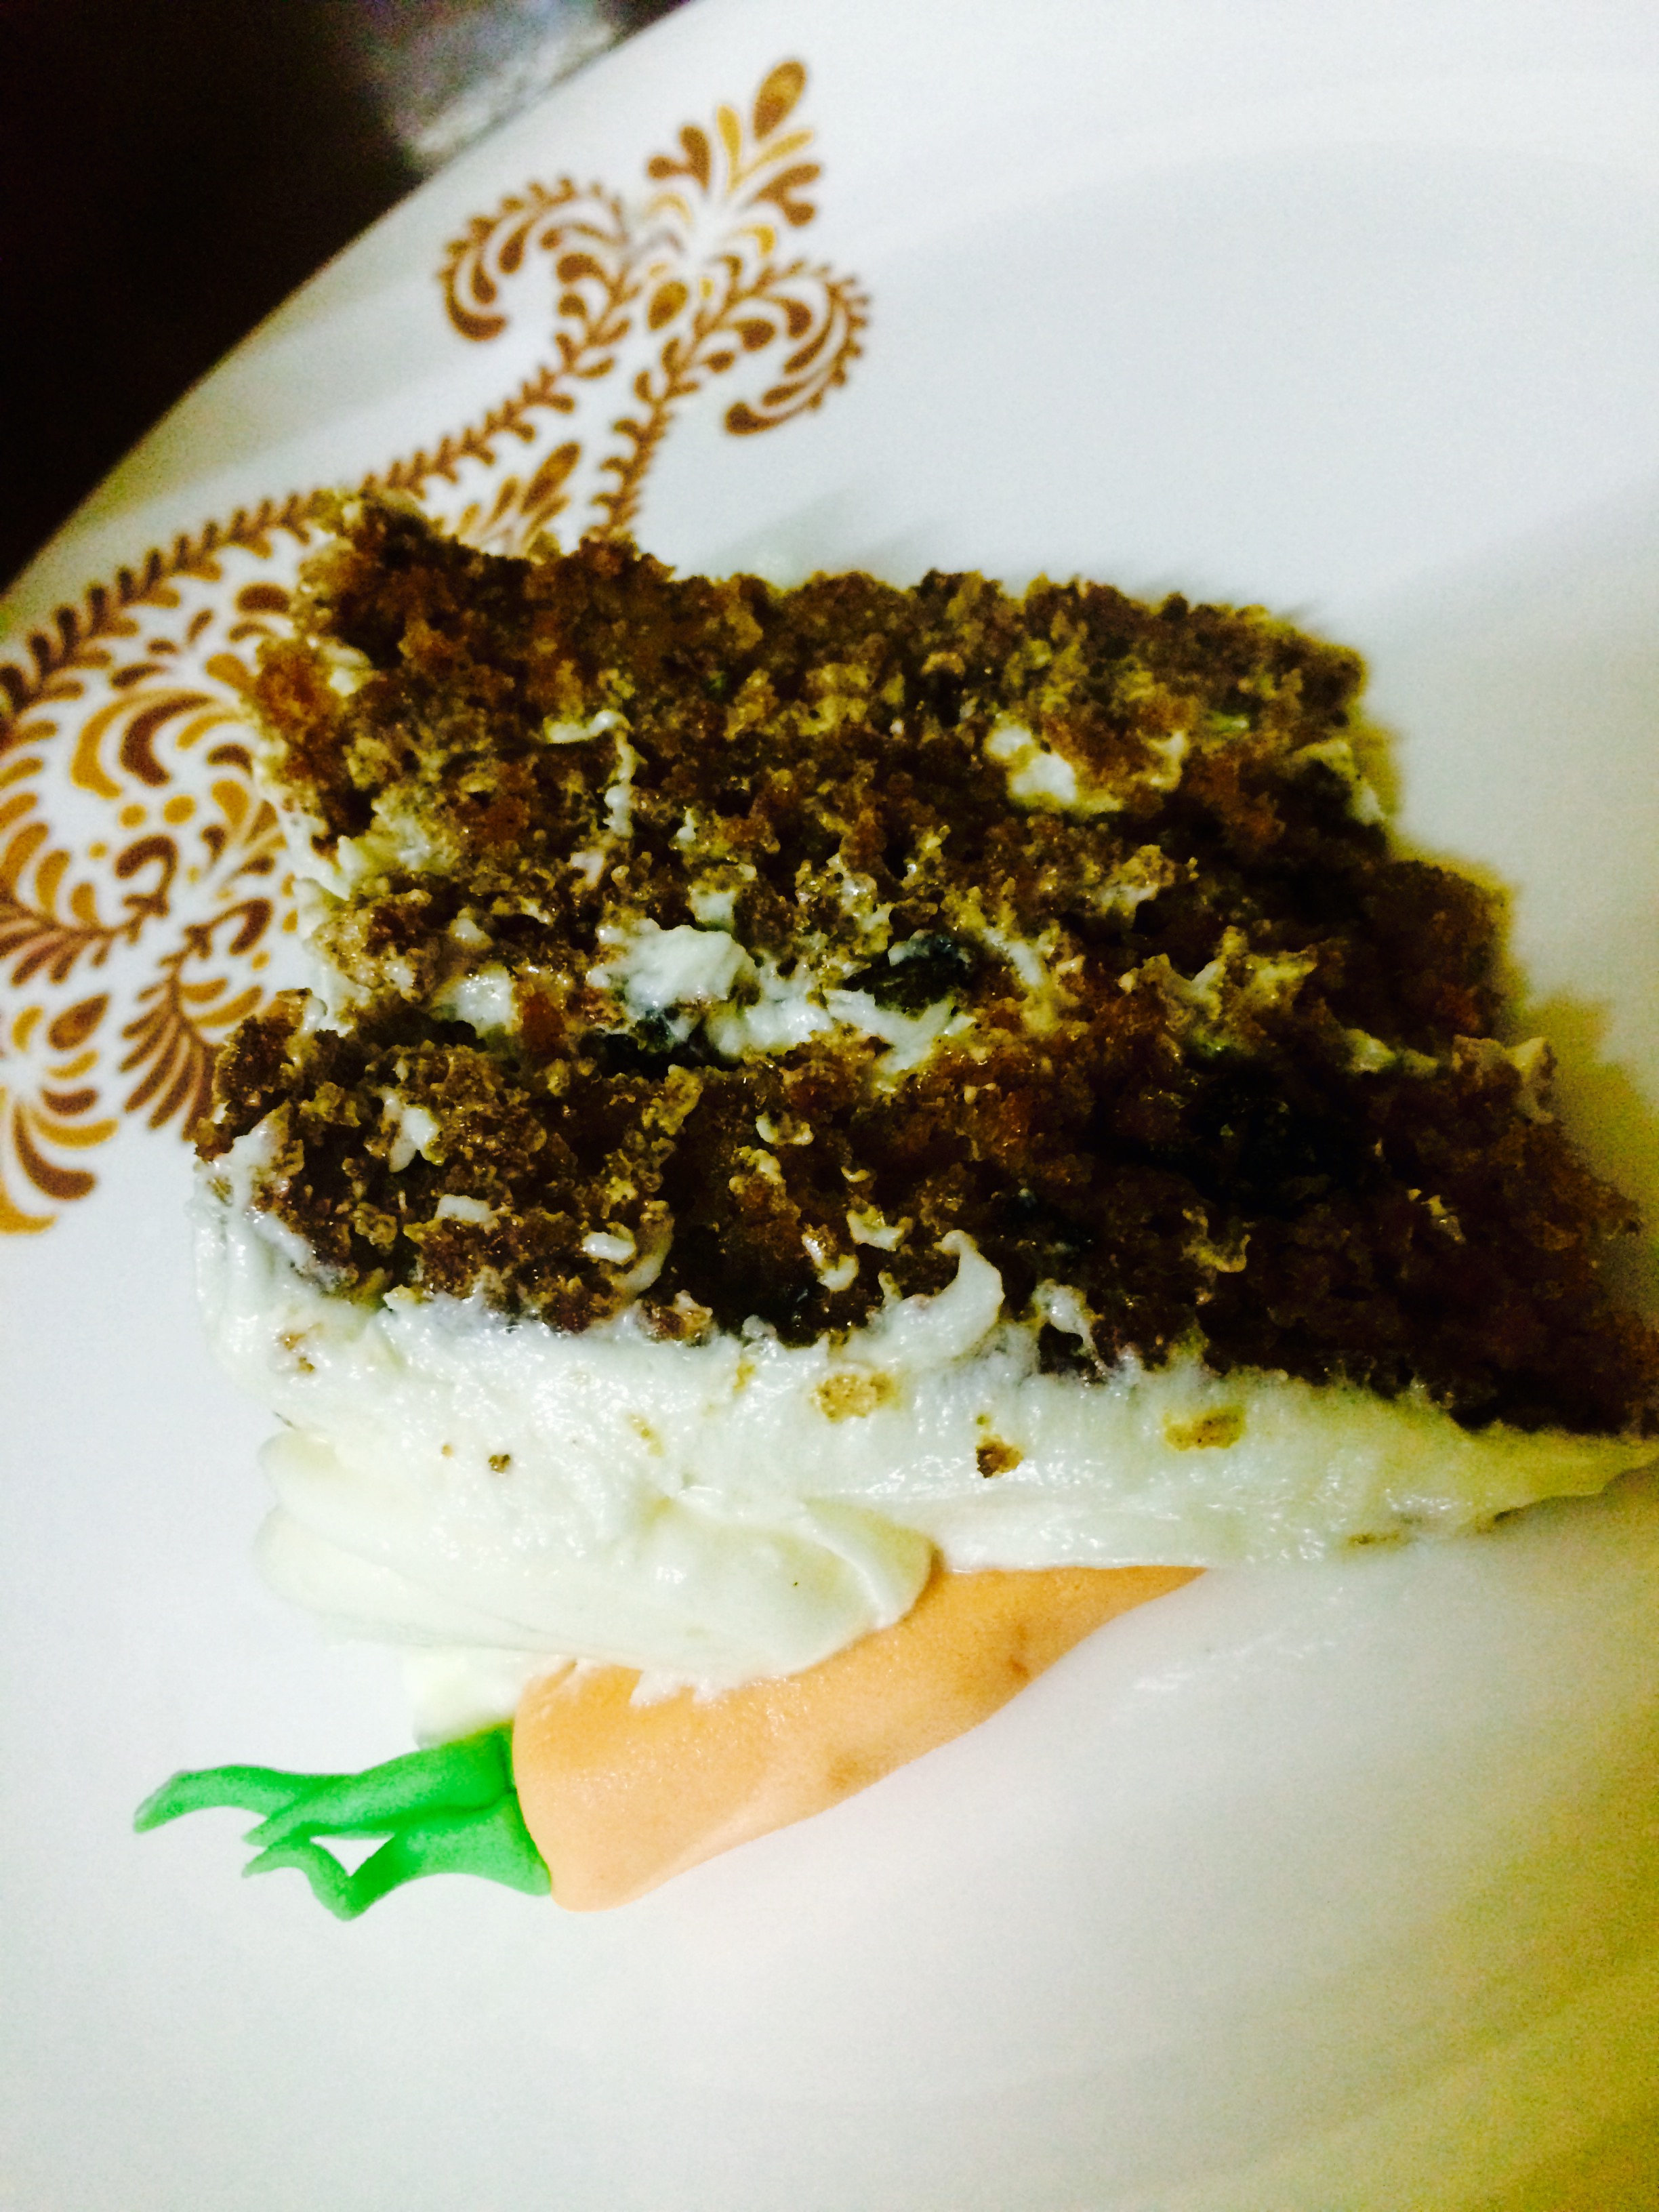
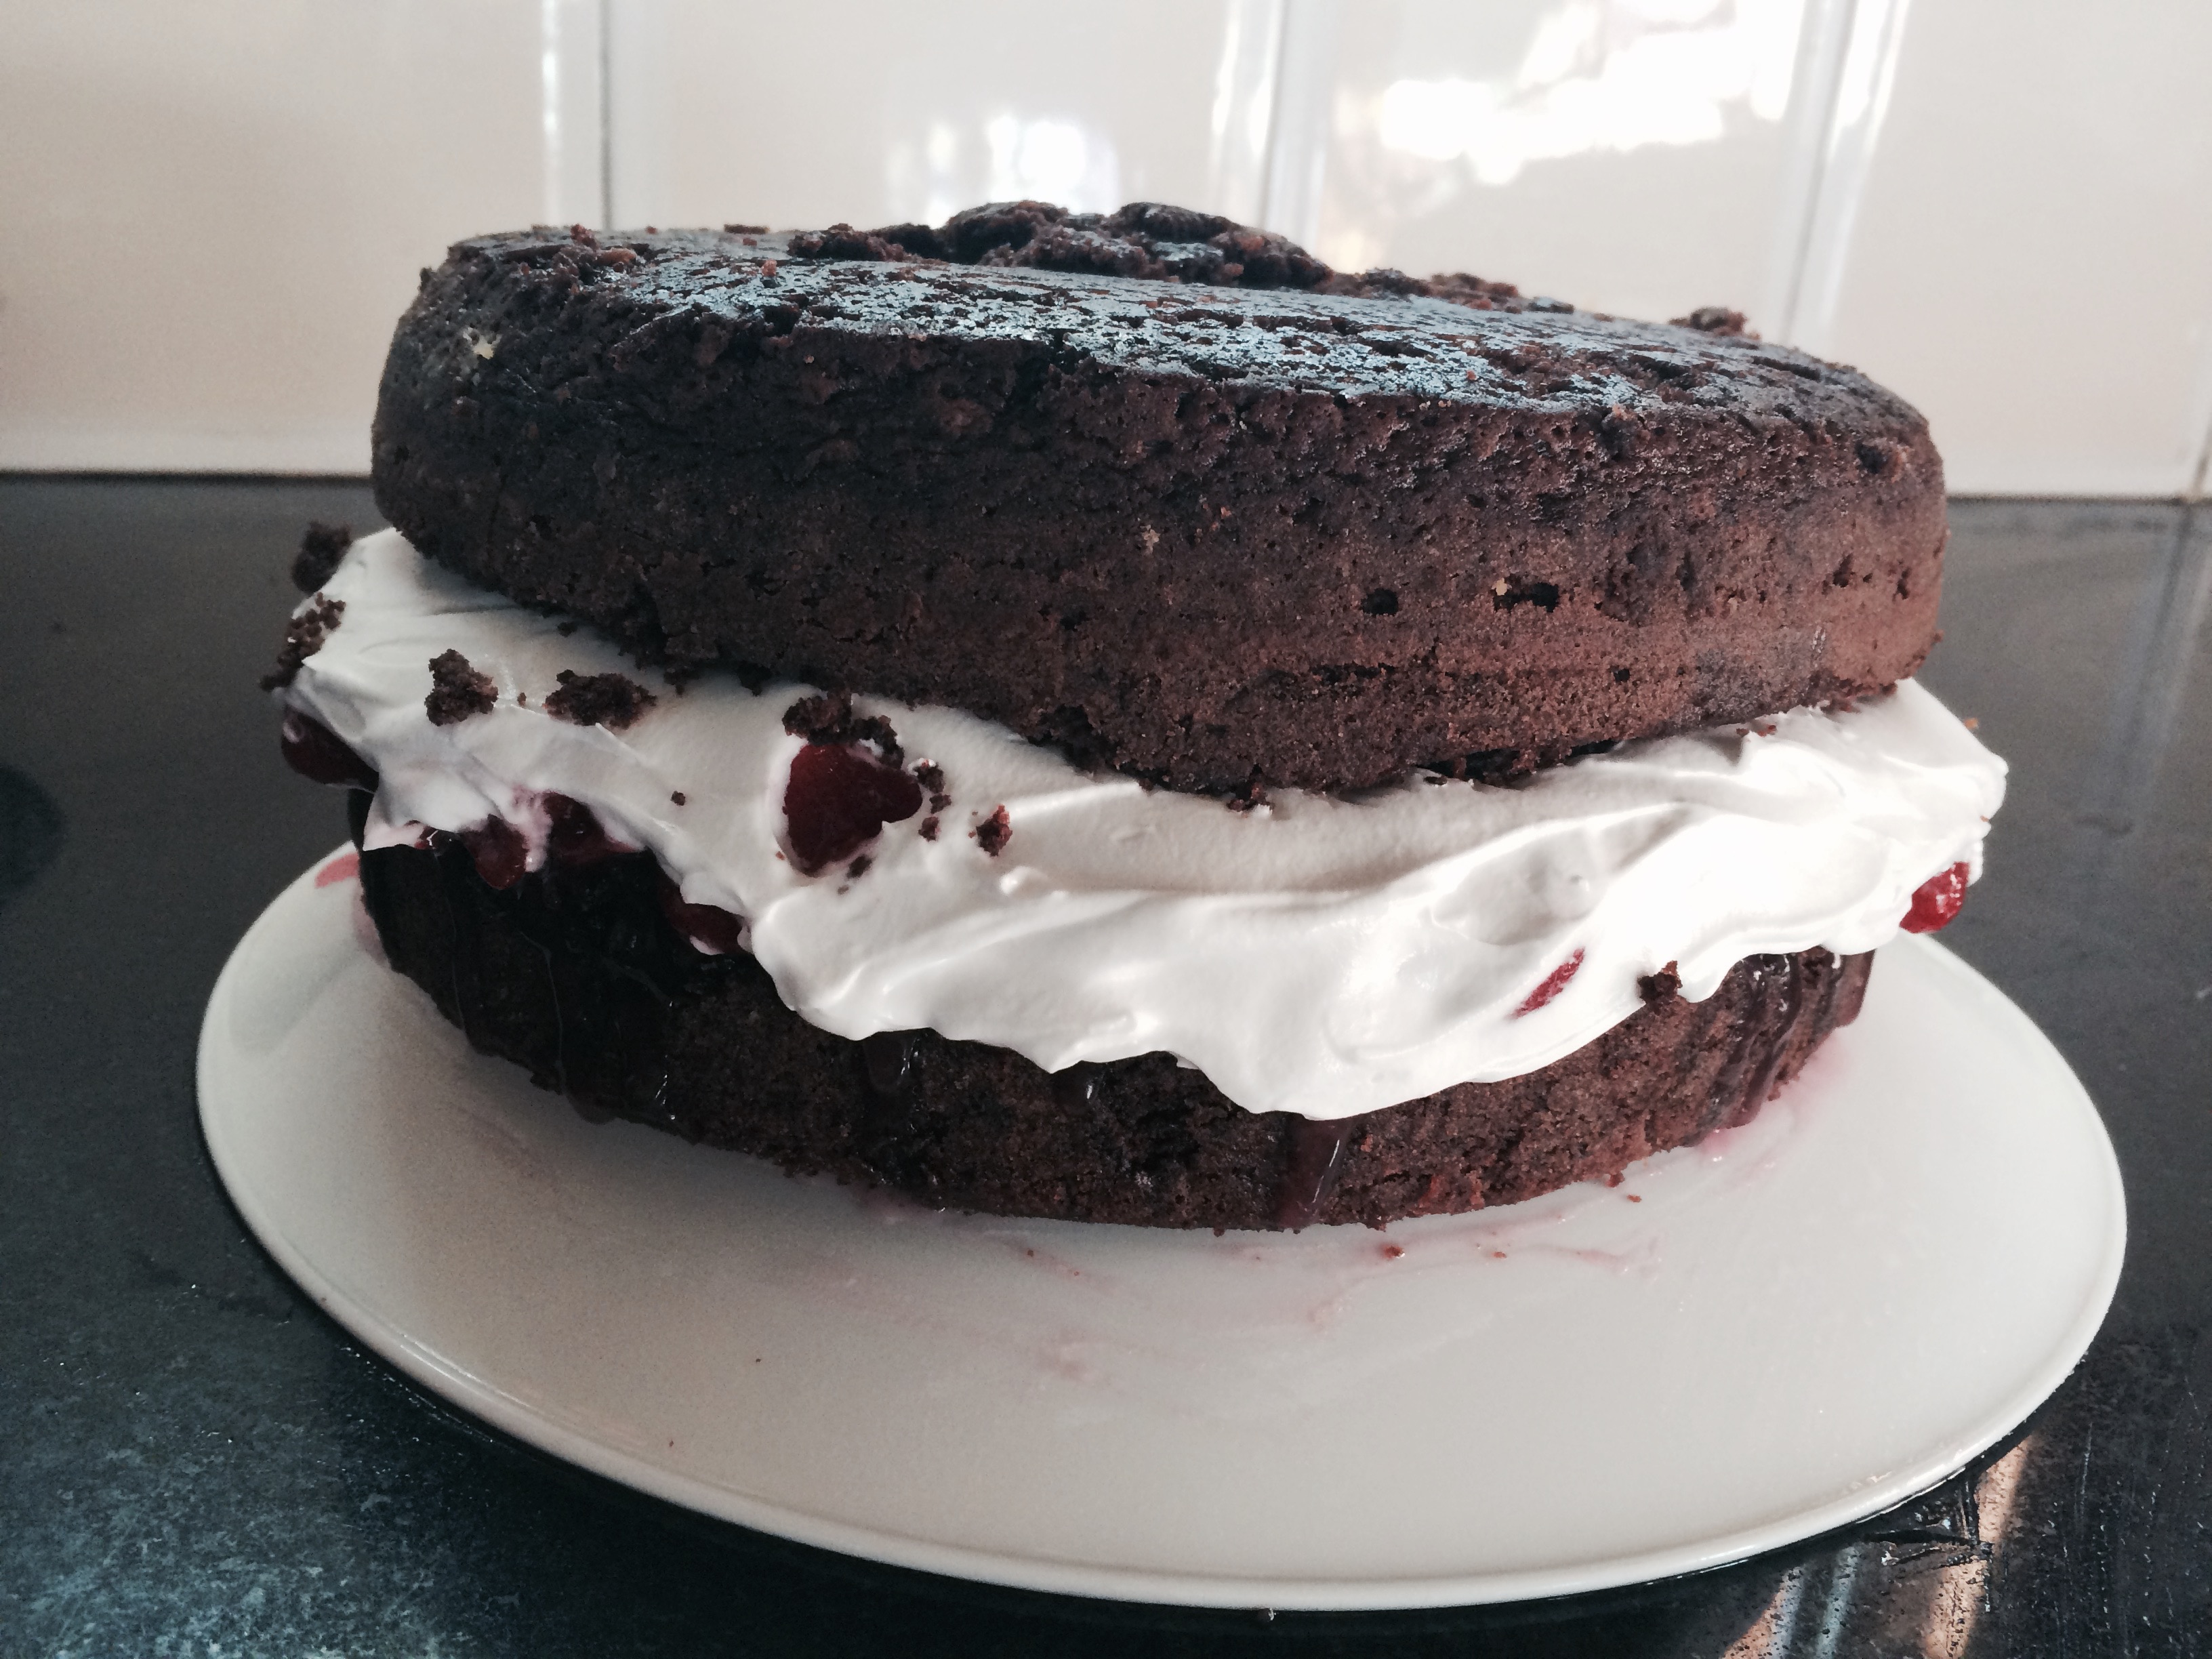
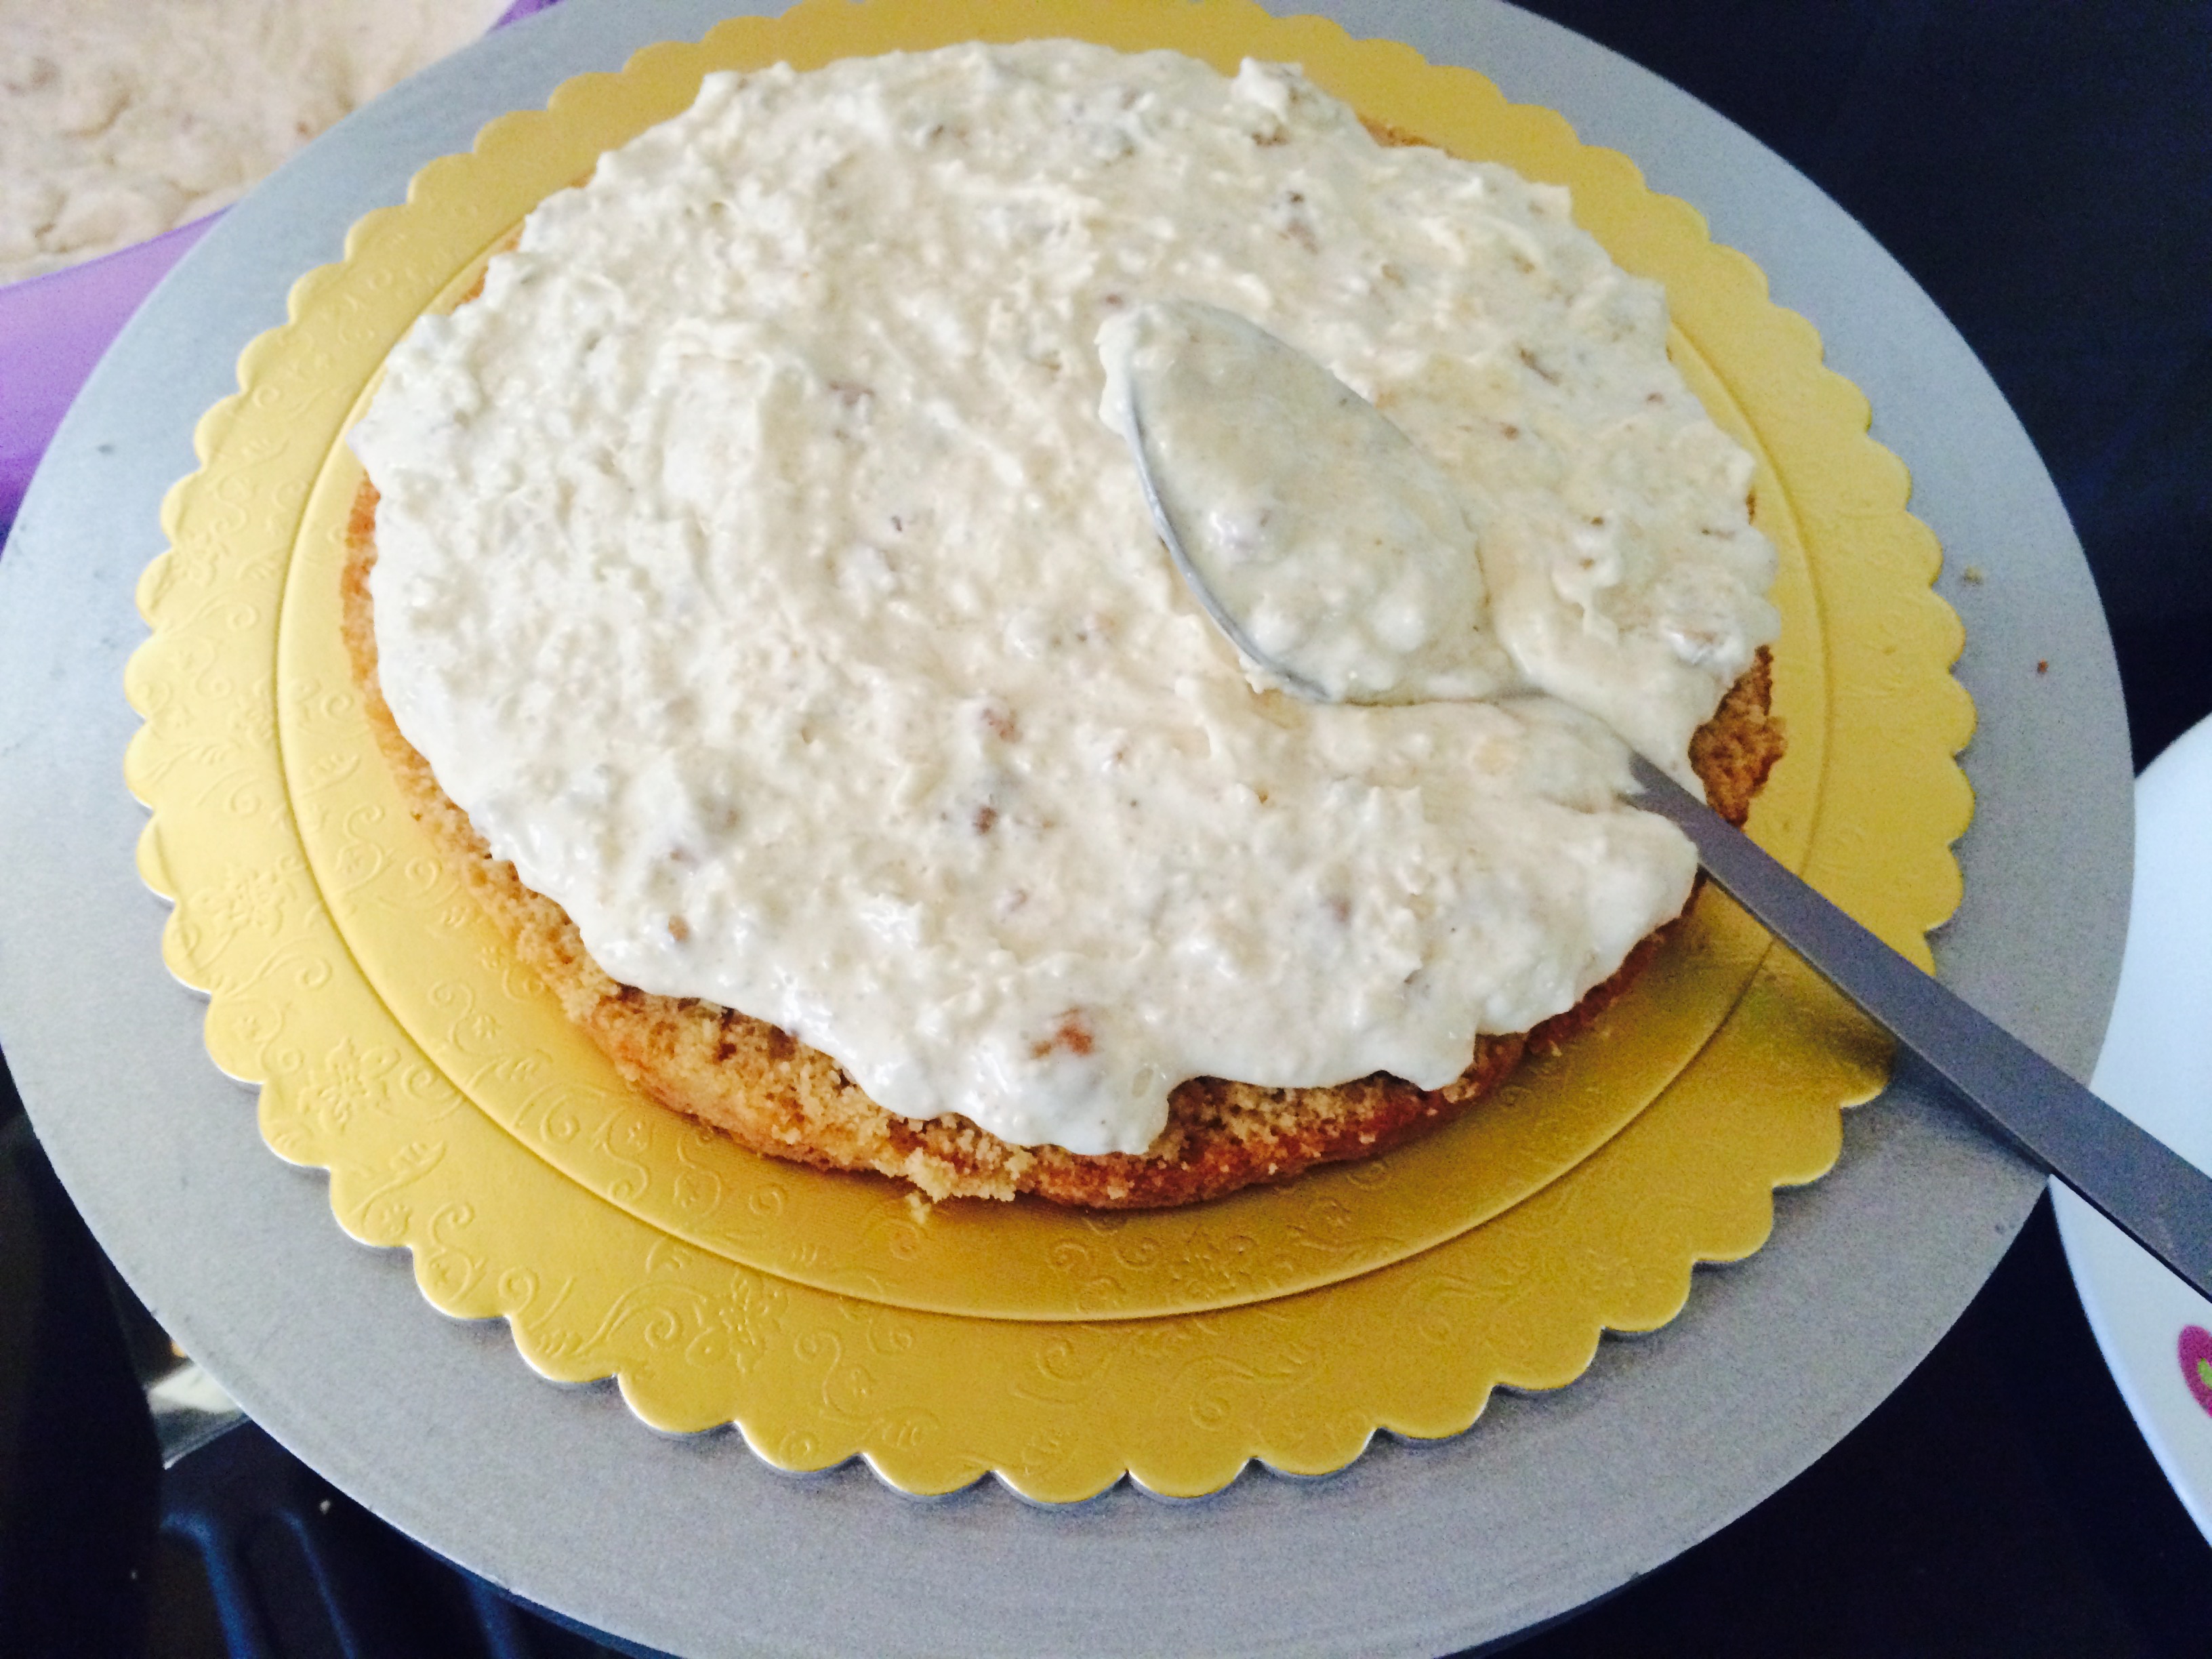
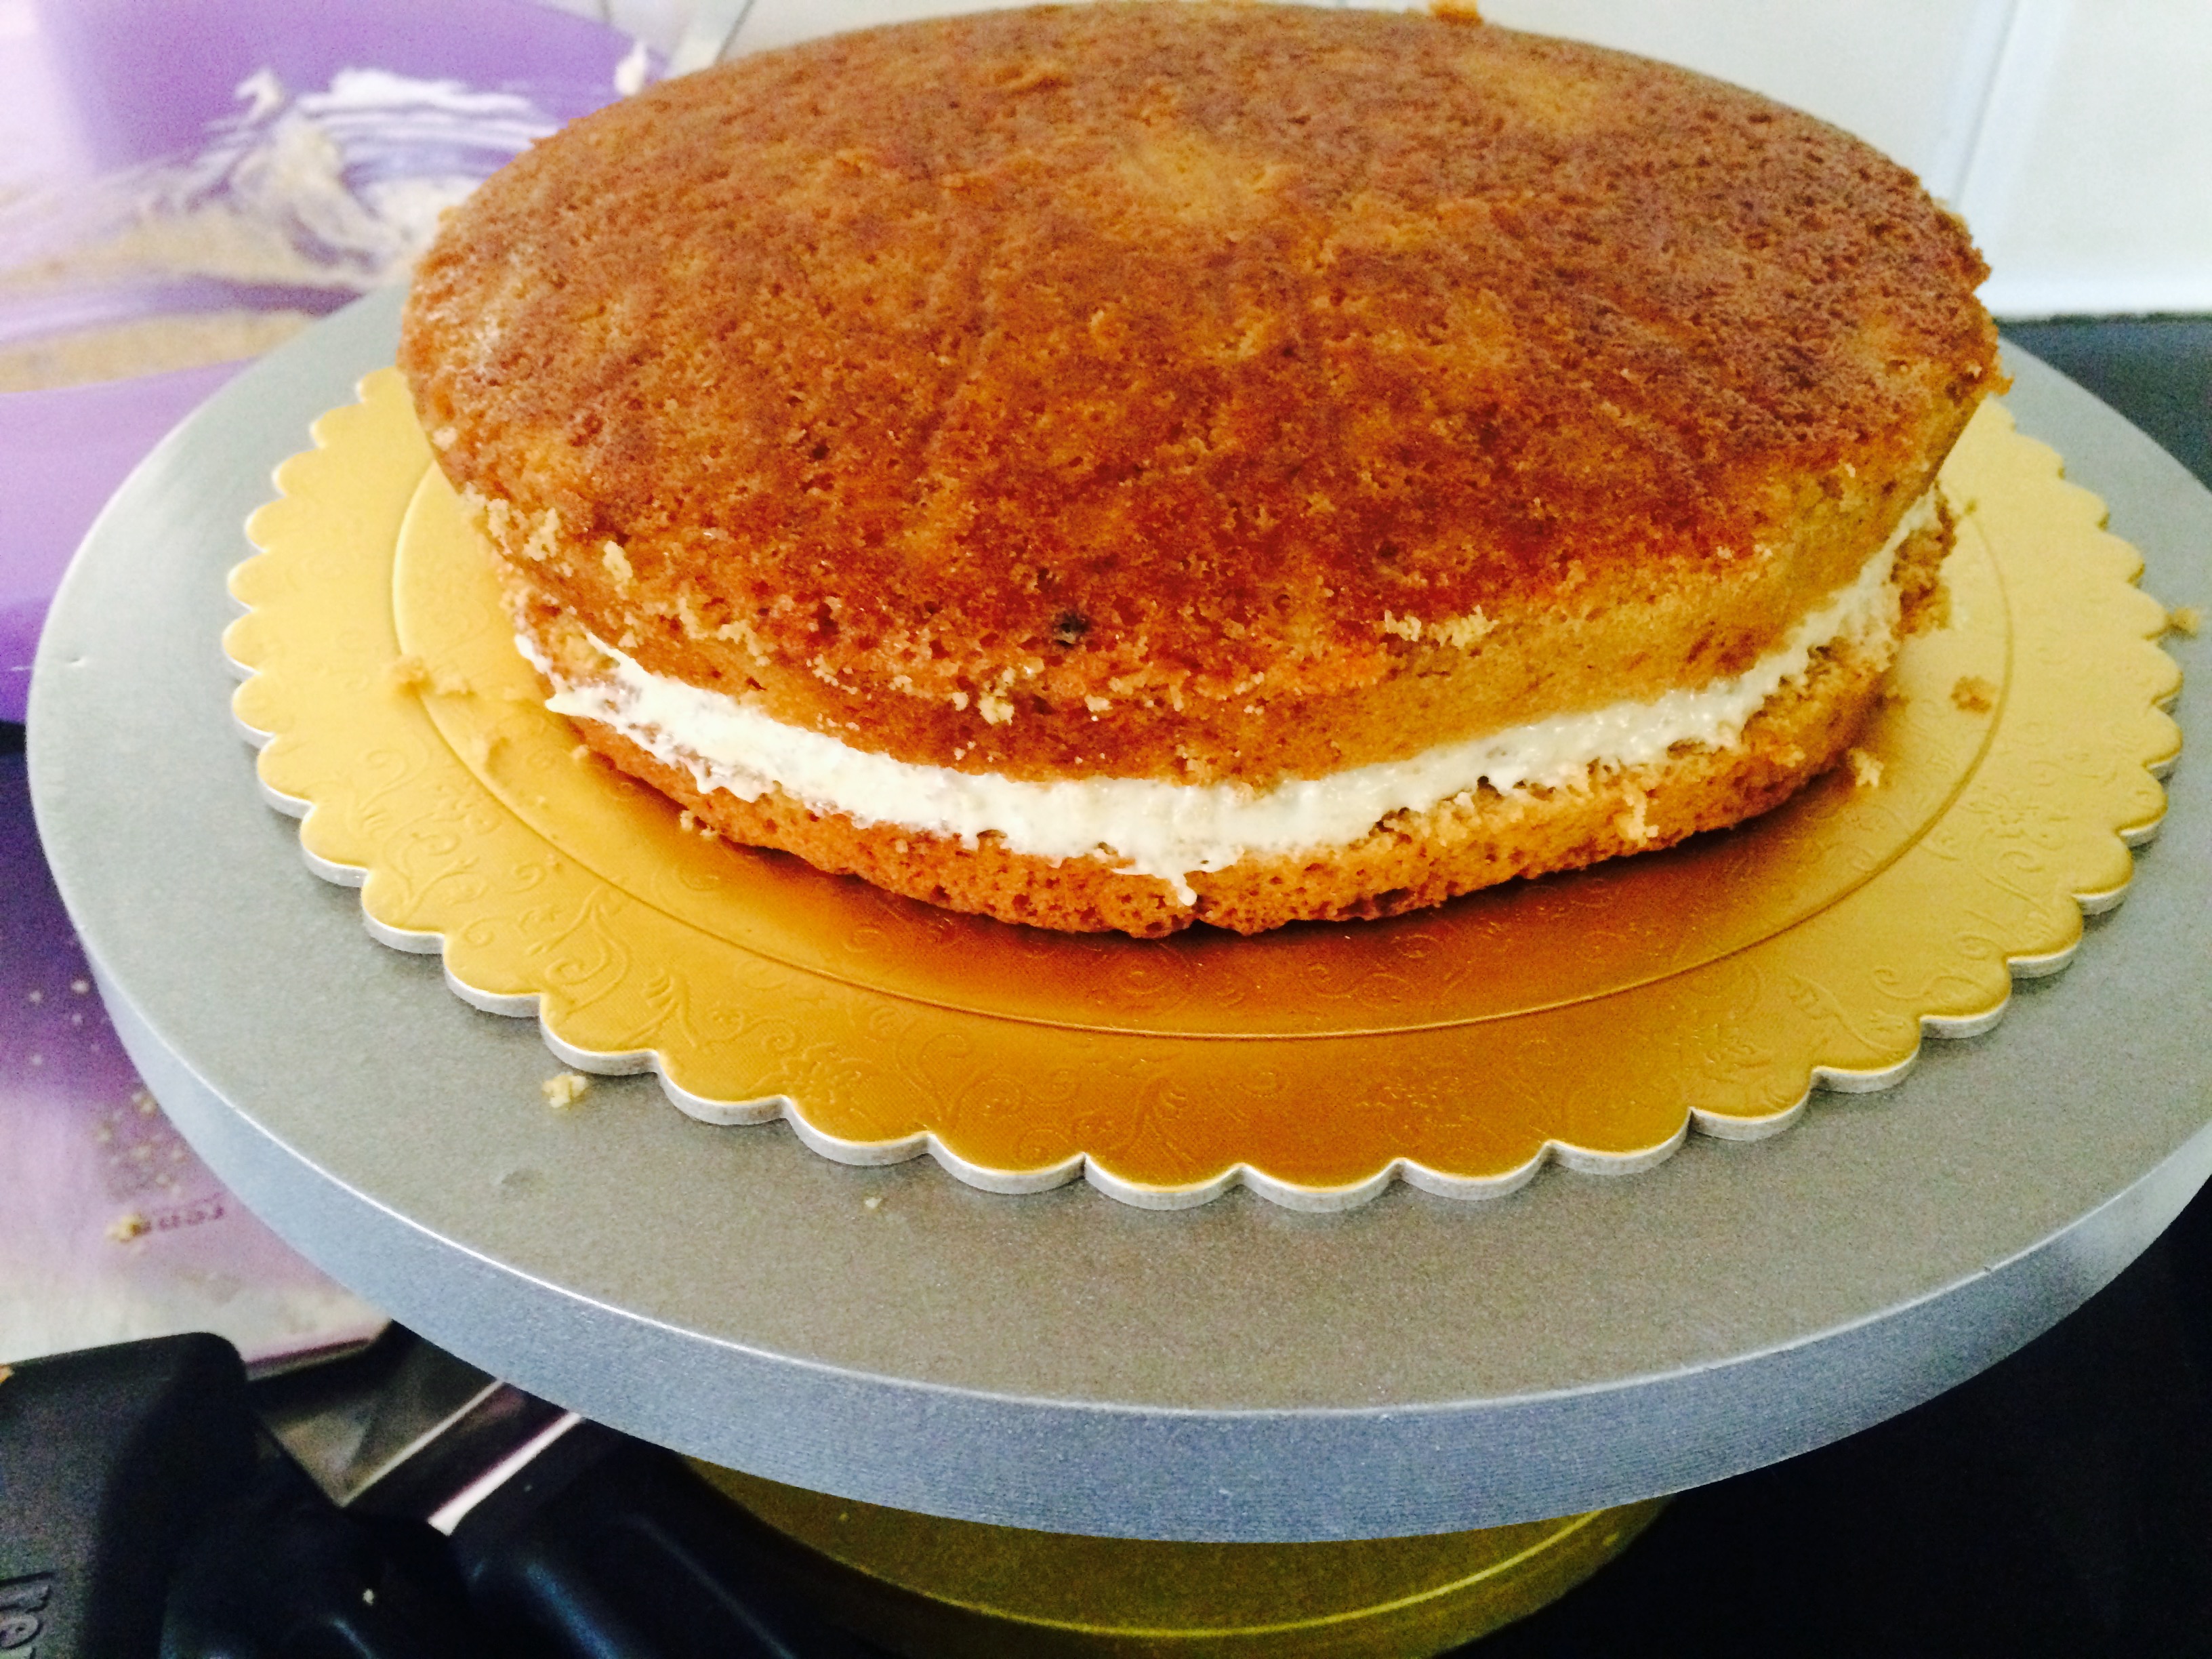
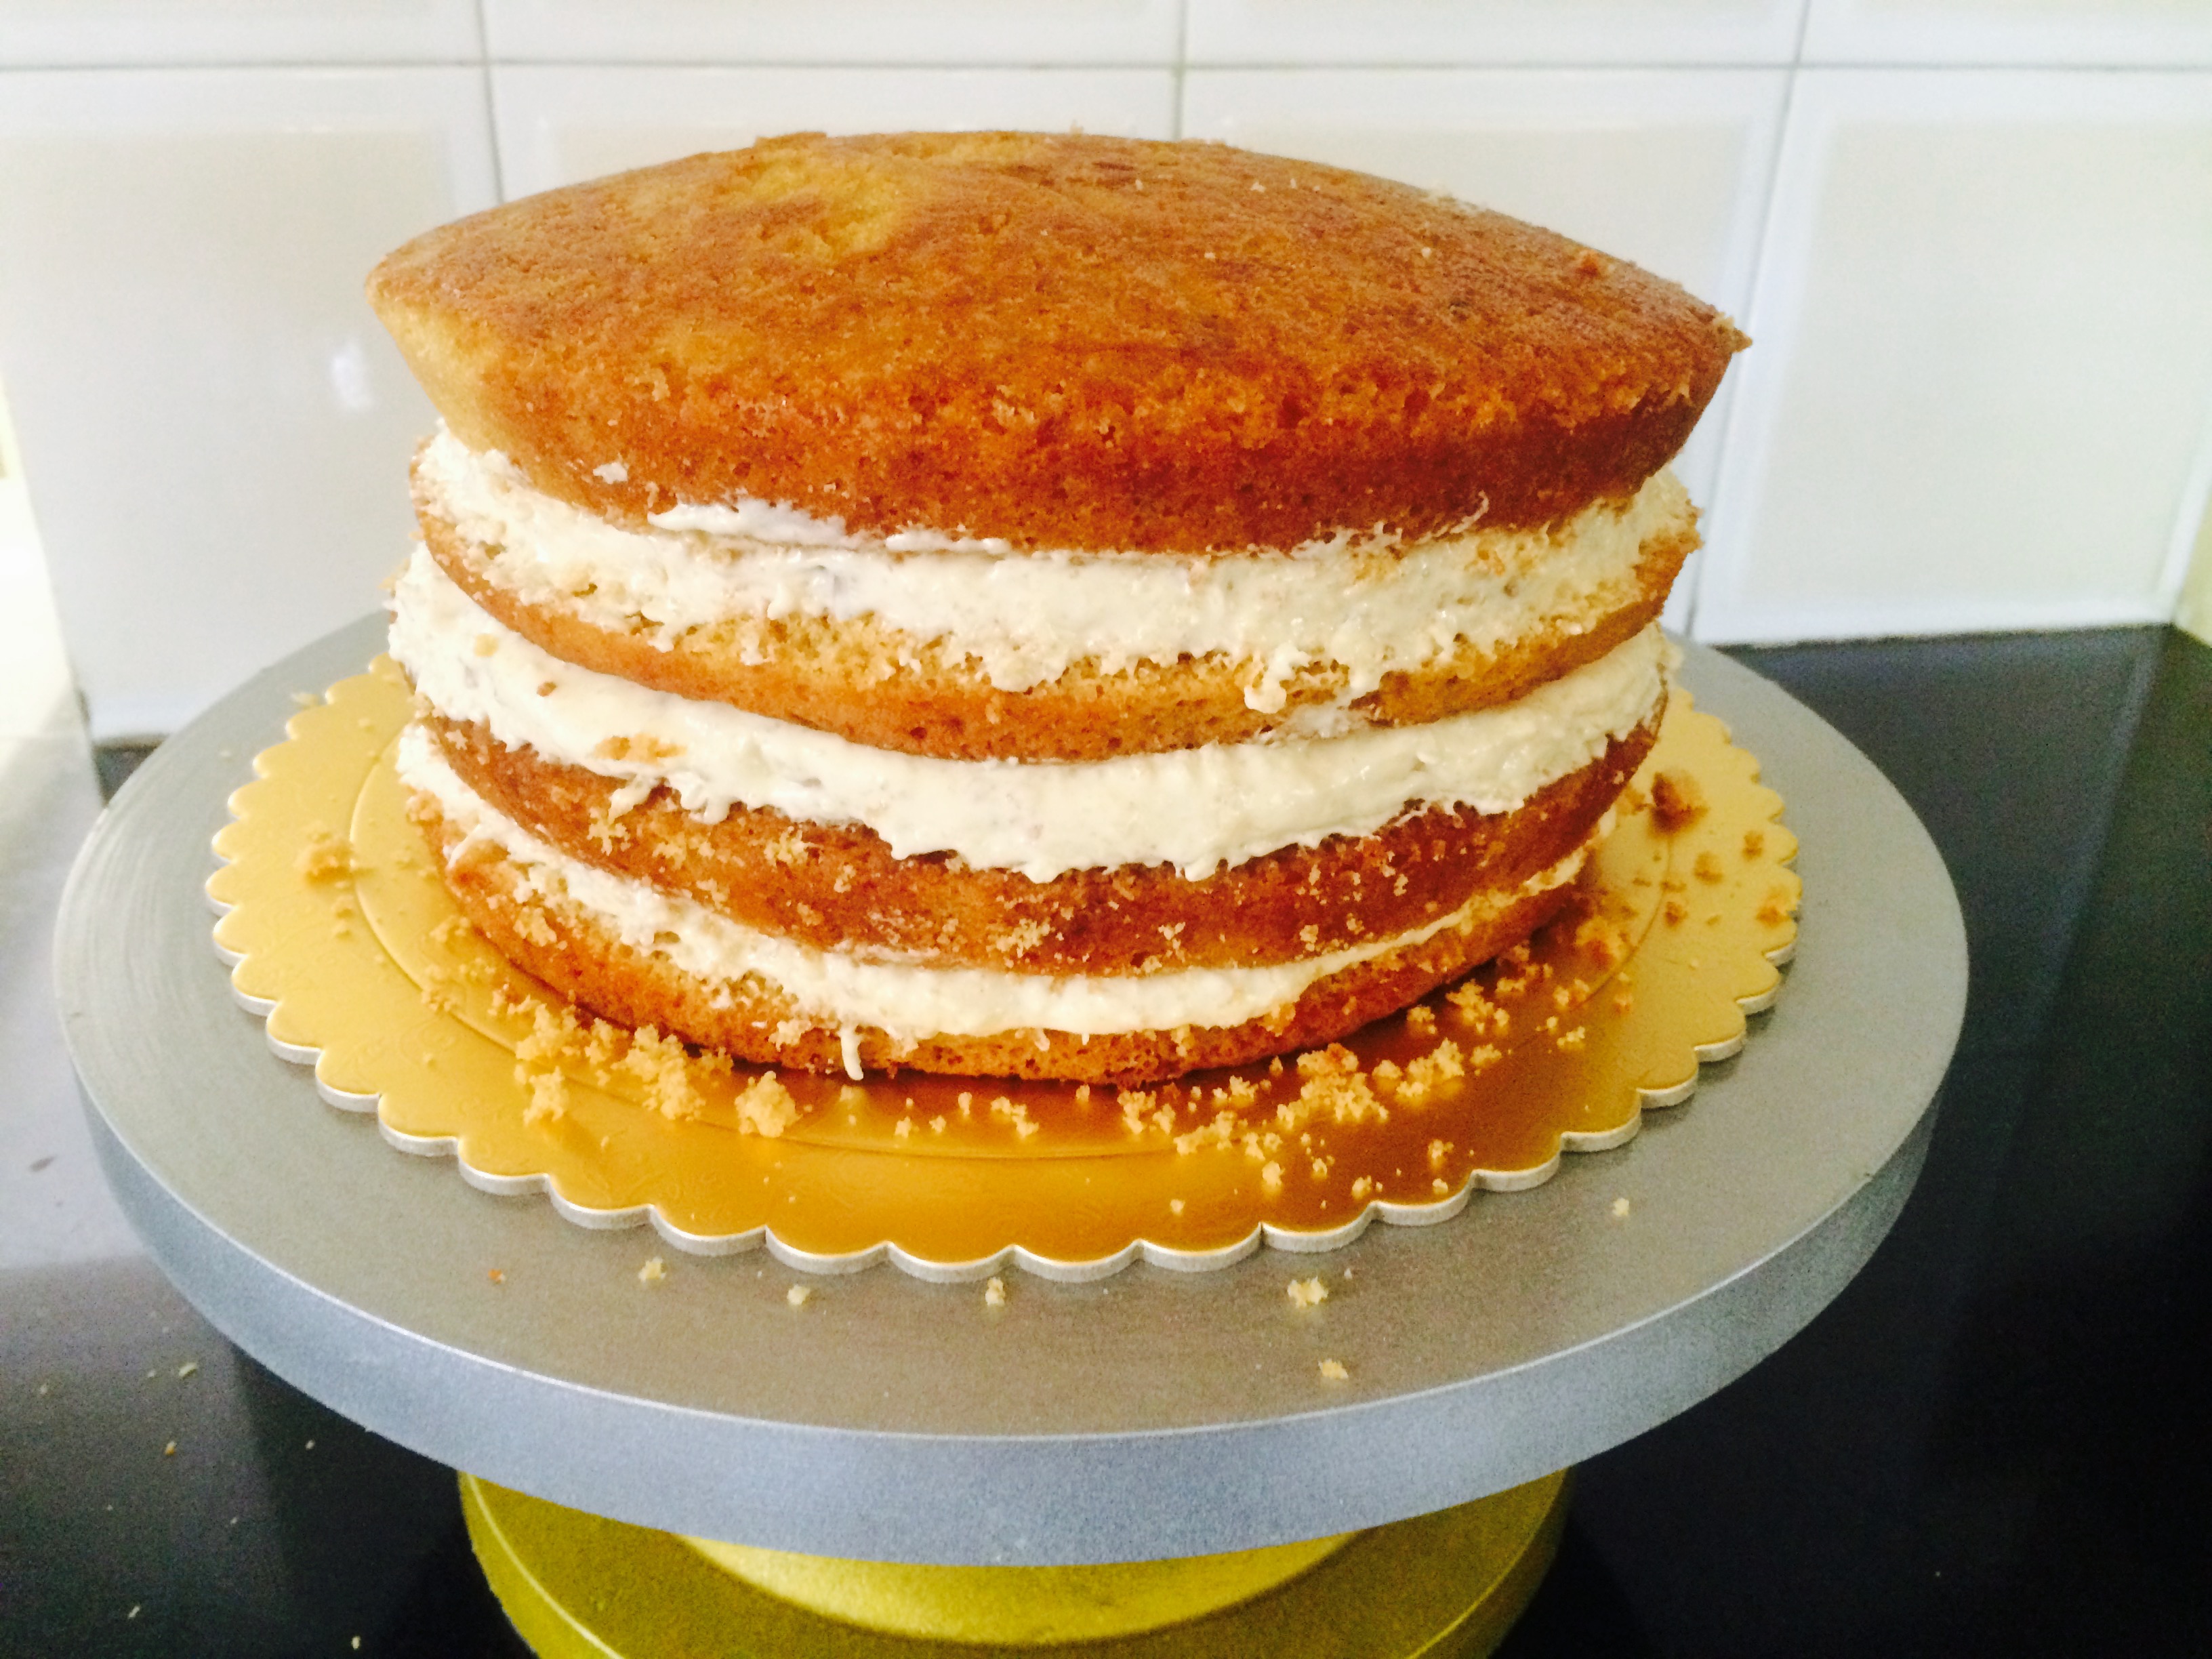
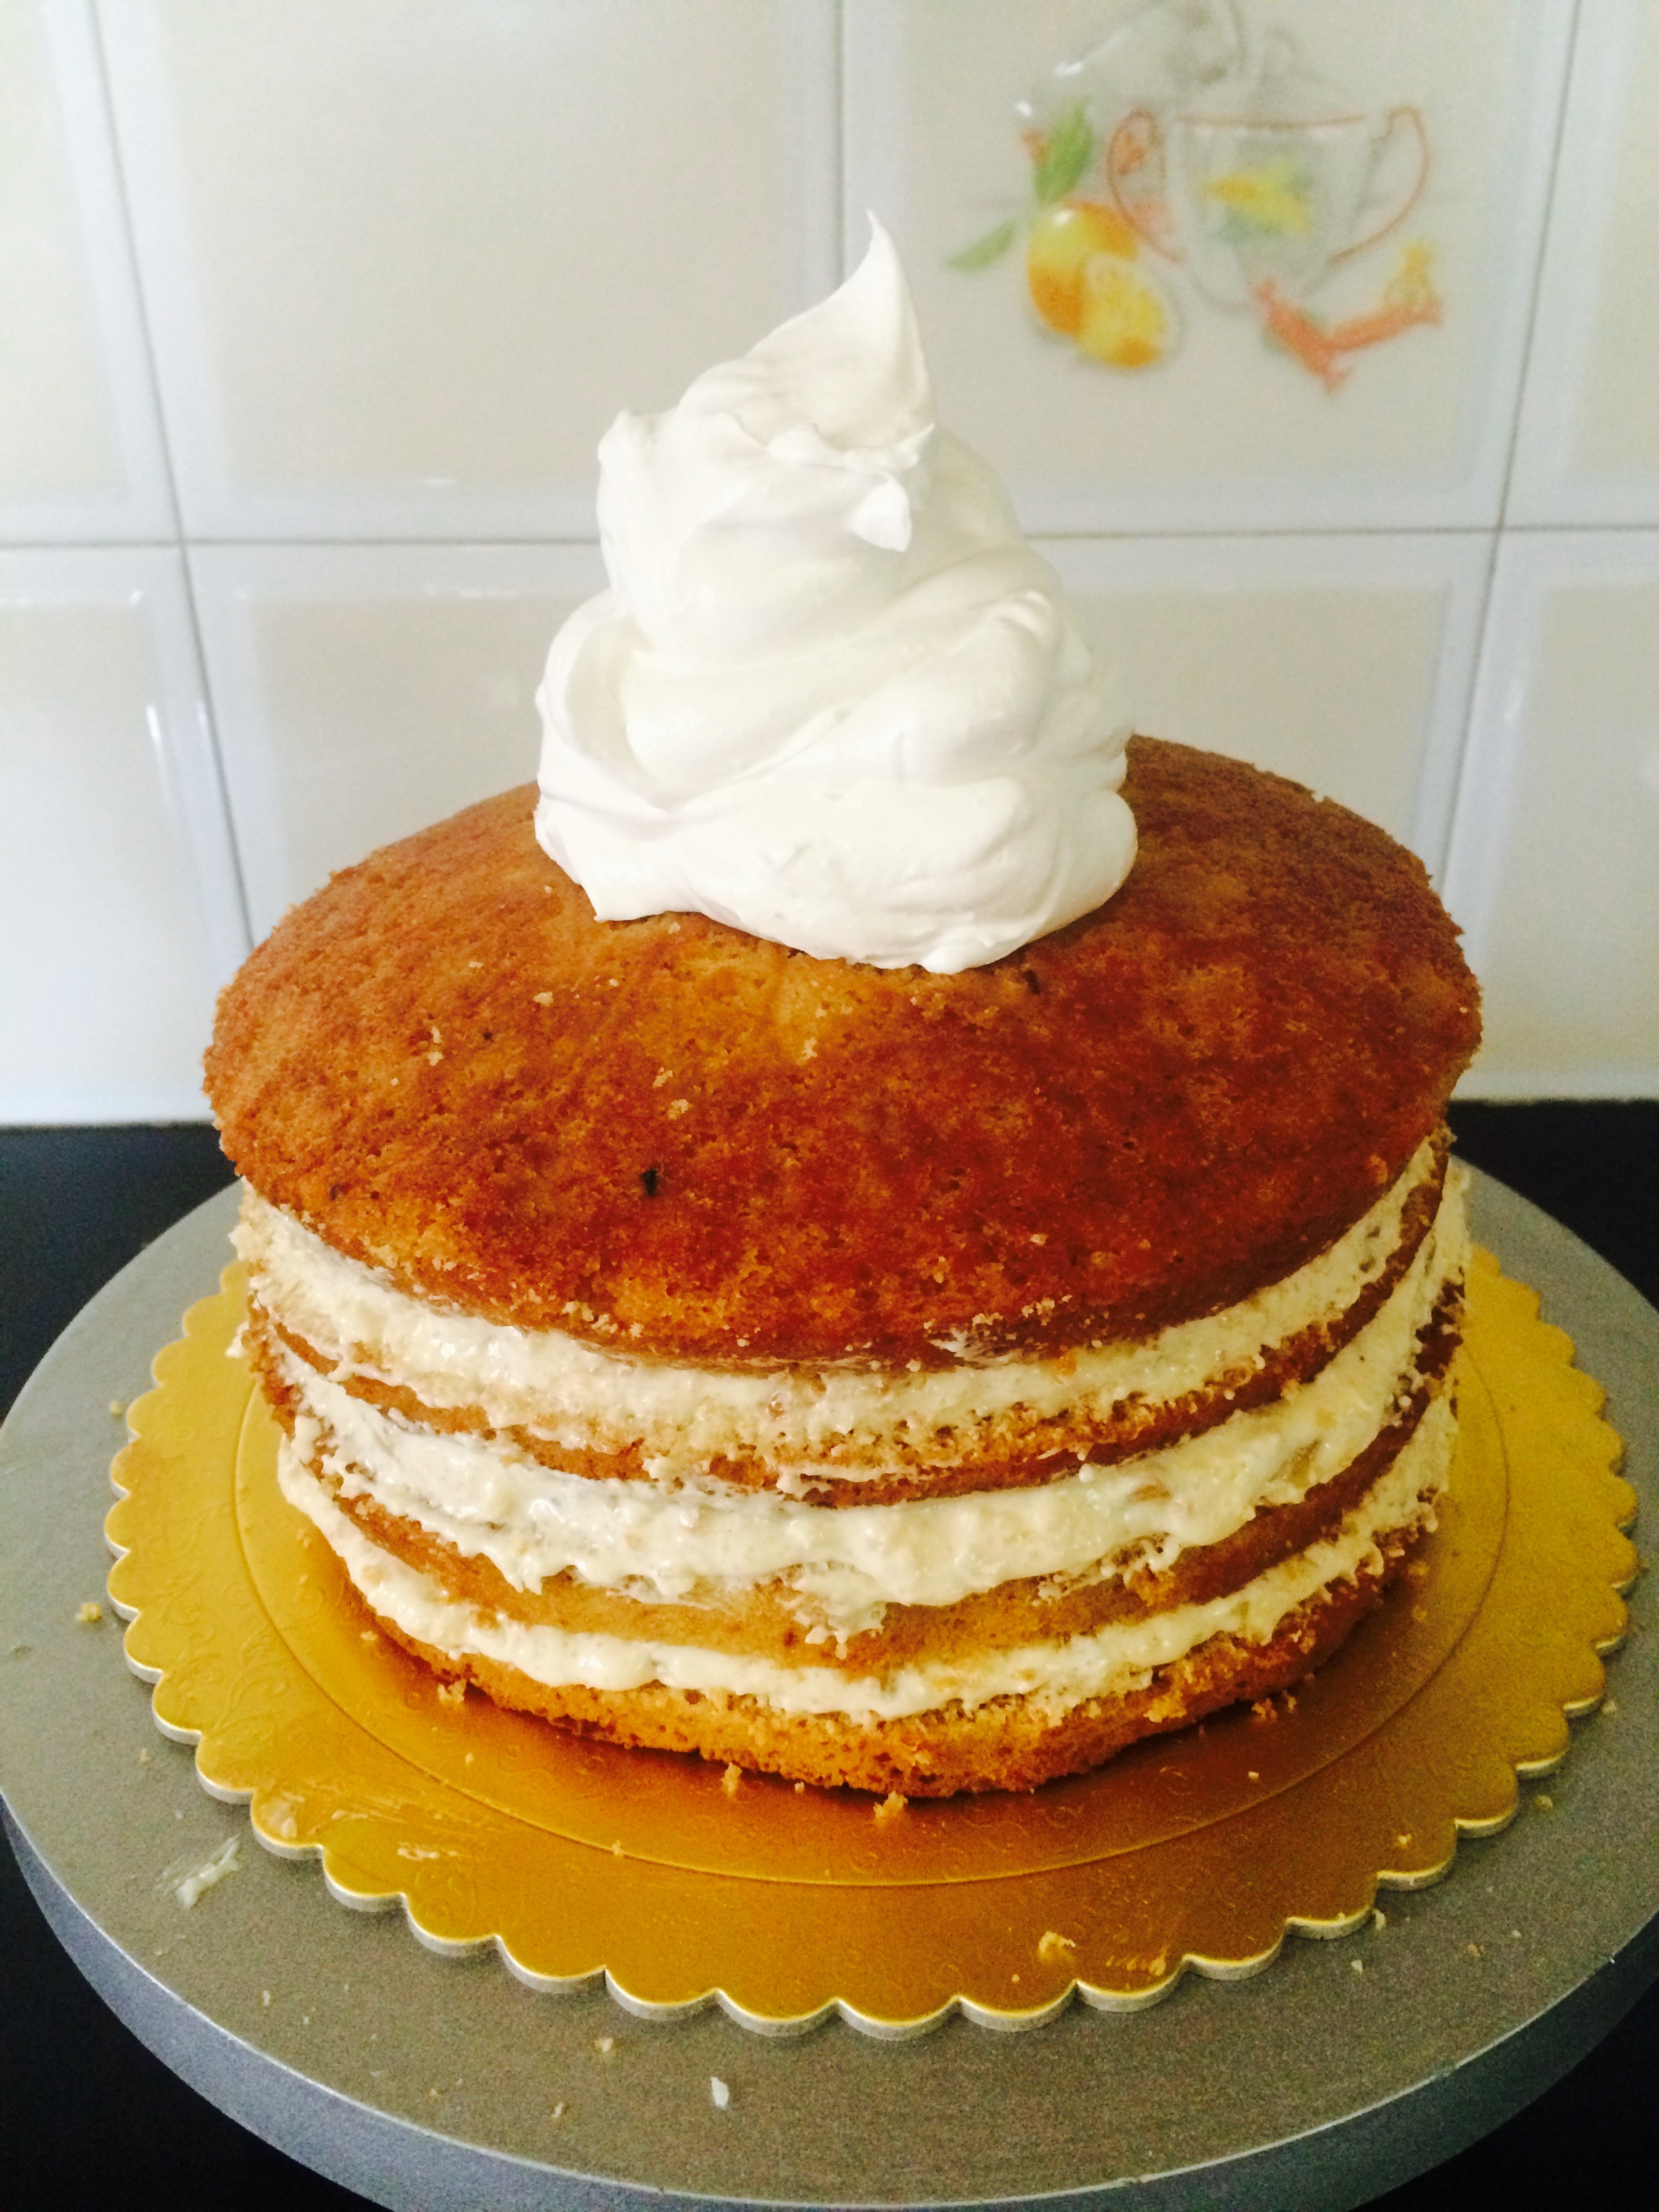
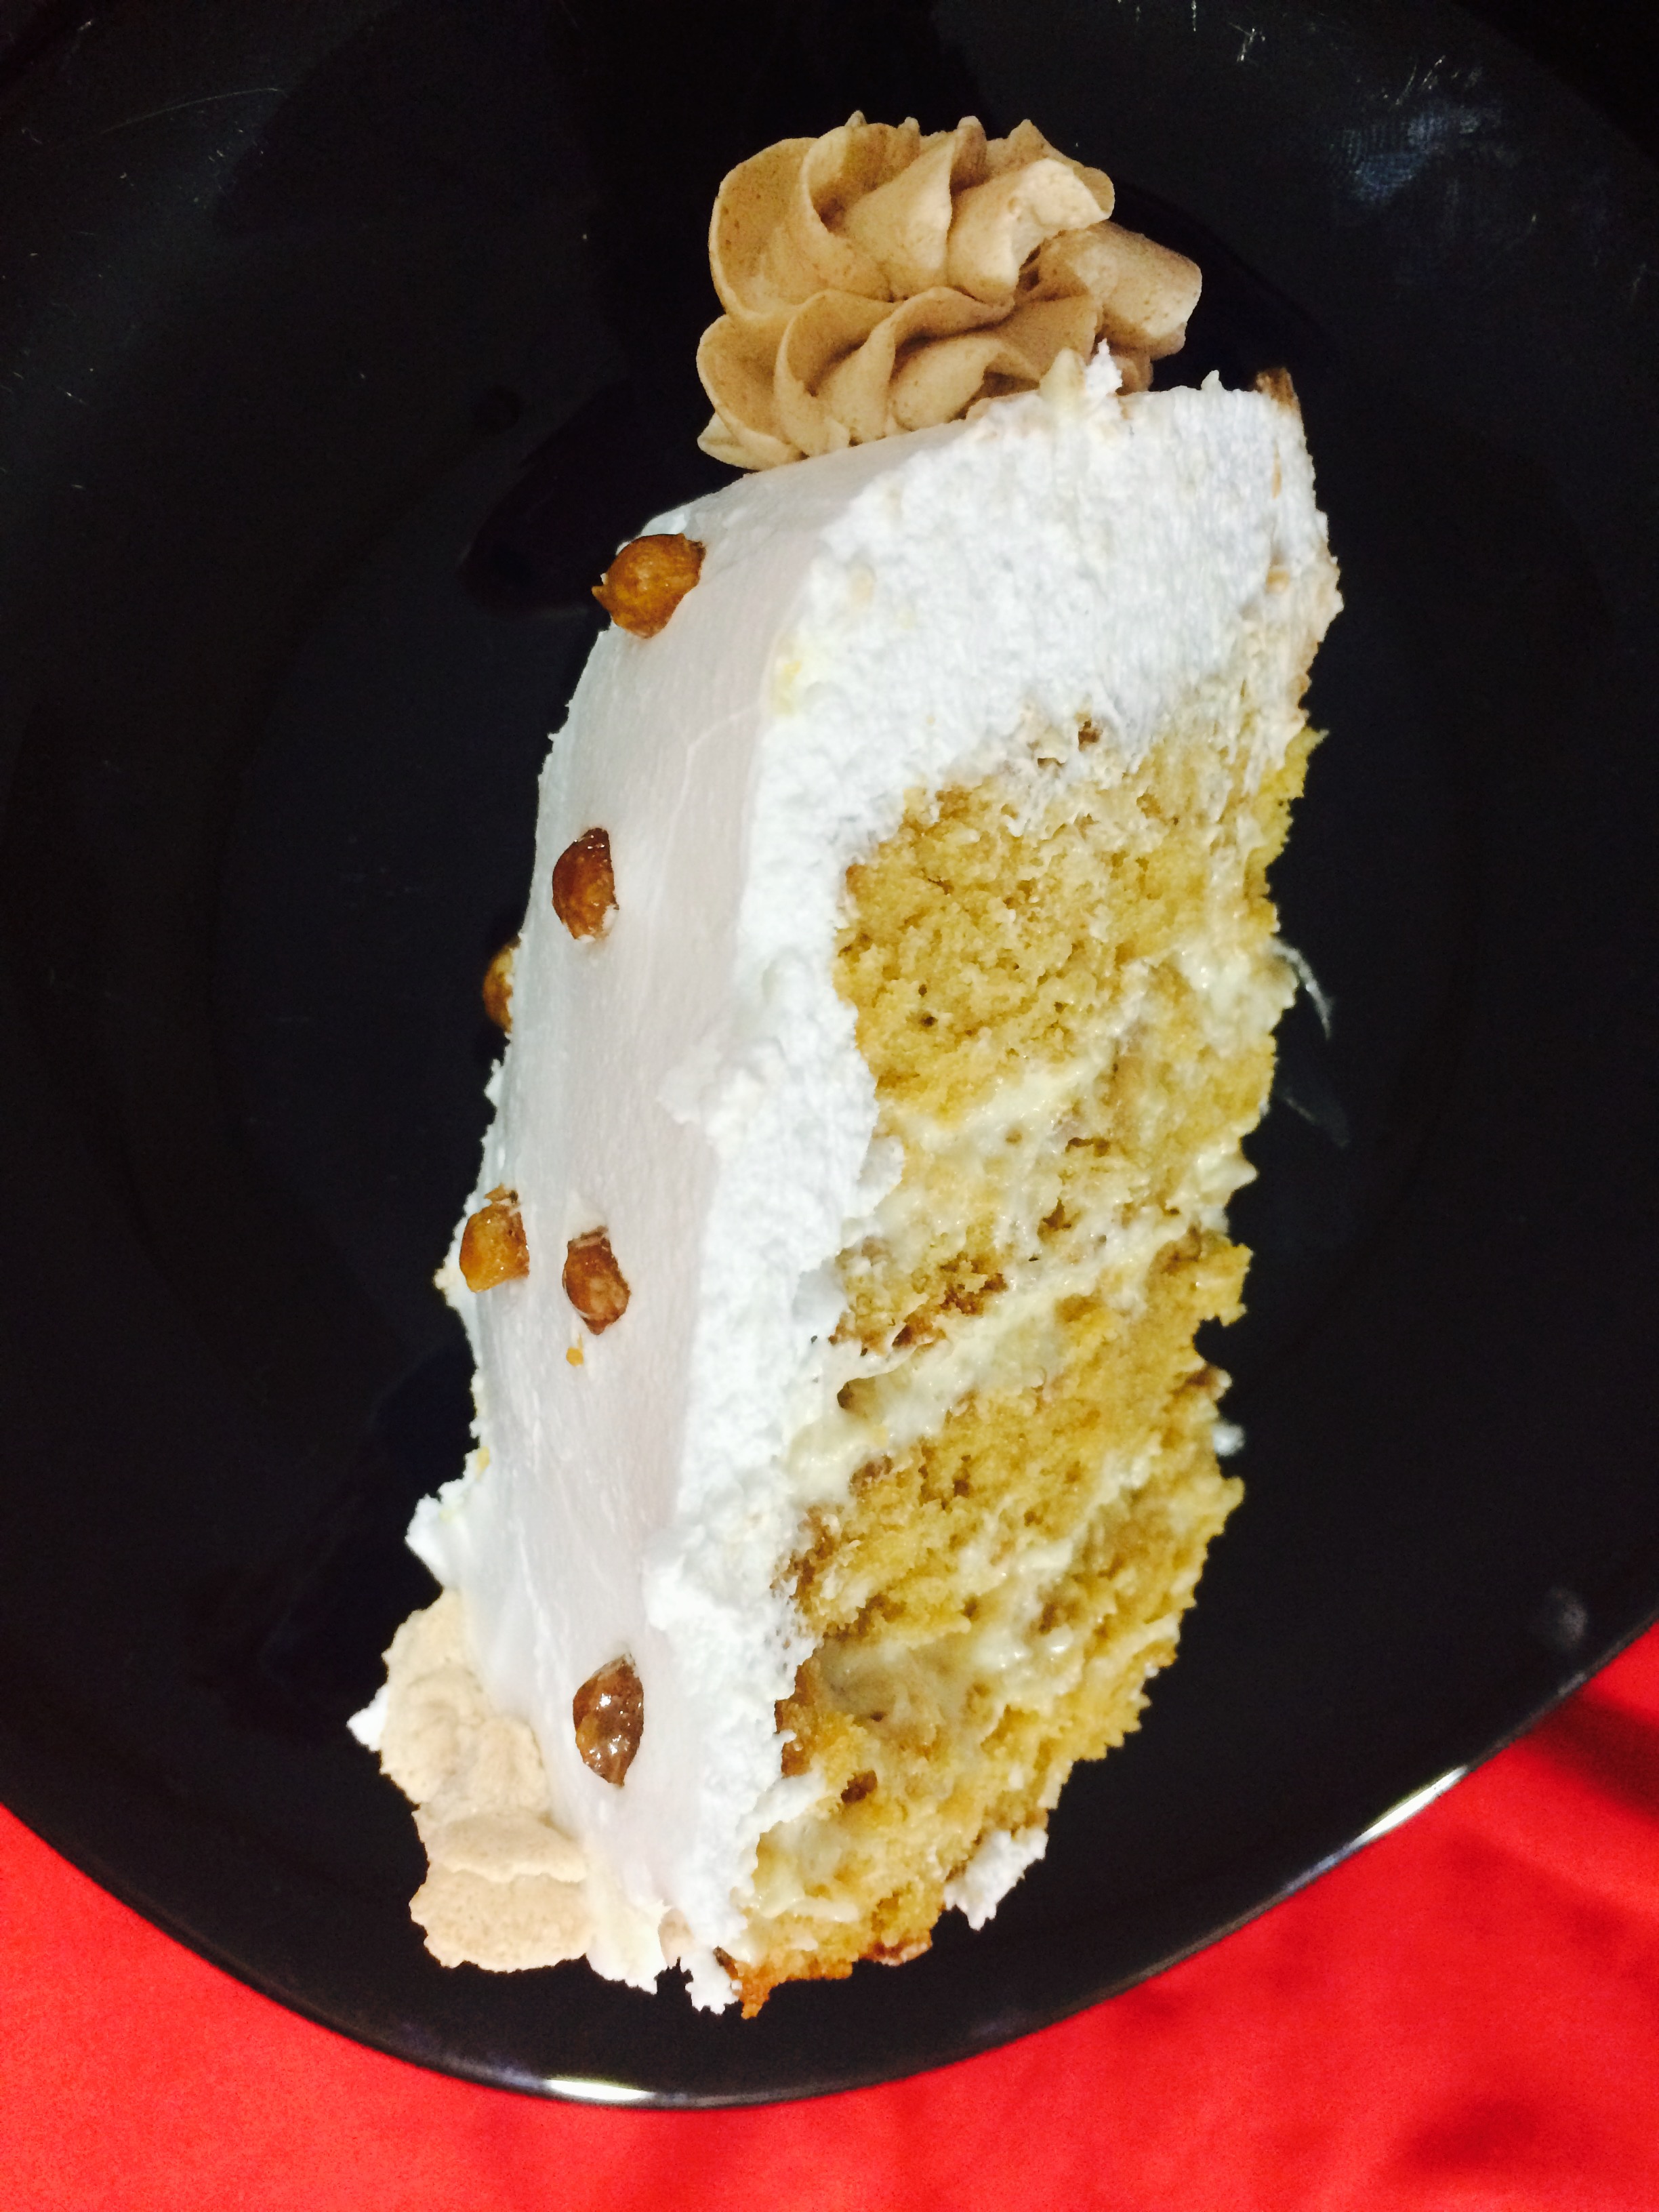
- Cut both the cooled cakes horizontally into equal halves.
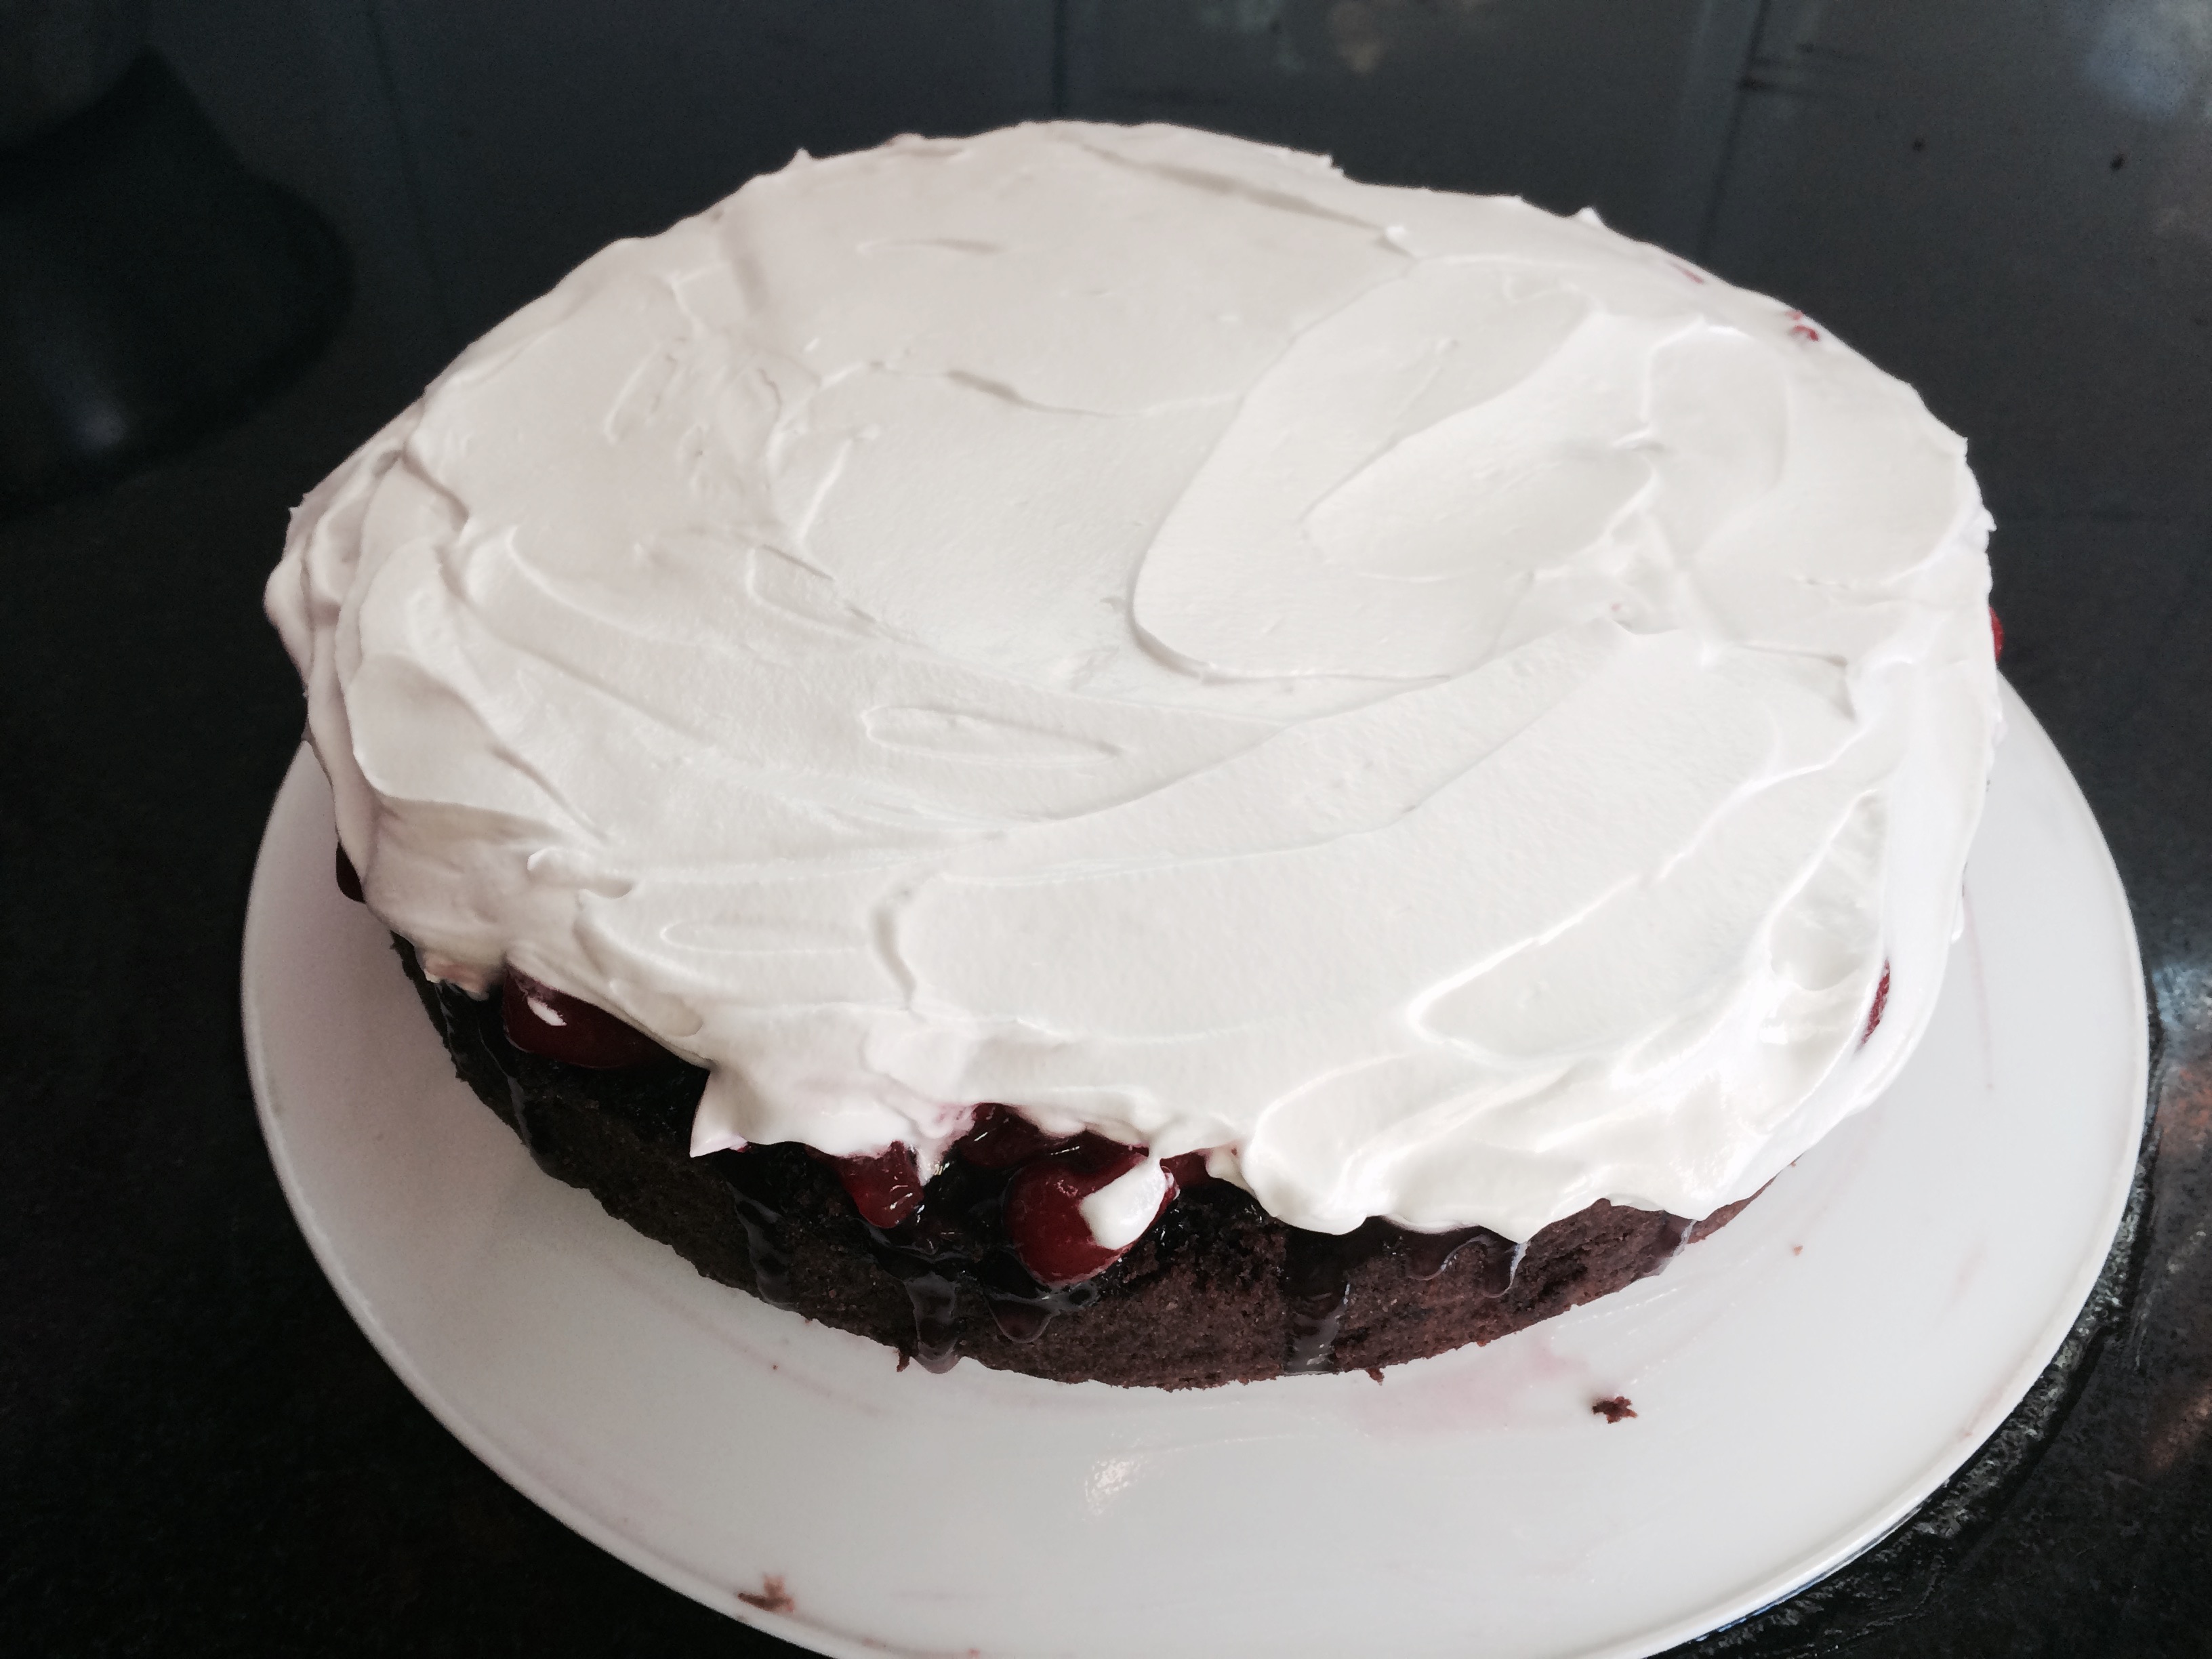
- Sandwich them with the filling and stack then one over the other.
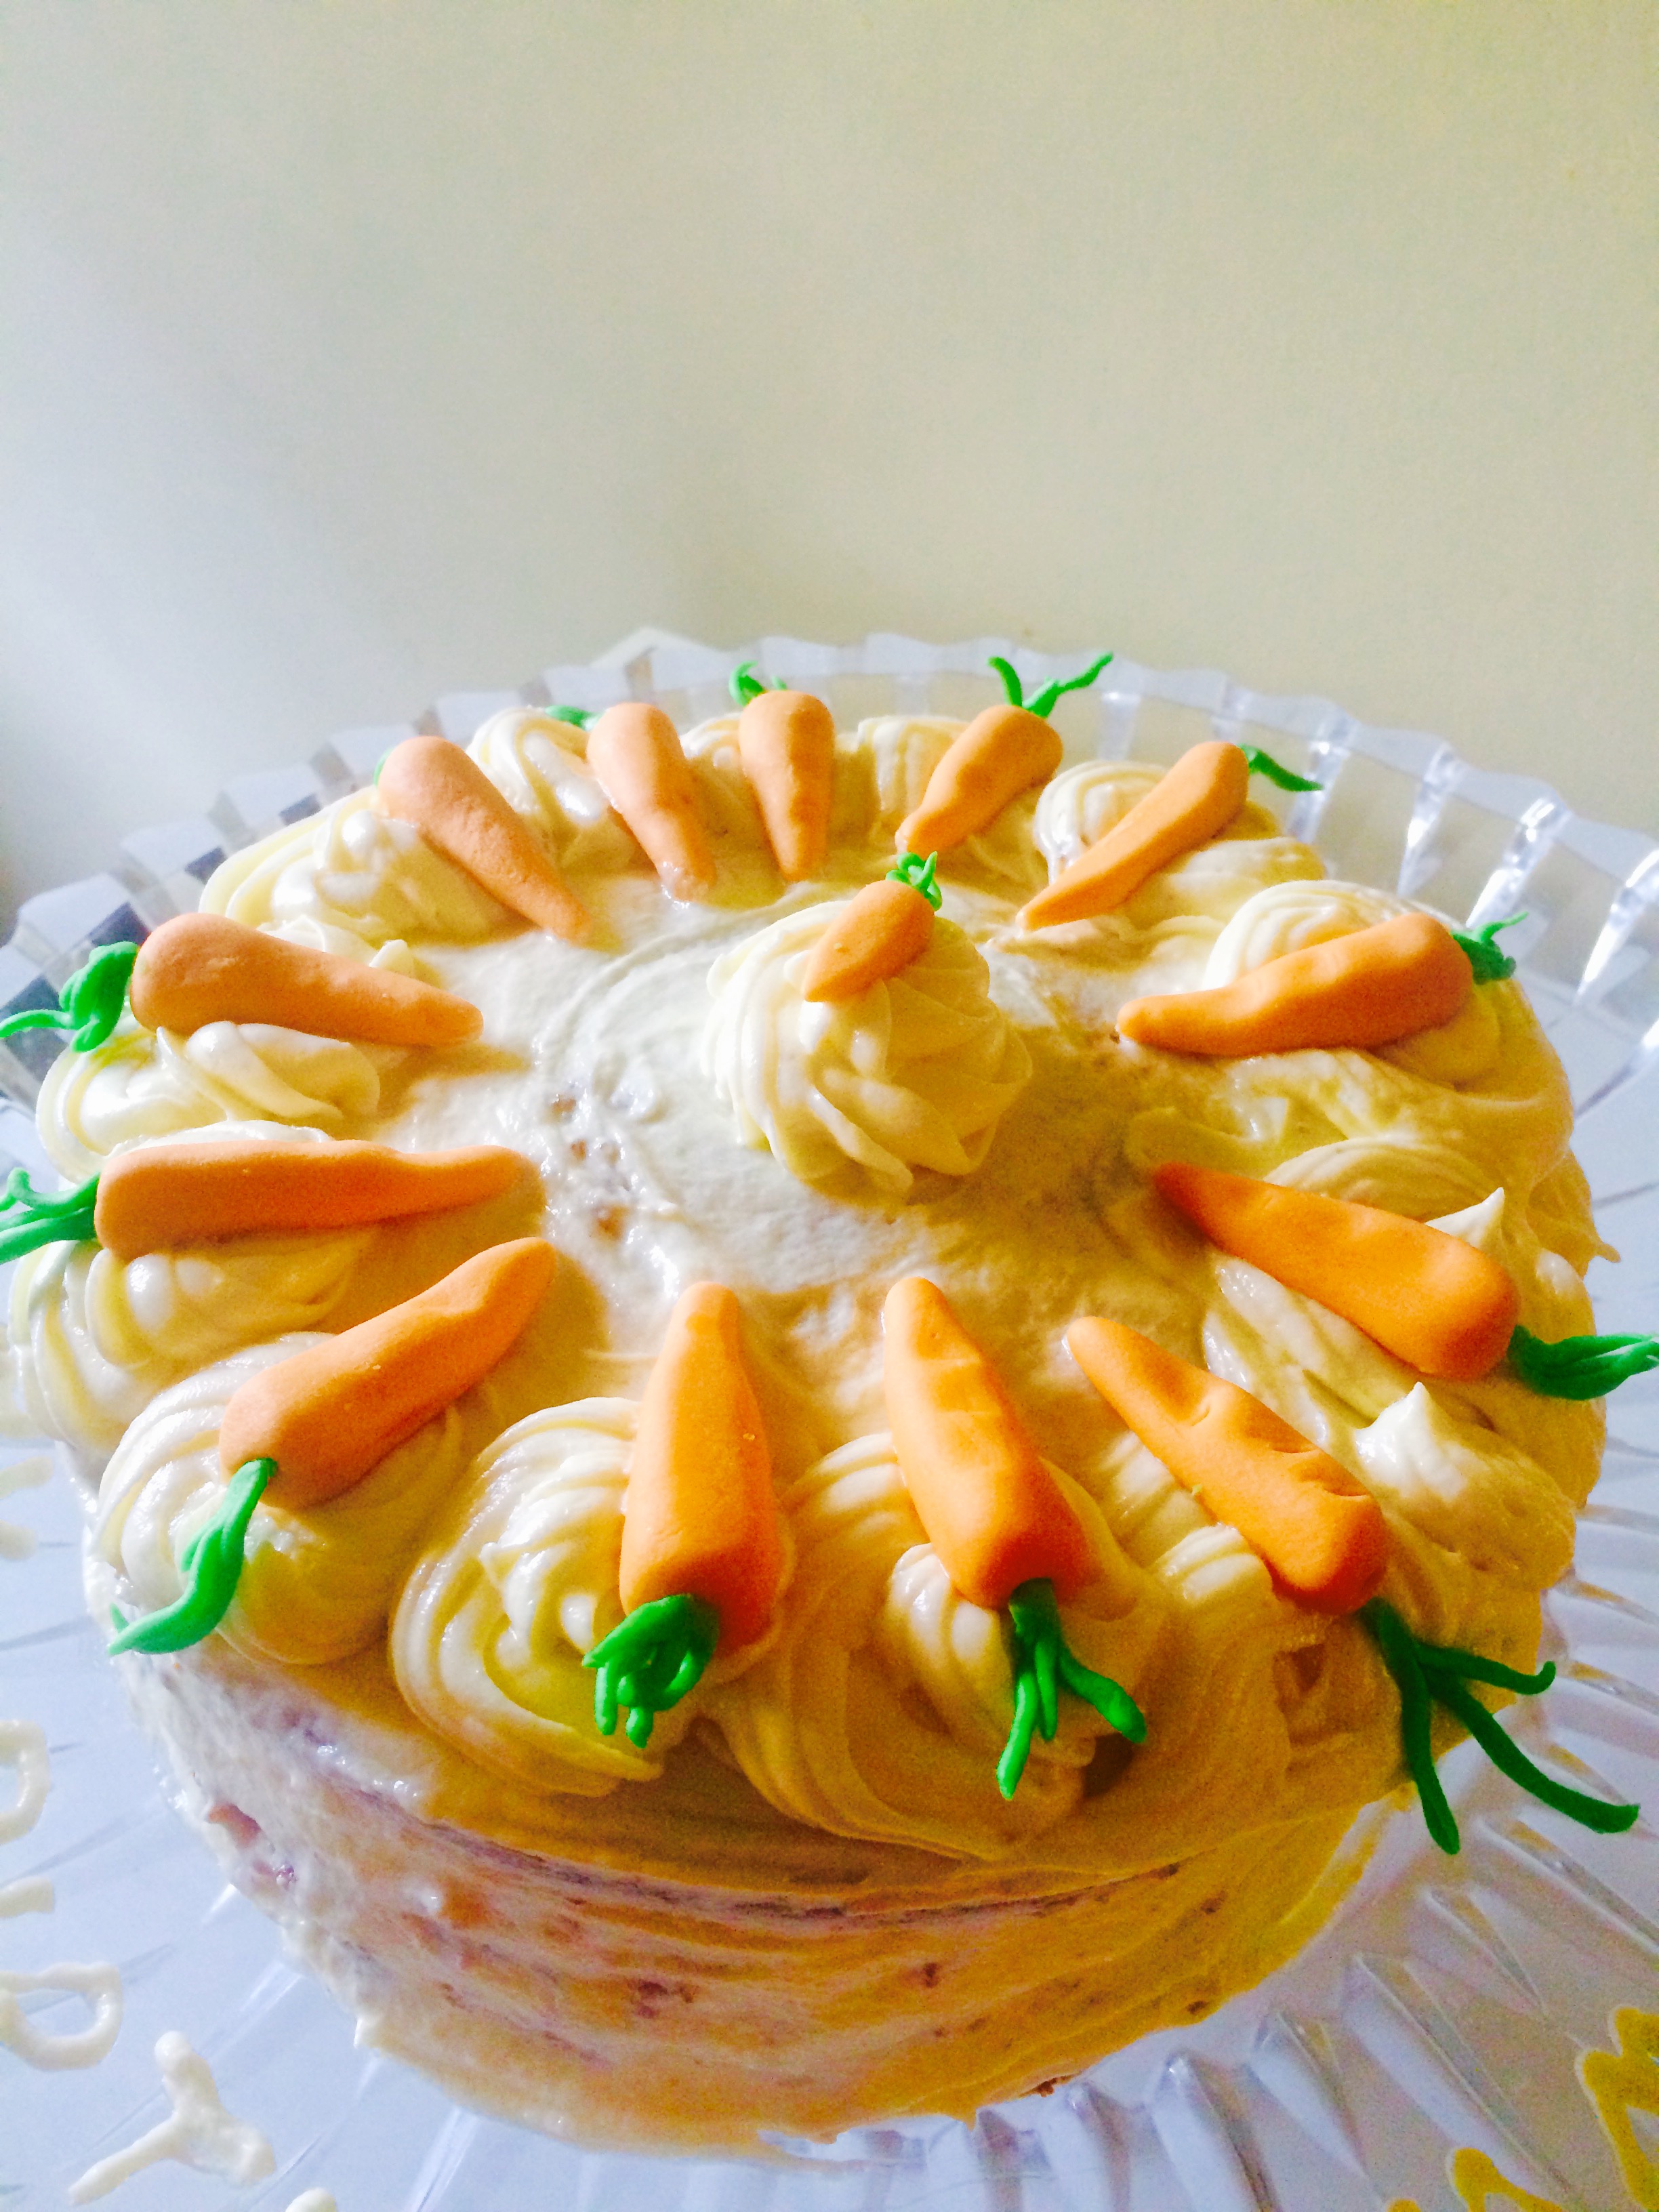
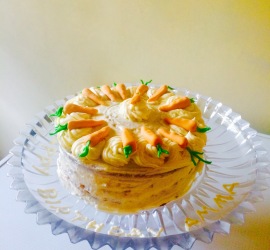
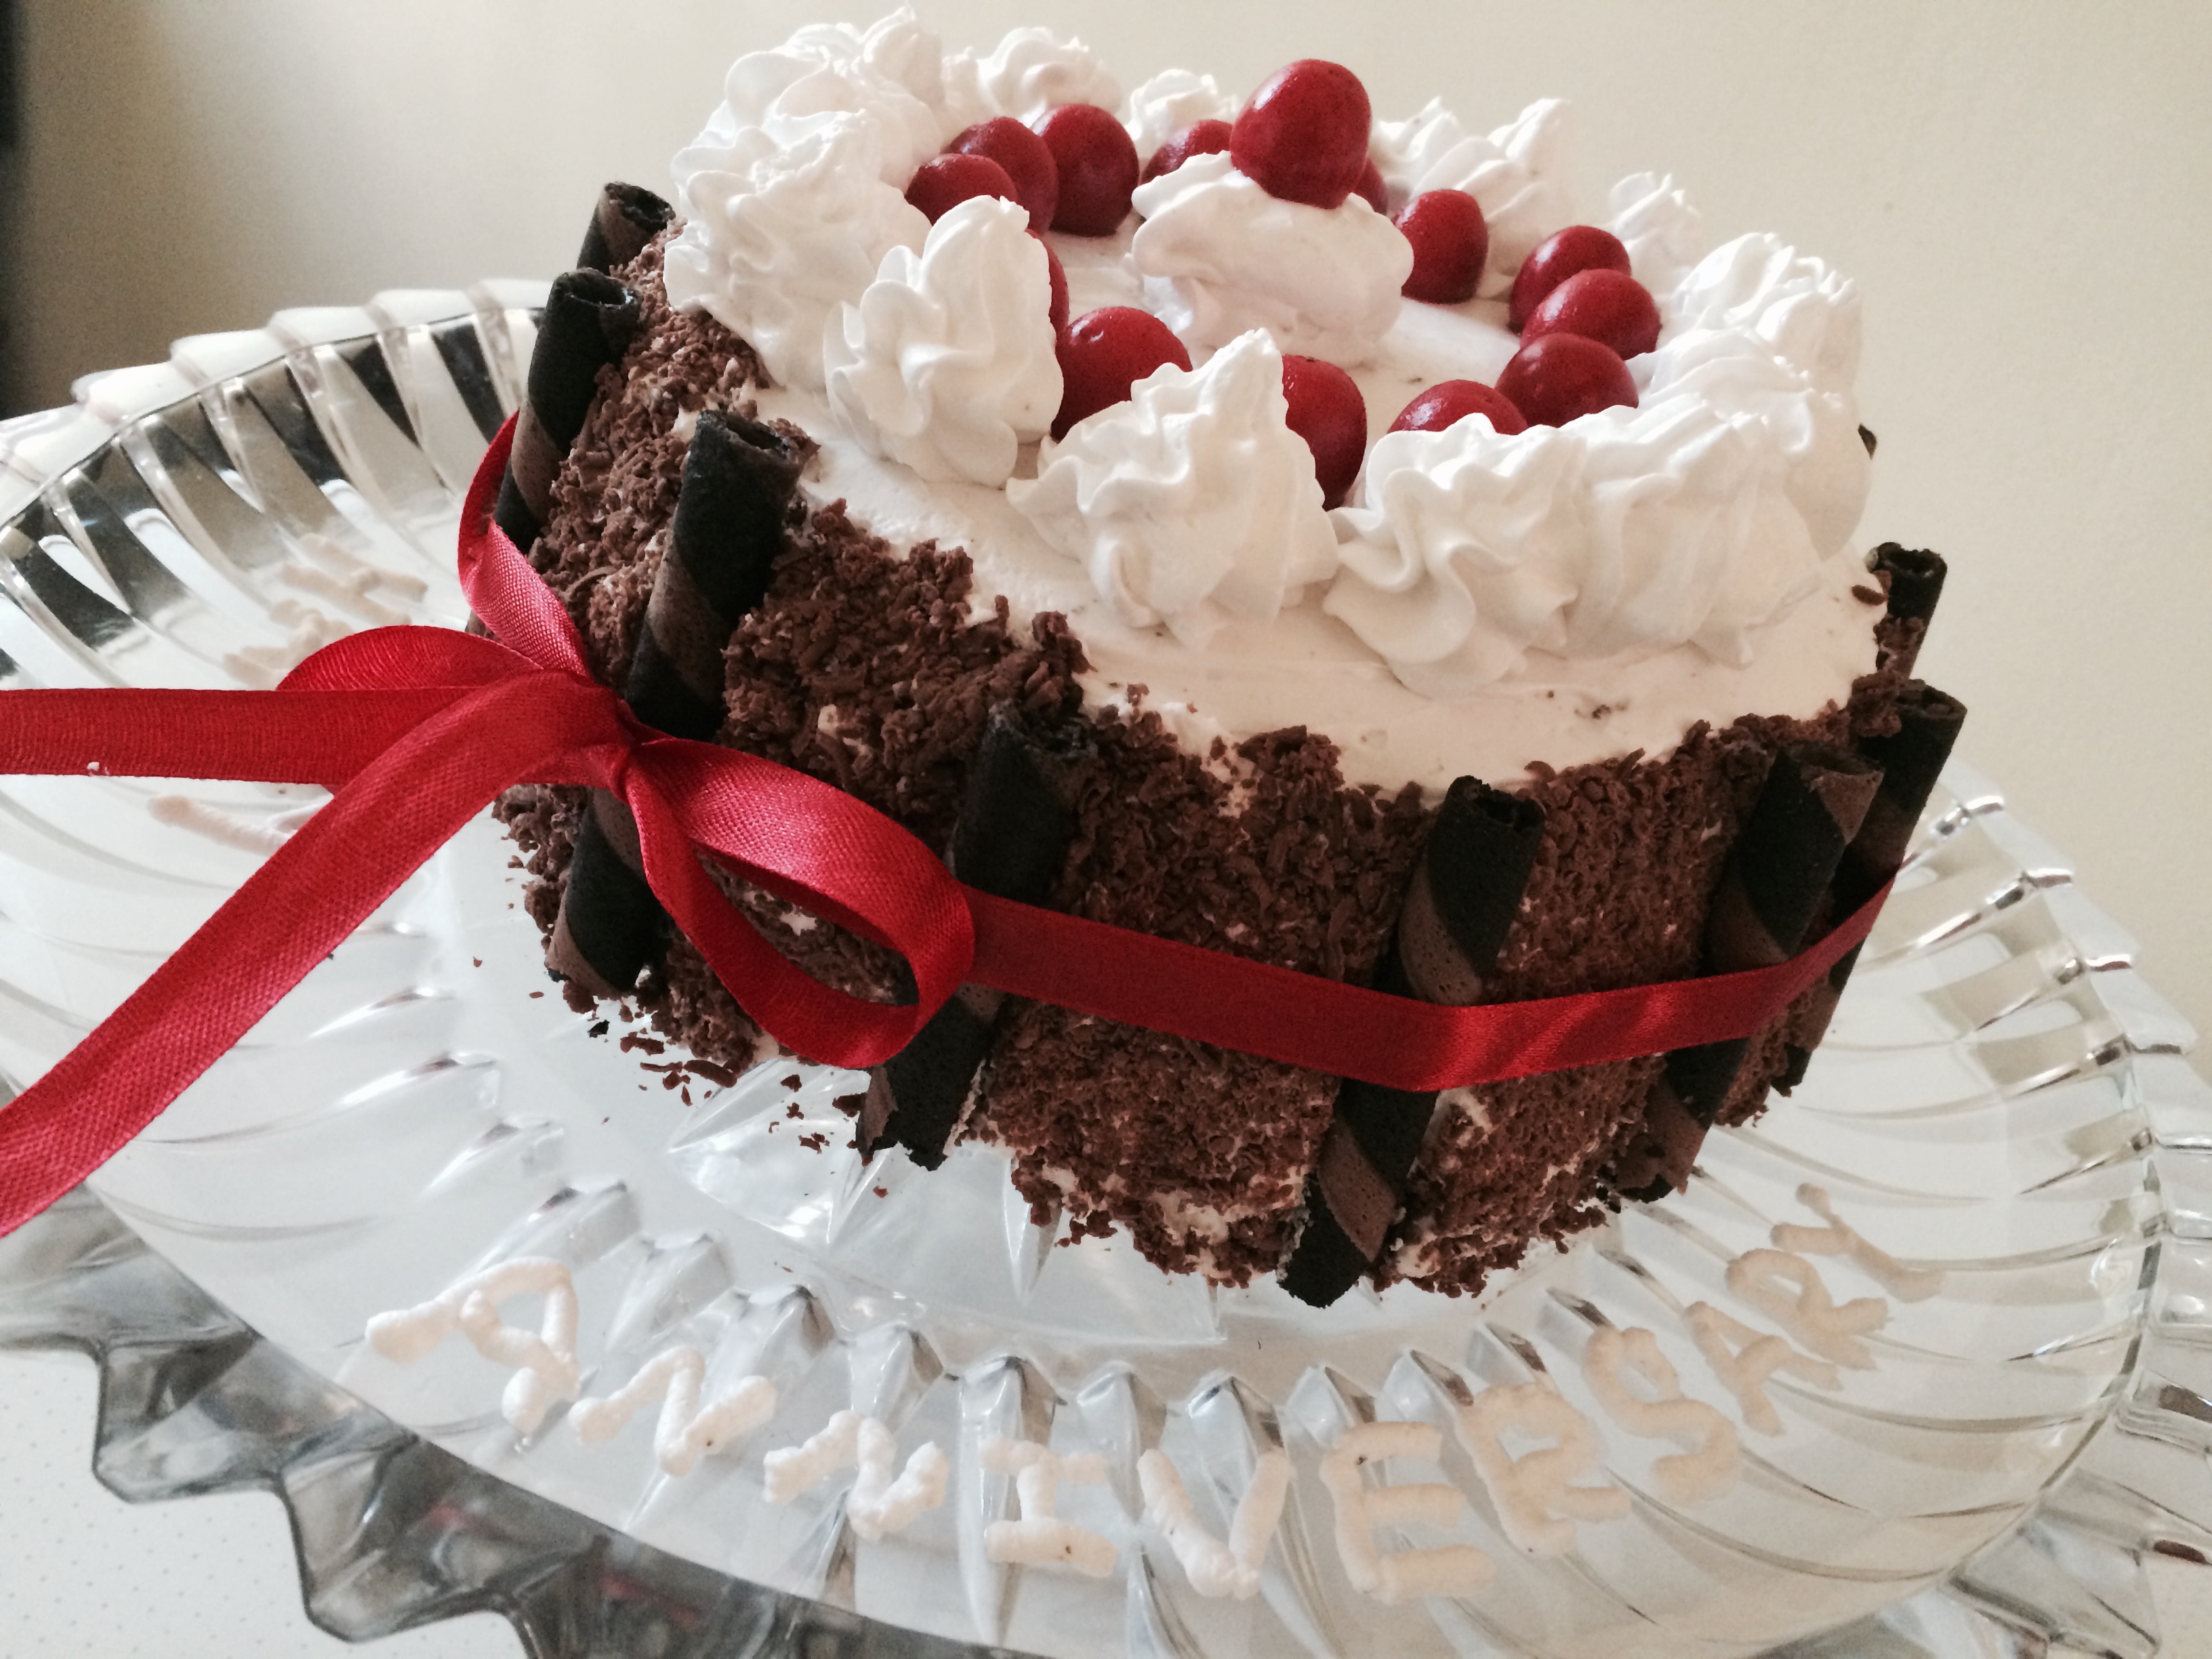
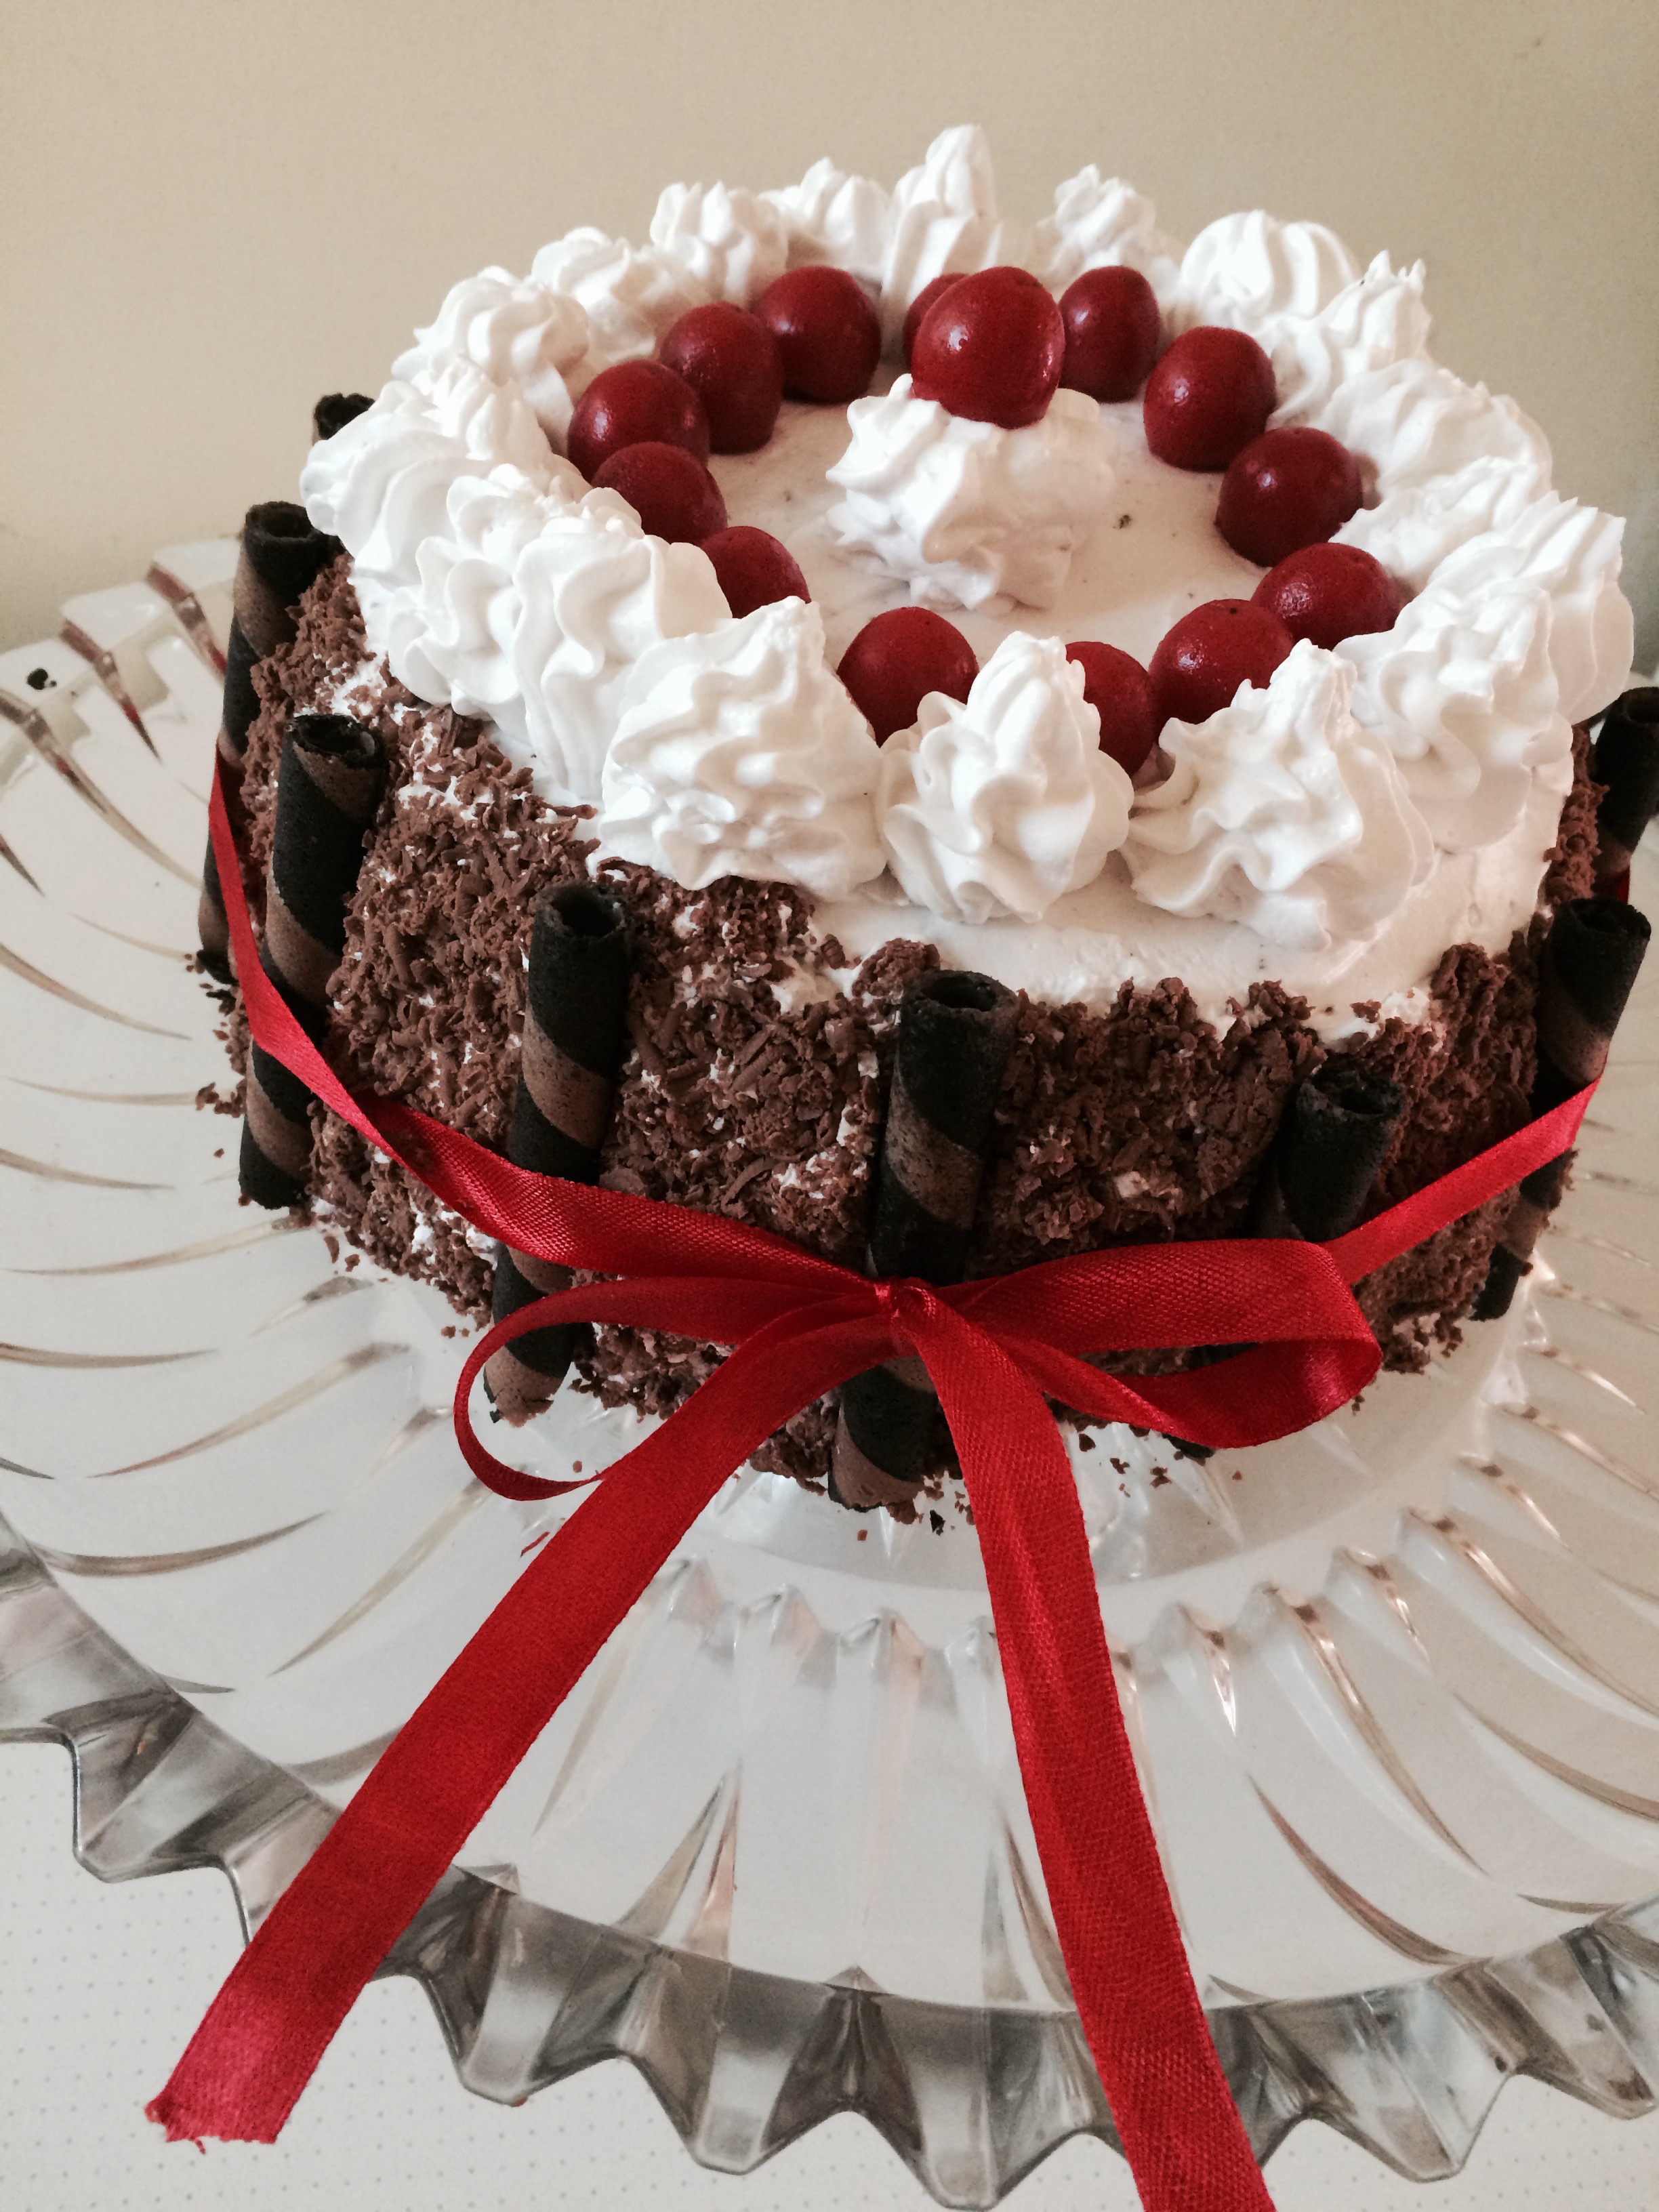
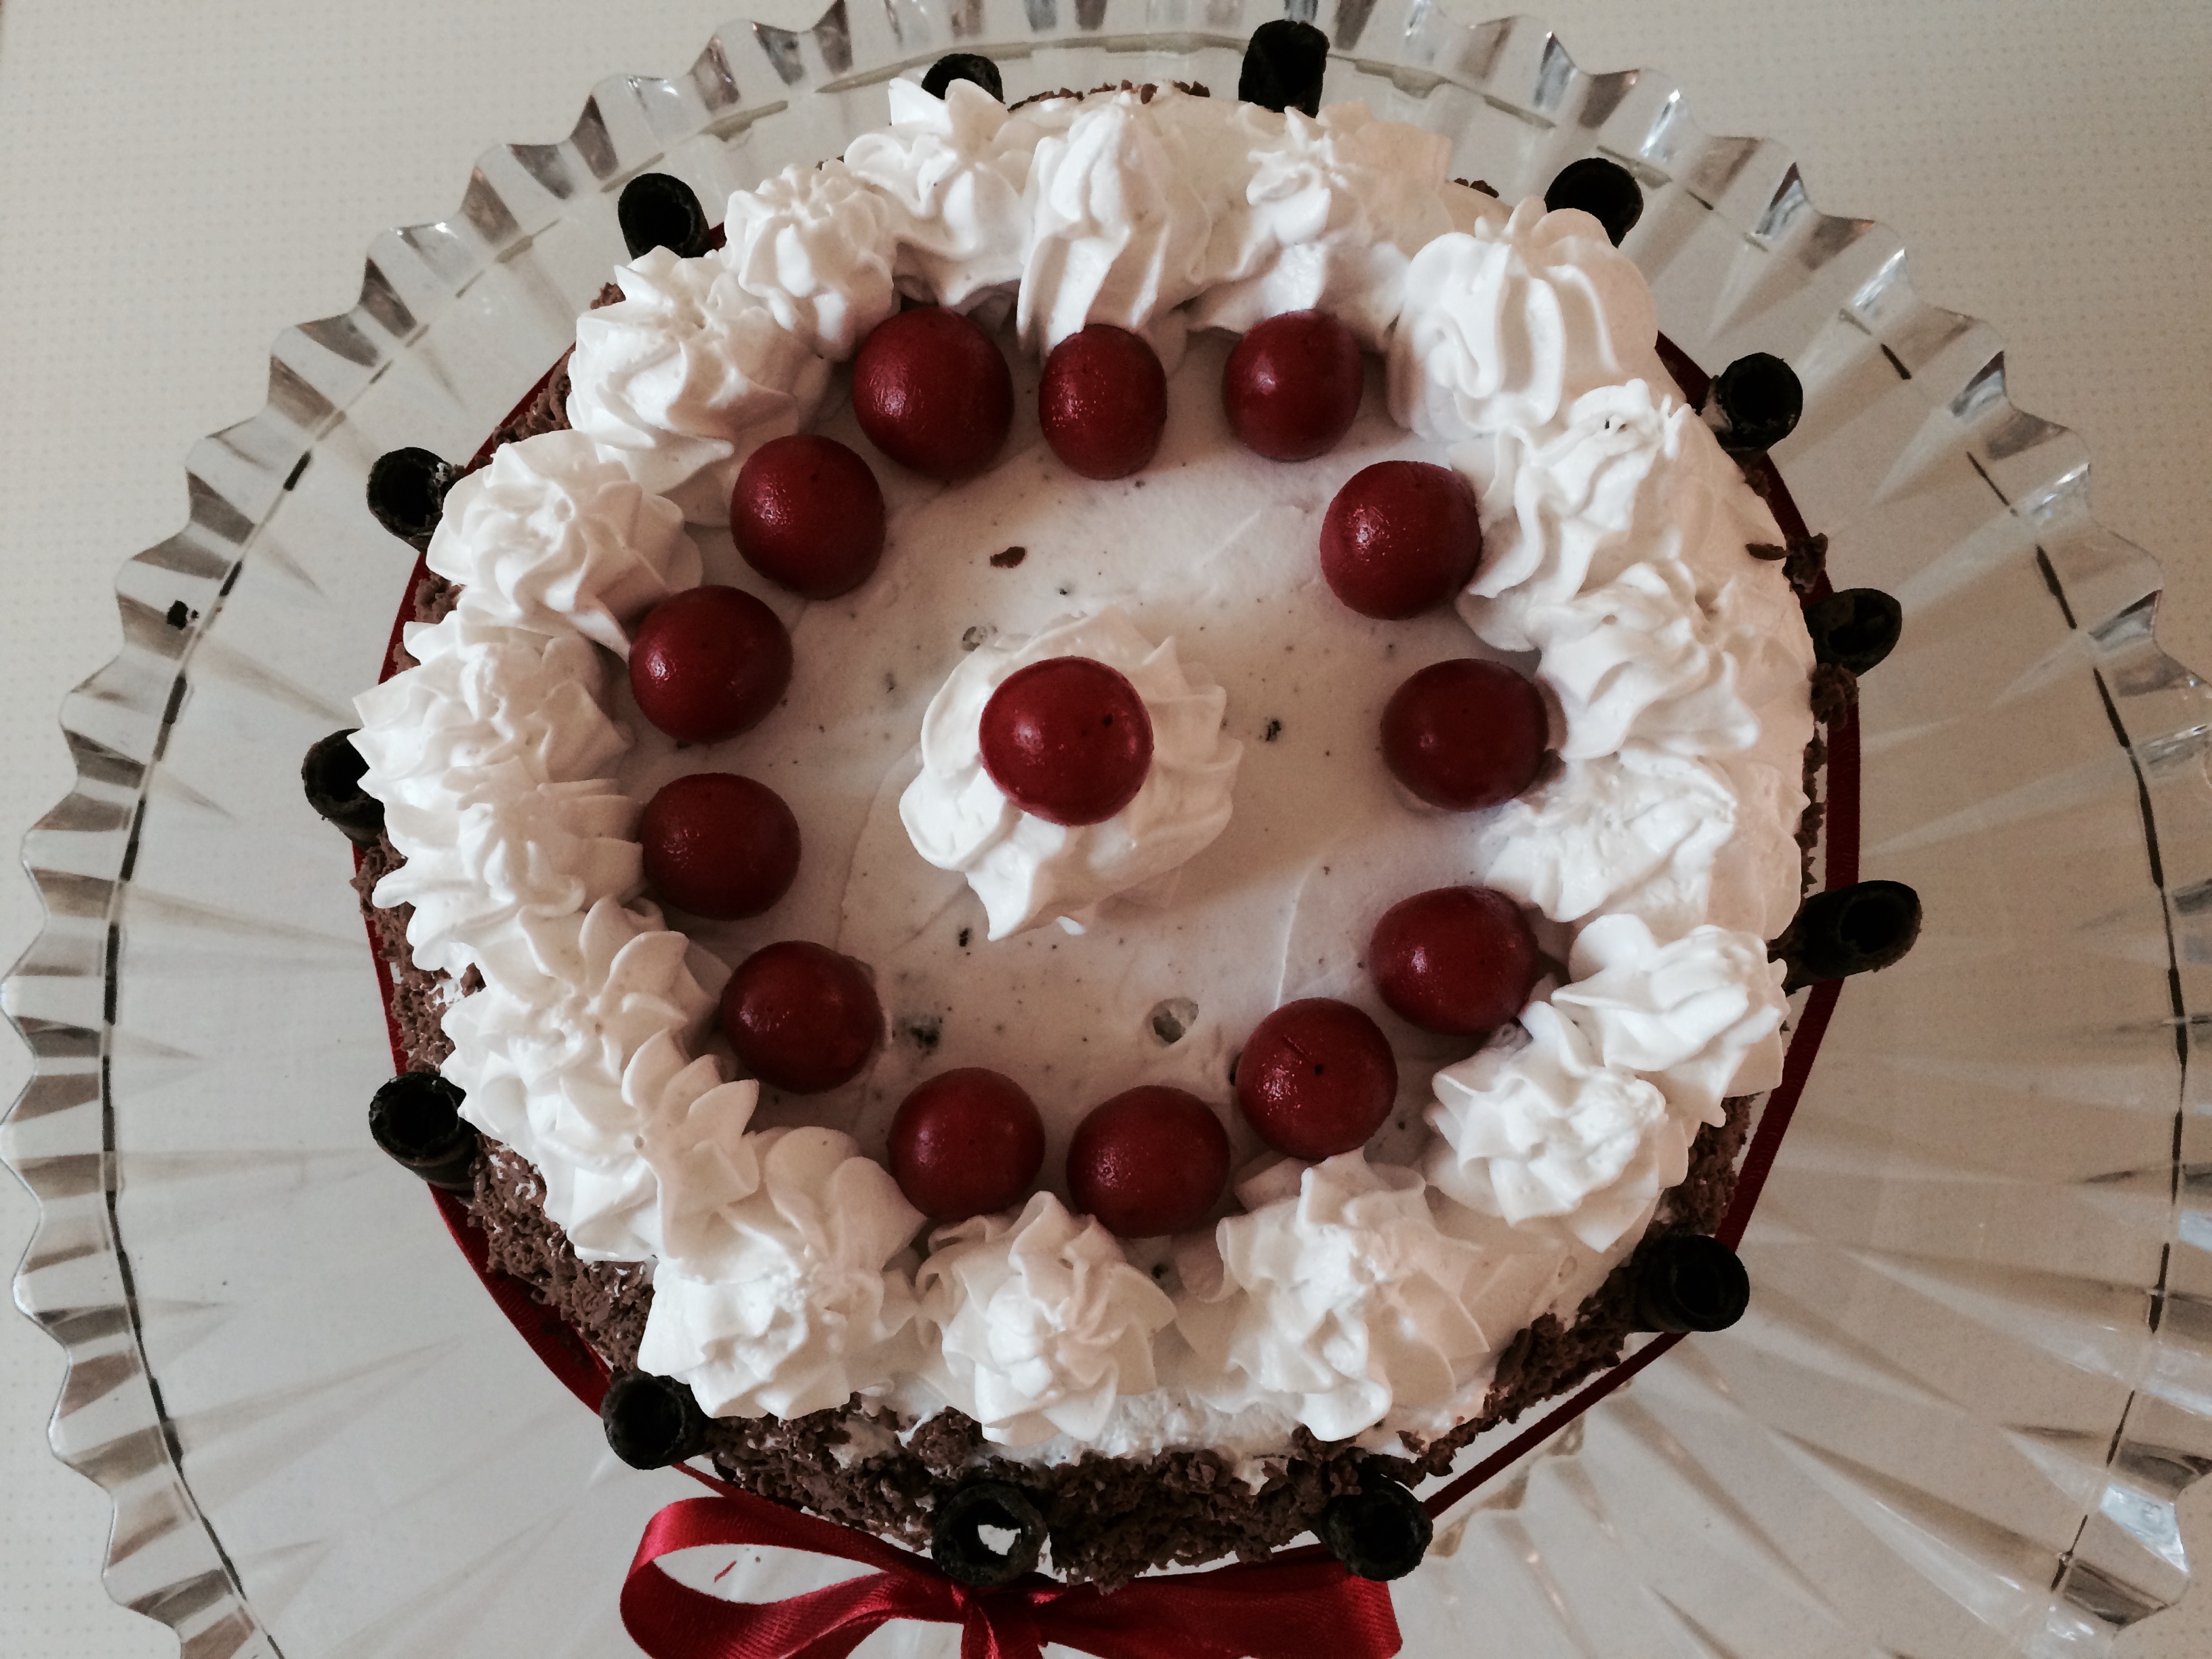
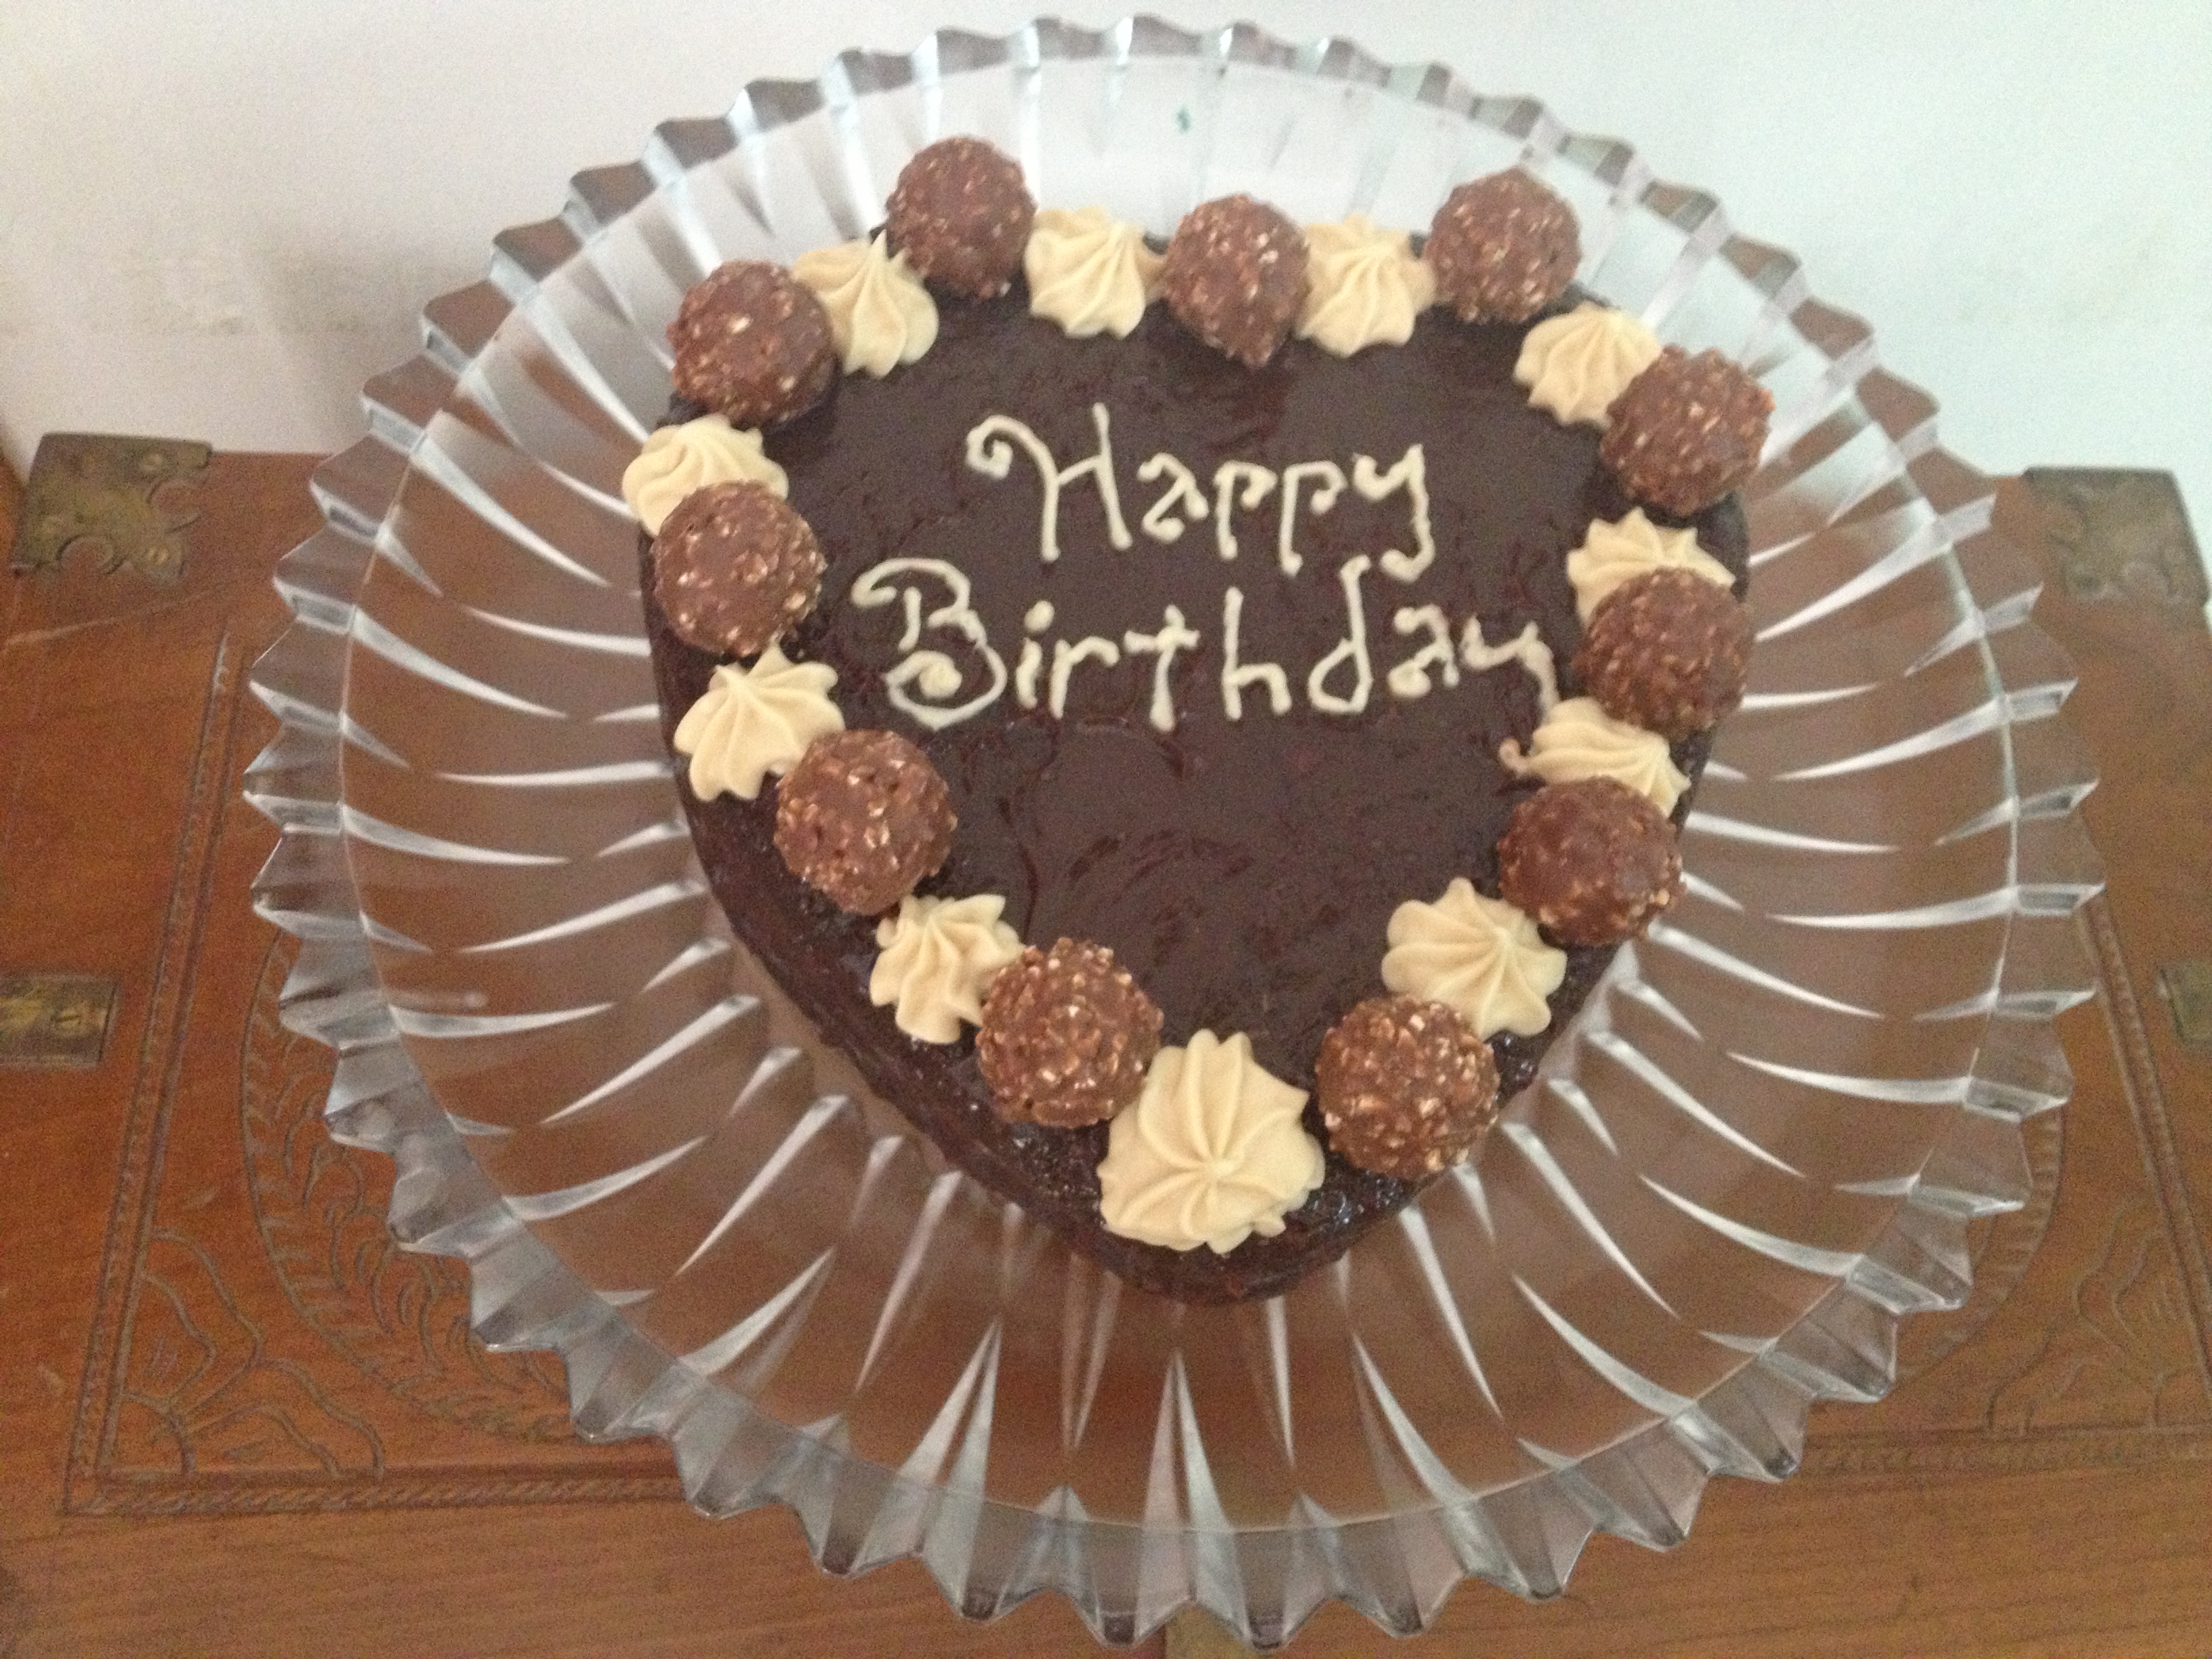
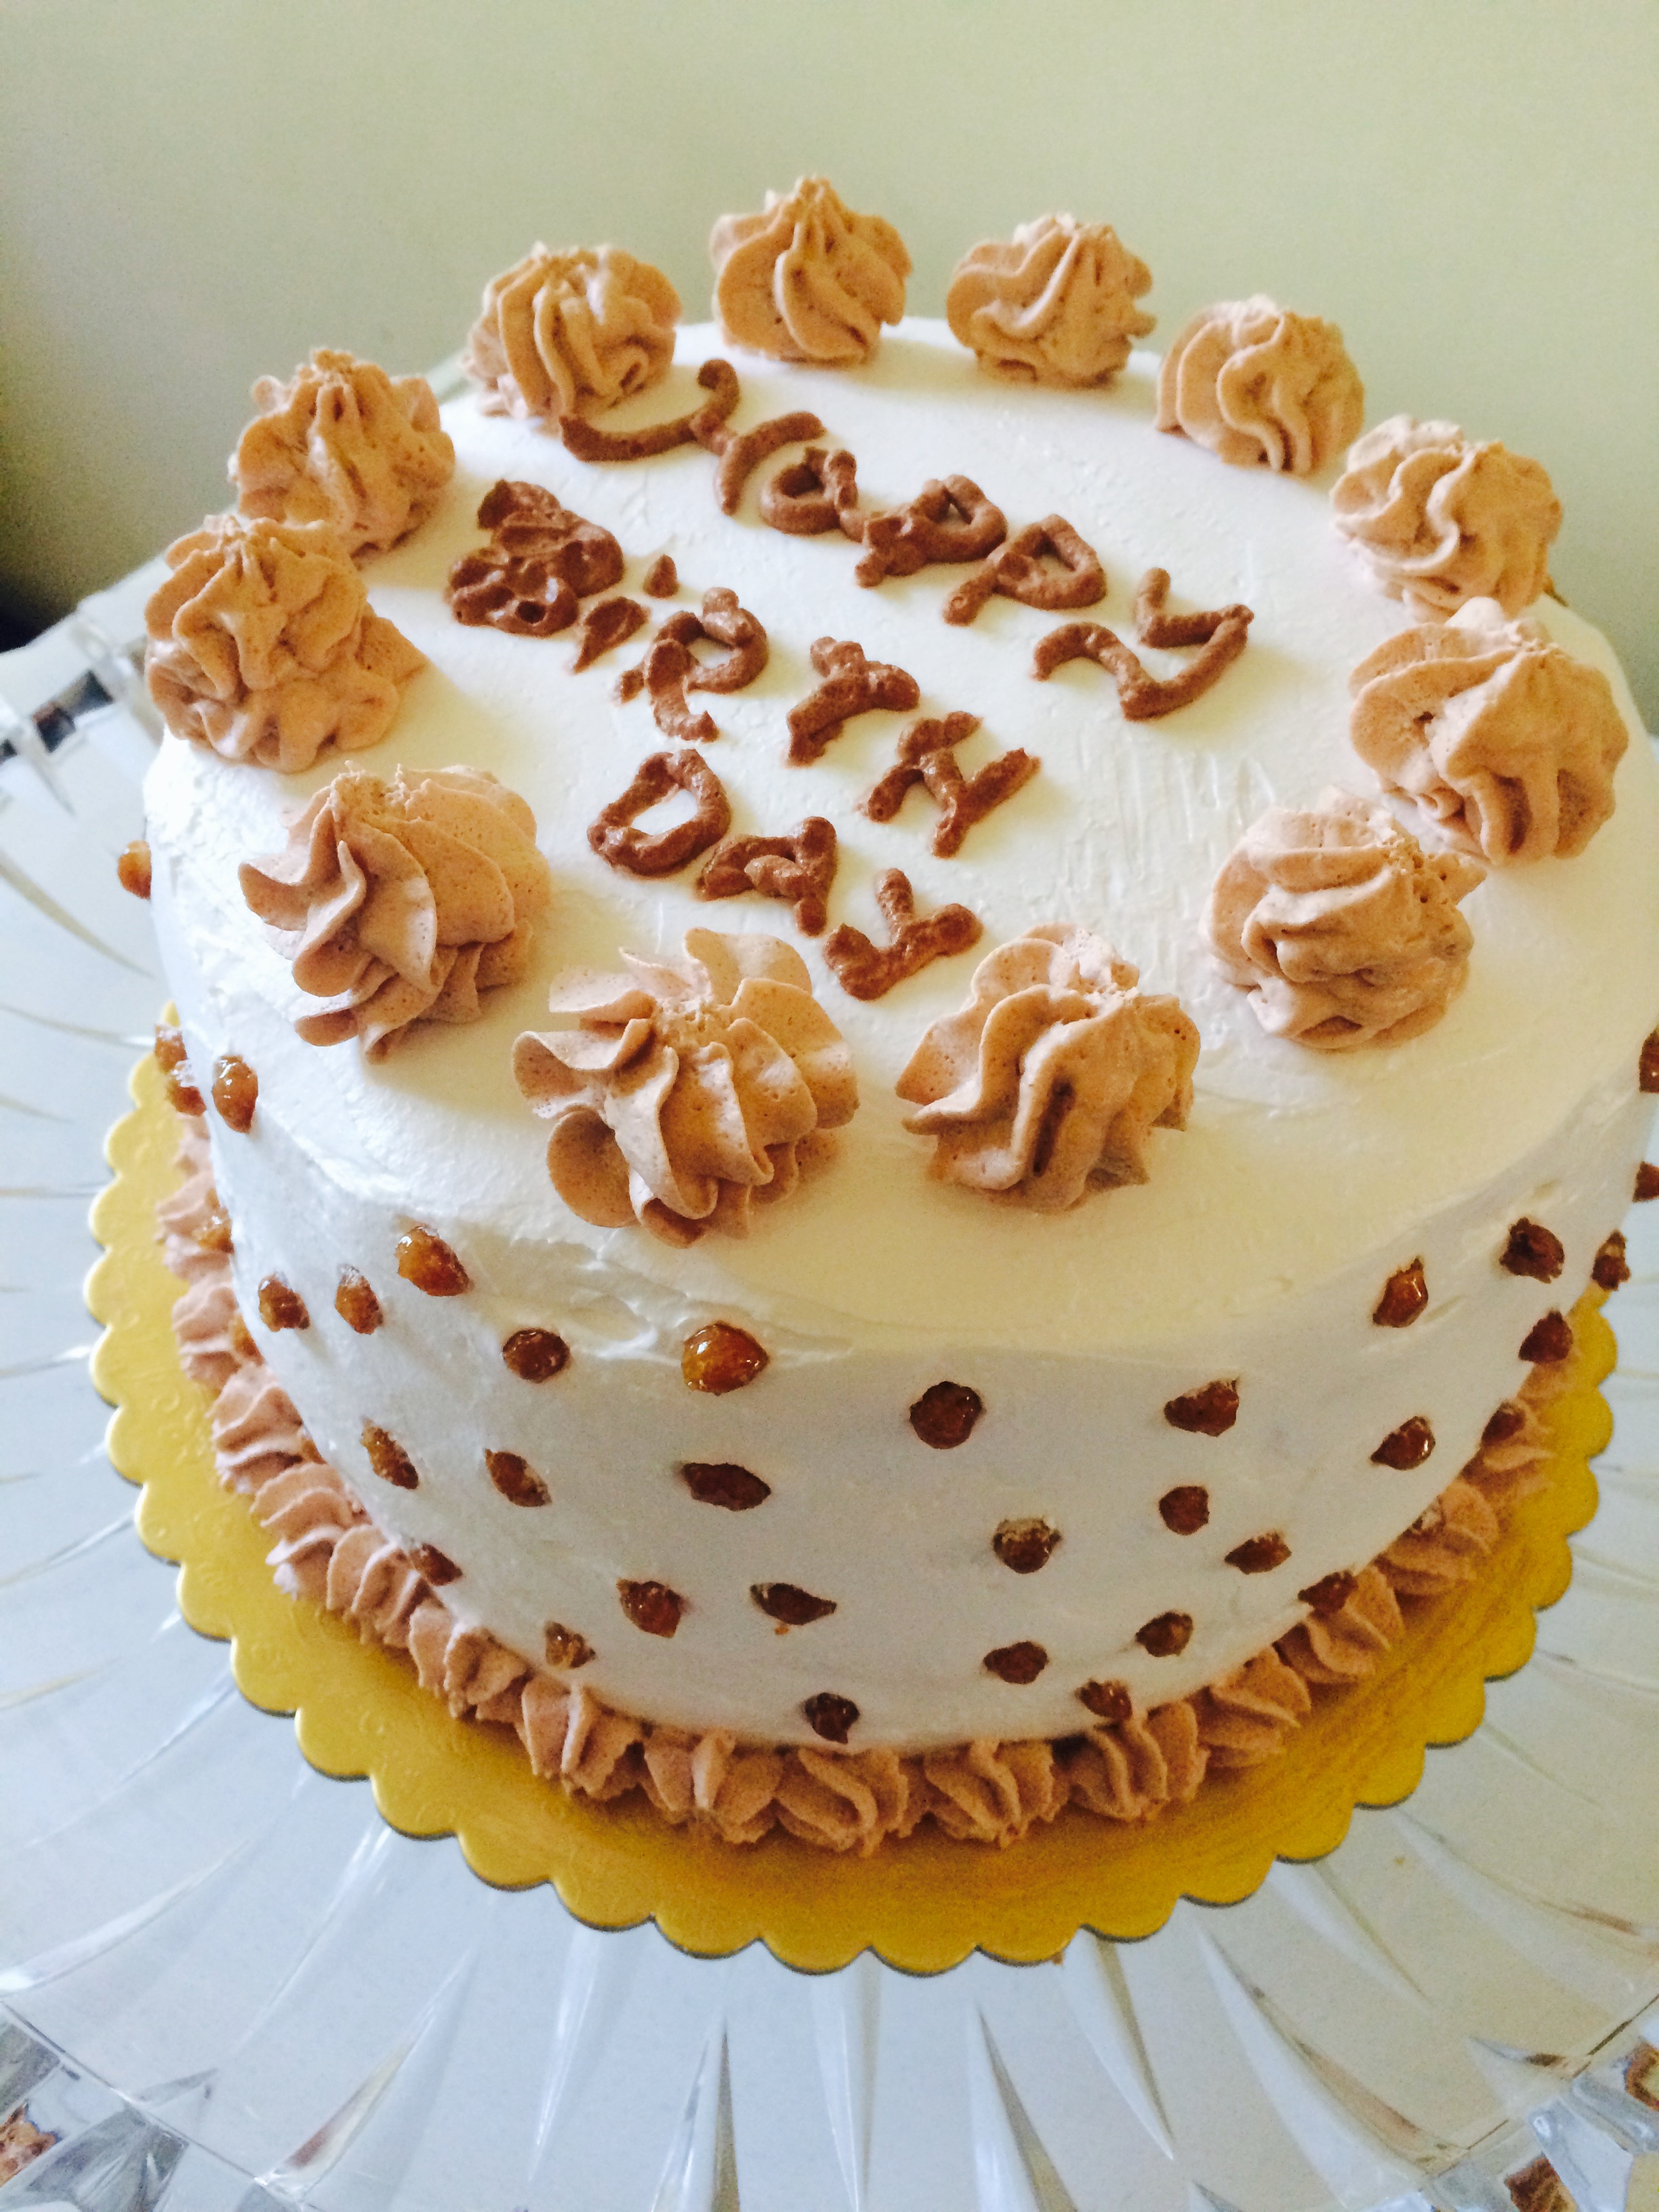
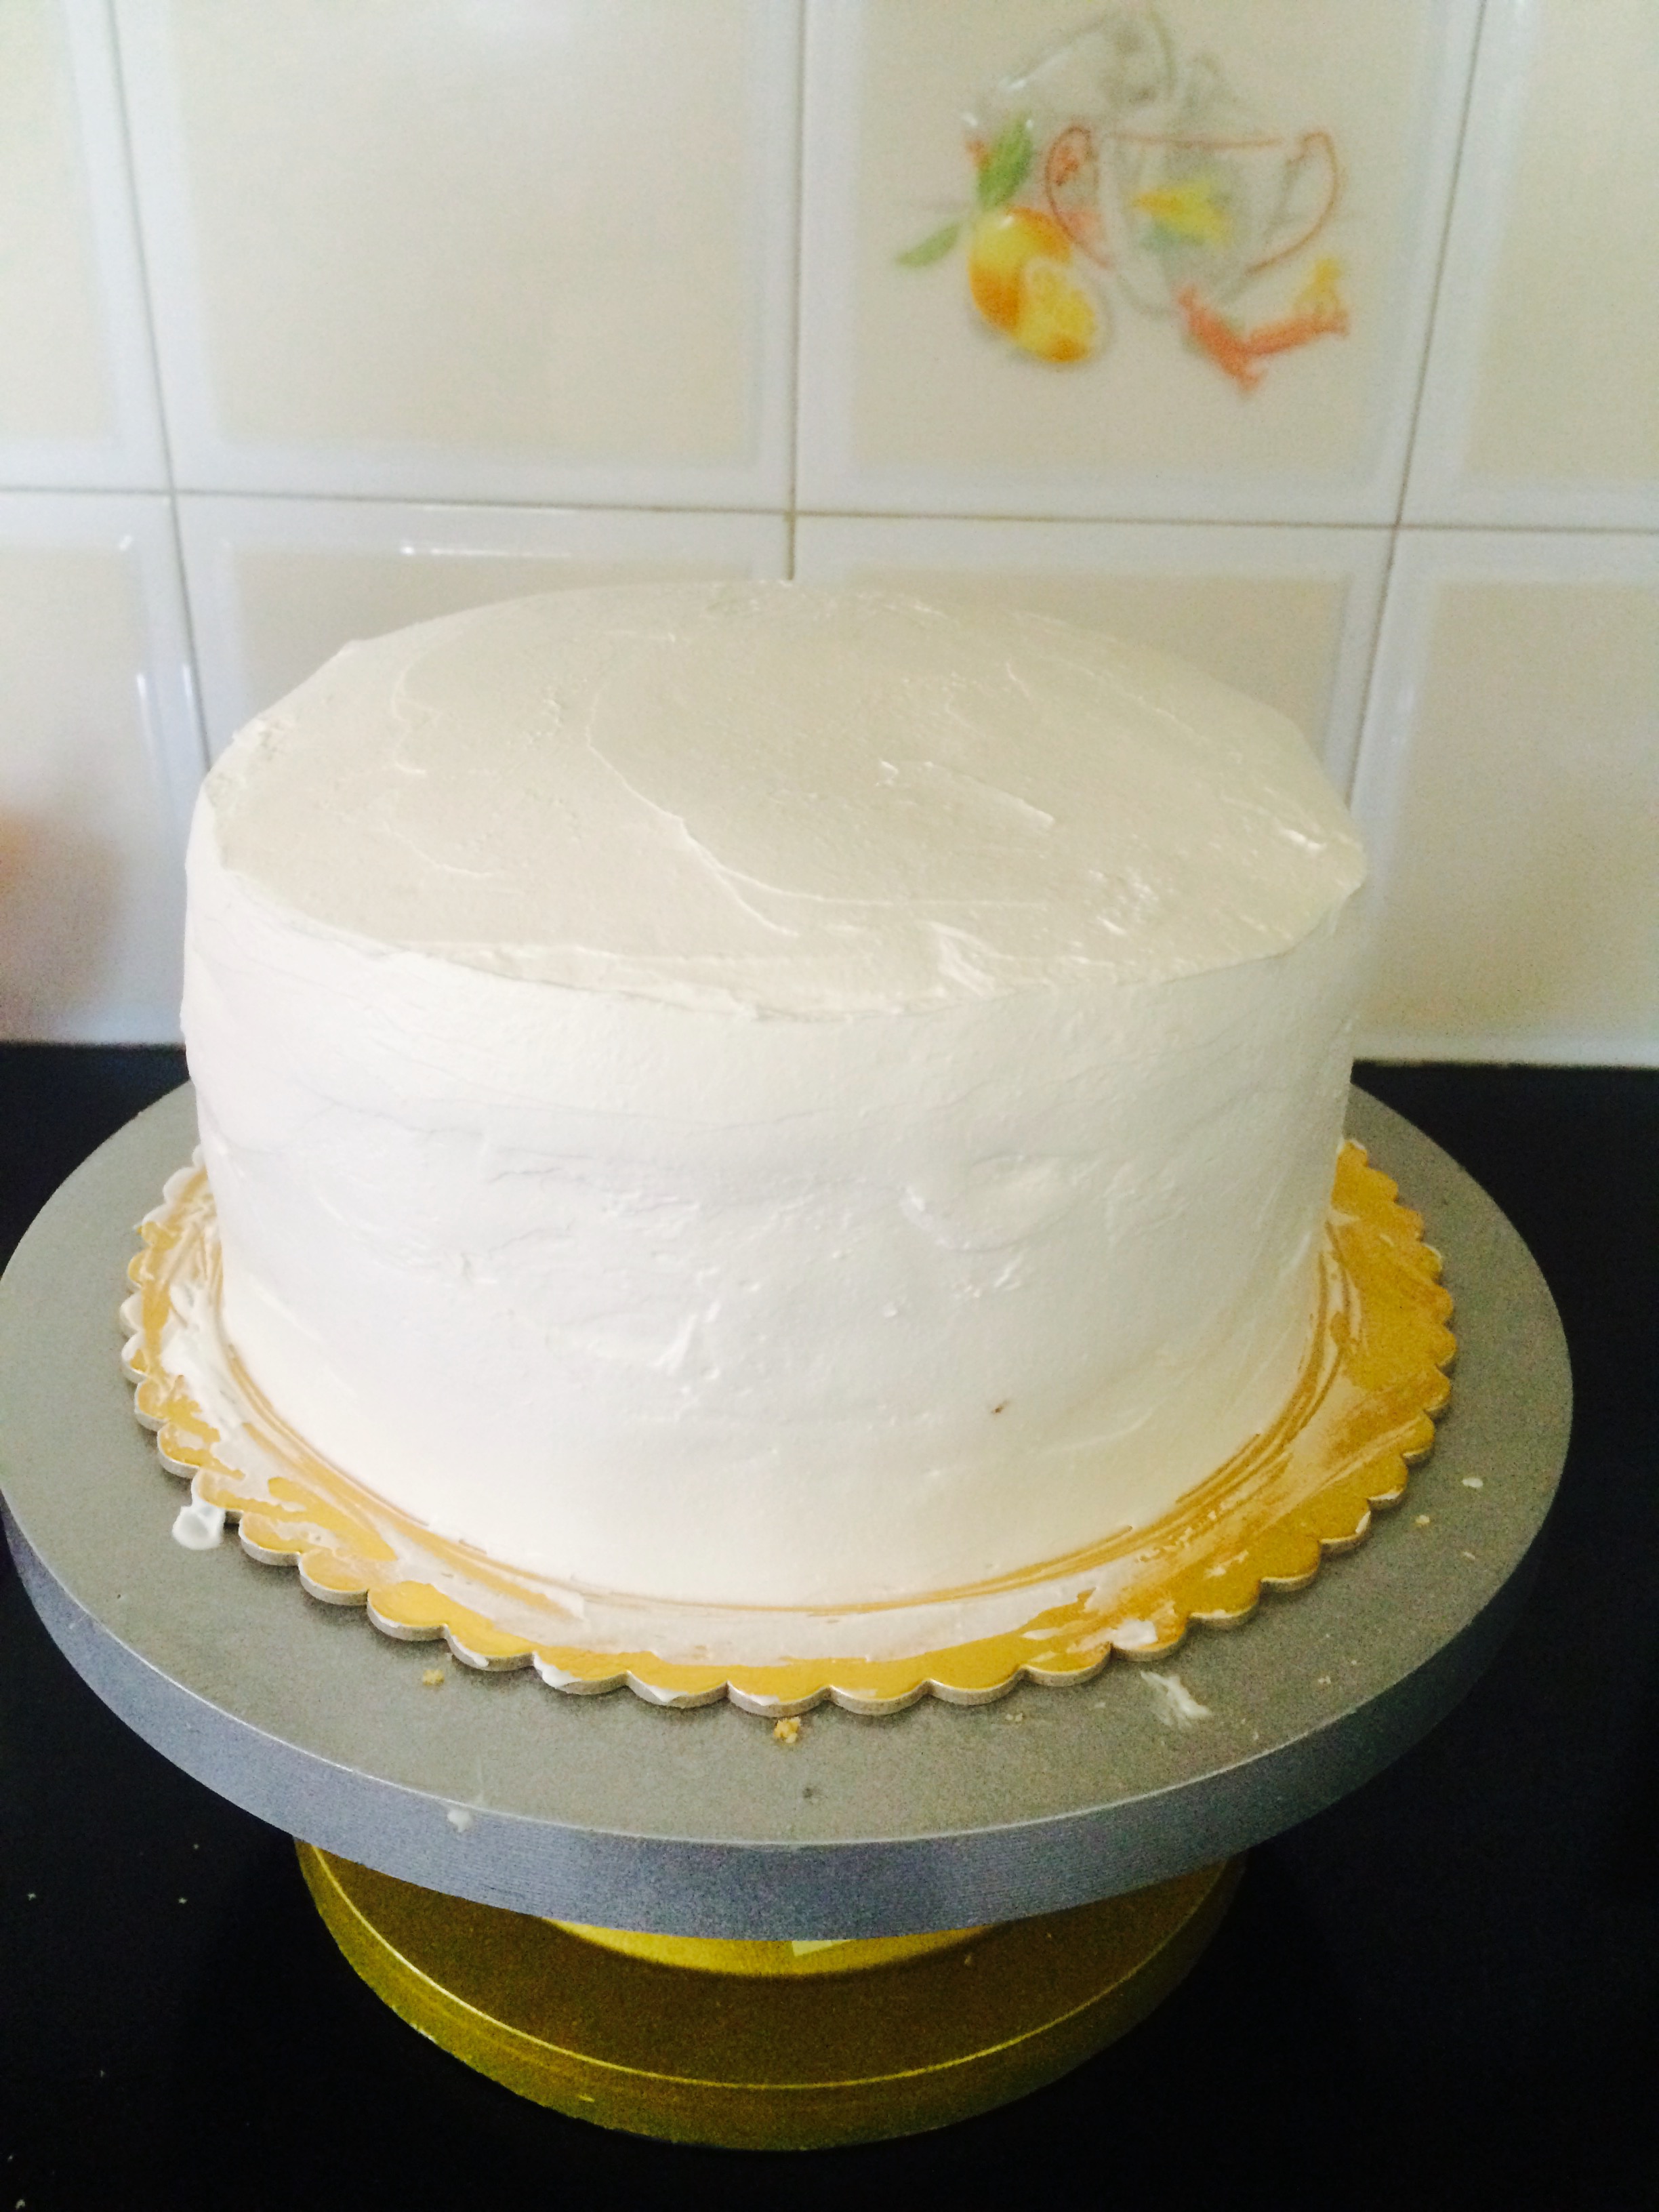
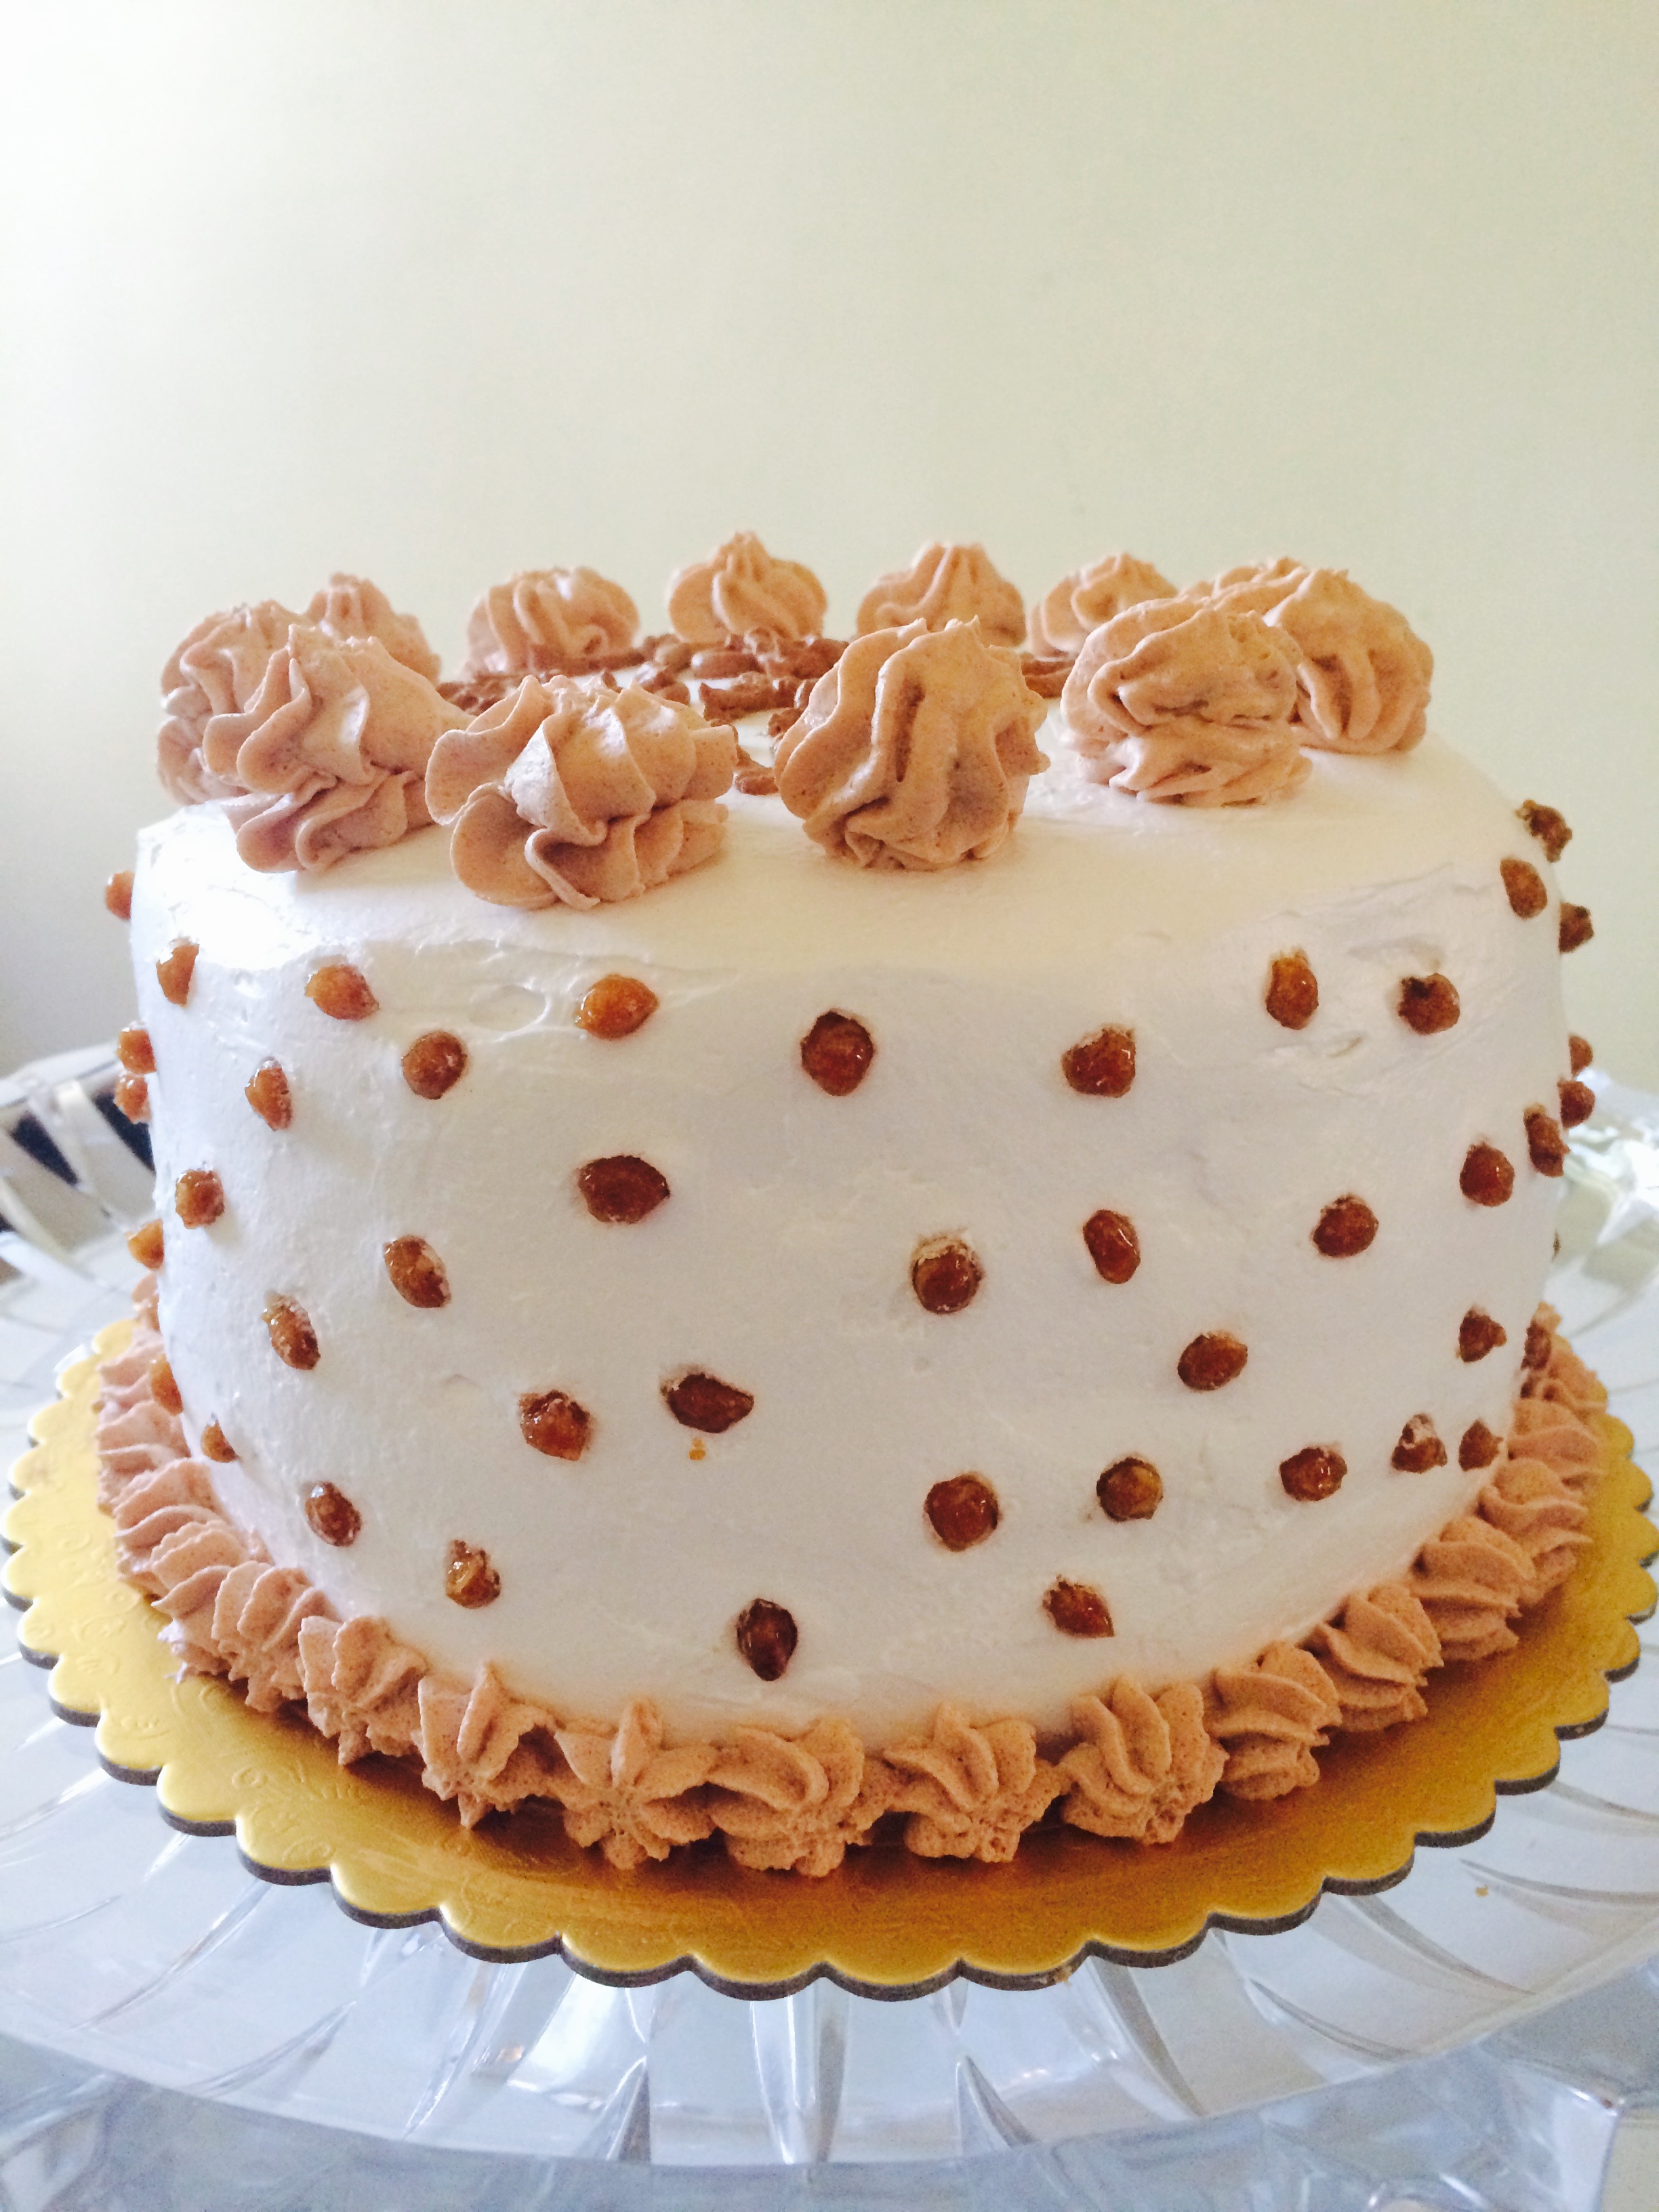
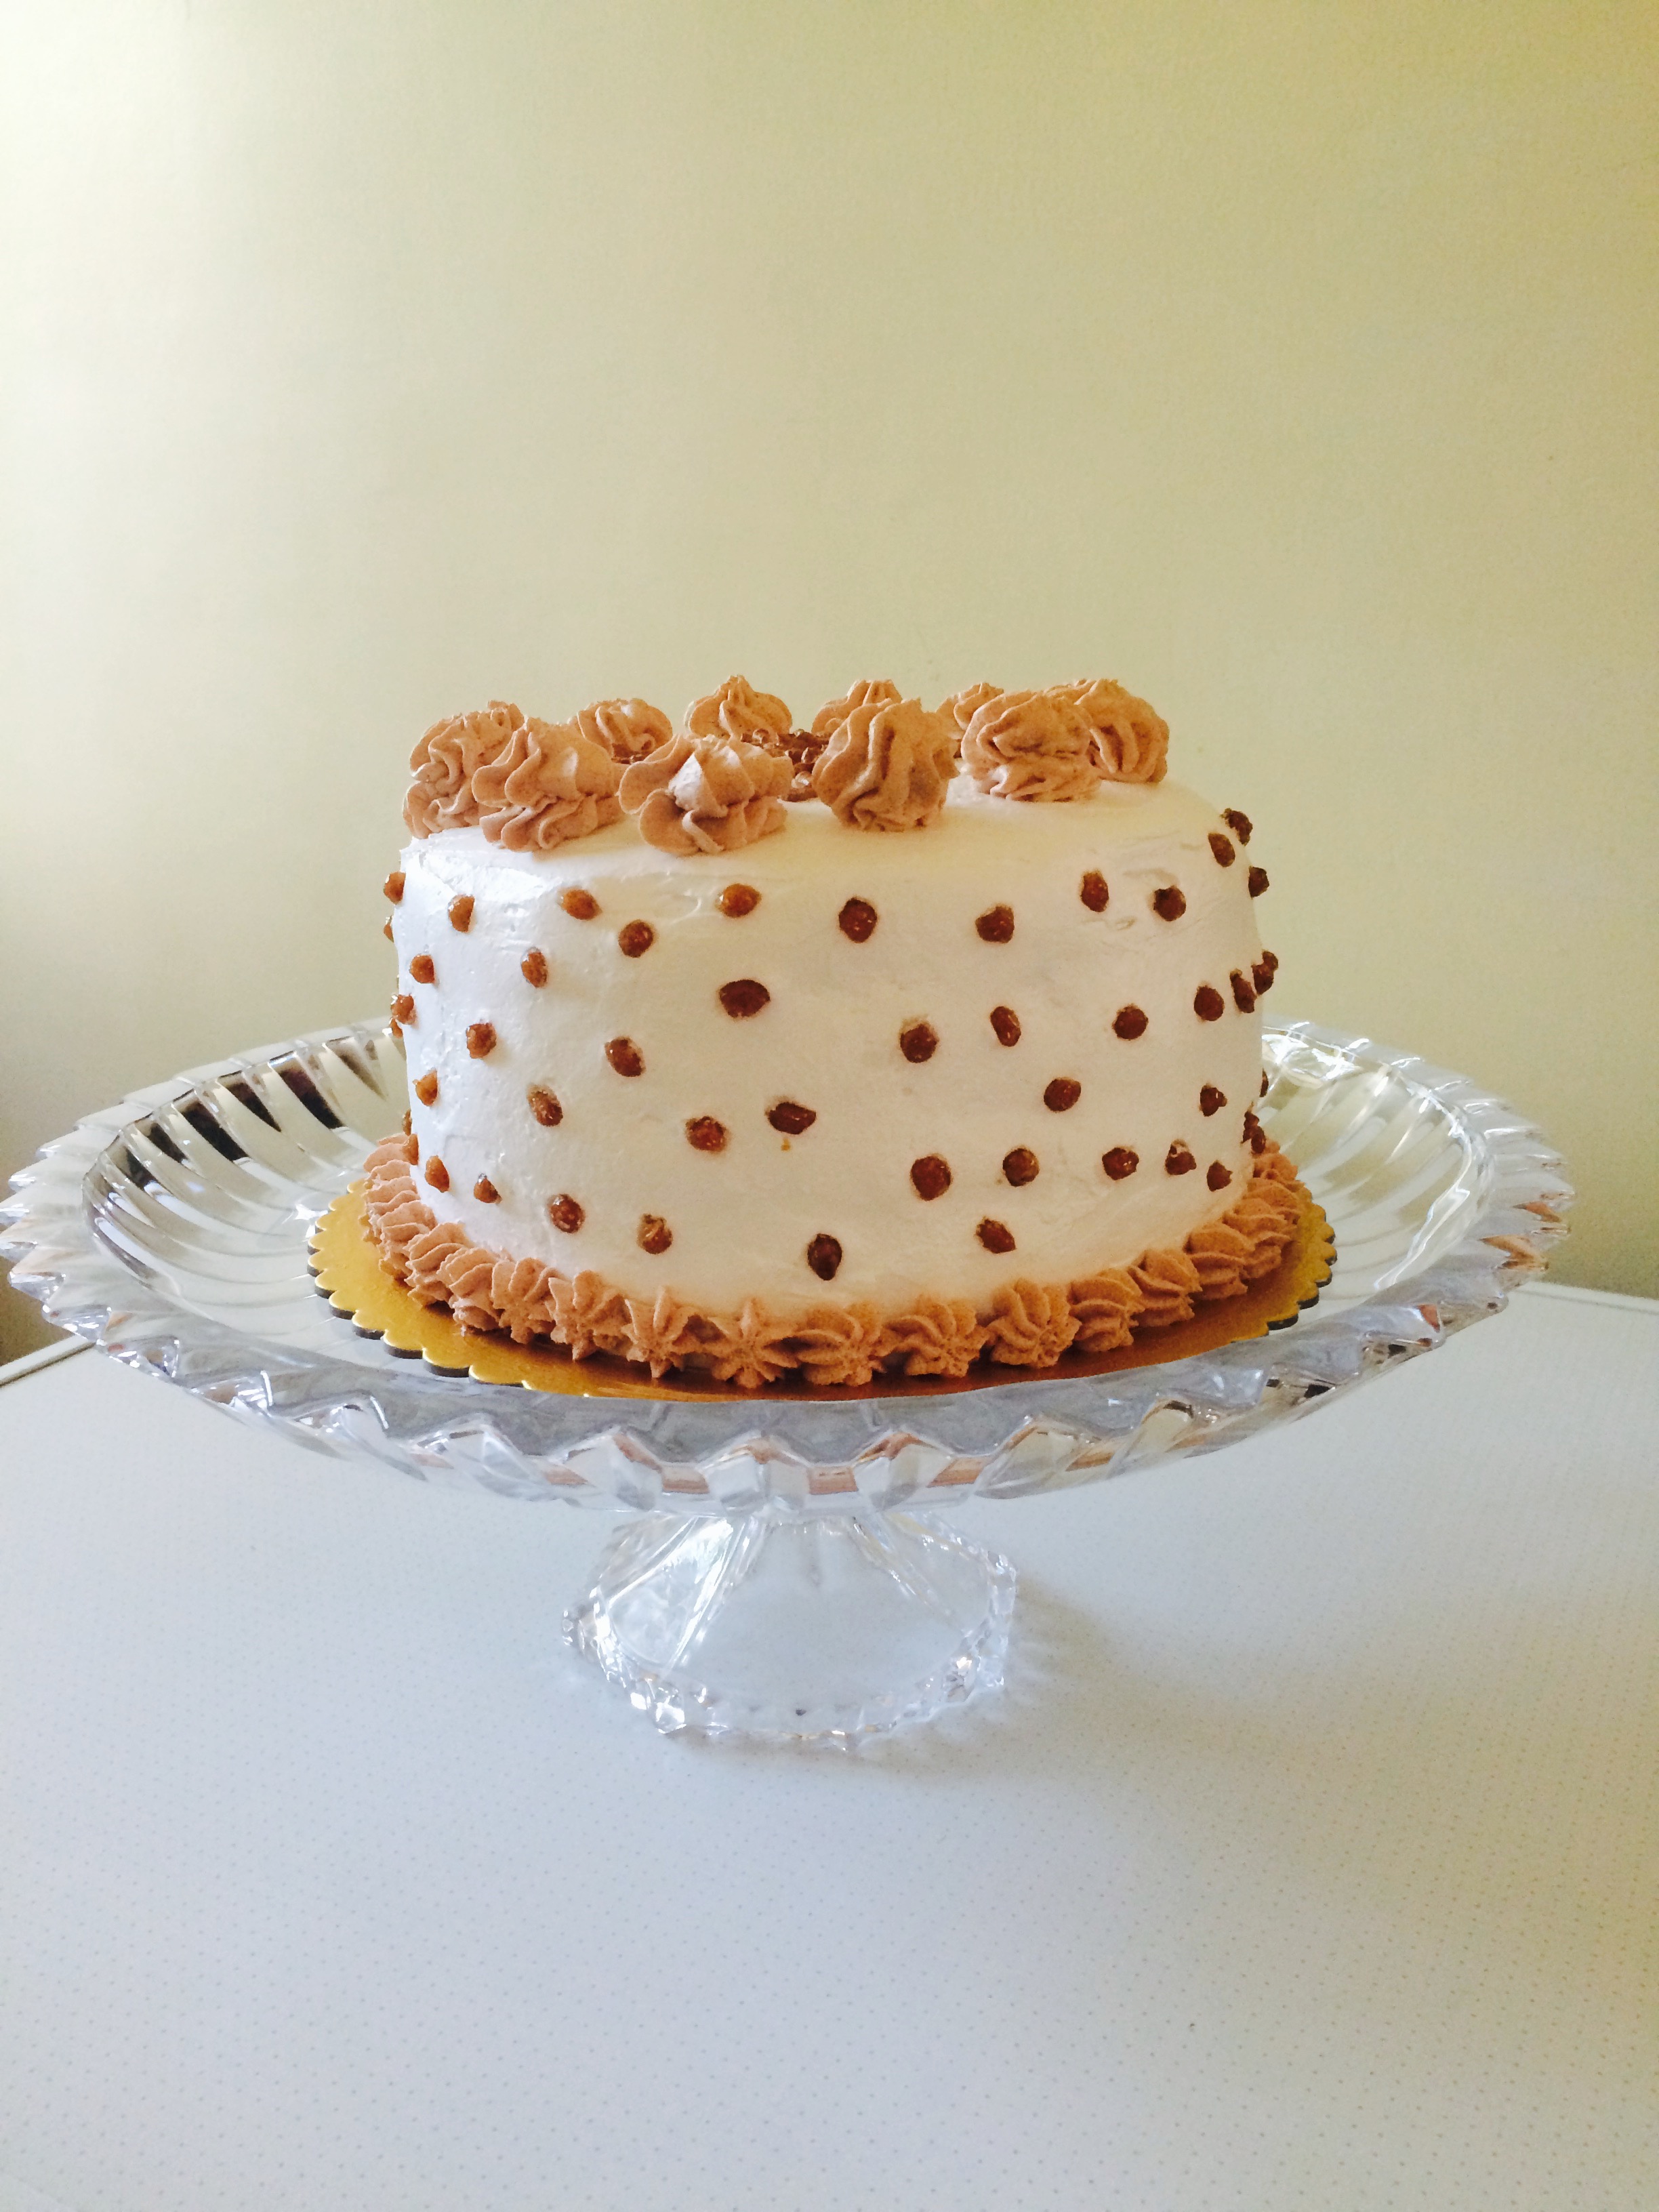
- Frost the stacked cake with remaining whipped cream.
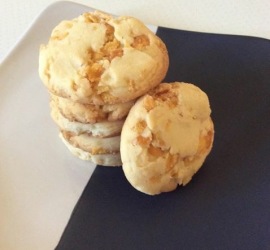
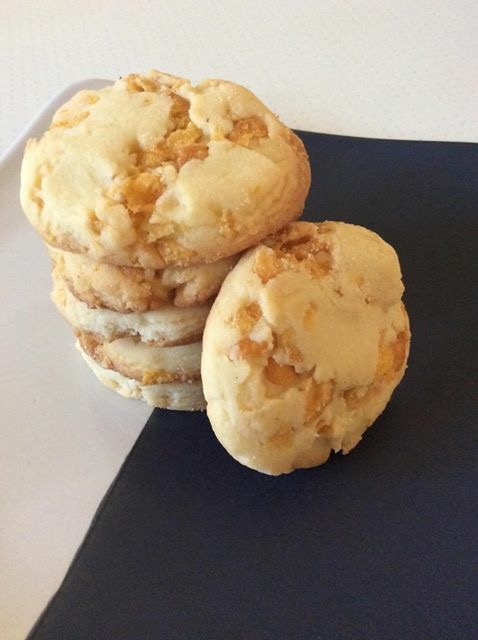
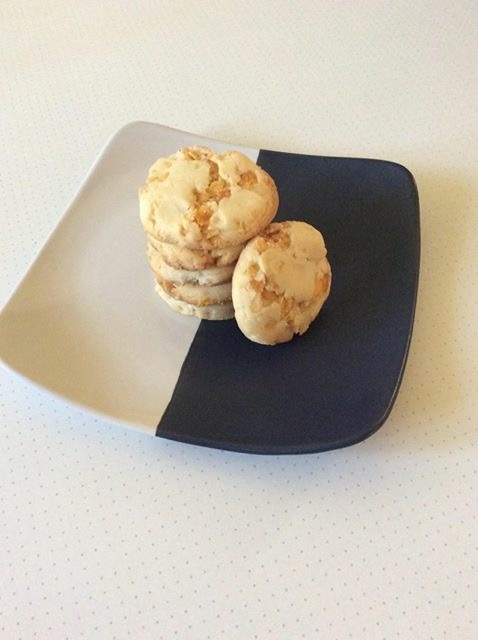
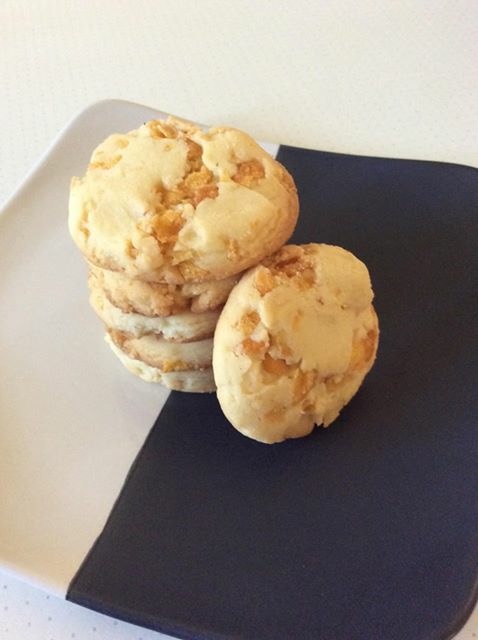
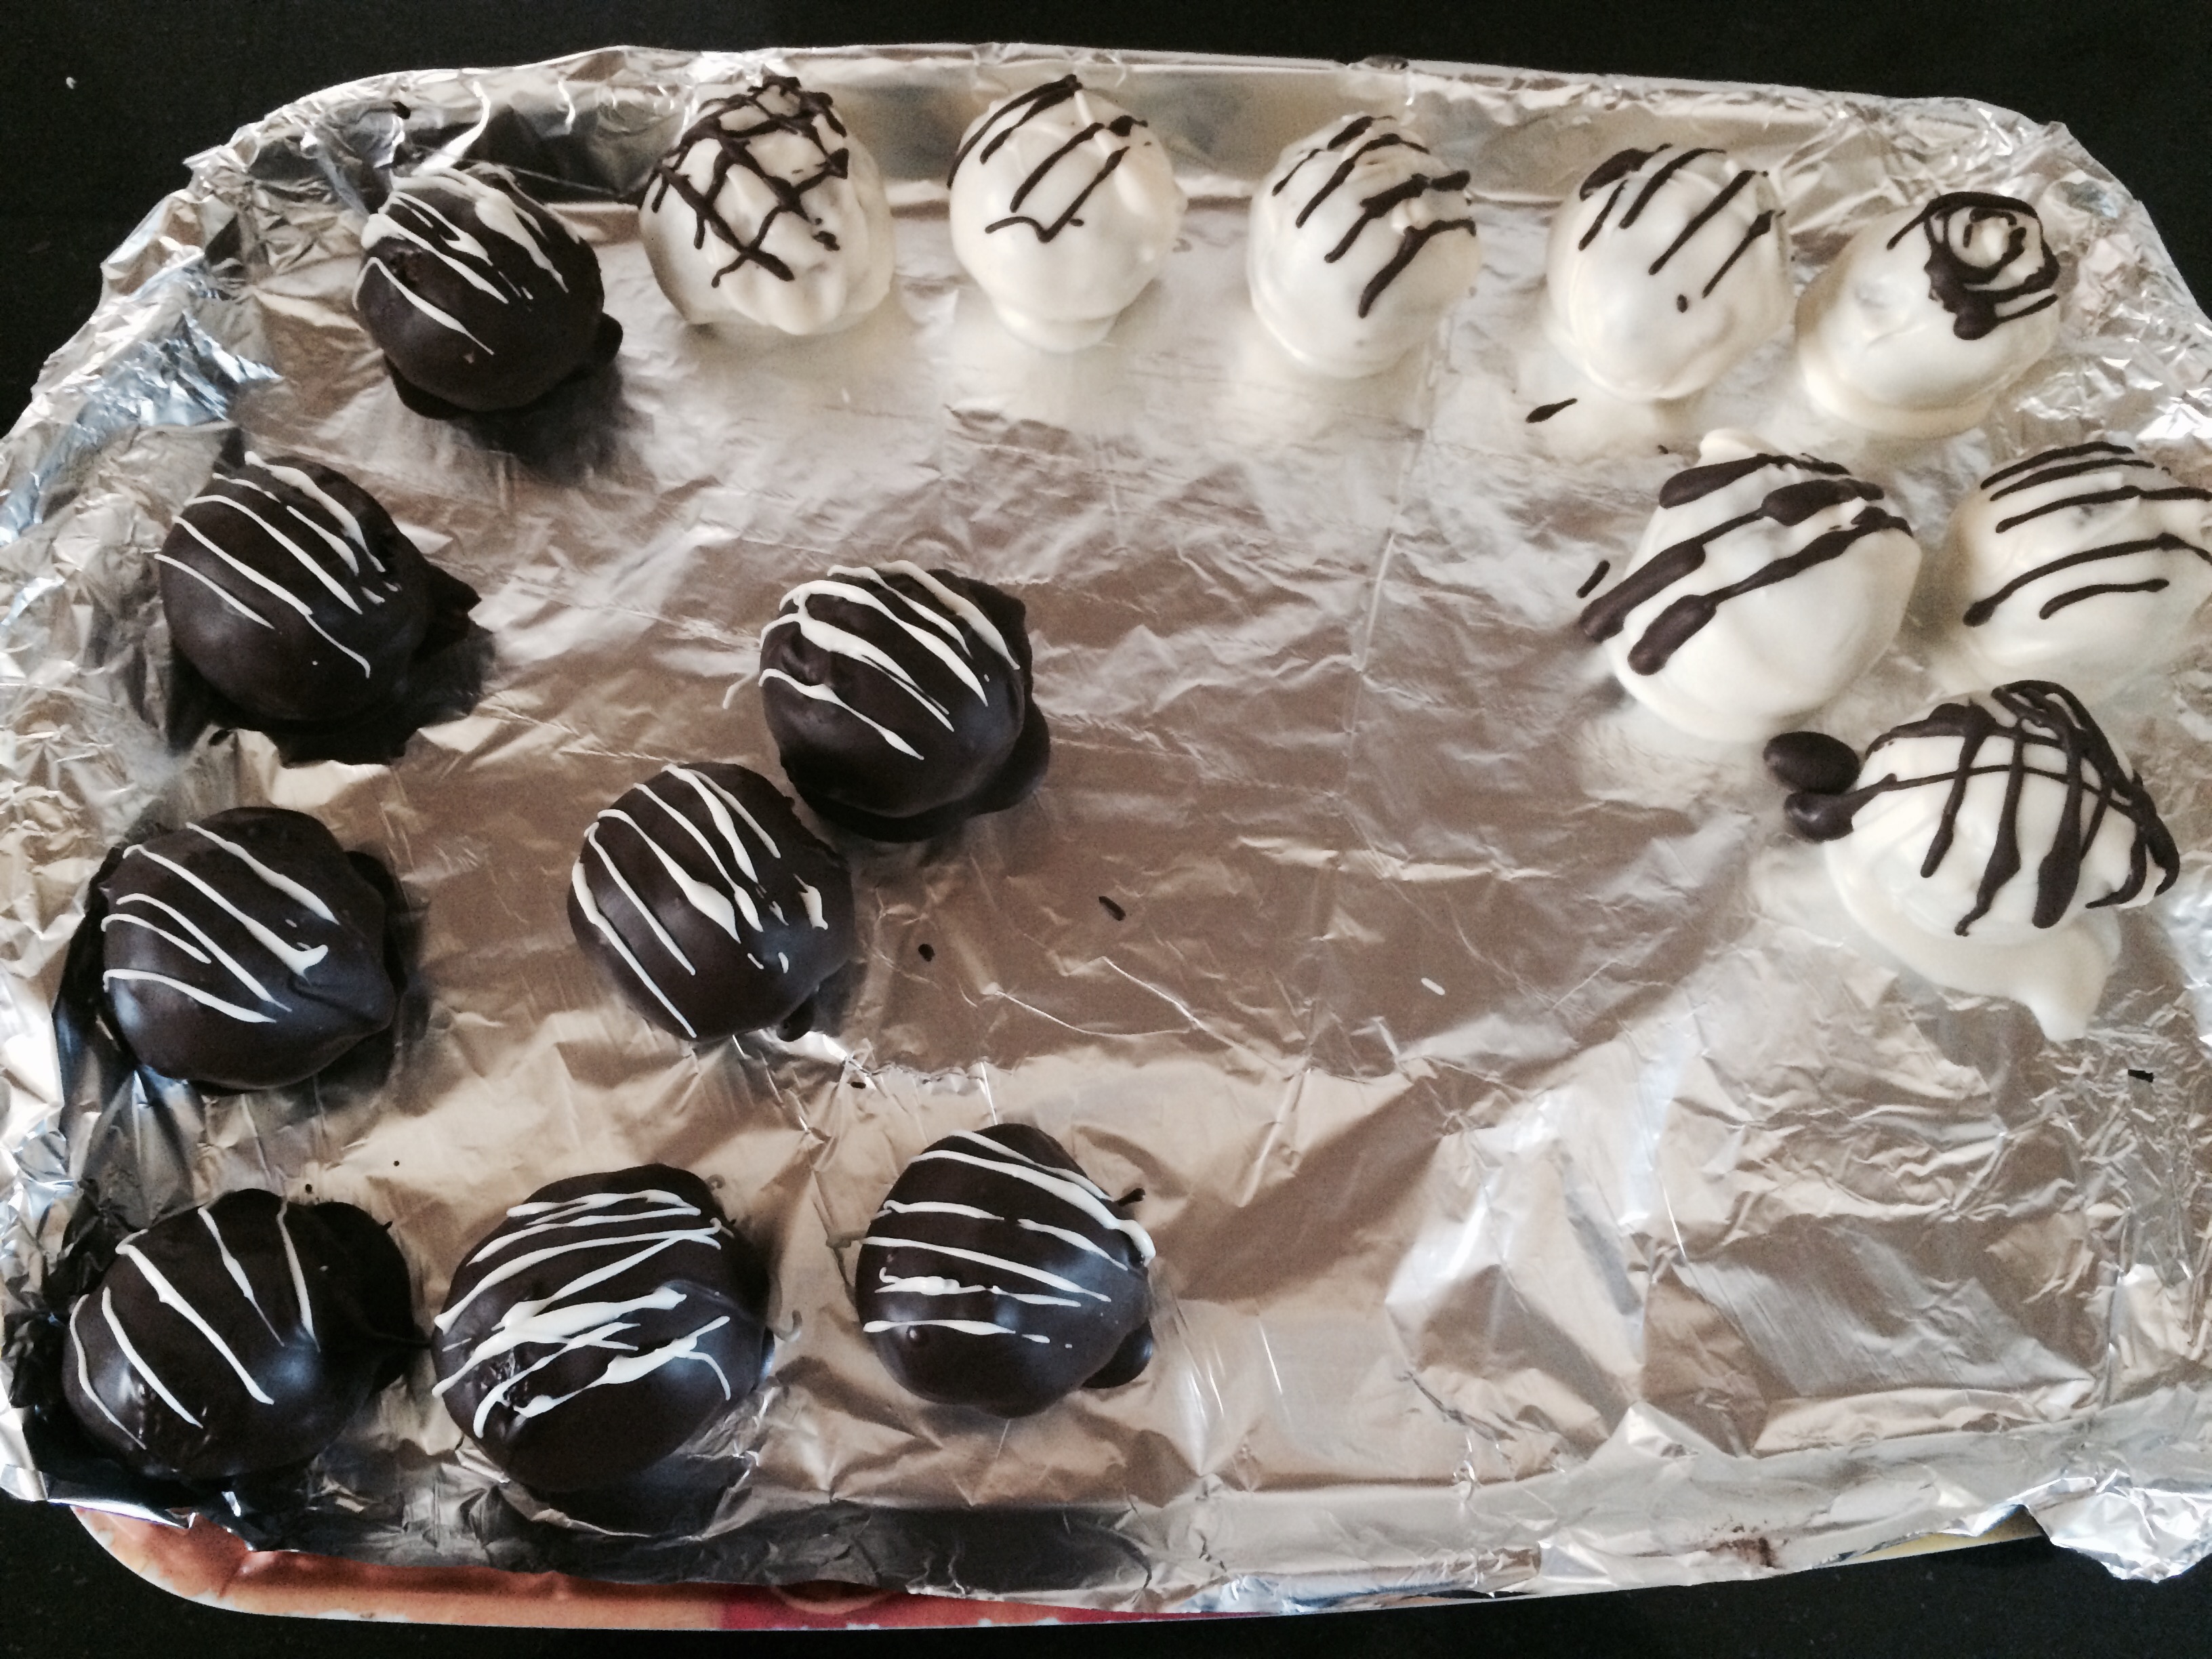
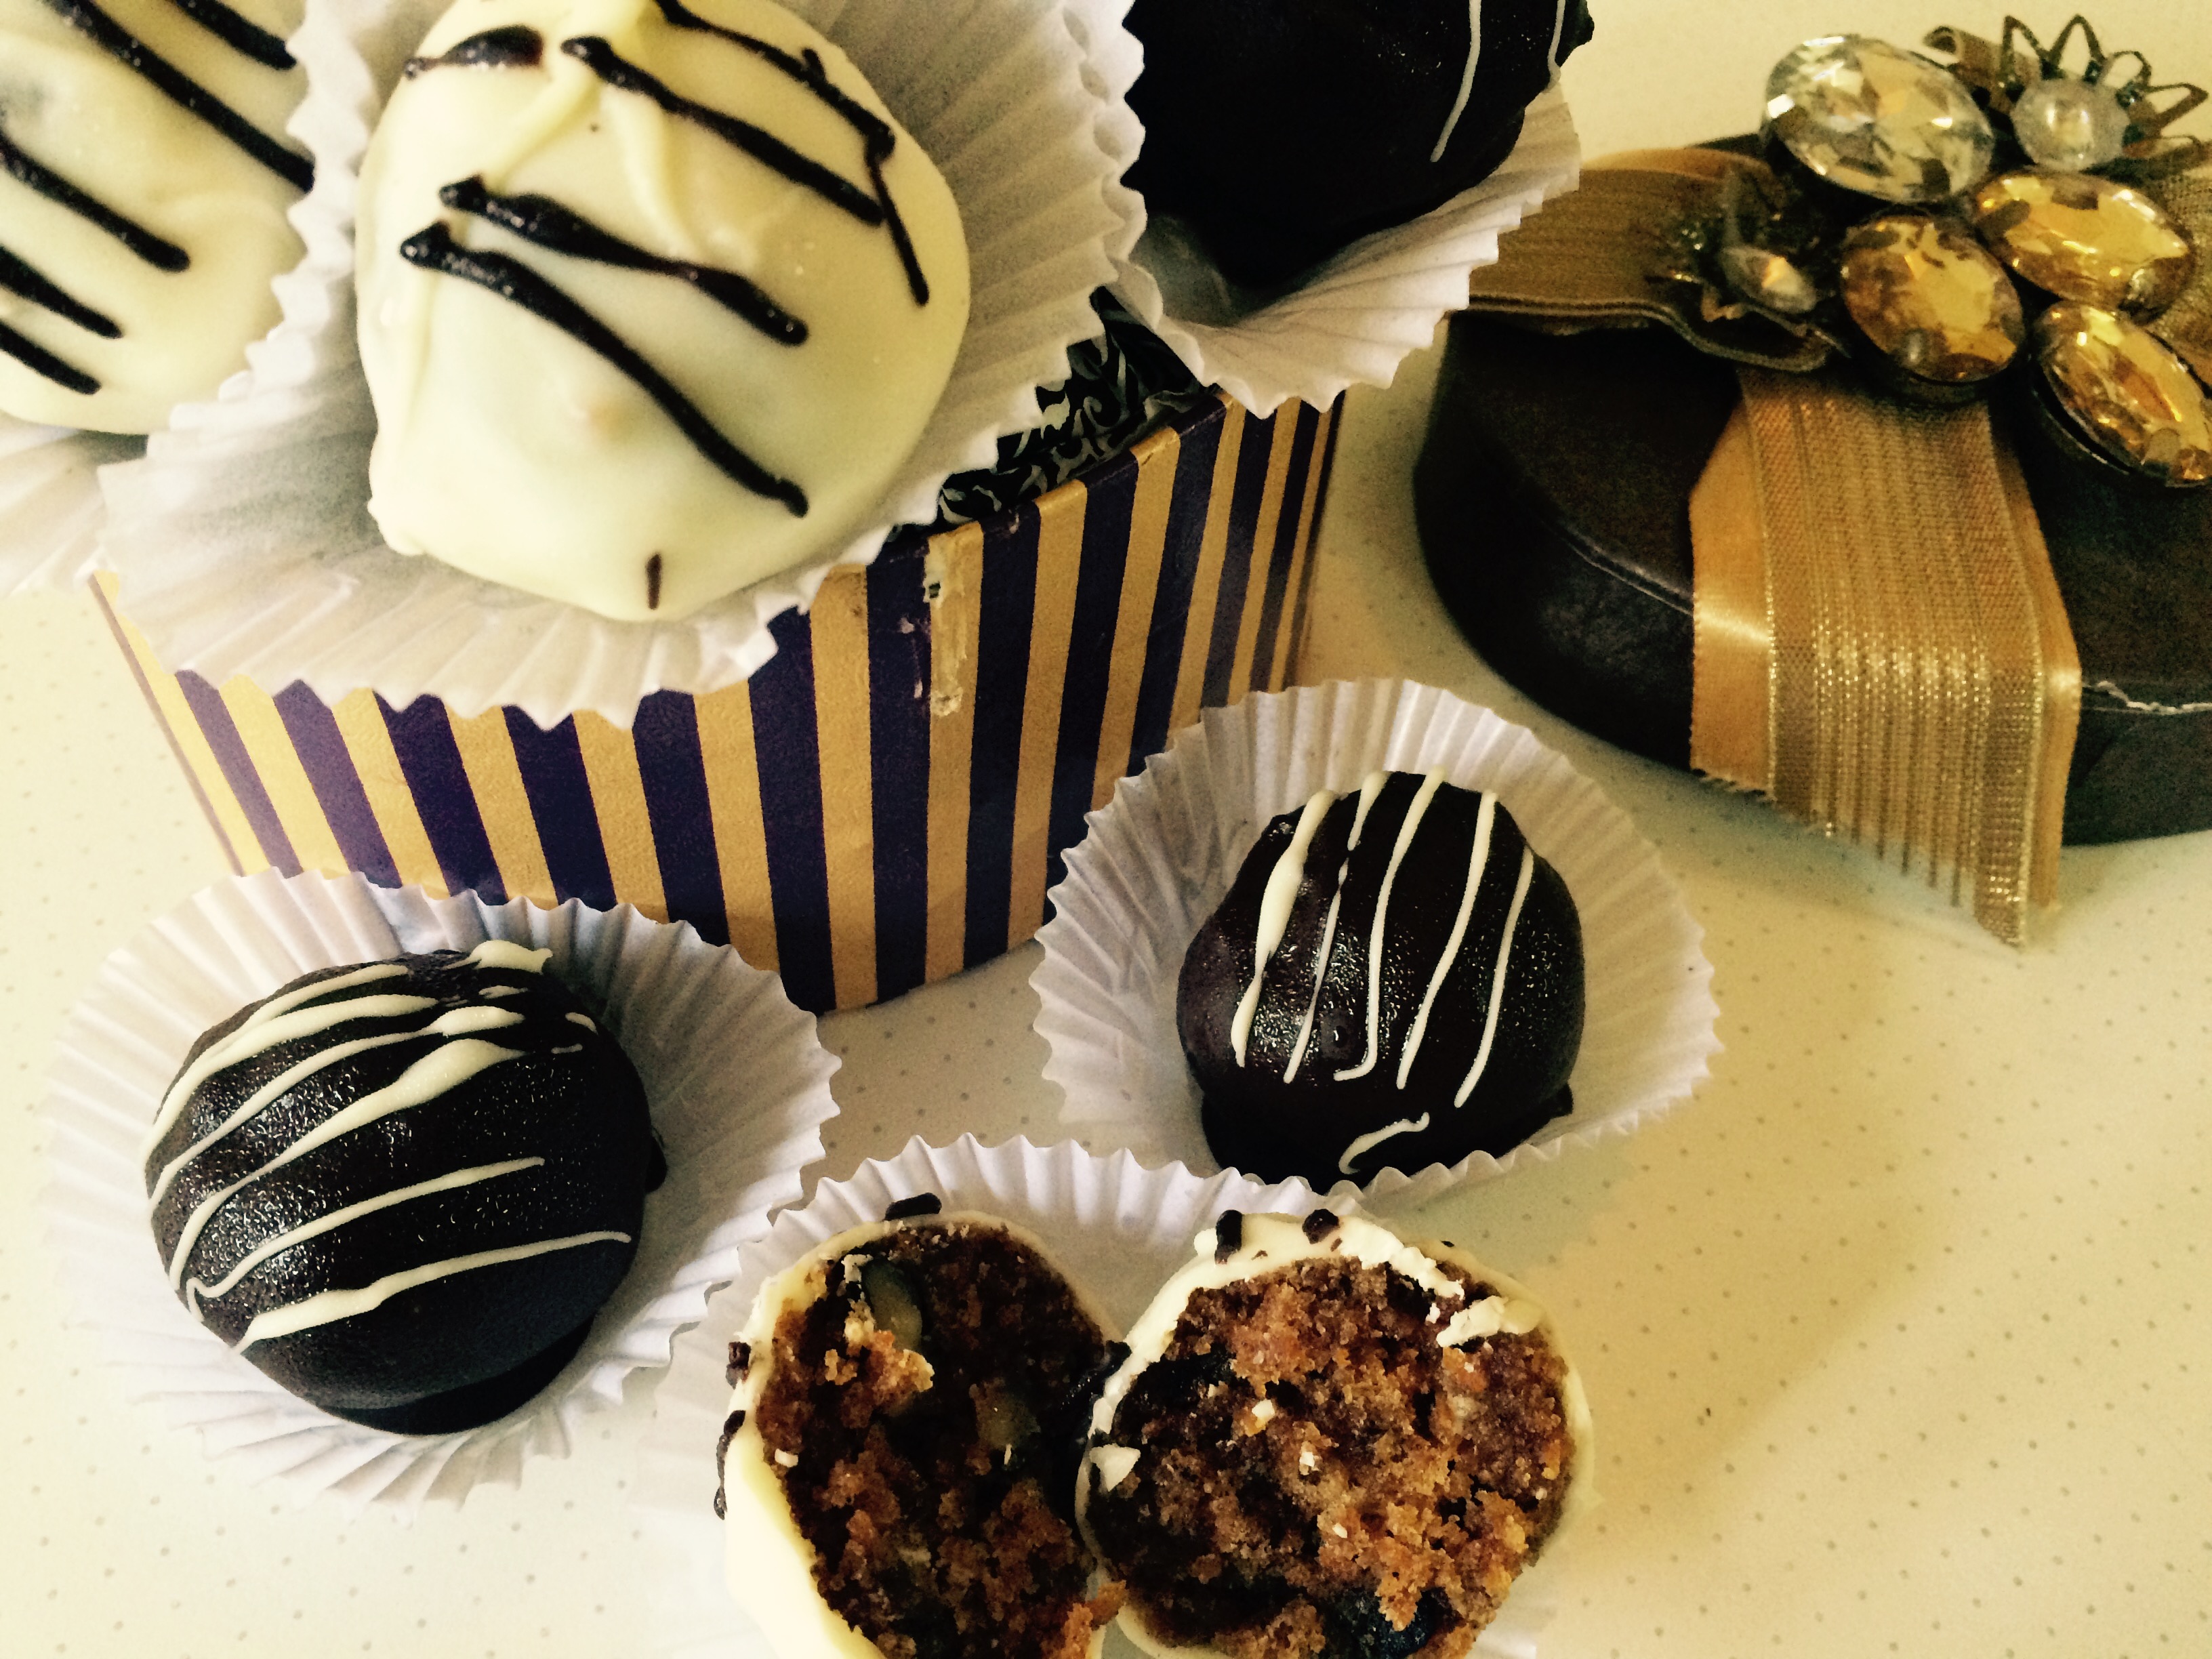
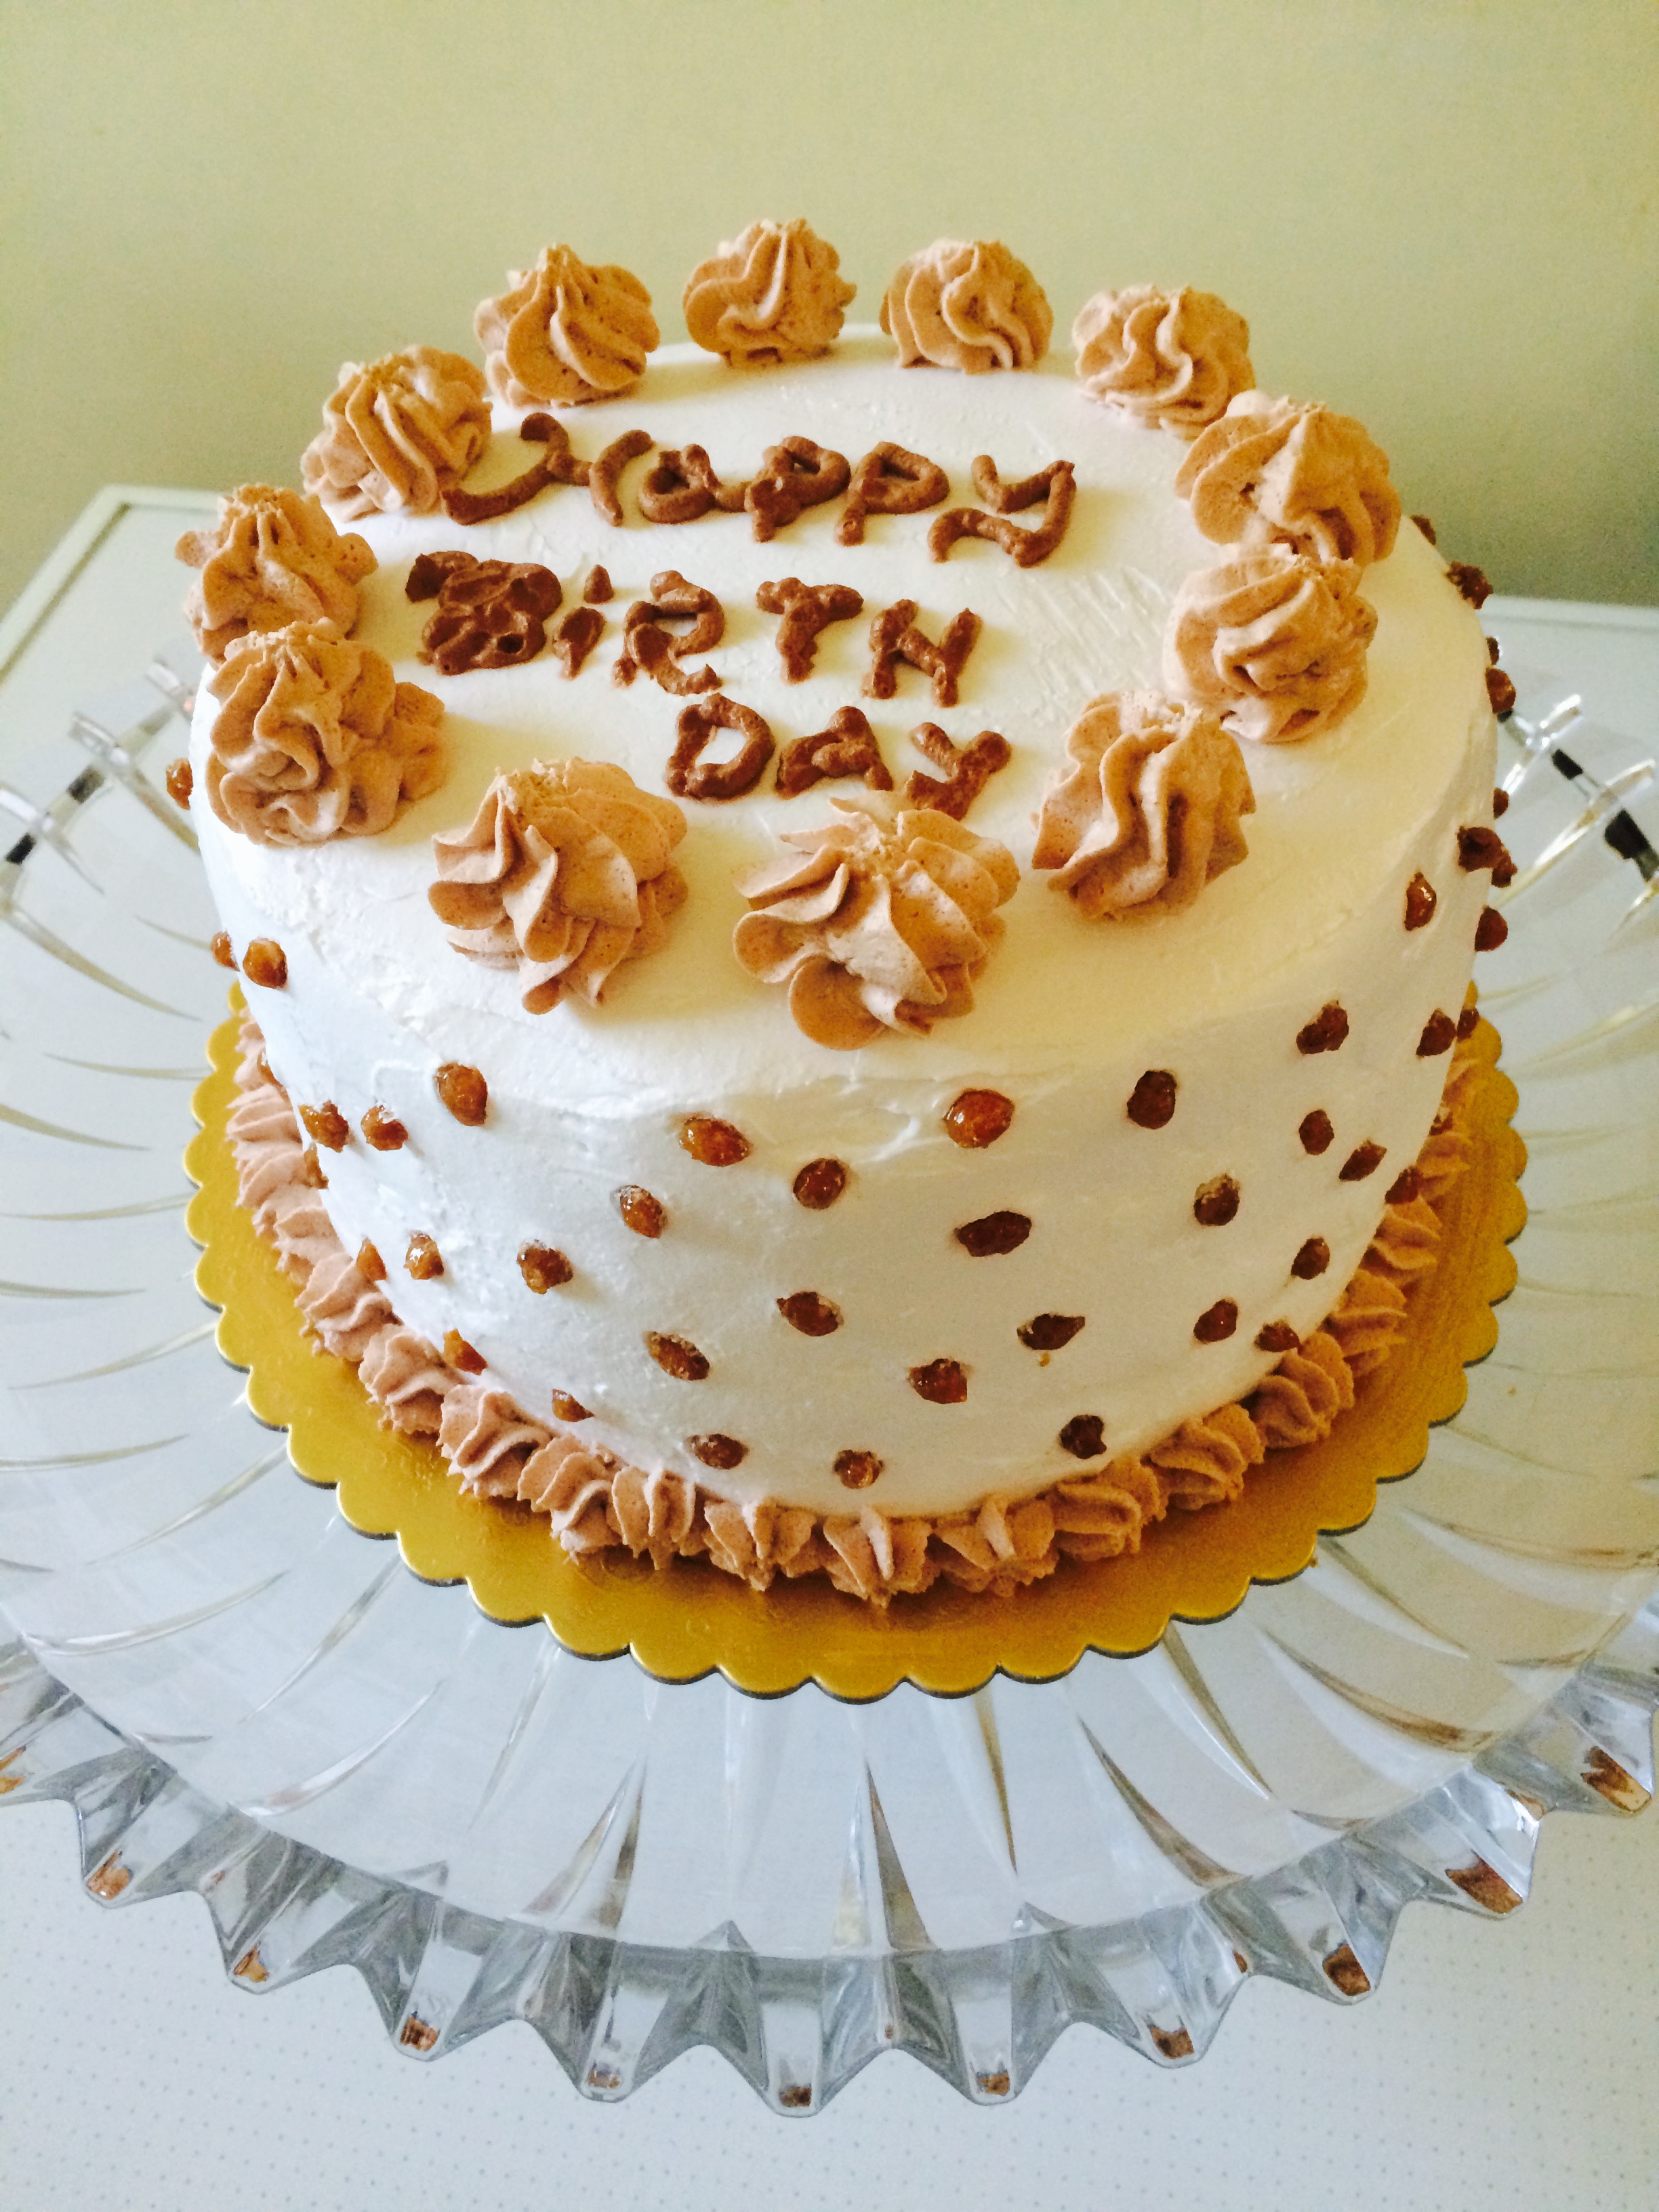
- Decorate with butter scotch bits. Cake is ready.
Notes
Store the cake in the refrigerator if humid.