


Preparation Time : 40 minutes
Cooking Time : 40 minutes
Serving : 8-10 members
Description
The first time I baked a Black Forest cake was years before following the same recipe. I didn’t read the recipe well with innocence of not knowing how precise baking a cake is required, resulting in a big mess. My cake was cracked on the top with the middle not cooked. I still remember cutting the cake into half with out checking if it’s cooked through. The cake batter all over both my hands. I was in tears but some how managed to cook them again in the microwave oven for a minute to done. Layered the cake and assembled it but when cutting the cake, it was rock hard. I came to a conclusion that baking and me are far apart from one another and never ever attempted to bake a cake ever again. I did bake a lot of savoury delights on the run and slowly to sweet tarts and cheese cakes. Yet again cake never coming to my mind. Then one fine day made up my mind to break the fear in me and baked a chocolate cake which again didn’t rise well. Not giving up this time made an orange almond cake the following week and there it was a perfect yum cake baked by me finally. There after on every occasion to celebrate I make sure to bake a cake just to let go off the fear from me for sure. Like wise this cake was baked for my in- laws wedding anniversary. A home made cake sure does spread in a lot of joy with its aroma from the time it starts to bake. This cake was a sure fire hit vanishing in seconds with me getting just a small bite. It was music on my tongue with perfect harmony of sweet goodness and taste that let temptation take over my senses. Well this cake is the kind of thing that you should eat quietly on your own enjoying it in your mind and body with a slice of excellence. I ended up with the cake in my mind through out the day and when going to bed too. Crazy breed me !!!
Ingredients for the cake
Ingredients | Quantity |
|---|---|
| Flour / maida | 2 1/8 cups |
| Sugar | 2 cups |
| Cocoa powder | 3/4 cup |
| Baking powder | 1 1/2 teaspoon |
| Baking soda | 3/4 teaspoon |
| Salt | 3/4 teaspoon |
| Eggs | 3 |
| Milk | 1 cup |
| Vegetable Oil | 1/2 cup |
| Vanilla essence | 1 tablespoon |
Method for the cake
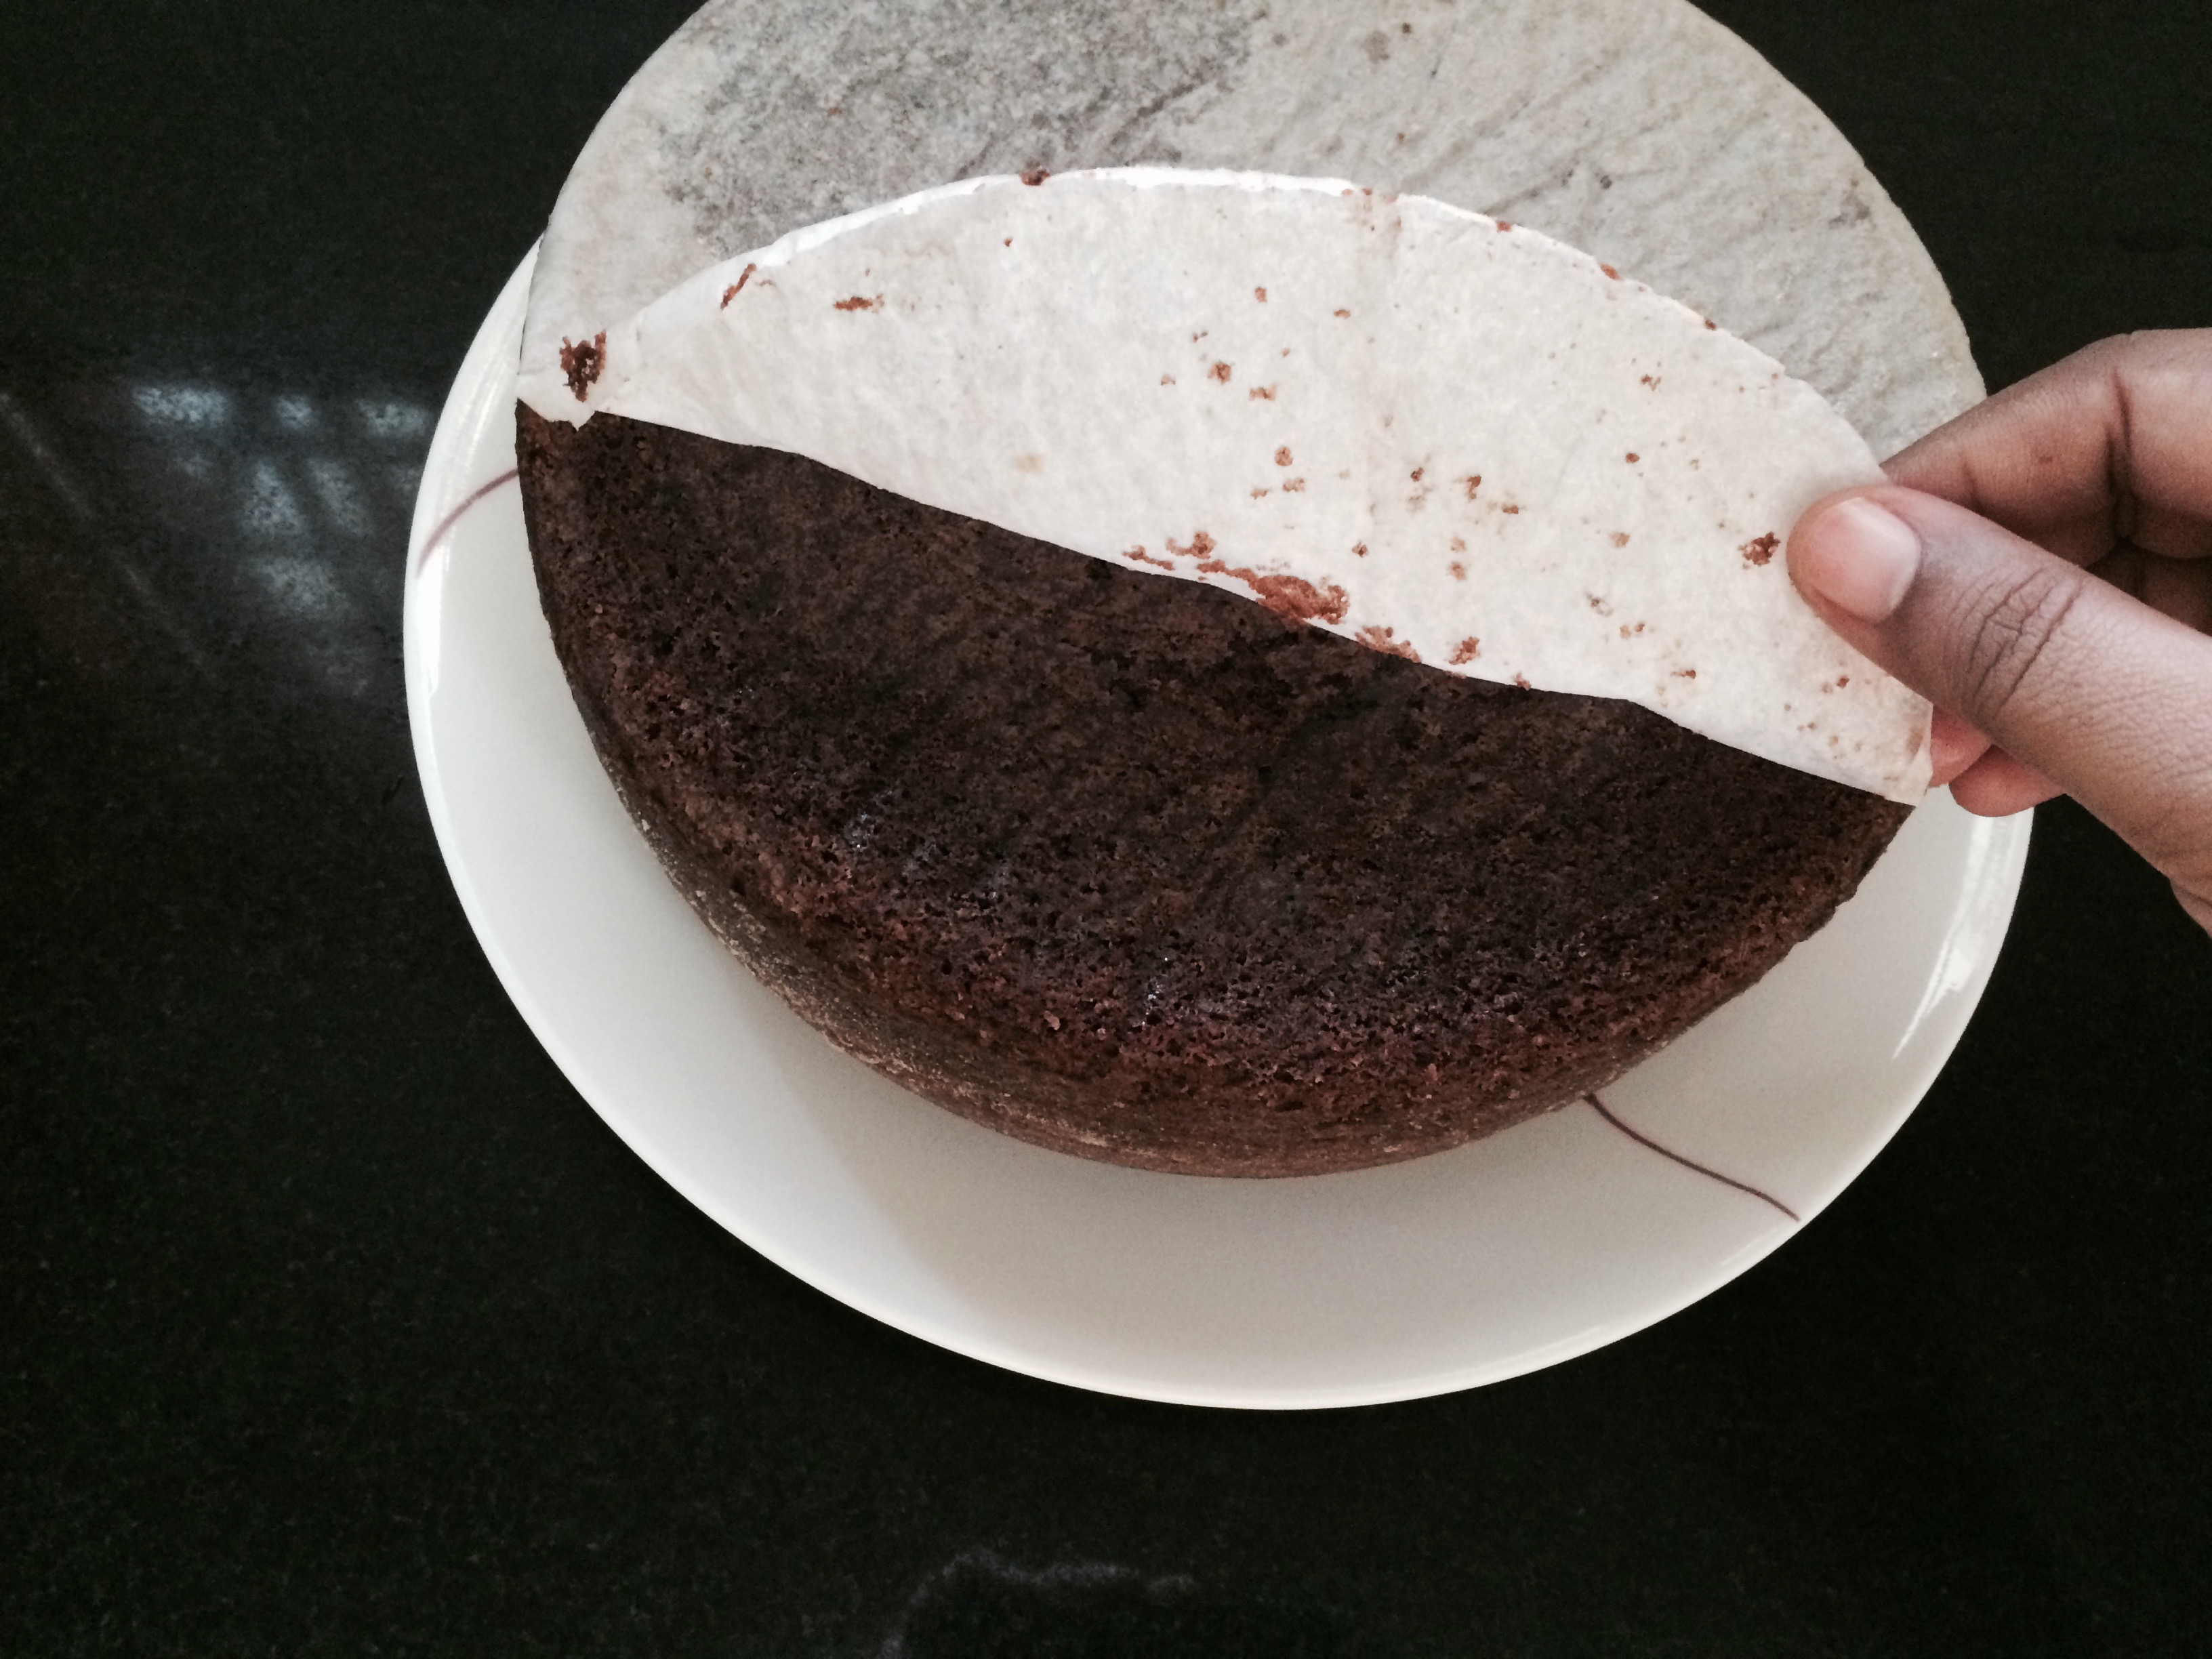
- Preheat oven to 175 degrees Celsius. Grease and dust flour to two 9 inch round cake pan’s. Cover the bottom with parchment paper.
- mix all the dry ingredients from flour, sugar, cocoa powder, baking powder, baking soda and salt together. Beat wet ingredients from eggs, milk, oil and vanilla essence together separately in another bowl until well combined.
- Add the dry ingredients to the wet ingredients in three batches mixing well to incorporate. Pour the batter equally into the two round pans.
- Bake for 30- 35 minutes in the middle rack. Check with a tooth pick inserted in the middle of the cake. If it comes out clean it’s done or bake further for 5 more minutes.
- Remove the cake tins from the oven and cool completely over a wire rack.
Ingredients for filling
Ingredients | Quantity |
|---|---|
| Pitted tinned cherries | 20 ounce / 1 big tin |
| Sugar | 1 cup |
| Cornflour | 1/4 cup |
| Vanilla essence | 1 teaspoon |
| cherry juice | 1/4 cup from the tinned cherries |
Method for filling
Combine all the above mentioned ingredients together with no lumps. Cook over low heat until thick, stirring constantly to get a gooey mass of filling. Remove and cool completely.
Other ingredients
ingredients | Quantity |
|---|---|
| Whipped cream | 4 to 5 cups ( I used blue bird brand two packets ) |
| Sugar powder | 1/3 cup |
| Whole cherries | 10 to decorate |
| Grated chocolate | 2 bars or more to decorate |
How to proceed
- whip cream to packet instructions with powdered sugar to stiff peaks.
- Cut each cake to equal half horizontally with the help of a sharp knife to get four layers of cake.
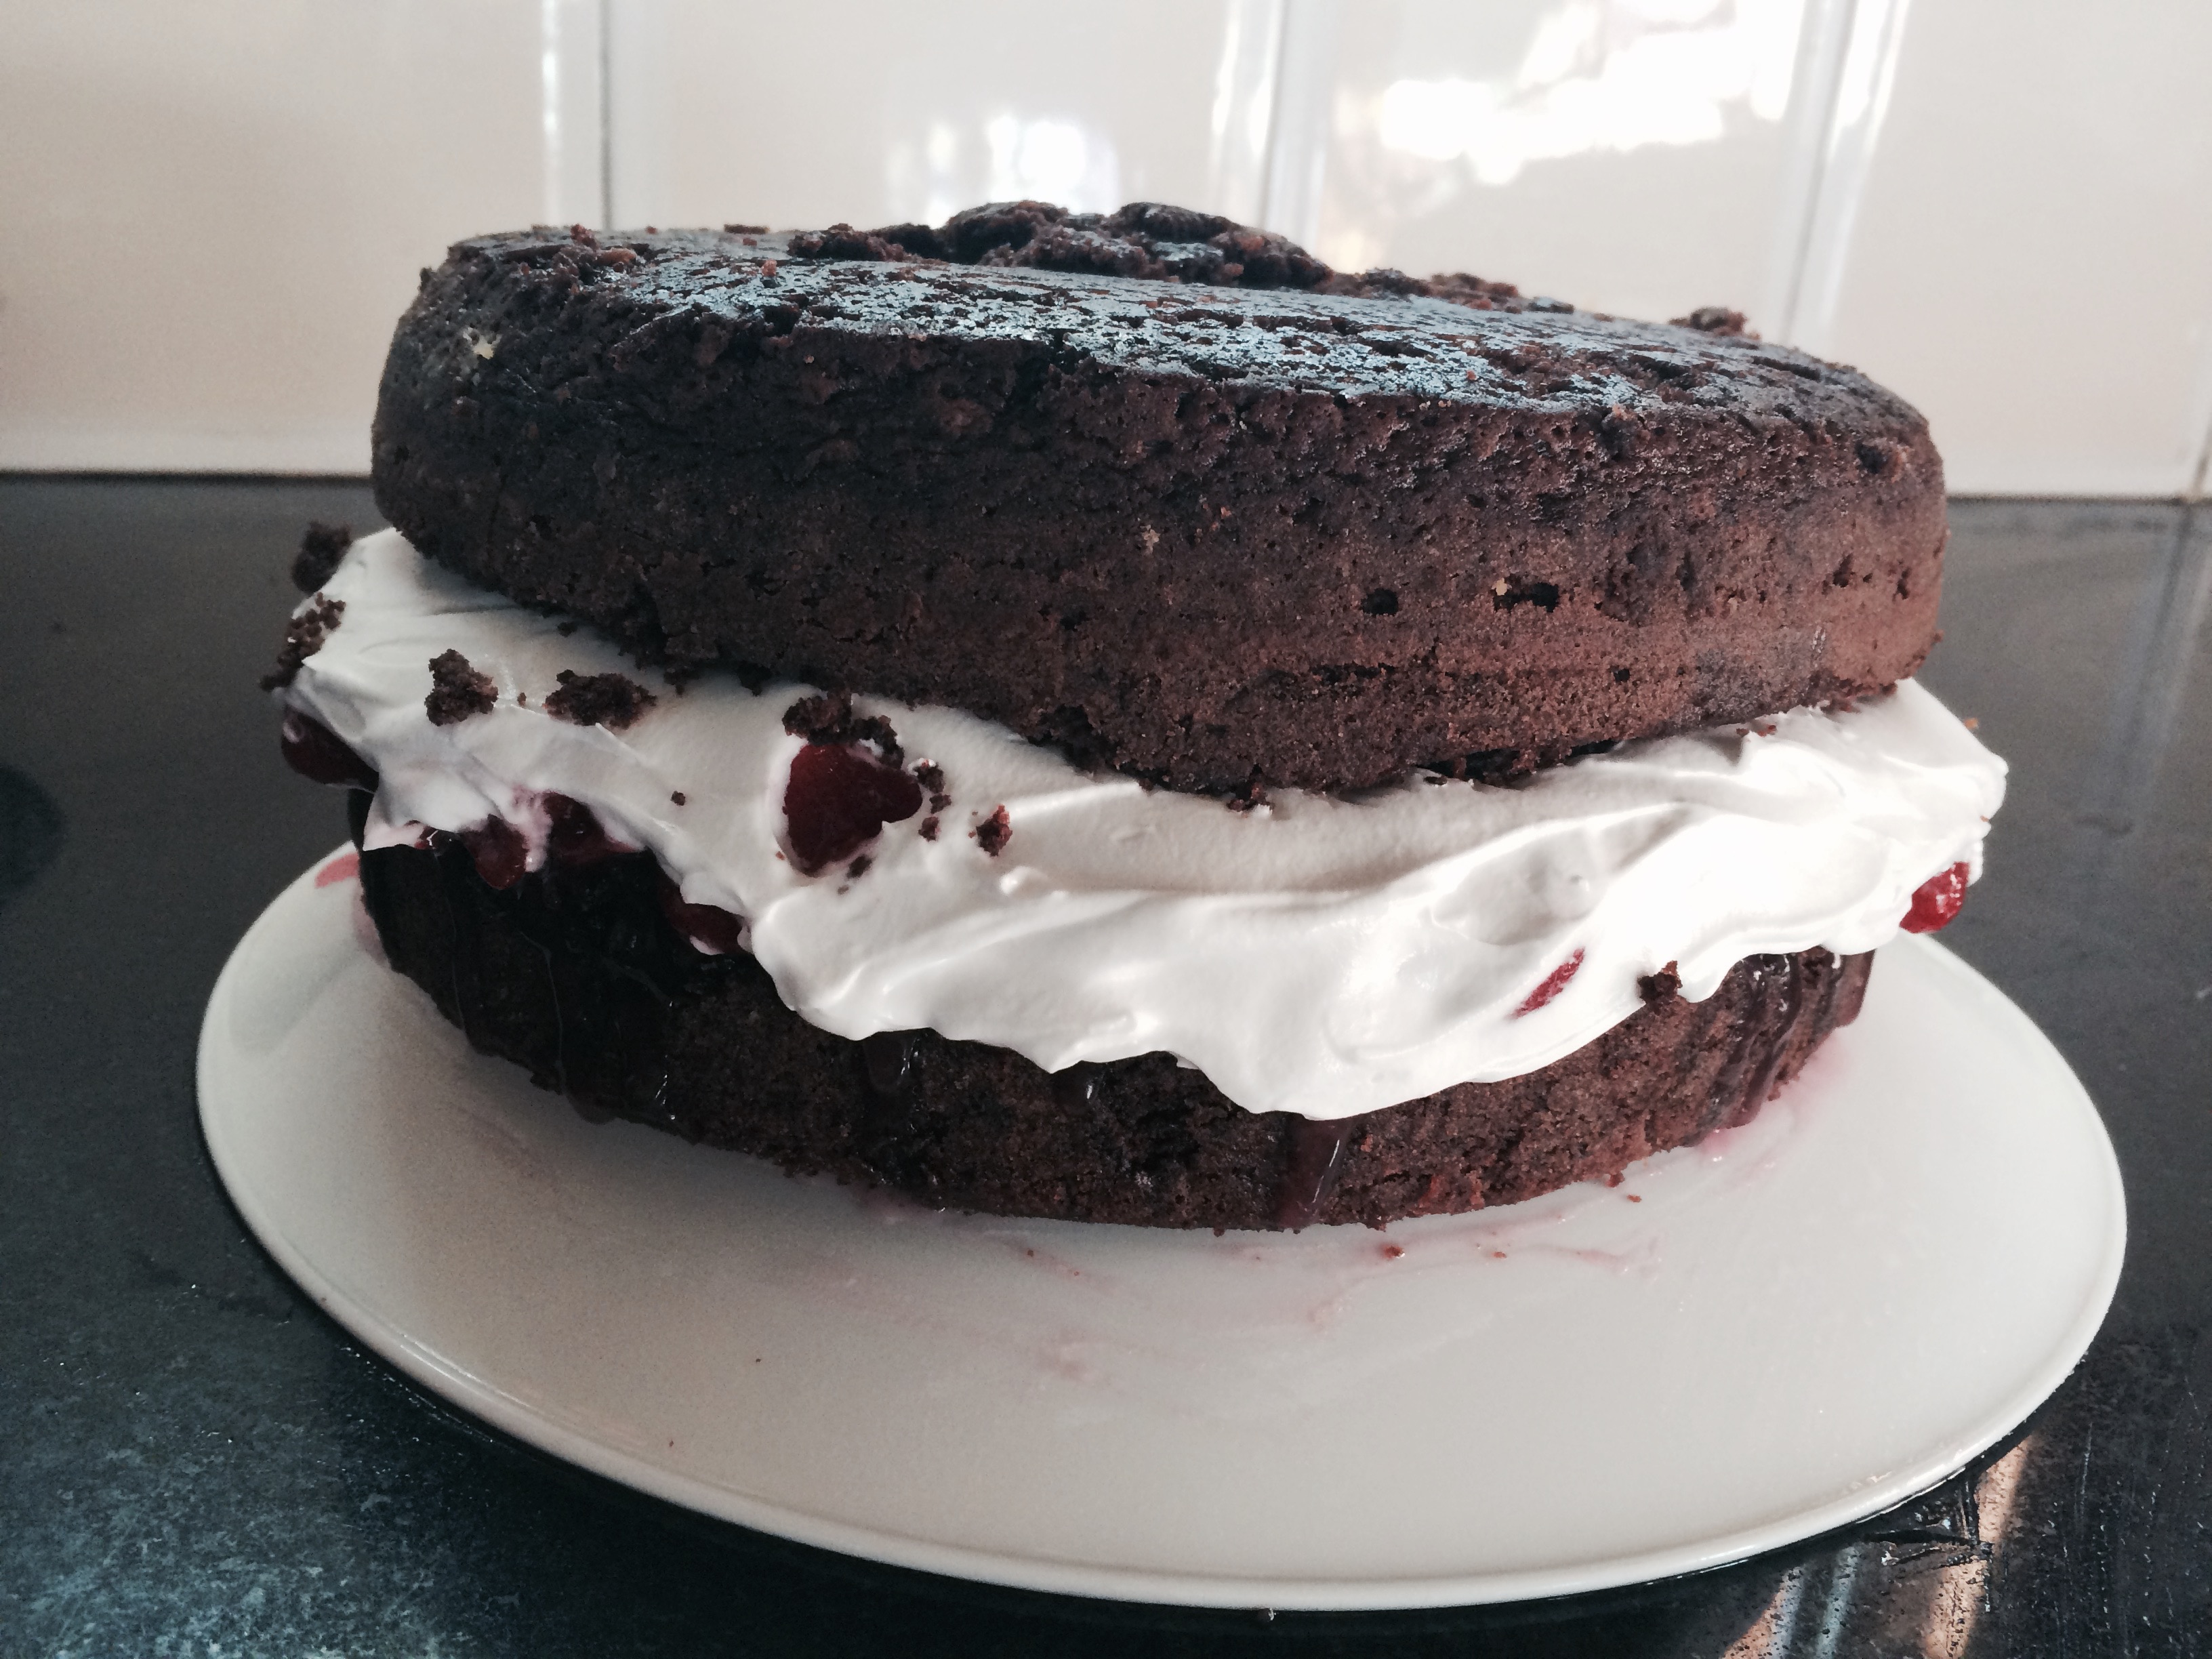
- Place one cake layer, spread with 3/4 cup cherry mix. Top with one cup whipped cream. sprinkle grated chocolate over. ( I omitted this as I didn’t want my cake to be too sweet) Top with second layer of cake.
- repeat the cherry mix, whipped cream layers and chocolate grated. (I used only two layers here) you could use up to three or four layers doing the same leaving the top most layer with just a cake.
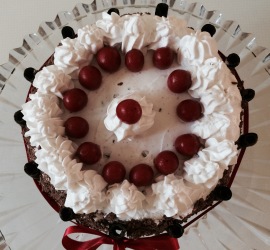
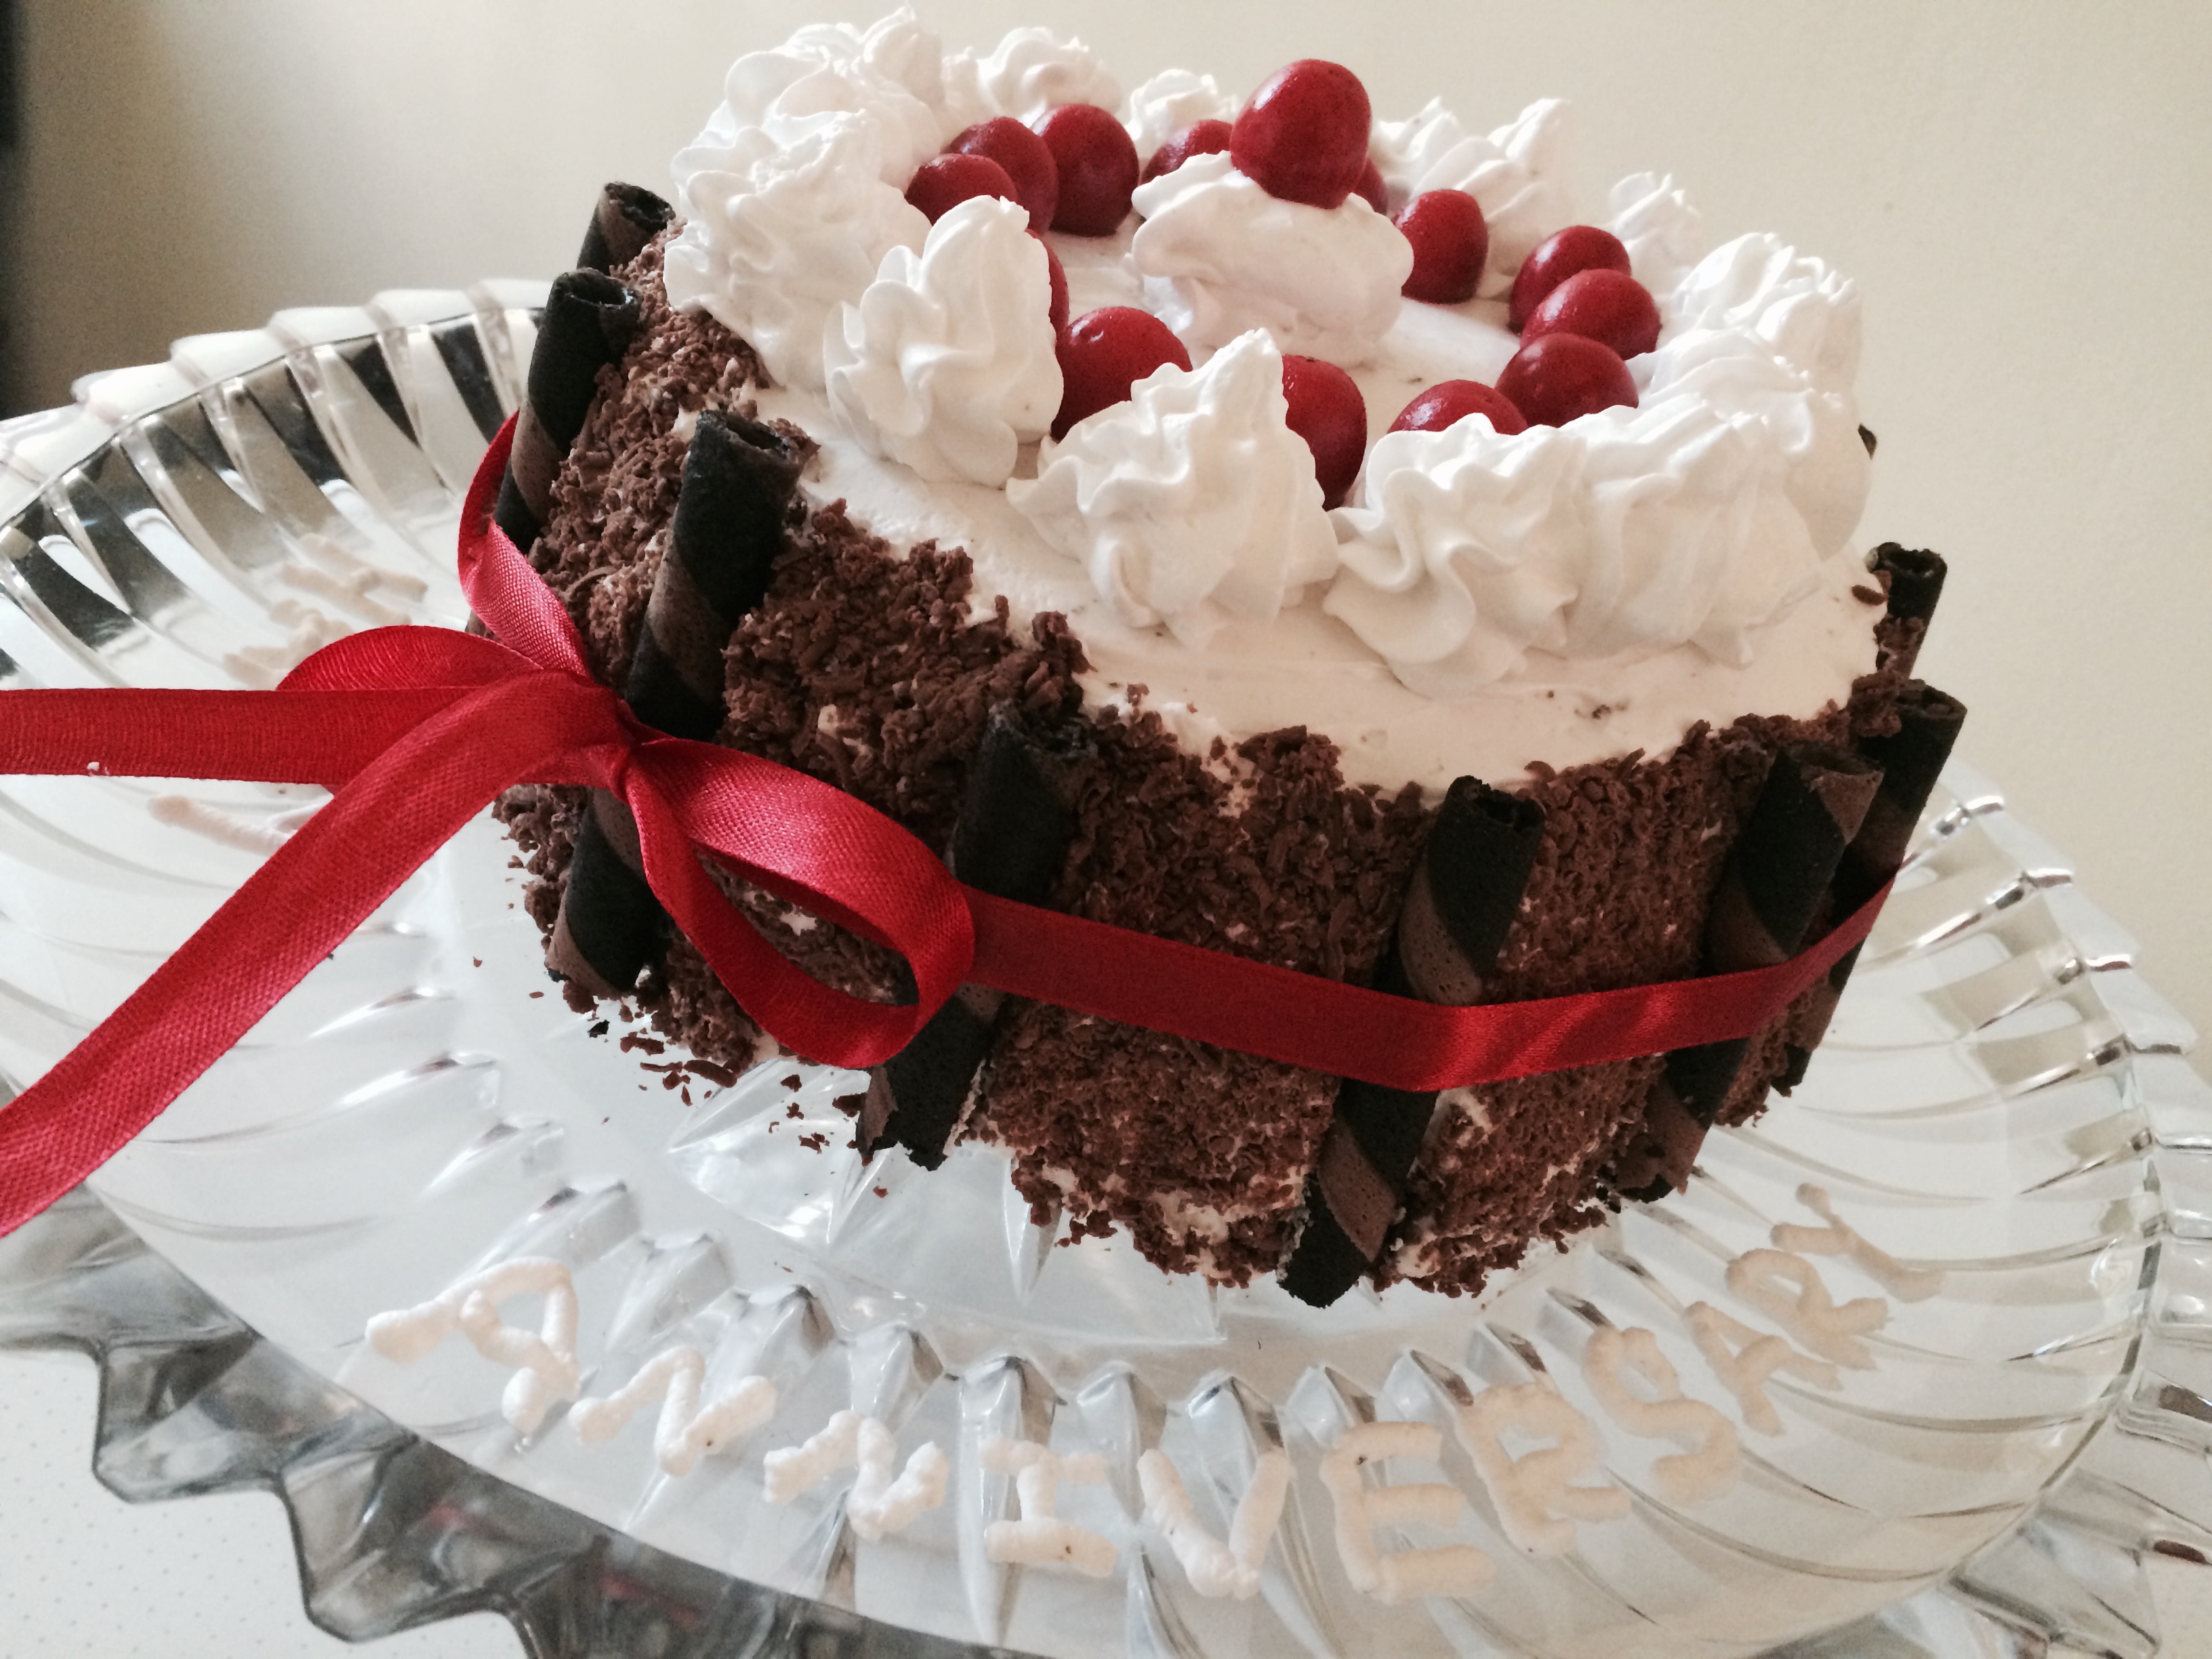
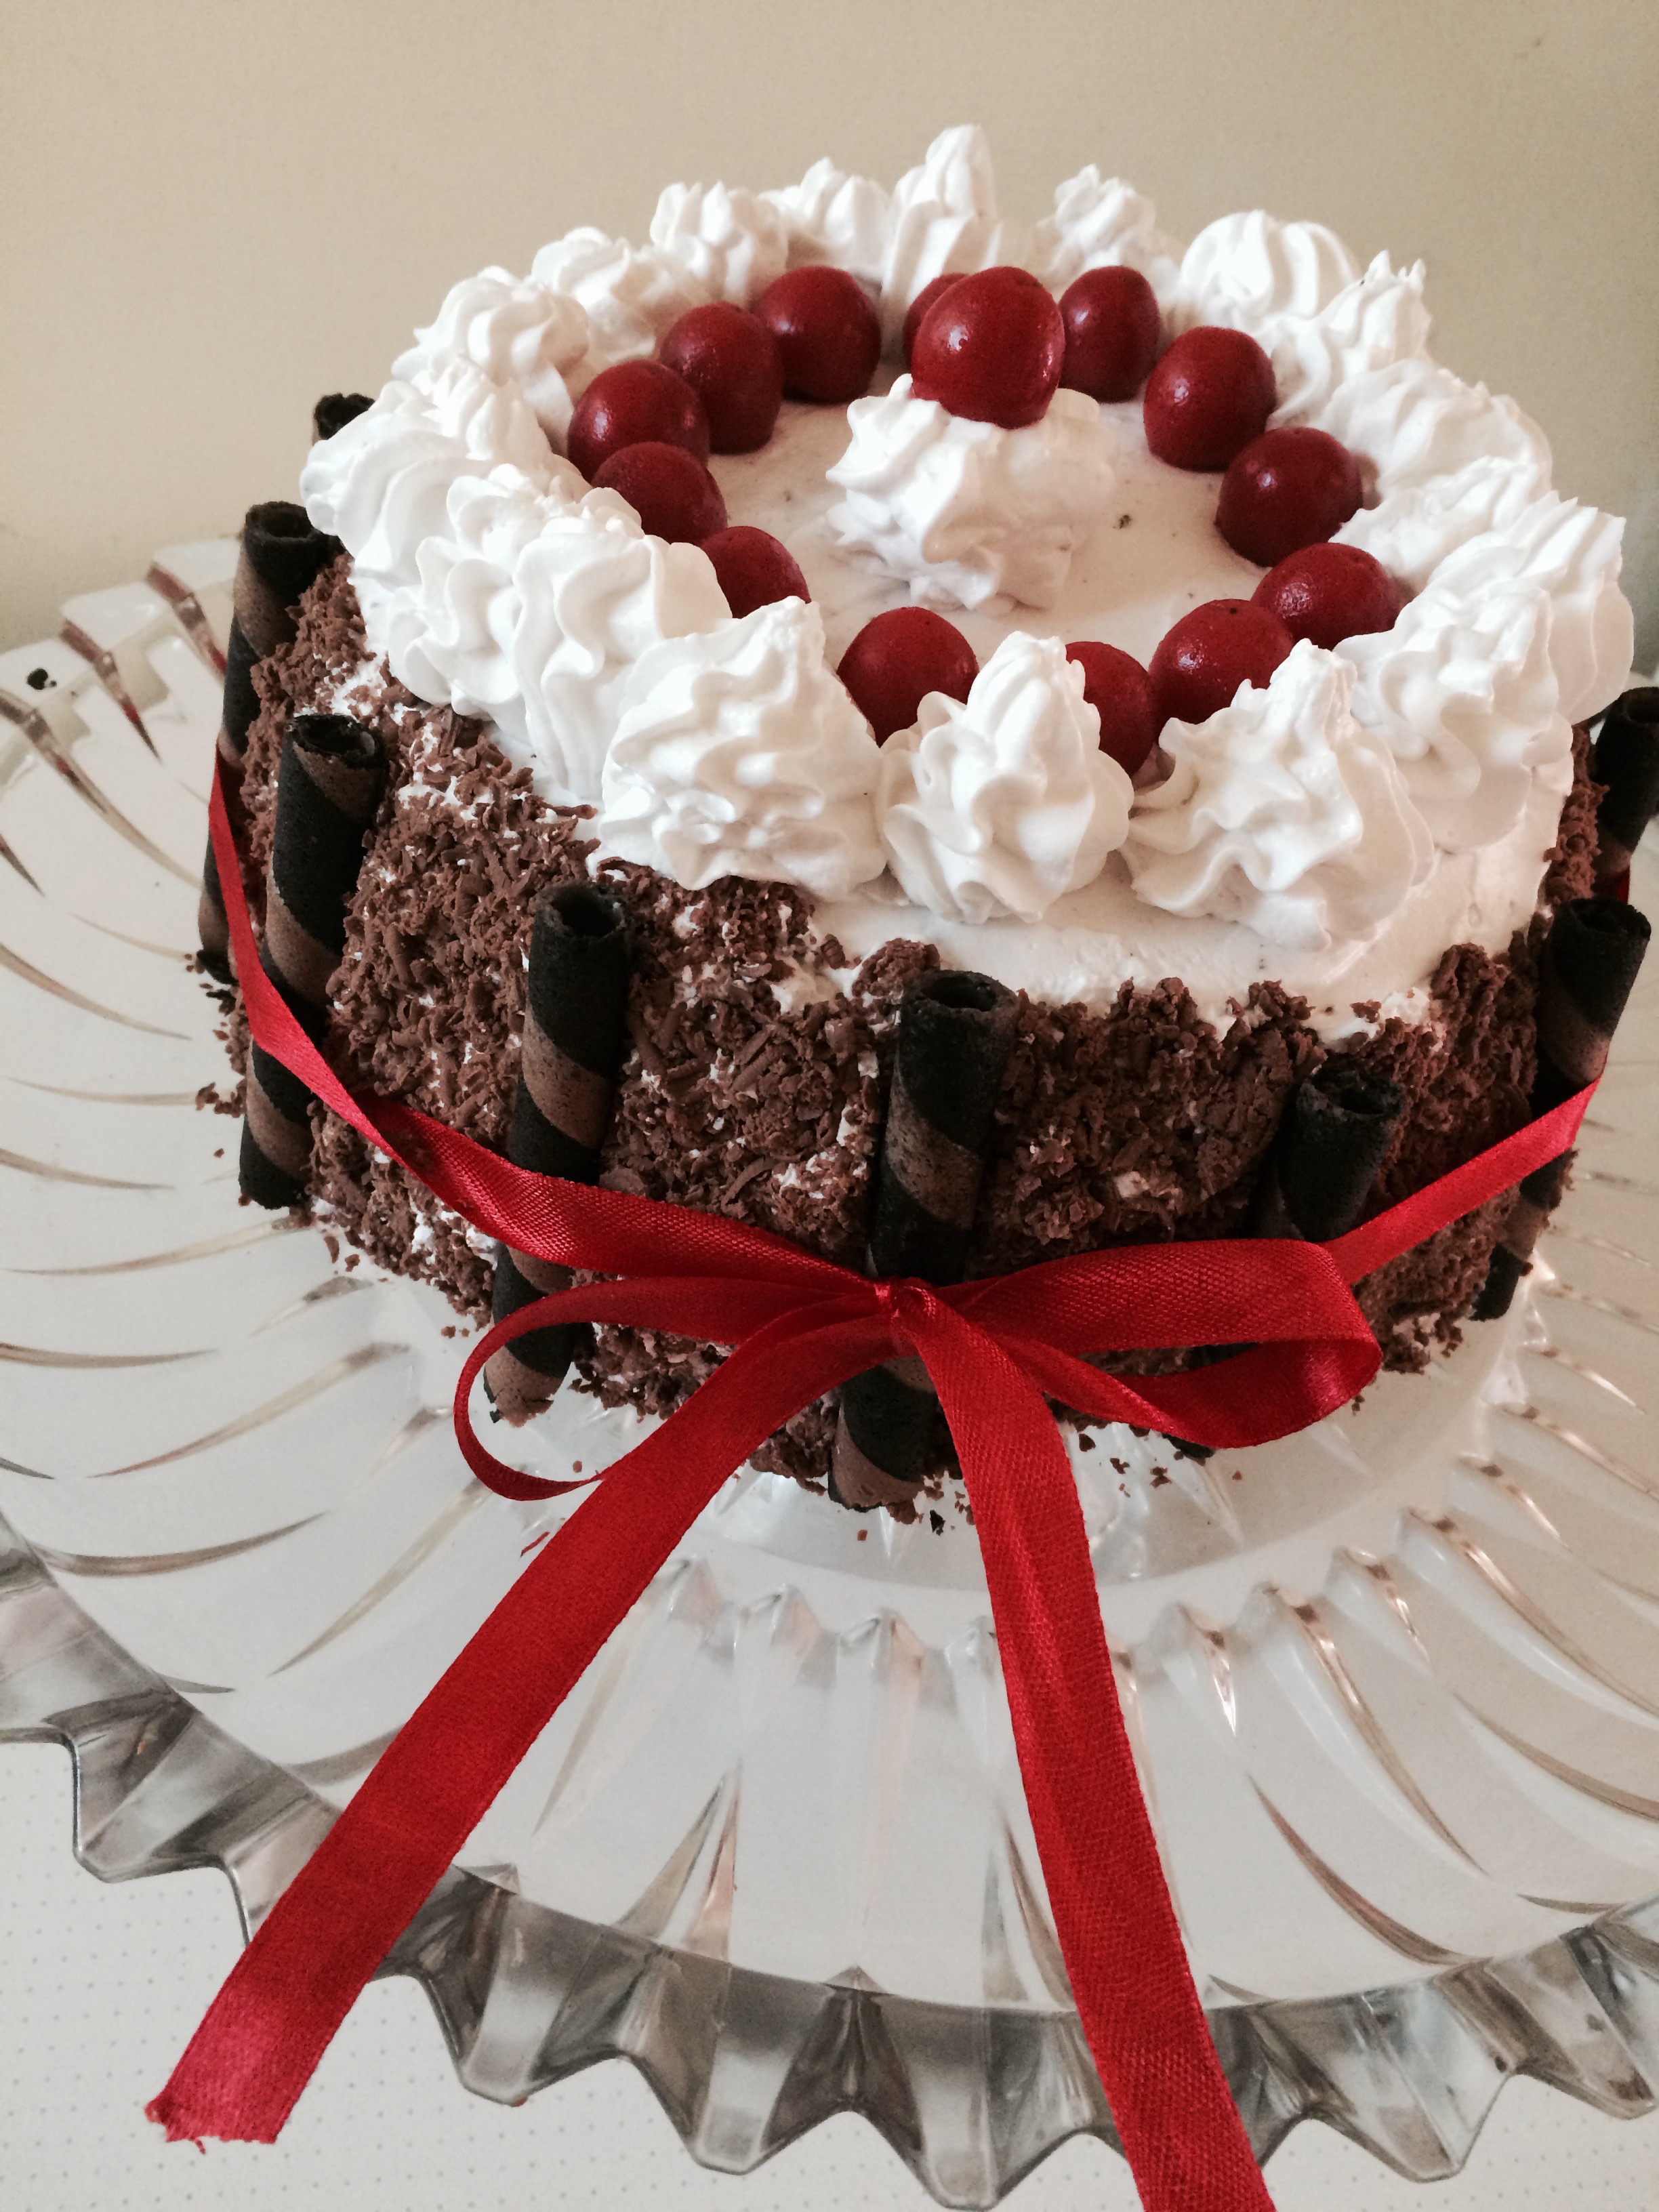
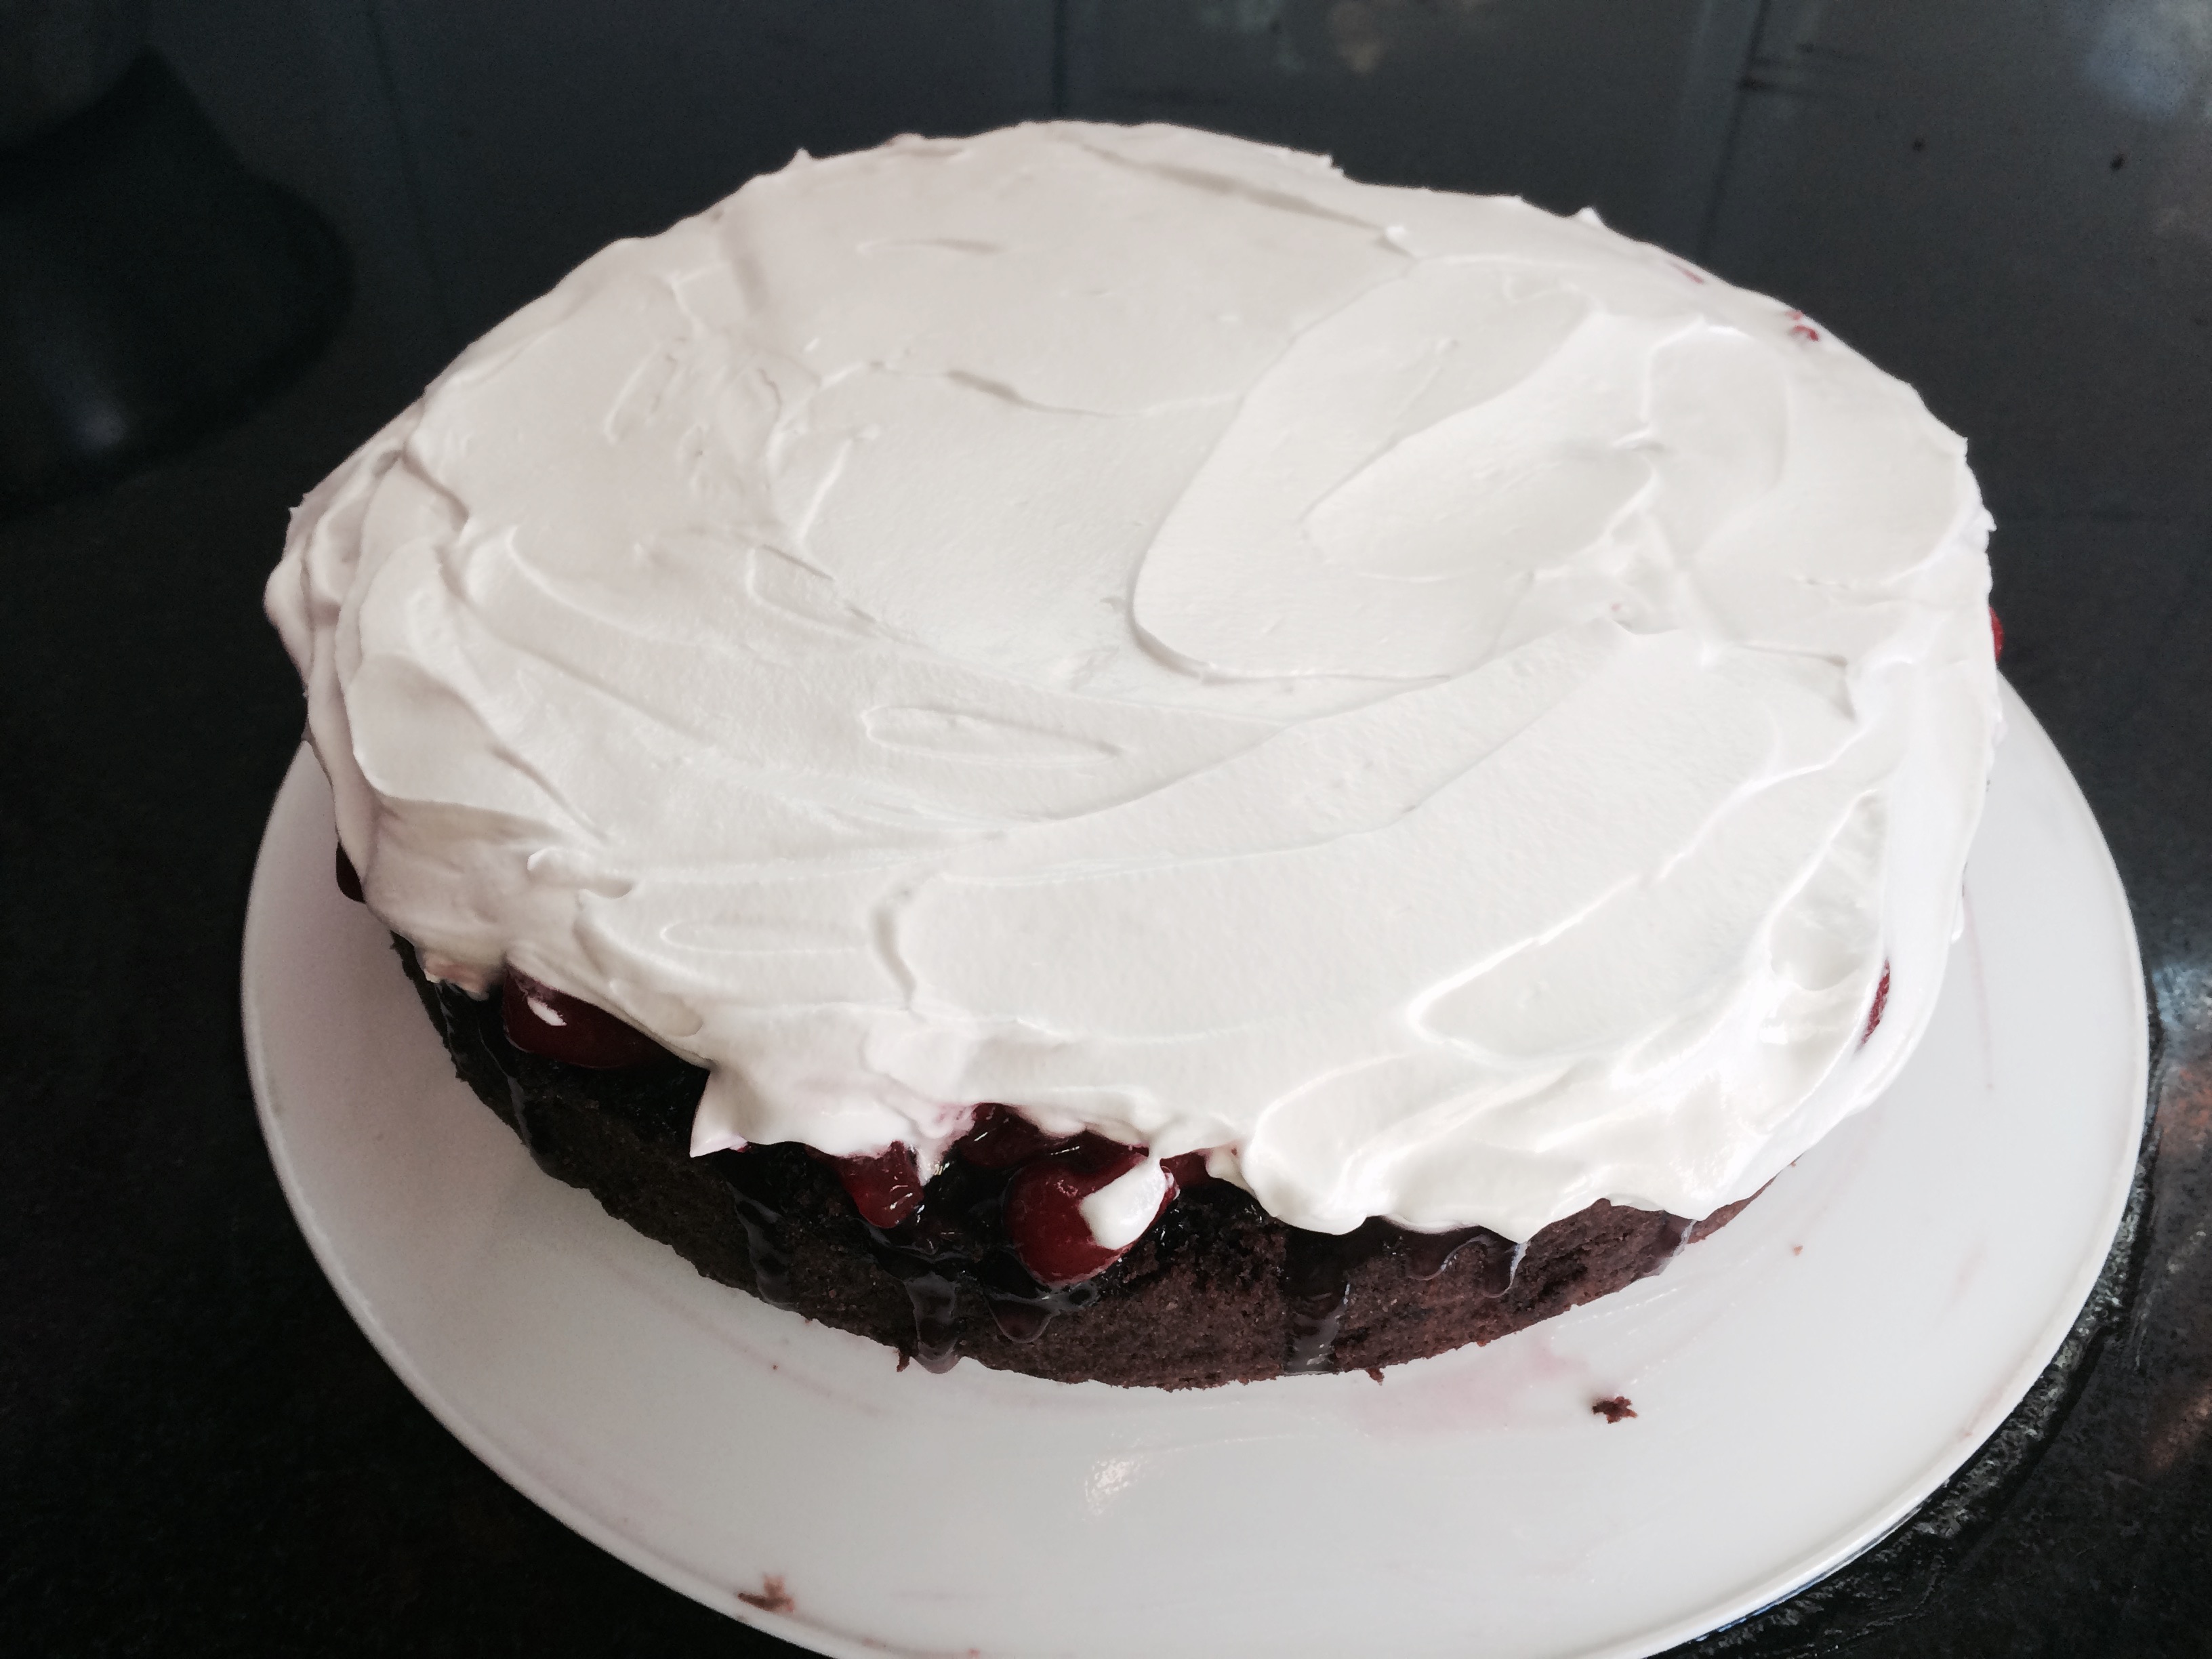
- frost sides and top evenly with the whipped cream with the help of a spreading spatula. Cover the sides with grated chocolate gently.
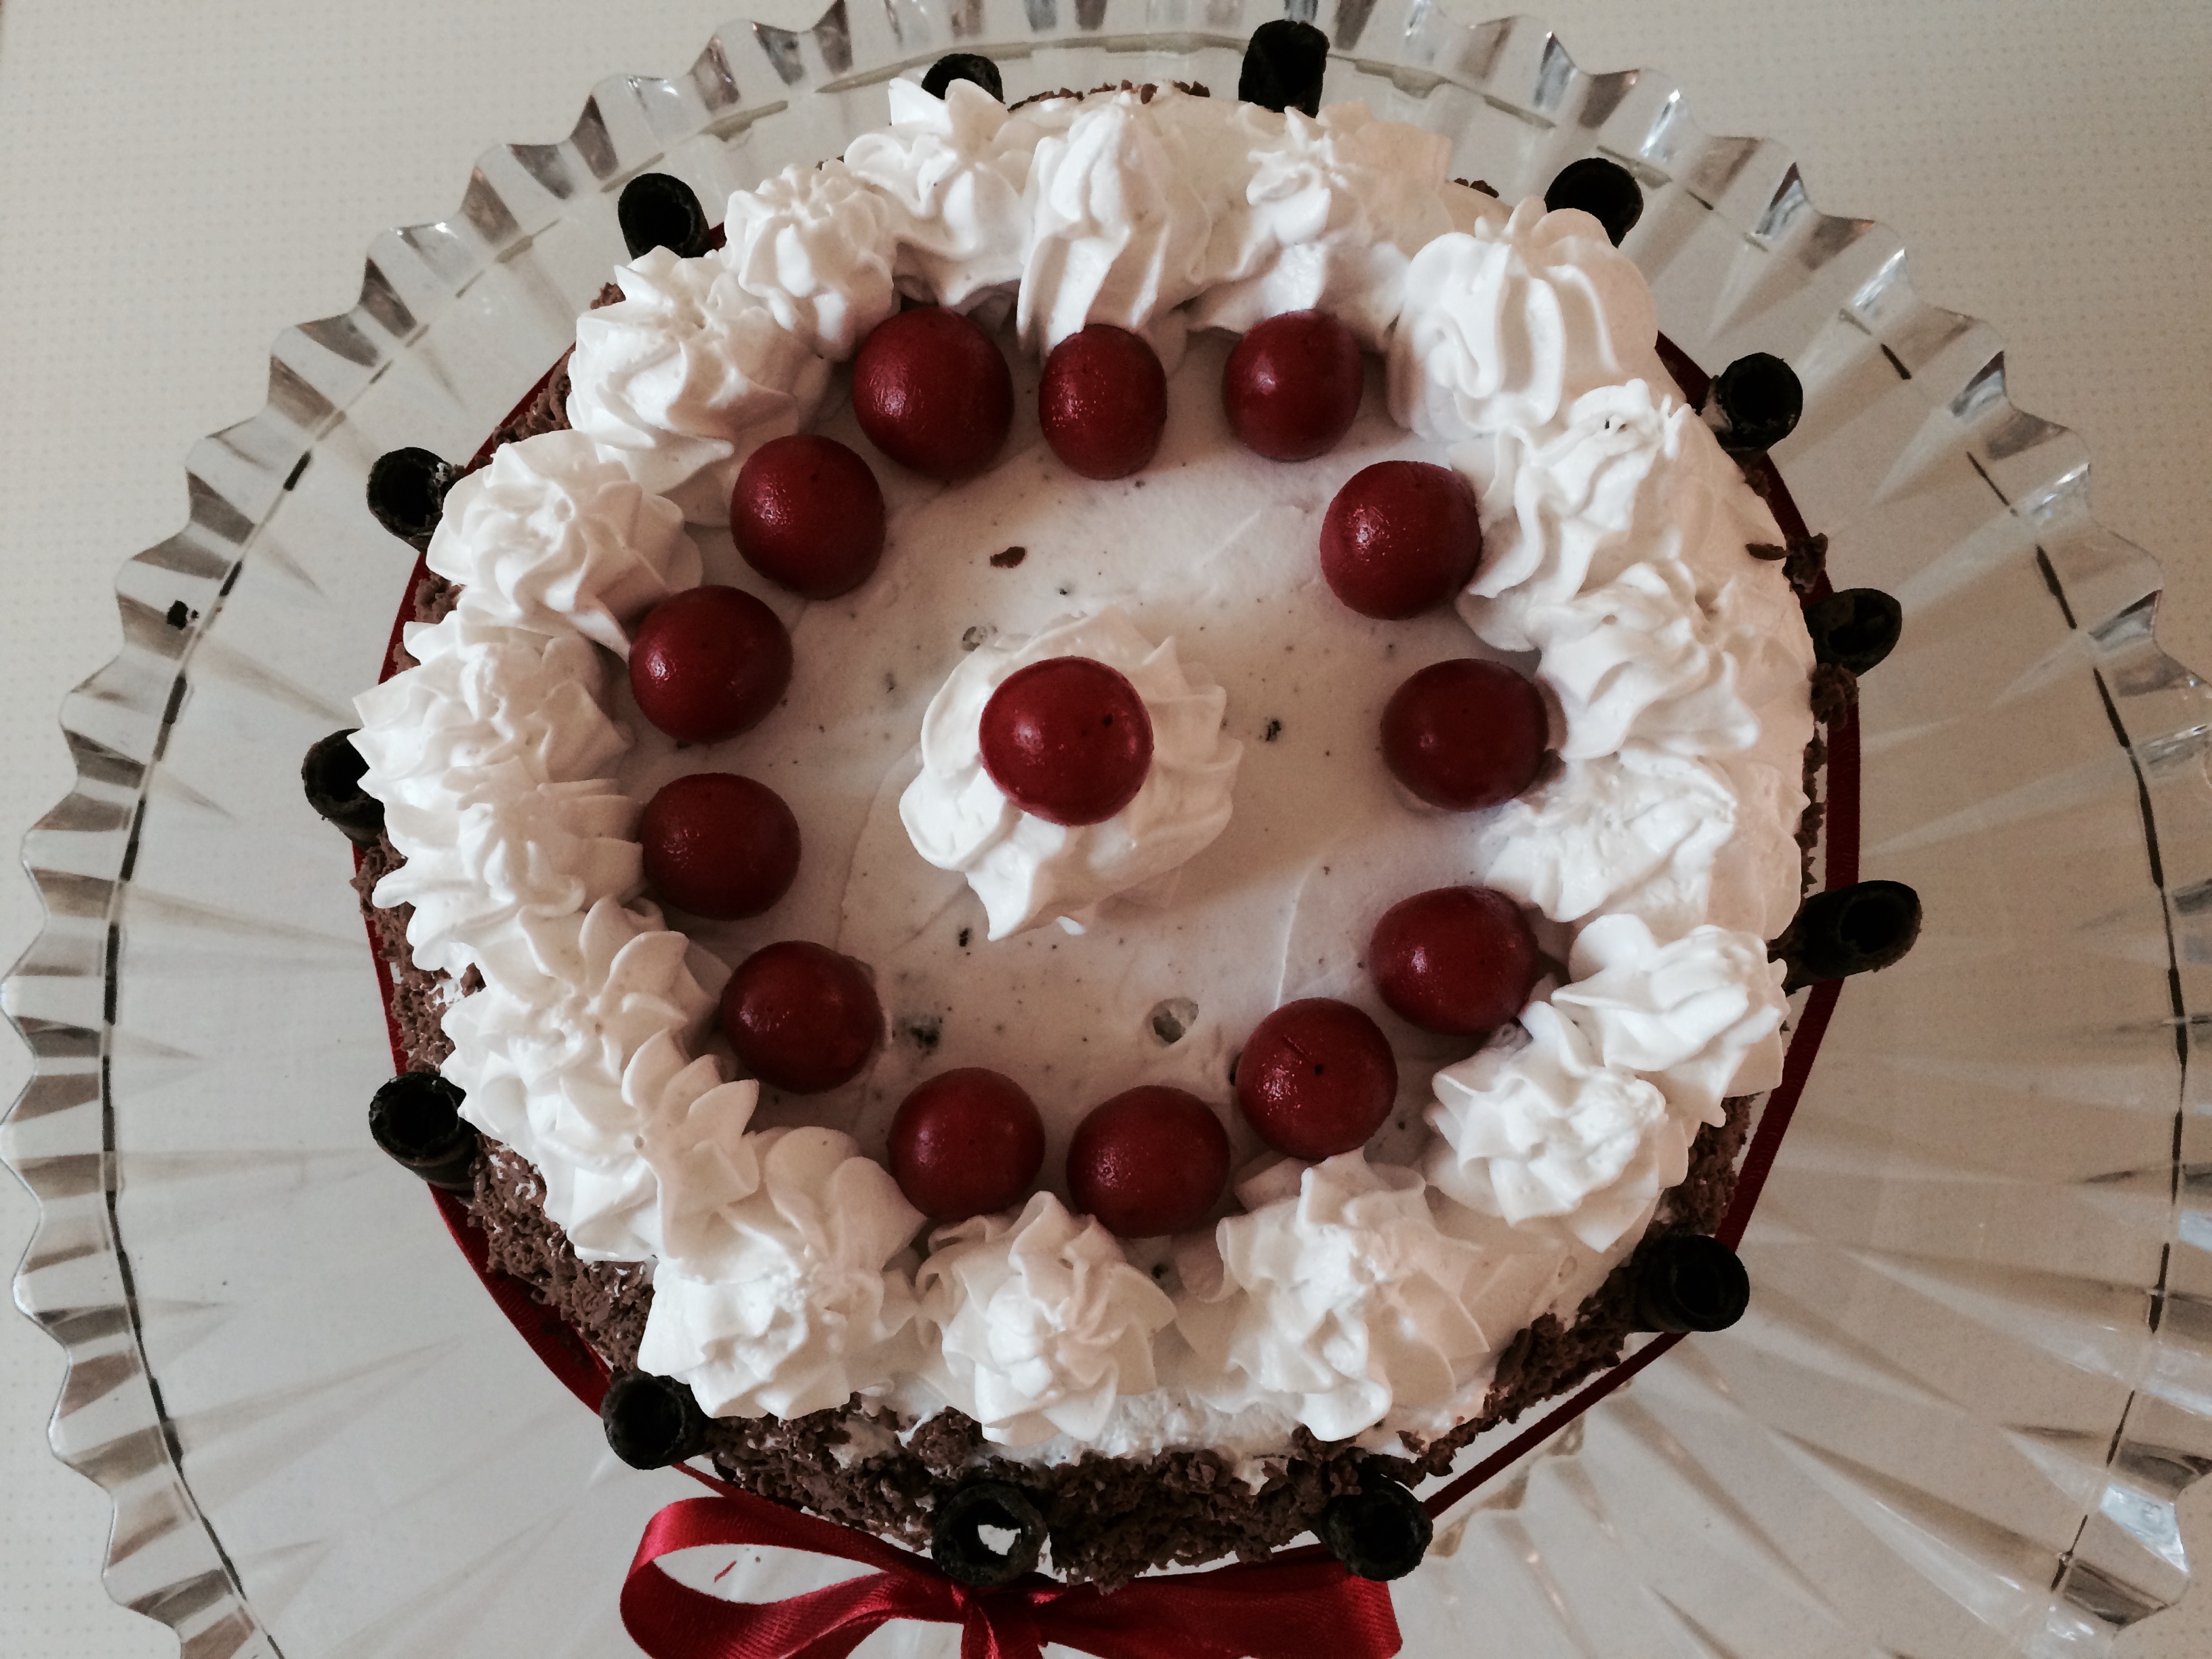
- Fill the remaining whipped cream into a pipping bag with nozzle of choice. Decorate as you wish. Garnish the top with whole cherries.
- Once the cake is done, place in a cool place or refrigerator until needed to be served.