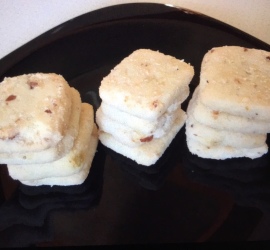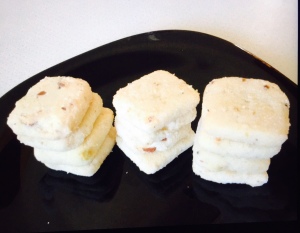
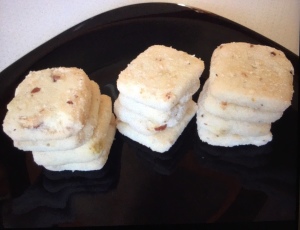
Eggless Almond cookies

Share Button

FullSizeRender (1)

FullSizeRender

Preparation time : 35 minutes
Cooking time      : 25 minutes
Serves               : 6 members

Description:

Some how cookies are not of much interest to me but I am pushed to bake cookies once in a while having a head over heels in love with cookie son of mine. As a kid , he used to always finish off an entire packet of biscuits. My mother – in – law used to crib about this to me always. Once I left him with her and went for a wedding. The minute I was back home , she was like ” now , I know why you give him the entire packet of biscuits to  eat. He is a super hyper active kid. Very difficult to handle. ” I just smiled and felt happy that she got to know the fact. He does love his cookies and biscuits like before but now he knows it’s not good to gobble up so much at once.  I get to see the long lost child like smile on his face when ever a fresh batch of cookies are baked at home. In fact I bake cookies just to see that million dollar smile on his face . That’s what a mother needs the most , to see the long lost delighted kid in your child.

Ingredients

Ingredients
Quantity
Butter170 grams
icing sugar110 grams
salt1/4 teaspoon
plain flour200 grams
cornflour80 grams
toasted almond flakes100 grams
Sunflower Oila little if the dough is too dry

Method:

  • Cream butter with icing sugar till creamy.
  • Add in flour, cornflour then the roasted almond flakes.
  • Slowly pour in oil to form into a dough.
  • Chill in the fridge for 30 mins. then roll into 1 cm thick. cut into squares with a sharp knife. Place the cut squares over a butter paper lined baking tray with 1/4 inch gap between each cookie.
  • Bake in a preheated oven at 170 degrees Celsius for about 25 minutes until cooked and lightly brown.
  • Remove from oven and leave to cool on a wire rack for twenty minutes.store in cookie containers. Keeps well for ten days.

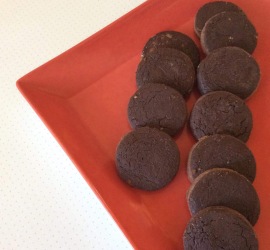
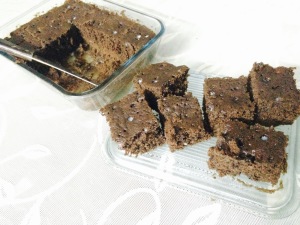
Chocolate cookies

Share Button

IMG_8248

Preparation time : 30 minutes
Cooking time      : 15-20 minutes
Serves                : 4 members

Description

I have a very formal relationship with my neighbors here at my home town. Though we all live near by, we get to meet only once in a while at social gatherings or when we bump into them some where. My neighbor Vijay’s children have grown in front of me. Now both her kids are teenager’s. Her son Dharshan is doing hotel management 2 nd year at Mangalore. His first project was to set a menu card for a new restaurant. He took note of recipes from sauté, fry n bake and prepared a menu. Guess what, his project was the winning one too. The day he shared this news with me, I was so happy. From then on he does share most of his culinary experiences with me along with sharing a few recipes to. This chocolate cookie recipe was also shared by him . I saved it but got to try it only now. This no fail recipe is for sure keeps. It’s so easy and yum to. Thank you so much Darshan for the recipe share which has given me an opportunity to try it out and share with one and all here too. To me recipes are very important but only to a certain point. What’s more important is how we think about food and a recipe should open up a new way of doing just that.

Ingredients

Ingredients
Quantity
Flour / maida100 grams
Icing Sugar65 Grams
Butter75 Grams
Baking powder2 Grams
Cocoa powder15 Grams
Milk powdera pinch
Corn floura pinch
Chocolate EssenceA drop
Egg1⁄2 an egg beaten
Walnut30 grams chopped

Method

  • Sieve the flour with cocoa powder, baking powder, corn flour and milk powder.
  • Cream the butter and icing sugar together.
  • Add the beaten egg and chocolate essence.
  • Then add the flour and make soft dough by rubbing method.
  • Add the chopped Walnut and Keep it in the refrigerator for 10 minutes.
  • Roll it in to small balls or sheet it into 1⁄2 inch thickness and cut it into required shape.
  • Arrange them in a greased tray.
  • Bake it at 160*C in a preheated oven for 15 to 25 minutes and serve when cooled.

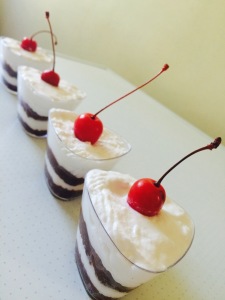
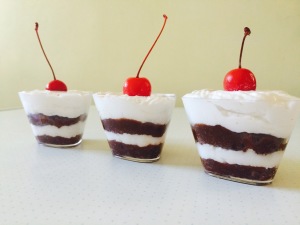
Black forest shots

Share Button

fullsizerender-10

fullsizerender-9

Preparation time  : 20 minutes
Cooking time       : 10 minutes
Serves                 :  8 members

Description

Short glass desserts were first introduced in Coimbatore my home town by JM English bakery in 1980’s. I used to love them being flavoured with fruits, chocolates and fresh cream. My mother never let us buy them saying it’s made from left over old cake from the bakery. Not sure if she was right I used to love them. In dedication to my nostalgic love for those short glass taste bombs I tried creating my own version. For my first try wanting to be safe, I started with the universally loved Black Forest shots. The lazy bug in me not wanting to wait for a chocolate cake to be baked in an oven took the cheats way of doing the same in a microwave. The chocolate cake ready in few minutes time. I started to assemble the shots and found I had no chocolate to grate in each later of the Black Forest shots but went ahead still as I just wanted to finish off and admire these beauties. Once I was done, the Black Forest shots looked even better than the ones in JM English bakery shelves that I used to drool upon. With utter joy I needed a big pat on my back. Shared the shots with family and friends with lot of praise with all of them saying these shots are perfect portions just right amount to satisfy your sweet cravings. Gear up all and treat your selves soon with these Black Forest shots.

Ingredients for the cake

Ingredients
Quantity
Flour140 grams or 1 and 1/4 cups
Sugar175 grams or 3/4 cups
Cocoa powder3 tablespoons
Baking powder3 teaspoons
Salta pinch
Eggs2
Oil100 ml ( I used sun flower oil ) or 1/2 cup
Hot water100 ml or 1/2 cup
Vanilla essence1 teaspoon

Method for Cake

  • Grease a microwave safe square bowl with oil. Line the bottom with a butter paper.
  • Mix all the dry ingredients sugar, flour, cocoa powder, baking powder and salt together.
  • In another bowl whisk together eggs, oil, vanilla essence and hot water together.
  • Mix the wet ingredients into the dry ingredients and mix well with no lumps.
  • Pour into the greased and lined microwave safe bowl. Tap down to remove air bubbles. Cover with a cling film.
  • Microwave on high for 5 minutes. Check by inserting a skewer, if not done. Microwave on high further for another 2 minutes.
  • Remove from microwave and set aside for five minutes. Remove the cling film and cool completely.

Other ingredients

Ingredients
Quantity
Whipping cream1 and a 1/2 cup
Tinned cherries1 cup
Sugar2 tablespoons
Chocolate1/4 cup grated ( optional - I didn't use )

How to proceed

  • Cut the cooked chocolate cakes into rounds that will fit into a short dessert glass of 1/4 inch thickness.
  • whip the whipping cream to stiff peaks with the help of an electric egg beater.
  • Boil sugar with 4 tablespoons of water just until sugar dissolves. Remove from heat.
  • Leave a few tinned cherries as it is to Garnish on top. Remove the seeds from the remaining cherries and mix with the sugar syrup.
  • Place a slice of cake, top with one teaspoon of sugar syrup and cherries.
  • Pipe whipped cream on top. Garnish with grated chocolate. Repeat the same layers once again. Top with a whole cherrie.
  • Do the same to all the cake, whipped cream, sugar syrup, grated chocolates and whole cherries.
  • Place in the refrigerator to chill for three hours or more. Serve chilled.

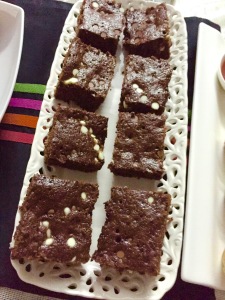
Chocolate hazelnut brownies

Share Button

fullsizerender5

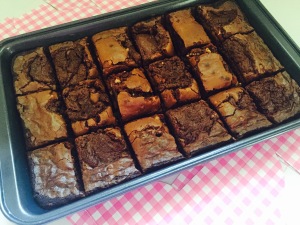
img_0563

fullsizerender4

fullsizerender3

fullsizerender2

img_0569

fullsizerender1

fullsizerender

img_0573

img_0574

img_0581


Preparation time : 20 minutes
Cooking time      : 40 minutes
Serves                : 8 members

Description

When you have a friend passing by your home town on a train journey. Would you miss the opportunity of meeting them even if it was for ten minutes. I grabbed it and made sure to pack a few edible goodies for my friend. Brownies being my friends favourite, I made four types of brownies, chocolate chip brownies, blondies, dolce de leche brownies and this new try of chocolate hazelnut brownies. The first three I have already treated my friend with and the dulce de leche brownies were my friends favourite always. This time I was surprised that the the new try chocolate hazelnut brownies took over the Dulce de leche brownies. My friend had her moments of hiding and eating it all by herself. Now that’s a good sign of the brownies being divine isn’t it ? My mission accomplished with her eating all of it as me always want her to get fat and plump .

Chocolate hazelnut brownies

Ingredients

Ingredients
Quantity
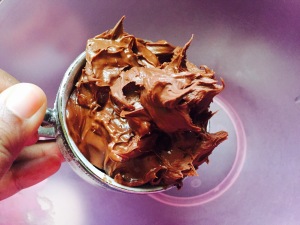
Nutella1 cup + 1/2 cup to top
Melted butter1/2 cup
Eggs2
Powdered sugar1/2 cup
Flour / maida3/4 cup
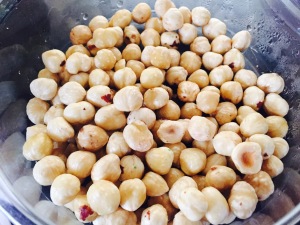
Hazel nuts/4 cup powdered coarsely

Method

  • Preheat an oven at 180 degrees Celsius for 10 minutes.
  • Beat 1 cup Nutella and melted butter together until well blended with the help of an electric egg beater.
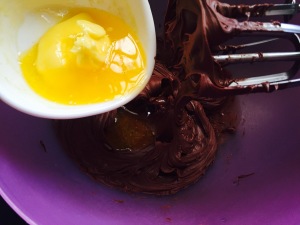
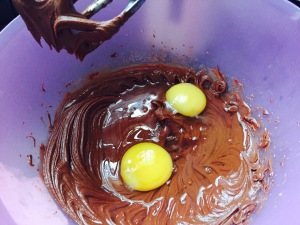
  • Add the eggs one at a time and beat well. Top with powdered sugar and beat further to mix well.
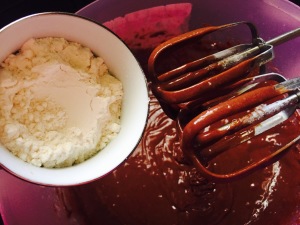
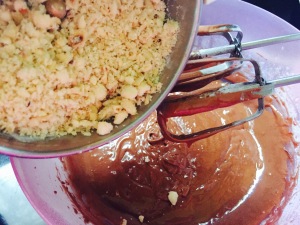
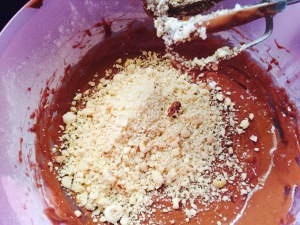
  • Add the flour and mix to combine. Top with the coarse hazelnut powder and mix well.
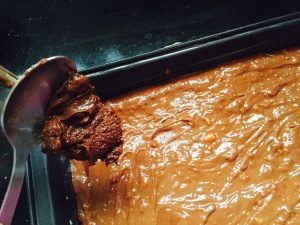
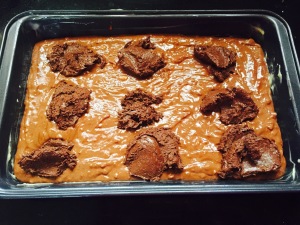
  • Grease a brownie tin with butter . Pour the Nutella brownie batter. Tap to remove air bubbles twice. Top with the remaining half cup Nutella by dropping a tablespoon full all over with a little gap between each dollop.
  • Bake in the preheated oven for 35 to 40 minutes until cooked through. Check by inserting a tooth pick into the centre. If it comes out clean, it’s cooked.
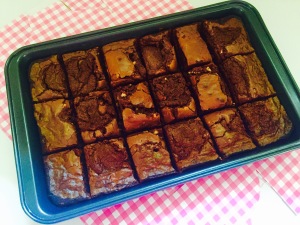
  • Remove from the oven and cool completely. Cut into even size squares and serve as it is or with ice cream.


Chocolate cup cakes with chocolate ganache frosting

Share Button

image1

img_8529

fullsizerender-8

img_8531

fullsizerender-7

img_8534

fullsizerender-6

fullsizerender-5

img_8558

img_1337

Preparation time  : 20 minutes
Cooking time       : 18 minutes
Serves                 : 8 members

Description

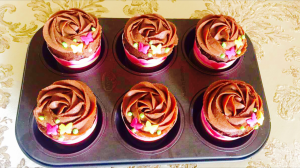
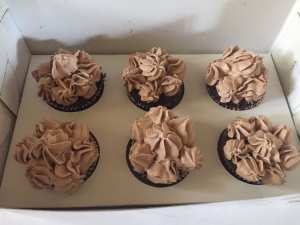
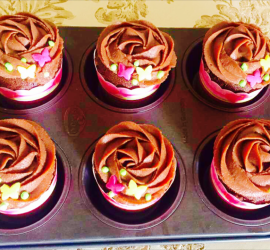
Cup cakes are always a fancy high end considered indulgent. Not sure why, but to me any thing that is high end or too English when it comes to food related stuff, I am a bit hesitant to give a try. ( not to eat but to cook ) so cakes are always the last thing to be ticked in my bucket list of trials and errors. It’s just the opposite with my daughter “Anisha ” who loves to bake and decorate cakes of any sort. I do help her out at times with her orders and that’s when she gets to boss over and shout at me for doing all crazy stuff.. Me being curious wanting to know all about it, ending in messing it up. My girl is a natural with piping and decorating cakes. See her do some thing, I try the same and it ends up looking dreadful. I guess, I don’t have the patience as she does. I always think I should practice more on this but my laziness makes me stay ideal instead. The thought creeps up only next when I try to decorate a cake. I have to confess, that this image of the cup cakes was borrowed from my girls work. Just by looking at them, I feel like gobbling them off the picture. I remember, how I licked the chocolate ganache and she gave me a weird look . Her turn to mother me I guess.. These crazy little food related stories are itched into me to create a better bond with my loved ones and food too. So peeps give a try to this cup cake recipe and create stories of your own and enjoy.

Ingredients
Quantity
Flour / maida1 cup
Salta pinch
Cocoa powder1 1/4 tablespoons
Sugar2/4 cups
Baking powder1 1/2 teaspoon
Butter1/3 cup at room temperature
Egg1 at room temperature
Milk2/3 cup
Vanilla essence1/4 teaspoon

Method

  • Preheat oven to 180 degree Celsius. Line a 12 hole muffin tray with paper cup cake liners.
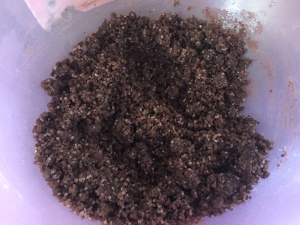
  • Mix flour, salt, sugar, cocoa powder, baking powder and butter together with an egg beater in low speed until you get a sand like well Mixed texture.
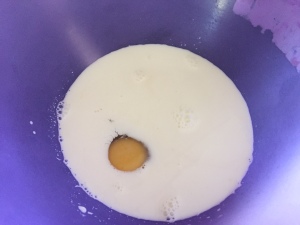
  • Beat egg, milk and vanilla essence together in another bowl with the help of an electric egg beater.
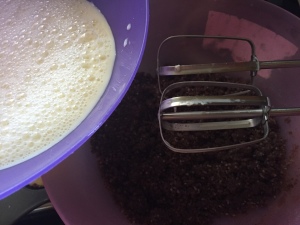
  • Pour the egg+ milk mix into the dry flour mix little at a time and mix well to combine making sure not to over beat.
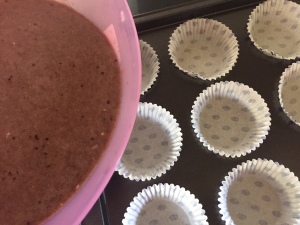
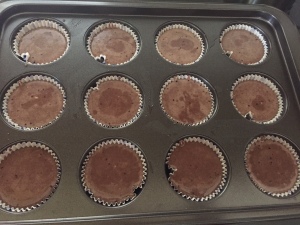
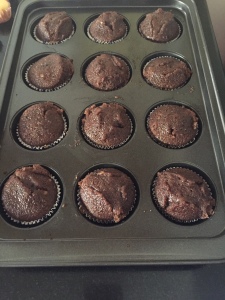
  • Pour the mixed batter into greased paper cup cake moulds to 3/4 full. Bake in a preheated oven at 180 degrees Celsius for 20- 25 minutes.
  • Check with a tooth prick by inserting in the middle. If it comes out clean it’s done. Remove from oven and cool completely.
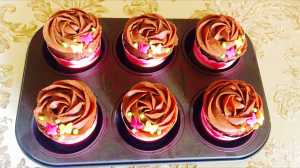
  • Decorate as desired over the cooled cup cakes. They are ready to be devoured.

Chocolate Ganache

Ingredients
Quantity
chocolate500 grams chopped ( I used modre brand )
fresh cream175 grams ( I used Amul brand )

Method

  • Bring the cream to just bubbling over low heat. Add the chopped chocolate and remove from heat.
  • Mix well together until the cream and chocolate combine together to smooth.
  • Leave it over night closed at room temperature. Fill into piping bags and decorate as desired.

Vanilla cup cakes with strawberry flavored frosting

Share Button

FullSizeRender (4)

IMG_8520

IMG_8521

IMG_8522

IMG_8523

IMG_8524

IMG_8525

IMG_8527

FullSizeRender (3)

IMG_8561

Preparation time : 20 minutes
Cooking time : 18 minutes
Serves : 8 members

Description

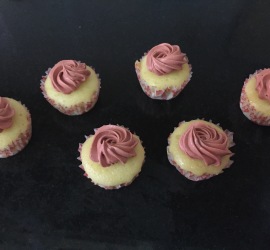
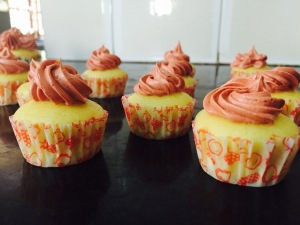
My neighbor gayathri’s kid keeps me entertained with all his laughs, cries and naughty playfulness. I get to hear him do all this from home. It’s always a joy when he is next doors. The silent home of mine feels so festive with his sound heard here. I was so happy to hear her mom sing a song to her grand son. With sheer joy and delight, I messaged Gayathri about this. She did give a call and we had a small chat catching up on the current happenings. She told me she will be visiting her mom the following weekend and asked me to send over cup cakes. Now baking cup cakes is a easy thing for me but the frosting part is one task I was nervous about. I took the life out of my girl Anisha who is a pro in cup – cakes. Some how made them, packed and sent it over. I waited for the verdict but didn’t get any. So I messaged Gayathri. She was like, aunty the cup cakes are coming by flight today to chennai. My cup cakes flying .. I laughed my guts out. Yet to get the verdict over the flight travelled cup cakes though..

Ingredients
Quantity
Flour / maida1 1/2 cups
Salt1/4 teaspoon
Baking powder1 1/2 teaspoon
Eggs2 large at room temperature
Sugar2/3 cup
Milk1/2 cup
Melted Butter3/4 cup
Vanilla essence2 teaspoons

Method

  • Preheat the oven to 180 degree Celsius. Line a muffin tray with paper cup cake liners.
  • Mix flour, salt and baking powder together.
  • Beat eggs and sugar to light and foamy with an electric egg beater for two minutes.
  • Add melted butter little at a time and mix well. Then add vanilla essence and mix further.
  • Add half of the flour mix, then add the milk and mix well.
  • Top with remaining flour mix gently. Make sure not to over mix the batter.
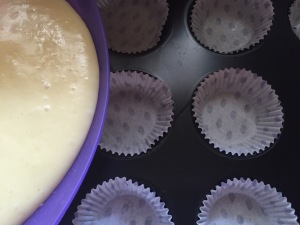
  • Pour the batter equally into the lined paper cup cake moulds.
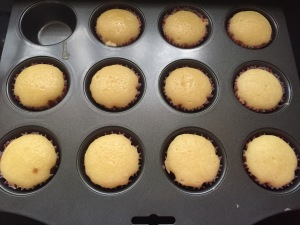
  • Bake for 15 -18 minutes or until a tooth prick inserted comes out clean.
  • Remove and cool completely. Decorate and serve.

Frosting ingredients

Ingredients
Quantity
Whipped cream5 cups
Powdered sugar1/4 cup
Strawberry essence2 drops
Pink food colourfew drops

Method

  • Mix all the frosting ingredients together.
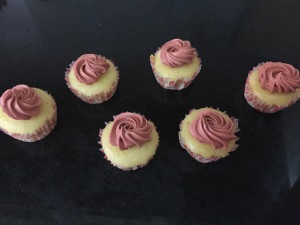
  • Fill into piping bags and decorate as desired.

Notes

  • If using mini cup cake moulds, bake them for 10 -12 minutes.

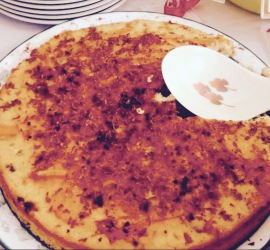
Walnut and Ricotta Cake

Share Button

FullSizeRender (4)

Preparation time : 25 minutes
Cooking time      : 30 minutes
Serves                : 8 members

Description

Coming from a family that has excellent cooks from my grand mother to aunties to cousins to children now. ( real tough competition I say ) I do have one cousin sister Aashik who does not cook much. I alway’s wondered how can she be the odd one out being born from such a family where food is the most important part that binds us all. I remember inviting her for the second recipe swap anniversary of sauté, fry n bake. She was like Akka what will I cook and bring. Told her any thing will do. She bought this walnut and ricotta cake . Not even a crumb was left behind and the best part her cake won a prize too under the dessert category . Only then I knew she does cook, it’s just that she’s a bit lazy . As no one can just bake a cake with out having a bit of common sense in cooking. I remember I was lucky enough the next time too to get my share when she baked this cake after six months. This time also it vanished in seconds as the crazy shameless lot of us glutton cousins gobbled it up. Oops have to say we are not gluttons but explorers of food.

Ingredients
Quantity
walnut pieces ( can use toasted chopped almonds) 1 cup
unsalted butter, softened2/3 cup
caster sugar2/3 cup
eggs, separated5
Ricotta cheese2/3 cup
plain flour6 tbsp
Orange rind1

To Finish

Ingredients
Quantity
apricot jam/ peach jam4 tbsp
brandy ( optional )2 tbsp
bitter chocolate, coarsely grated2oz

Method

  • Preheat the oven to 190 degrees C. Grease and line the base of a deep 9 in round, loose-based cake tin.
  • Roughly chop and lightly toast the walnuts.
  • Cream together the butter and ½ cup of sugar until light and fluffy.
  • Add the egg yolks, orange rind, ricotta cheese, flour and walnuts and mix together.
  • Whisk the egg whites in a large bowl until stiff. Gradually whisk in the remaining sugar.
  • Using a large metal spoon, fold a quarter of the whisked whites into the ricotta mixture.
  • Carefully fold in the rest of the whisked whites.
  • Turn the mixture into the prepared tin and level the surface.
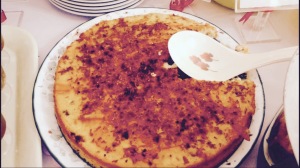
  • Bake for about 30 minutes until risen and firm. Leave the cake to cool in the tin.
  • Transfer the cake to a serving plate. Heat the apricot/ peach jam in a small saucepan with 1tbsp water.
  • Press through a sieve and stir in the brandy.
  • Use to coat the top and the sides of the cake.
  • Scatter the cake generously with grated chocolate.

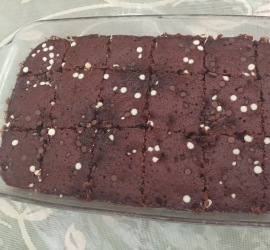
Five minute microwave eggless chocolate chip brownies

Share Button

image1

FullSizeRender (3)

IMG_6028

IMG_6029

IMG_6030

IMG_6031

IMG_6032

IMG_6034

IMG_6064 (1)

IMG_6064

Preparation time : 10 minutes
Cooking time      : 5- 6 minutes
Serves               :  8 members

Description

There are a few desserts I rely on for a quick fix and this is my favourite among the lot. Hassle free with no eggs but over whelming.. out of the way.. drop dead delicious.. Over loaded with chocolate too. What more do you need in a good dessert?  In general this fool proof recipe is almost impossible to make an inedible batch of brownies. How ever made, they are lip smacking good.  I could get these brownies done blind folded and still it will taste divine. Make them once and you will immediately want to add them to your list of tried and – true stand by’s. These modern day sweet assassin marvels are super simple to make. when chocolate is the answer who cares about the question ..

Ingredients
Quantity
Sugar3/4 cup
Vegetable oil1/4 cup ( I used sunflower oil )
Milk1 cup
Vanilla essence1 teaspoon
Lemon juice2 tablespoons
Flour1 and 1/4 cups
Cocoa powder4 tablespoons
Baking powder1/2 teaspoon
Baking soda1/2 teaspoon
Salt1/2 teaspoon
White chocolate chips1/3 cup
Brown Chocolate chips1/3 cup
Butterto grease the microwave pan

Method

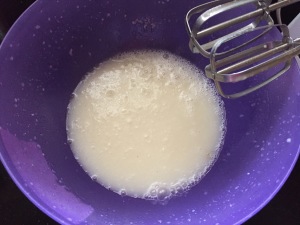
  • Measure the sugar and powder to fine. Mix powdered sugar, vegetable oil, milk, vanilla essence and lemon juice until the sugar dissolves and blends well with an electric egg beater.
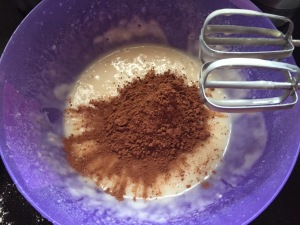
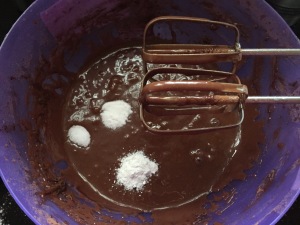
  • Add flour and cocoa powder. Mix well. Then top with baking powder, baking soda and salt. Mix well.
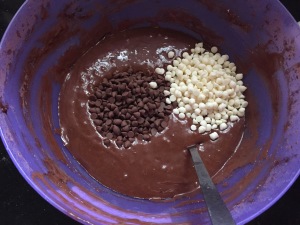
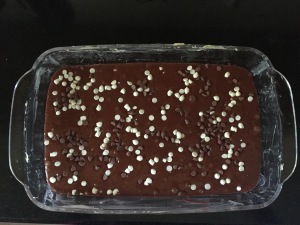
  • Grease the microwave safe pan with butter. Add both the chocolate chips keeping aside 2 tablespoons each to drizzle on top finally. Mix well with the brownie batter.
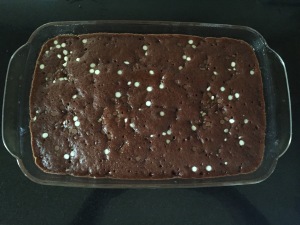
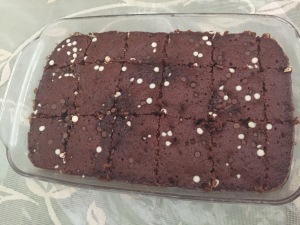
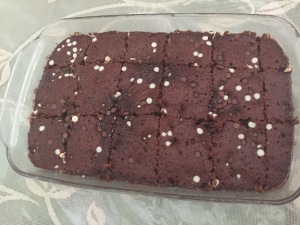
  • Pour into the greased pan and microwave for five to six minutes. Remove and cool completely. Cut into equal squares and serve. Can store in air tight containers at room temperature for two days.
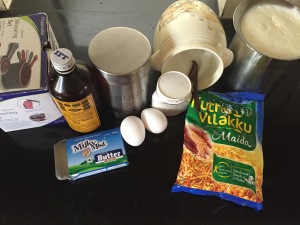
Notes

  • Each microwave the time differs so check after five minutes and microwave further if needed checking every 30 seconds once.
  • My microwave took 6 minutes.


Red velvet cup cakes

Share Button

IMG_7318

FullSizeRender (21)

FullSizeRender (20)

Preparation time  : 30 minutes
Cooking time       : 20 to 25 minutes
Serves                 : 6-8 members

Description

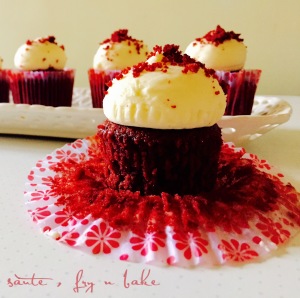
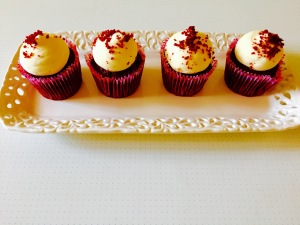
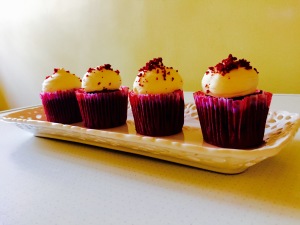
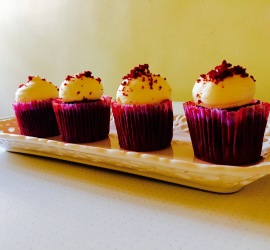
Day’s of drooling over exotic looking cakes, pastries and baked goodies in foreign magazine’s are put to shame with much talent seen here in India by our home ministers who are so called as home bakers. I am awe struck with so much talent that all these home bakers posses through out India. The hard work and dedication they must have to put up with one cake, my god.. We must find new words to describe what they go through. I really got to know in and out about this only through my daughter’s home baking experience. Tough job to be done with a hell lot of patience. I made up my mind that baking and decorating cakes is not meant for me as I am so used to cooking with my instincts with a little of this and that. Start to cook a dish and finish it must be done with in some time. Here for a cake to be done it takes days. Uff, this is not my cup of tea. But still at times for a change to challenge my comfort zone I do bake and this cup cake as well was done on one such day. I have already baked a red velvet cake for Father’s Day when I had my dad visit me. So many followed the same recipe and made these cup cakes. Pitch perfect, soft, moist with the correct rise and colour. At days like this I feel I struck gold. This post is purely dedicated to all the home bakers of India that has brought in a revolution of confidence in women to earn an identity of their own with so much confidence and grace. Hip hip hurray to you all.
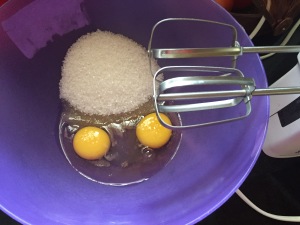
Cake flour ingredients

Ingredients
Quantity
All purpose flour / maida1 cup
Corn flour2 tablespoons

Cake flour Method

  • Remove 2 tablespoons of flour from 1 cup flour and replace it with 2 tablespoons of corn flour.
  • Sift together three times and use as demanded in the recipe.
  • For this recipe I used 2 1/2 cups all purpose flour /maida.
  • Removed 5 tablespoons of flour and replaced it with corn flour.
  • Always measure after shifting both the flours together.

Ingredients for the cake

Ingredients
Quantity
Cake flour(not self-rising)2 1/2 cups
Salt1 teaspoon
Cocoa powder1/4 cup
Sugar1 1/2 cups
Canola oil1 1/2 cups ( I used sunflower oil instead )
large whole eggs2 at room temperature
Red food colouring1/4 cup
Pure vanilla extract1 teaspoon
Buttermilk1 cup
soda - bi - carbonate1 1/2 teaspoons
White vinegar2 teaspoons

Method for the cup cake

  • Pre heat oven to 175 degrees Celsius.
  • In a medium bowl, whisk cake flour, salt, and cocoa. set aside.
  • In the bowl of an electric mixer fitted with the paddle attachment, combine the sugar and oil, and beat on medium speed until well combined.
  • Add eggs, one at a time, beating well after each addition. Add food colouring and vanilla, beat until well combined.
  • Add flour mixture, alternating with buttermilk, scraping the sides of the bowl with a rubber spatula as needed.
  • In a small bowl, mix soda – bi – carbonate and vinegar until combined. Add to batter, and beat for 10 seconds.
  • Evenly divide batter between the lined cup cake liners.
  • Bake until a cake tester inserted in the Centre of each cup cake comes out clean, 20 to 25 minutes.
  • Transfer to a wire rack to cool in the pans for 5 minutes. Remove from the pans, and return to the rack to cool completely.
  • Allow cakes to cool completely before icing.

Cream cheese icing  ingredients

Ingredients
Quantity
Cream cheese, softened450 grams
Unsalted butter, softened120 grams
Vanilla extract1 teaspoon
Icing sugar, sifted2 1/2 cups
Salta pinch

Icing method

  • With an electric mixer, blend together cream cheese and butter until smooth.
  • Reduce speed to low, and blend in icing sugar, salt and vanilla extract.
  • Increase speed to high, and beat until light and fluffy.

How to proceed

  • Fill cream cheese frosting into pipping bags fitted with nozzle of choice.
  • Pipe over each cup cake and serve.

Notes

  • Make sure you use cake flour not self raising flour for the cup cake.
  • Make sure all the ingredients for the cup cake are at room temperature.
  • Place the cream cheese icing in the fridge until needed to be used as the icing tends to loose its firmness in hot weather.
  • Store the cup cake’s at room temperature in an air tight box and it stays fresh for 2-3 days.
  • The brand name of the red food colour that i have used is rayner’s red concentrated food colouring.
  • Be careful with the red food colouring as it stains the cloths you wear as well as your kitchen counter.

Upside down pineapple cake

Share Button

FullSizeRender (26)

FullSizeRender (25)

FullSizeRender (24)

Preparation time :  30 minutes
Cooking time      :  50- 55 minutes
Serves                :  10 members

Description

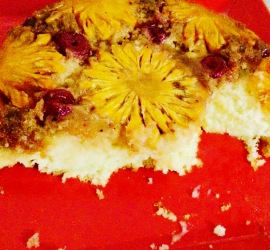
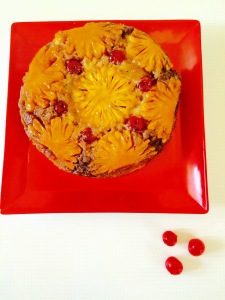
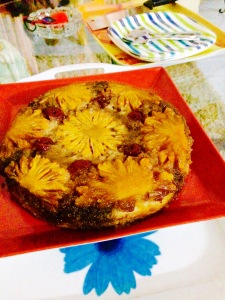
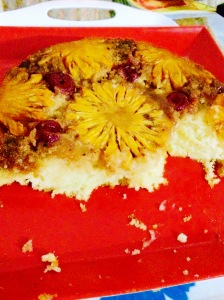
Pineapples always remind me of one thing that I learnt as a kid day dreaming during a boring class. The fruit itself is so interesting that I made sure to be like it to wear a crown, stand tall ( though I am short ) and be sweet inside meaning with in myself. My crazy little mind did wonder a lot but this one though stuck to me as I felt it to be a bit sense able. Me and my weird stories.. Coming to the cake. I made this cake when I had hubby dear’s cousin sister visit us. The cake was moist and tasted more like a pudding than a cake as the caramelize sugar that is let to drip down the cooked cake finally moisten’s the cake that just melts in your mouth. A very indulging novel tea time treat cake that’s worth every calorie which is rich in flavors and full of crunch, sweetness and a slight tang. The surprise element being there’s no artificial coloring or flavor’s added to the cake resulting in great results. This easily prepared well in advance cake makes for an impressive sweet finale. This flavorful power house dessert will instantly elevate almost any table from good to umm.. So get ready to turn your table’s from plain blah good to ummm… Ummmm.. Ummm…
Ingredients
Quantity
Butter1/4 cup
Brown sugar2/3 cup
Tinned pineapple slices9
Tinned cherriesfew
Flour / maida1 and a 1/3 cups
Sugar1 cup
Sunflower Oil1/3 cup
Baking powder1 and a 1/2 teaspoon
Salt1/2 teaspoon
Milk3/4 cup
Egg1 whole

Method

  • Heat a nine inch baking pan over low heat. Melt butter and add brown sugar evenly. Remove from heat.
  • Arrange tinned pineapple slices in a decorative way over brown sugar. Place tinned cherries in the center of each pineapple slice.
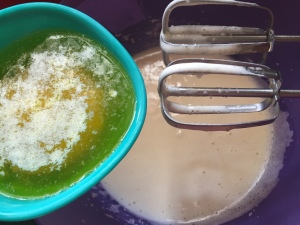
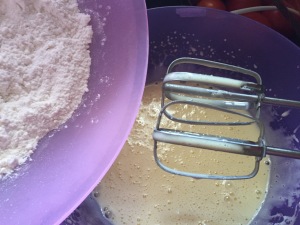
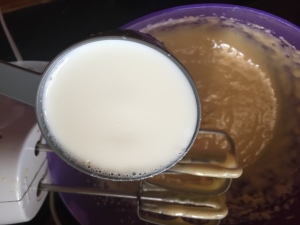
  • Preheat oven to 175 degree Celsius. Beat egg, milk and oil together with an electric egg beater. Add sugar and beat well to combine. Top with flour, salt and baking powder. Beat well for three minutes.
  • Pour the batter over the set pineapple slices. Bake for 50 to 55 minutes or until a toothpick inserted in the center comes out clean.
  • Remove from oven and immediately place a heatproof ( ceramic )serving plate up side down over cake pan, turn the plate letting it sit on the bottom and the cake pan over the top.
  • Leave the cake pan to cool completely, letting the brown sugar mix and drizzle over the cake.
  • Remove cake pan. Serve warm or at room temperature. Store the cake loosely covered until to be had next.