
Preparation time : 20 minutes
Cooking time : 18 minutes
Serves : 8 members
Description
There are a few recipes that my mom is crazy about to cook, to master it, entertain with it and eat it too. But not always does she win with the recipe cook off. This kaima urundai kozlambhu is also one such recipe that she loves to cook and entertain with but fails always ending up with rubbery meat balls. Poor us in the table pretend it’s tasty and stuff our selves by gulping water to swallow the curry. She makes sure to ask dad if she’s made it like how my grand mother used to make it. Dad being a silent man by nature, just smiles always. The next time she says I will make the same, we all in a chorus say no, no not this time. My mom not knowing the real reason with all of us signaling and giggling with out her knowledge. Such recipes,even I don’t take an effort to try thinking if she can’t then even I can’t. But at times when you repeatedly serve the same and fall short of choice is when I take an effort to give my shot. My first few attempts did end up like moms. Rubbery meat balls. But being the never give up attitude me.. I did try over and over again. Usually I make it in the pressure cooker and it always ended in rubbery meat balls. So this time I made up my mind to make it in a pot, started and as I was dropping the meat balls, I got a call. Left the stove with the meat balls in low flame to cook. Made sure to rotate the pot once in three minutes time. Came back to the dish after nearly 12-15 minutes. Checked the meat balls to see if they were cooked through. As I pinched the meat balls, it just slit open so smoothly not as always in a hard way. I jumped up and the first thing I did was to call mom and tell her I made it exactly like grand ma. So the key was to cook the meat balls in low heat, this is where mom and myself were making a mistake. We are not to be blamed as my grand mother never ever shared her recipes with any one of us. I guess that’s why I am sharing the little I know with you all…..
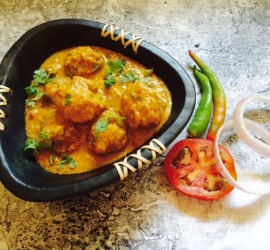
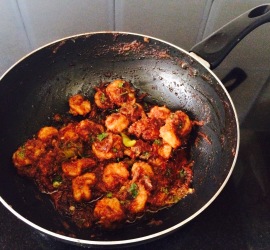
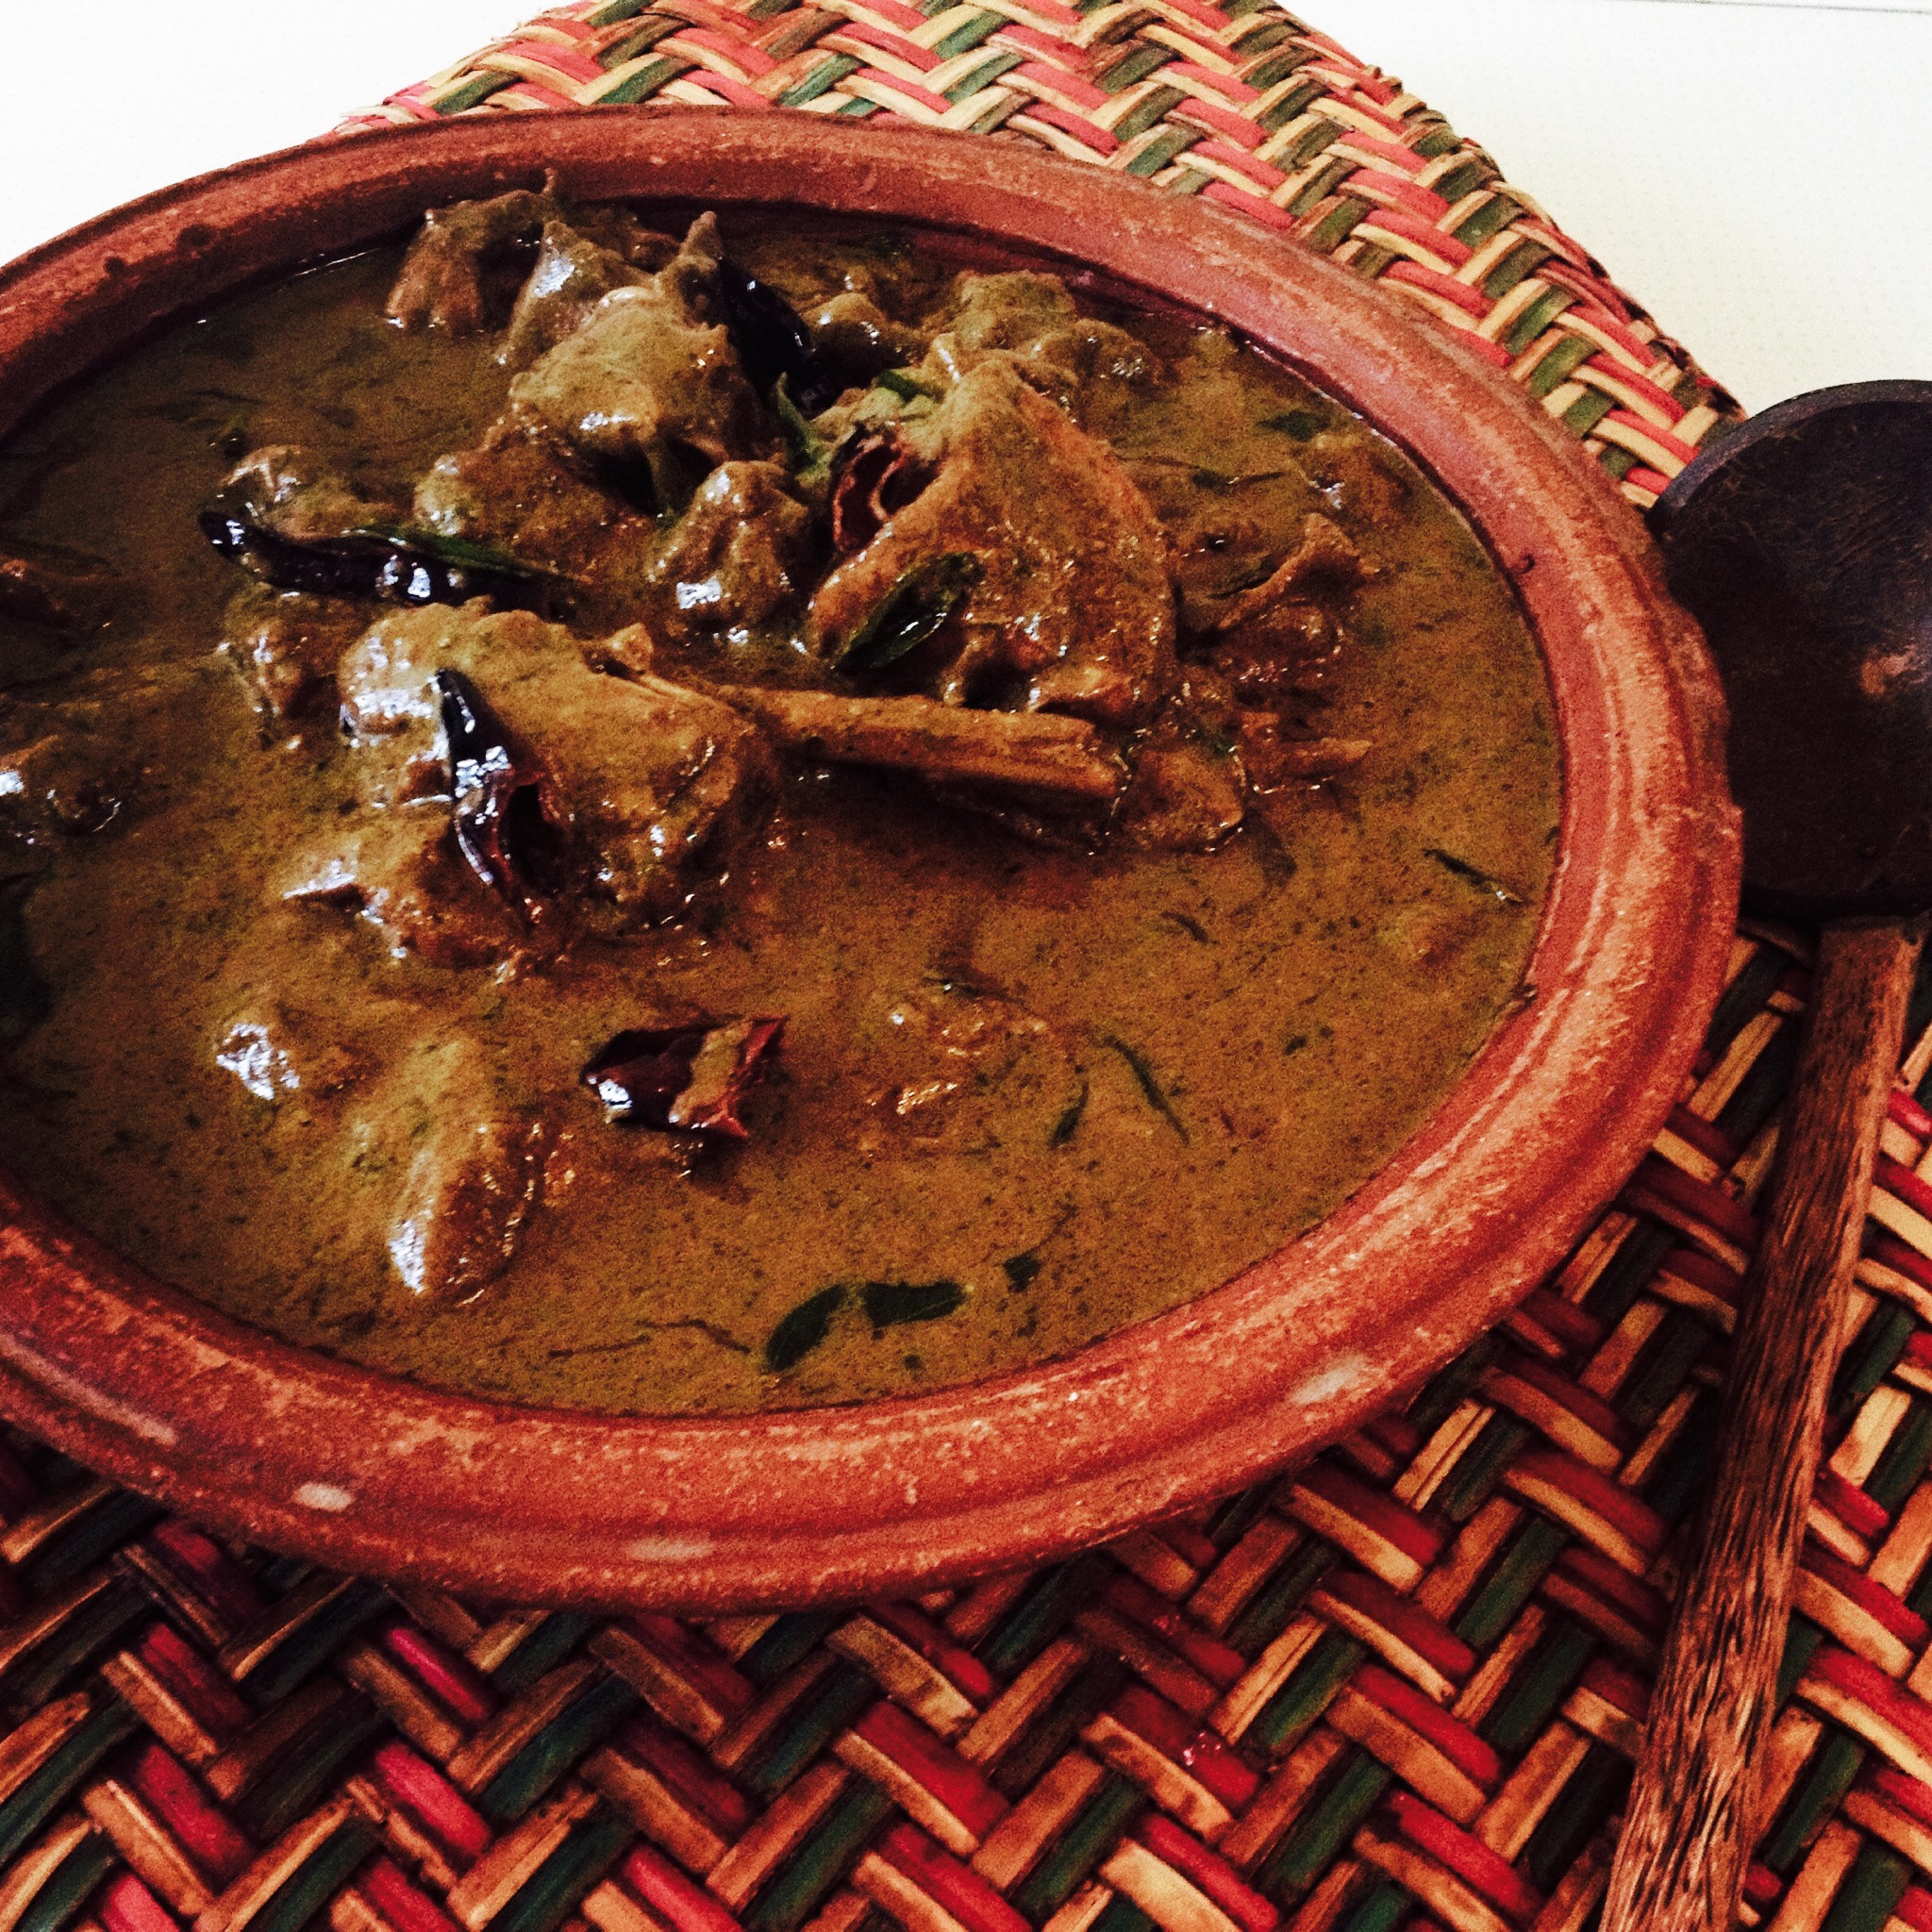
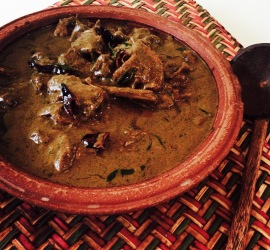
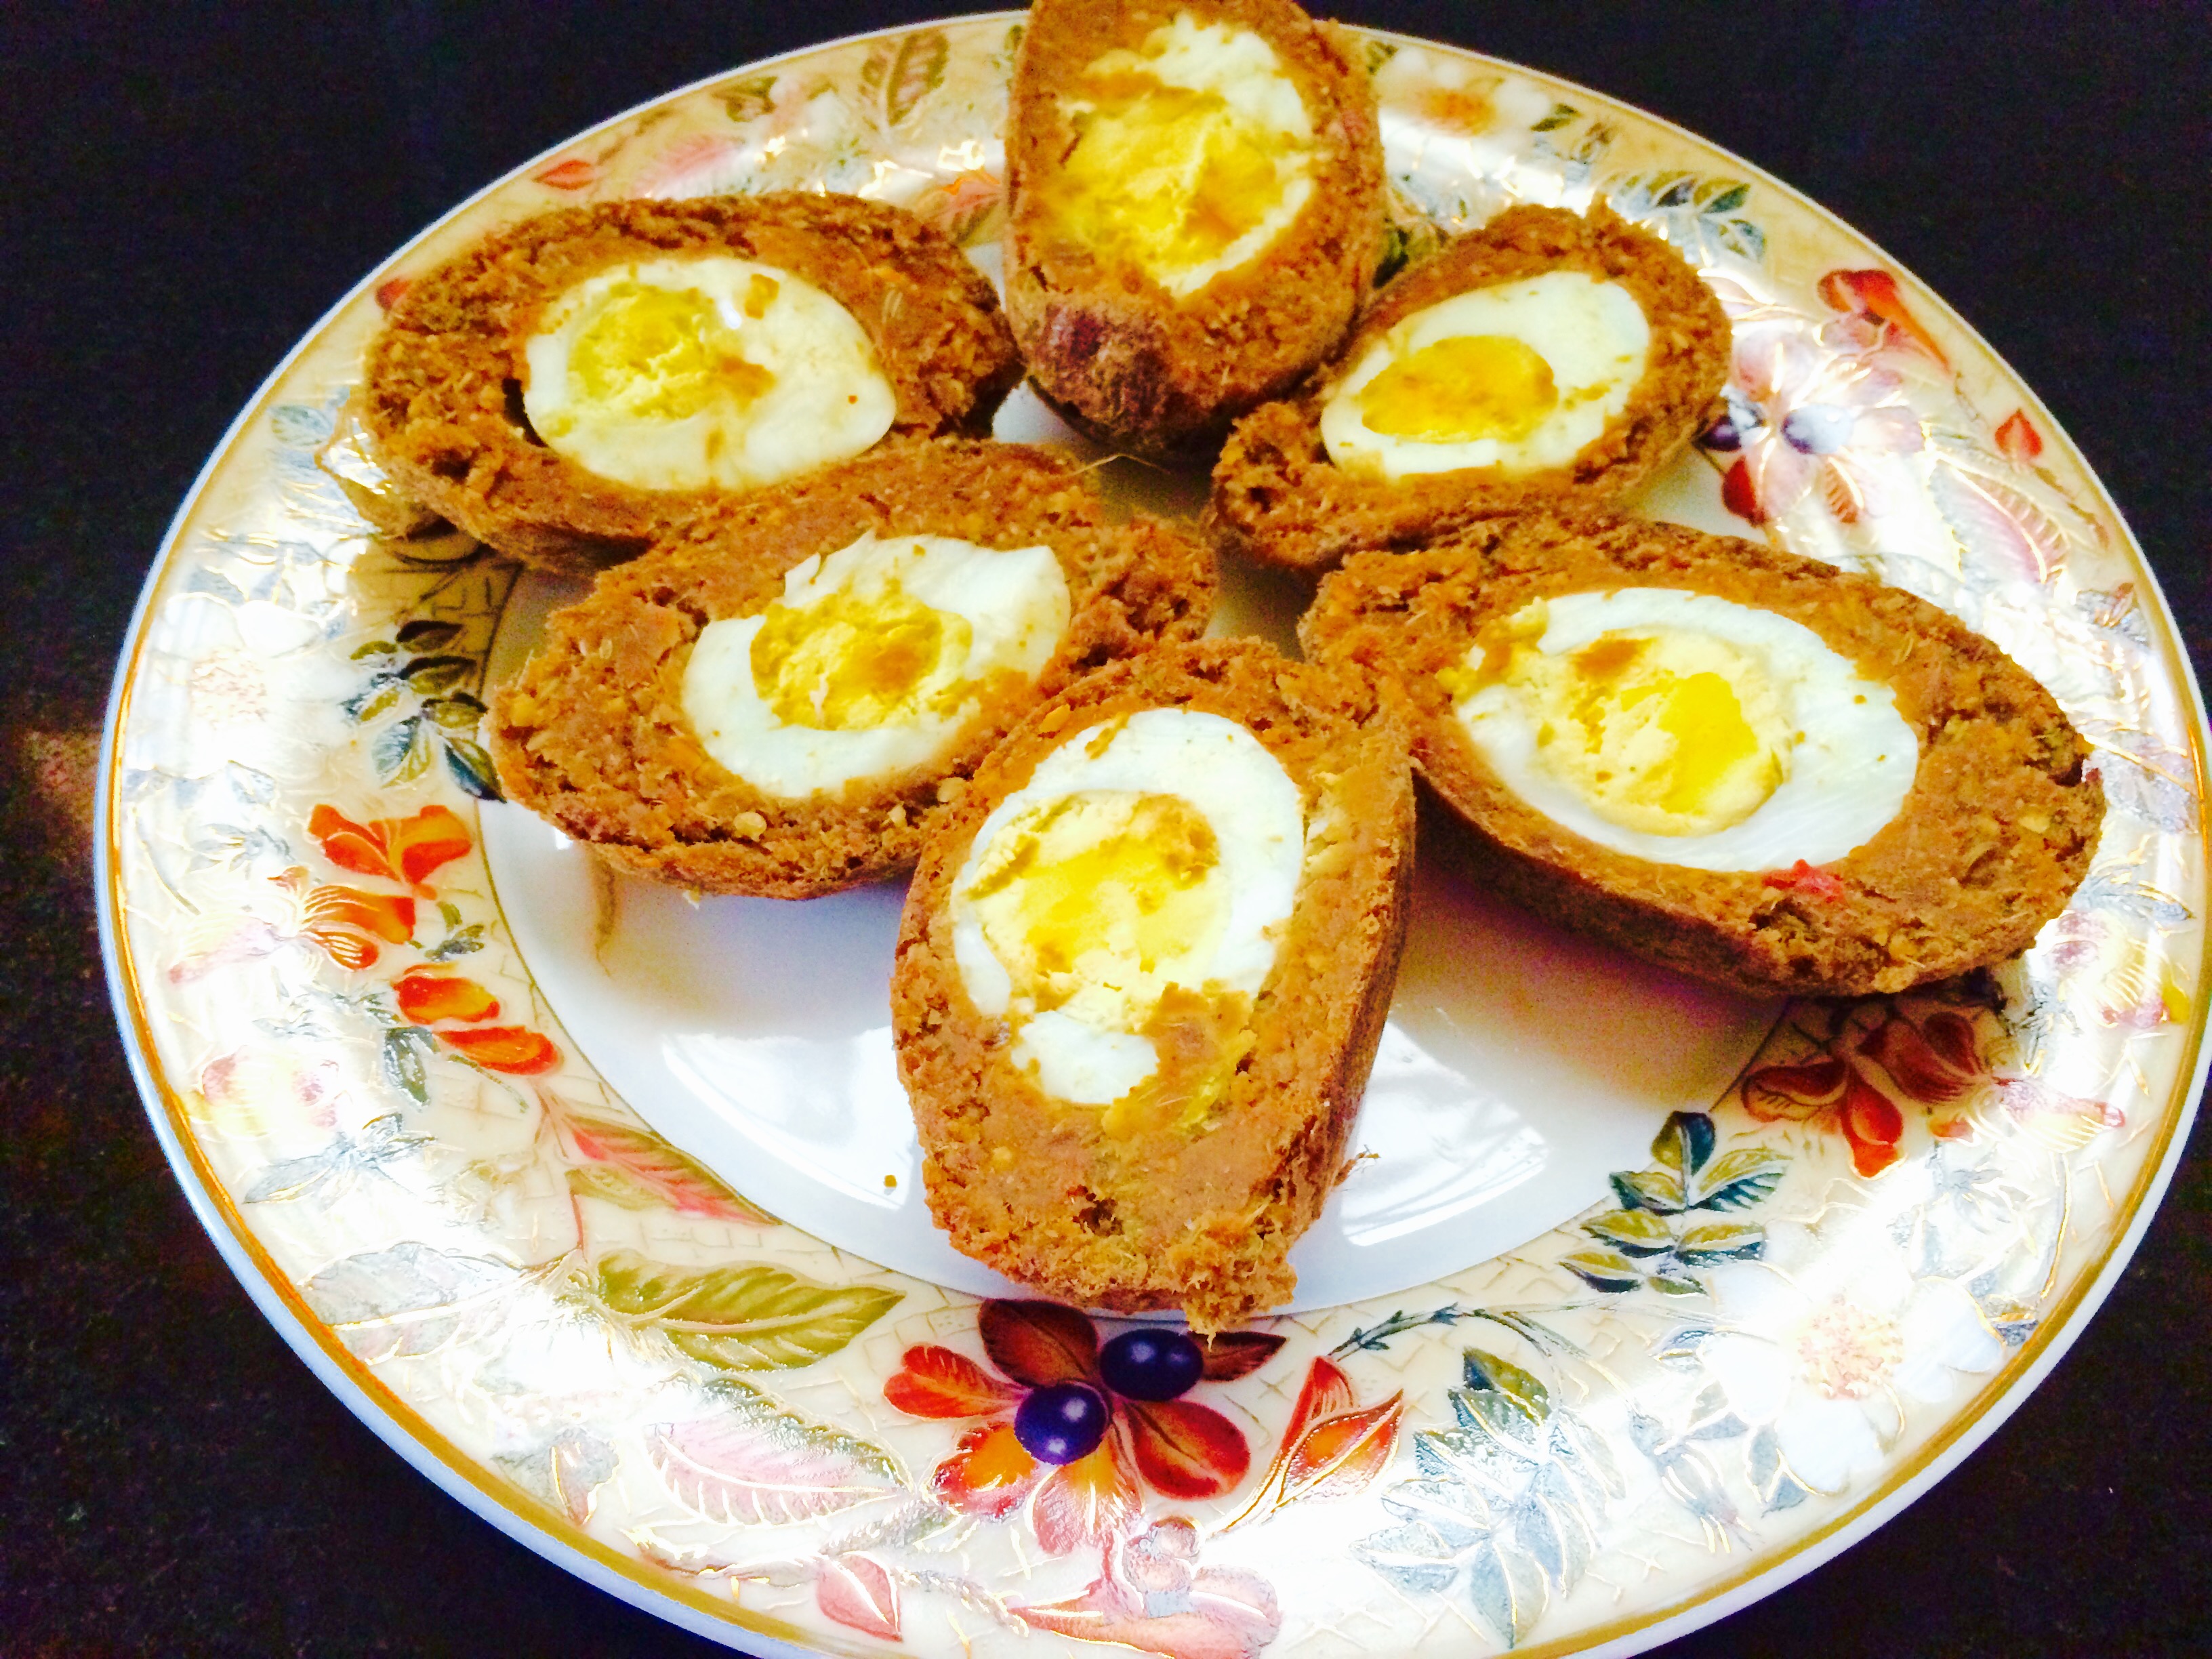
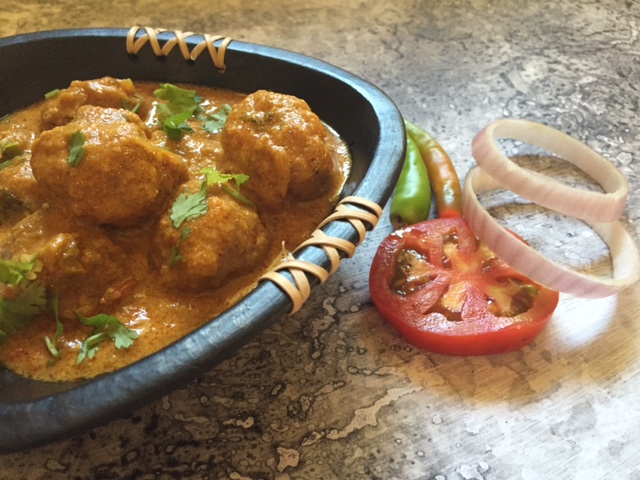
Kaima urundai kozlambhu / meat ball curry
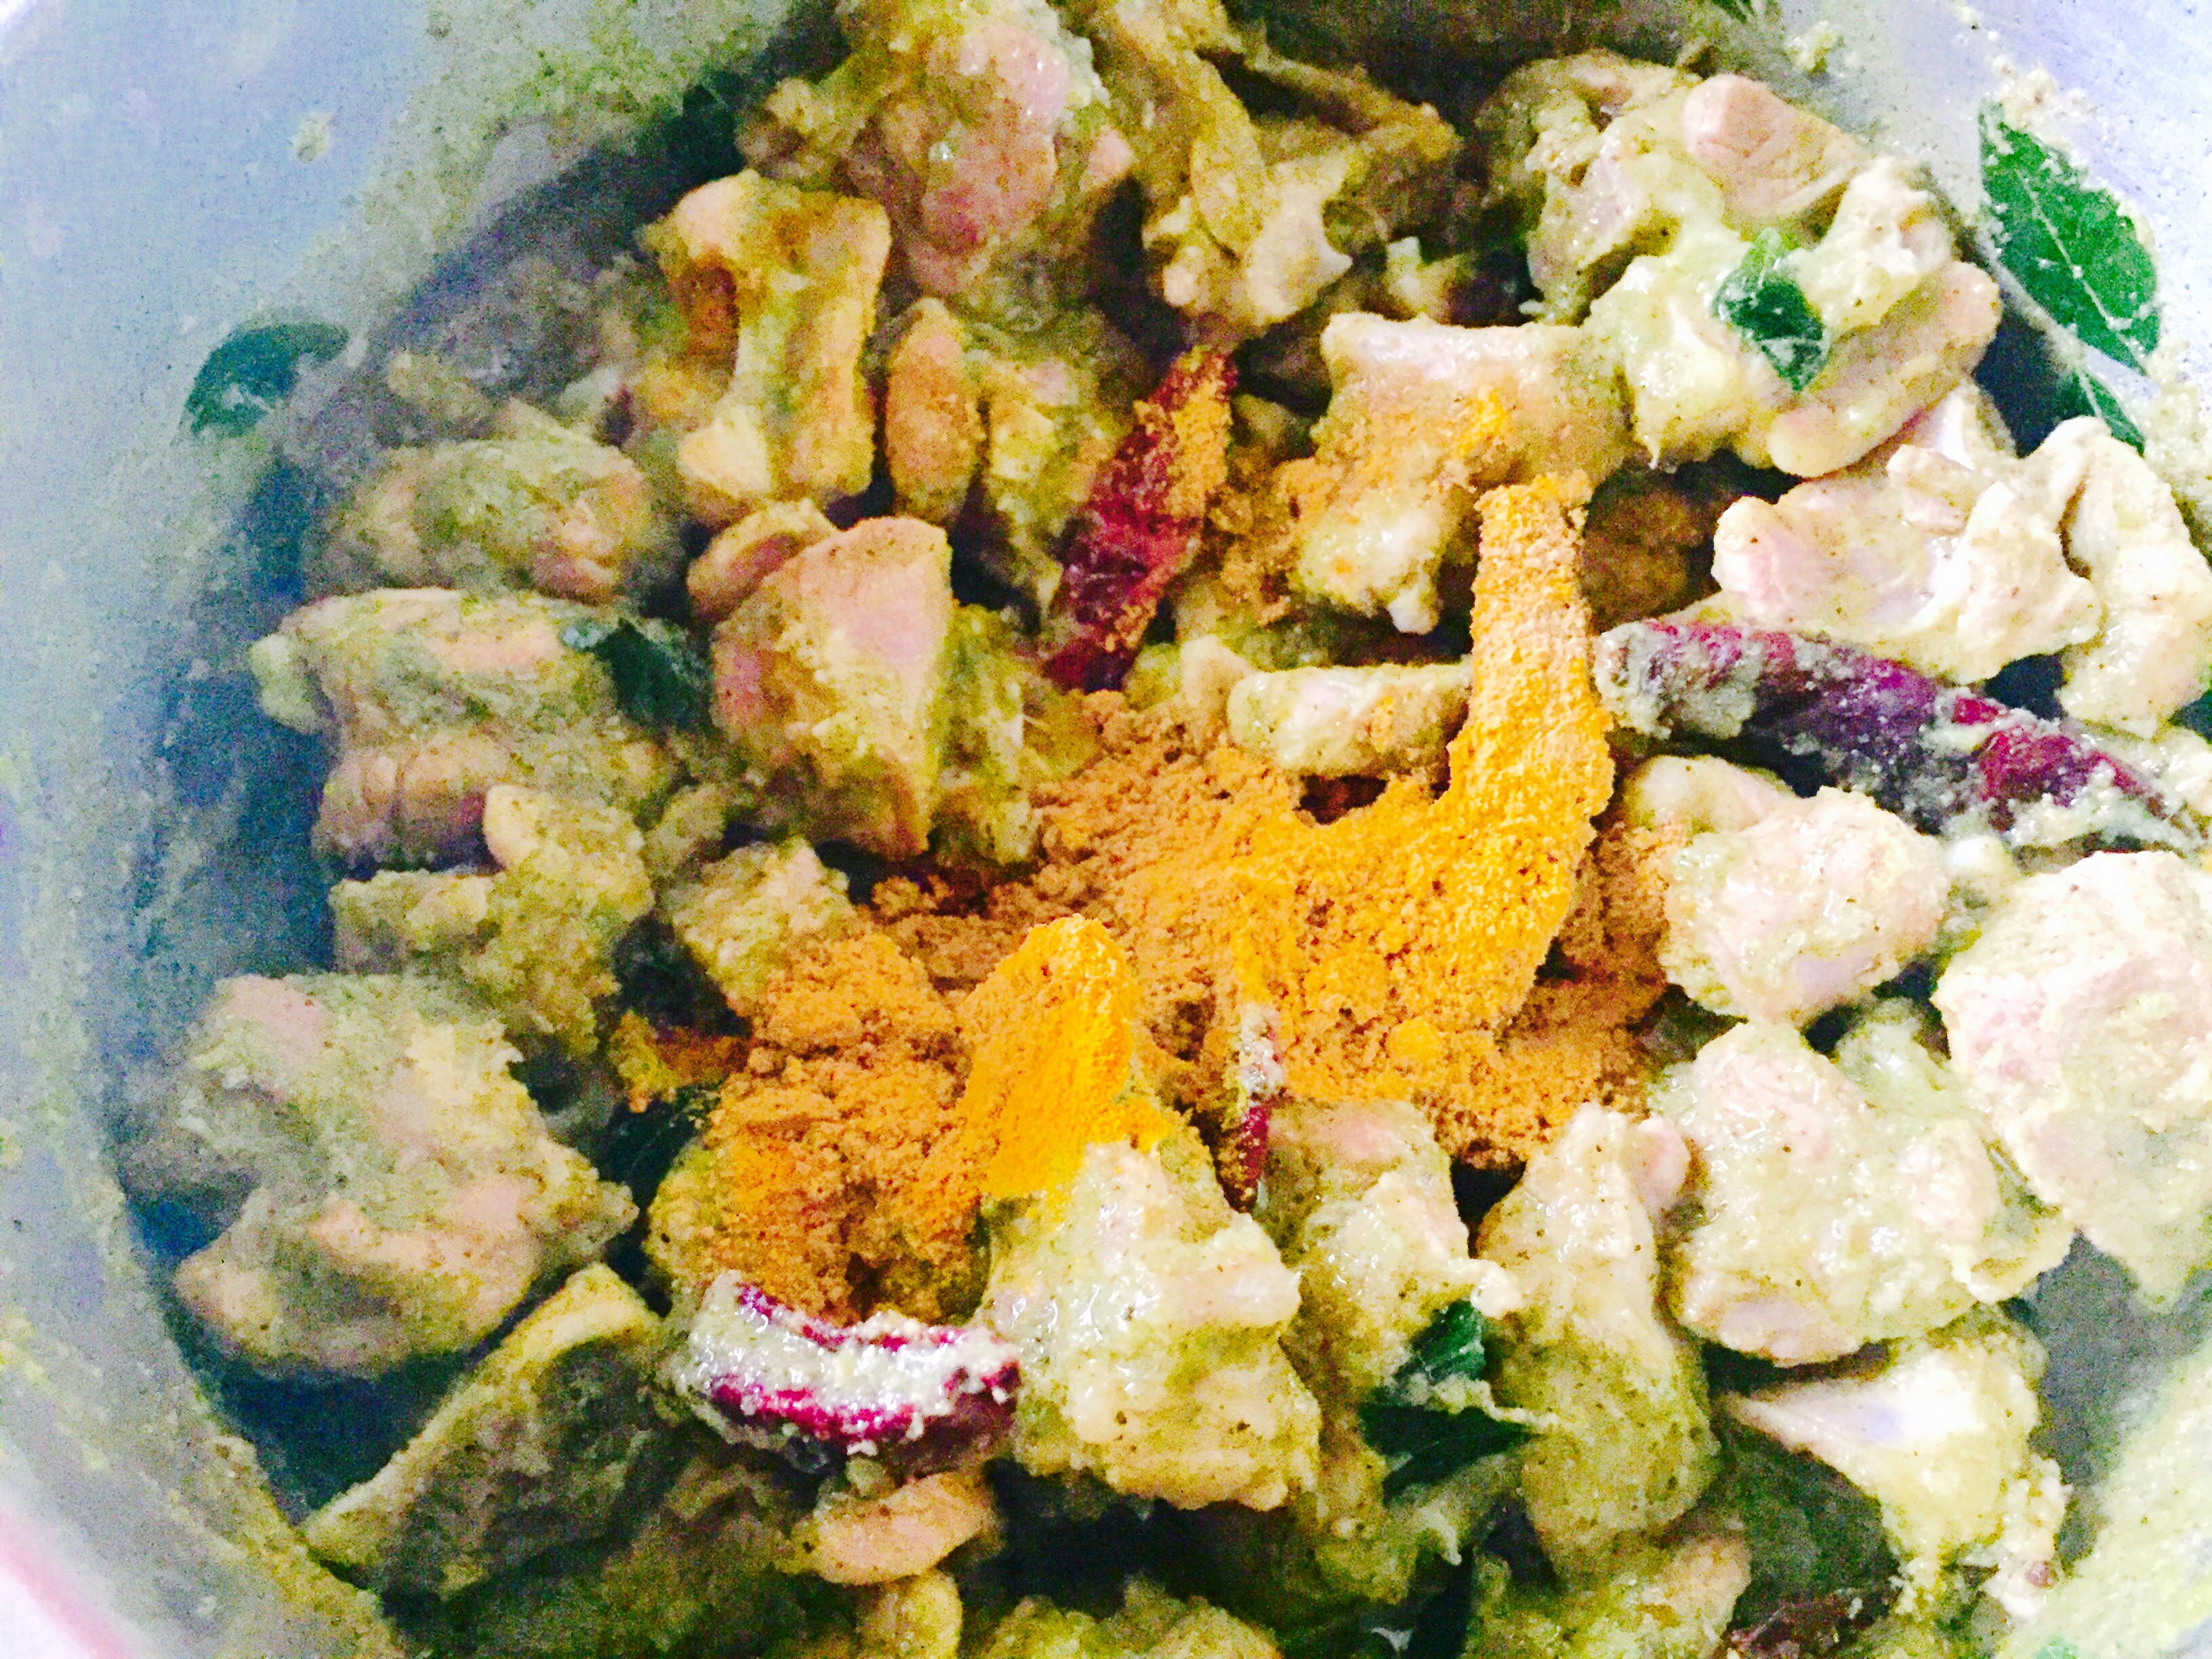
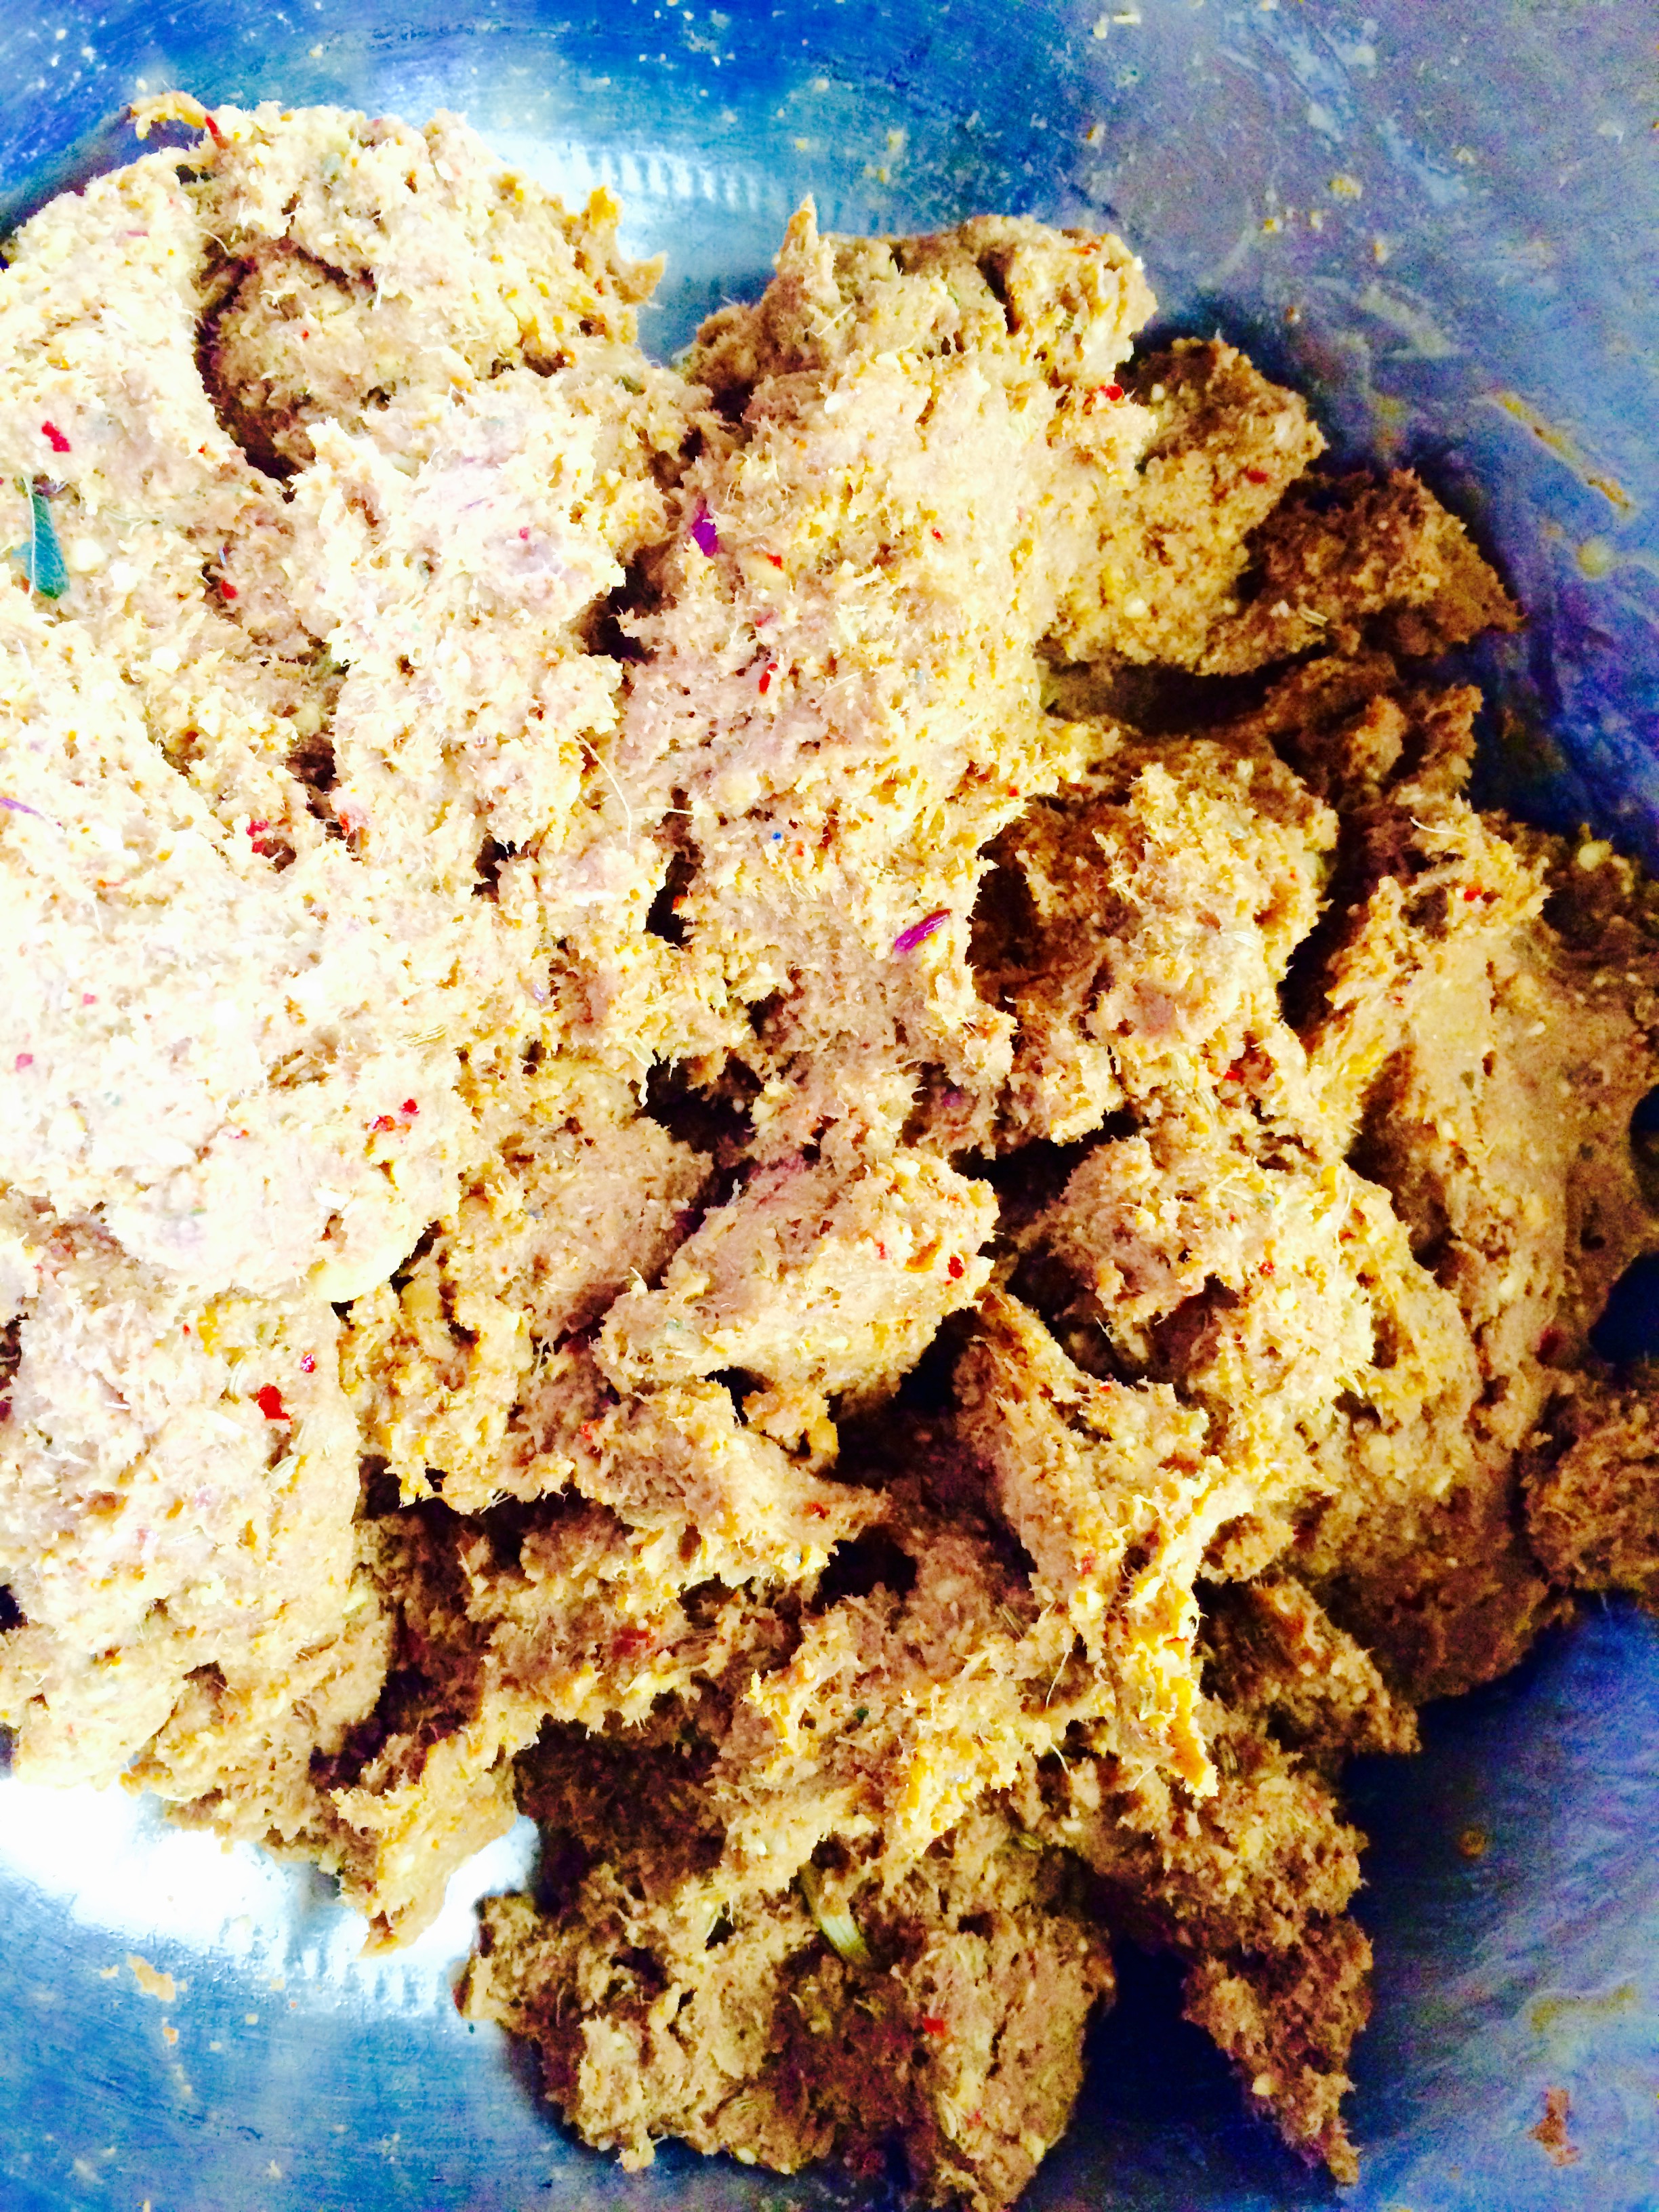
Ingredients for the meat balls
Ingredients | Quantity |
|---|---|
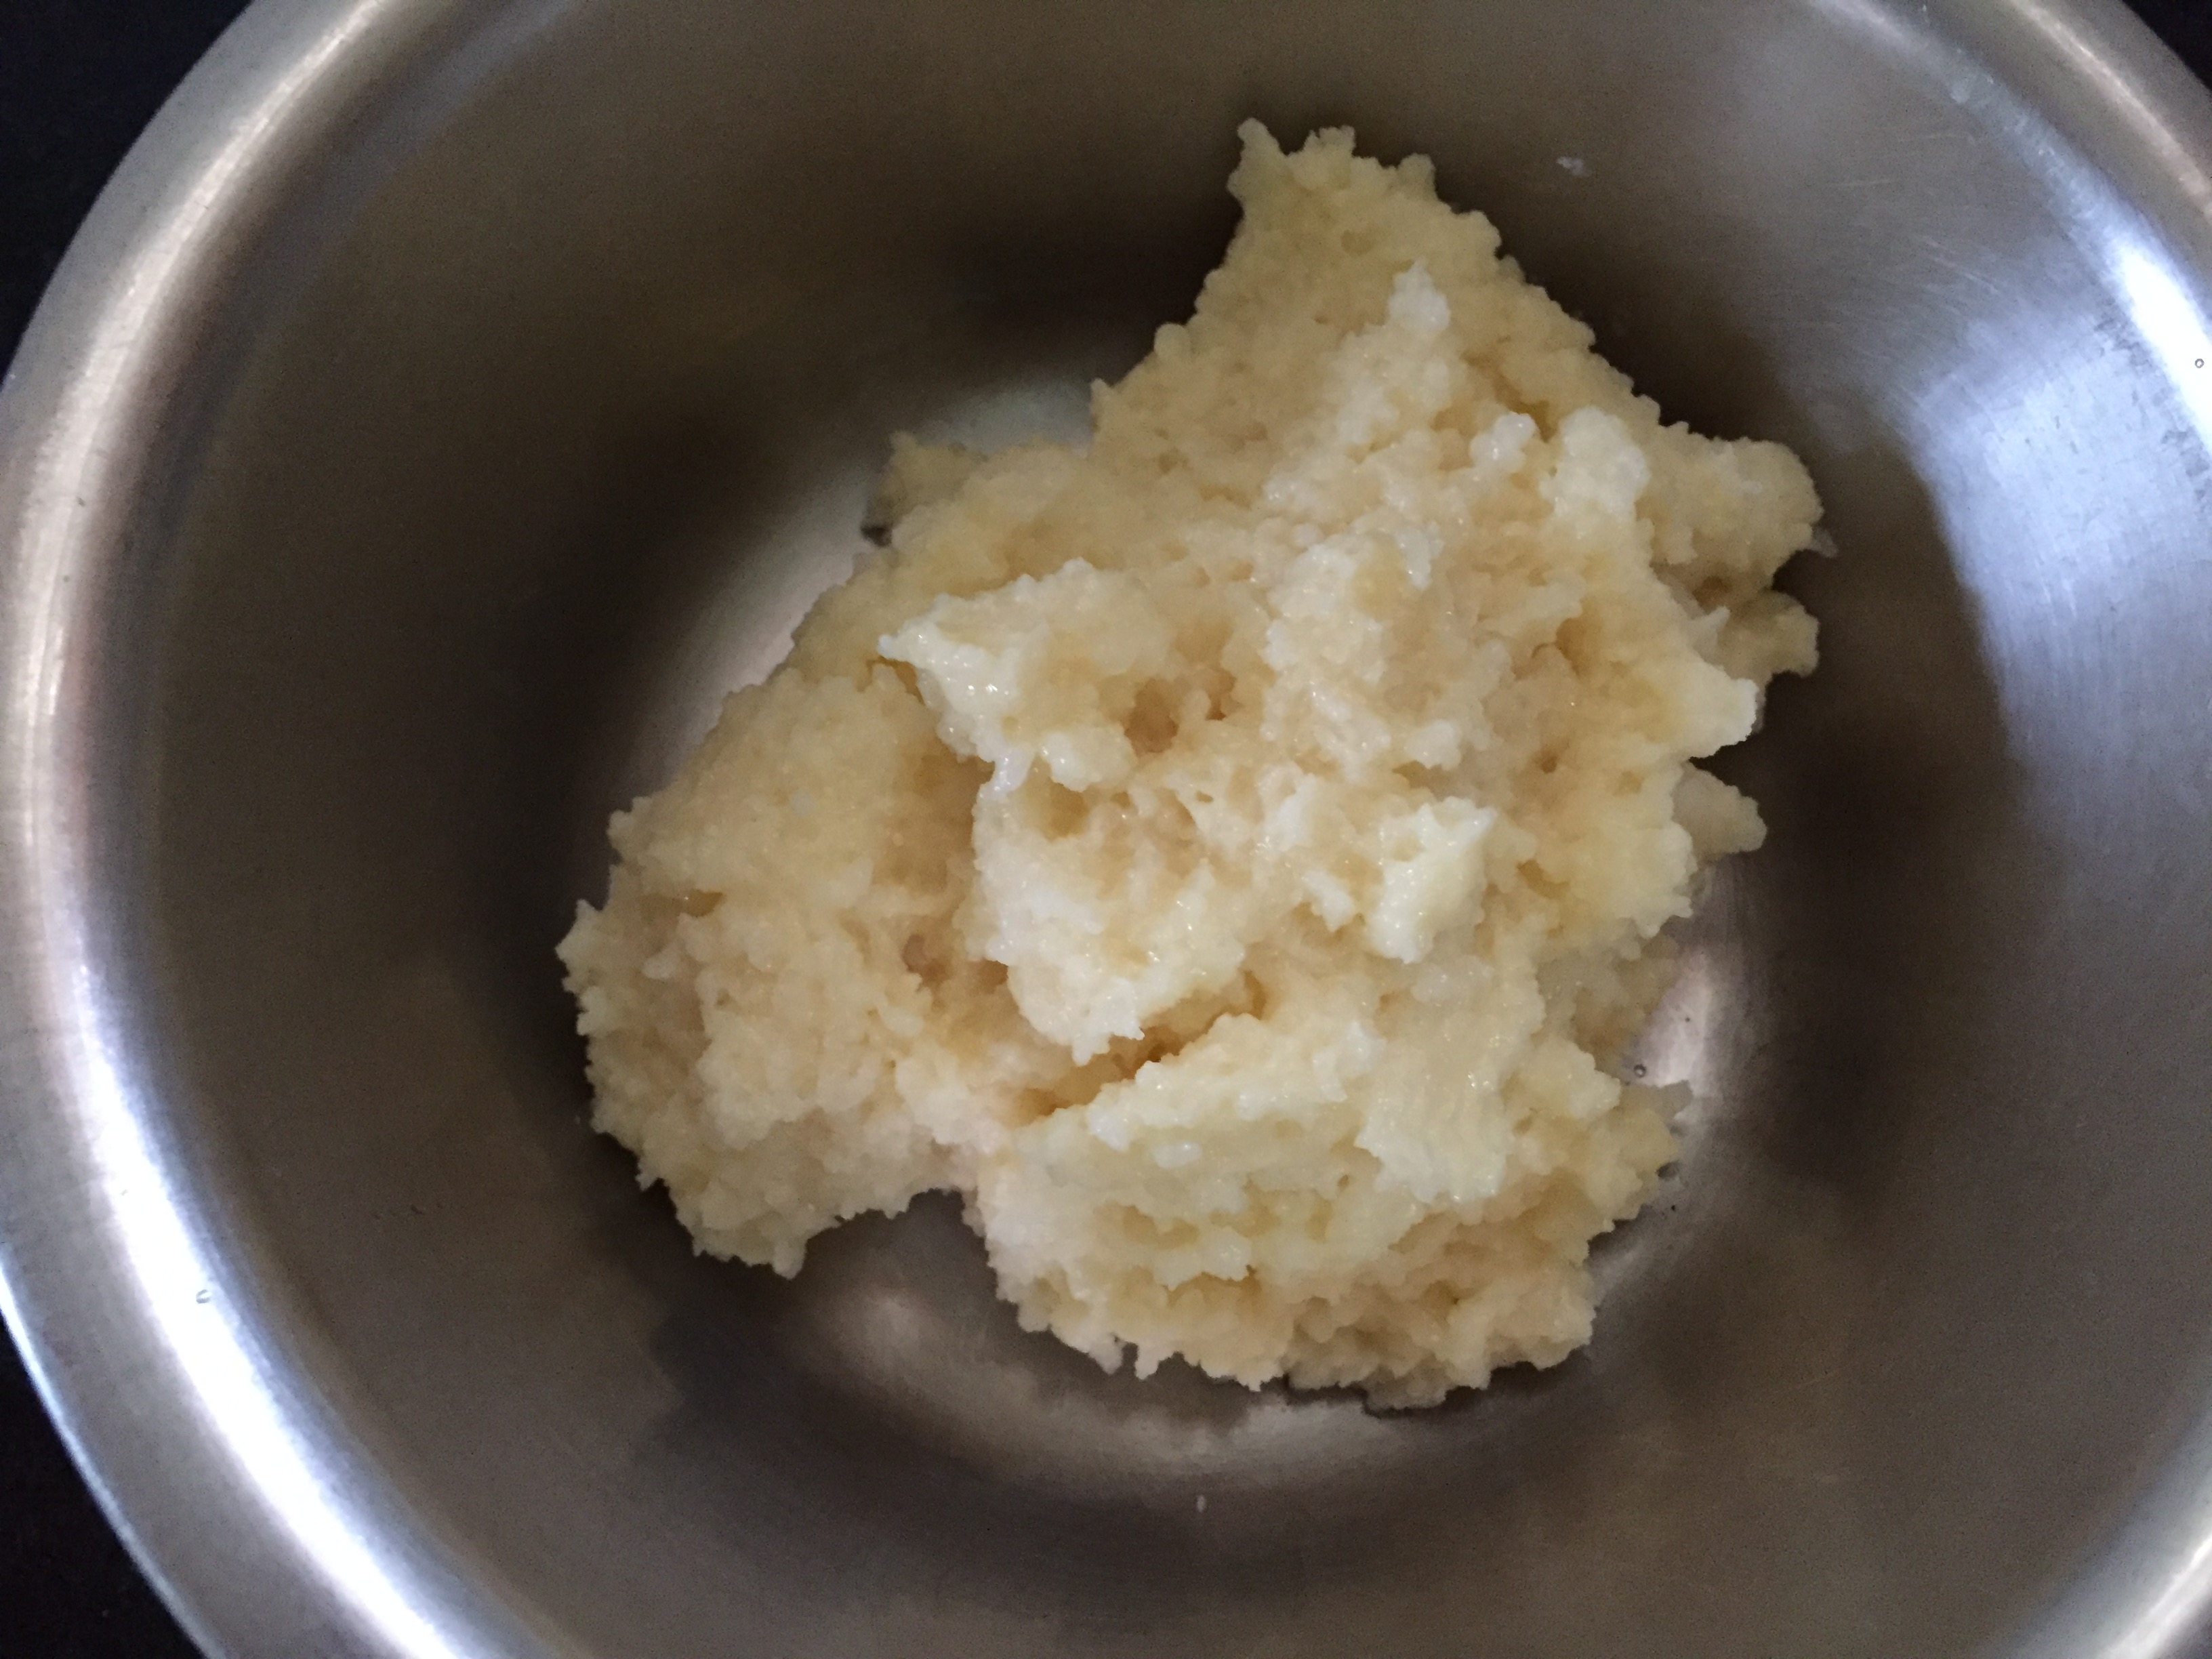
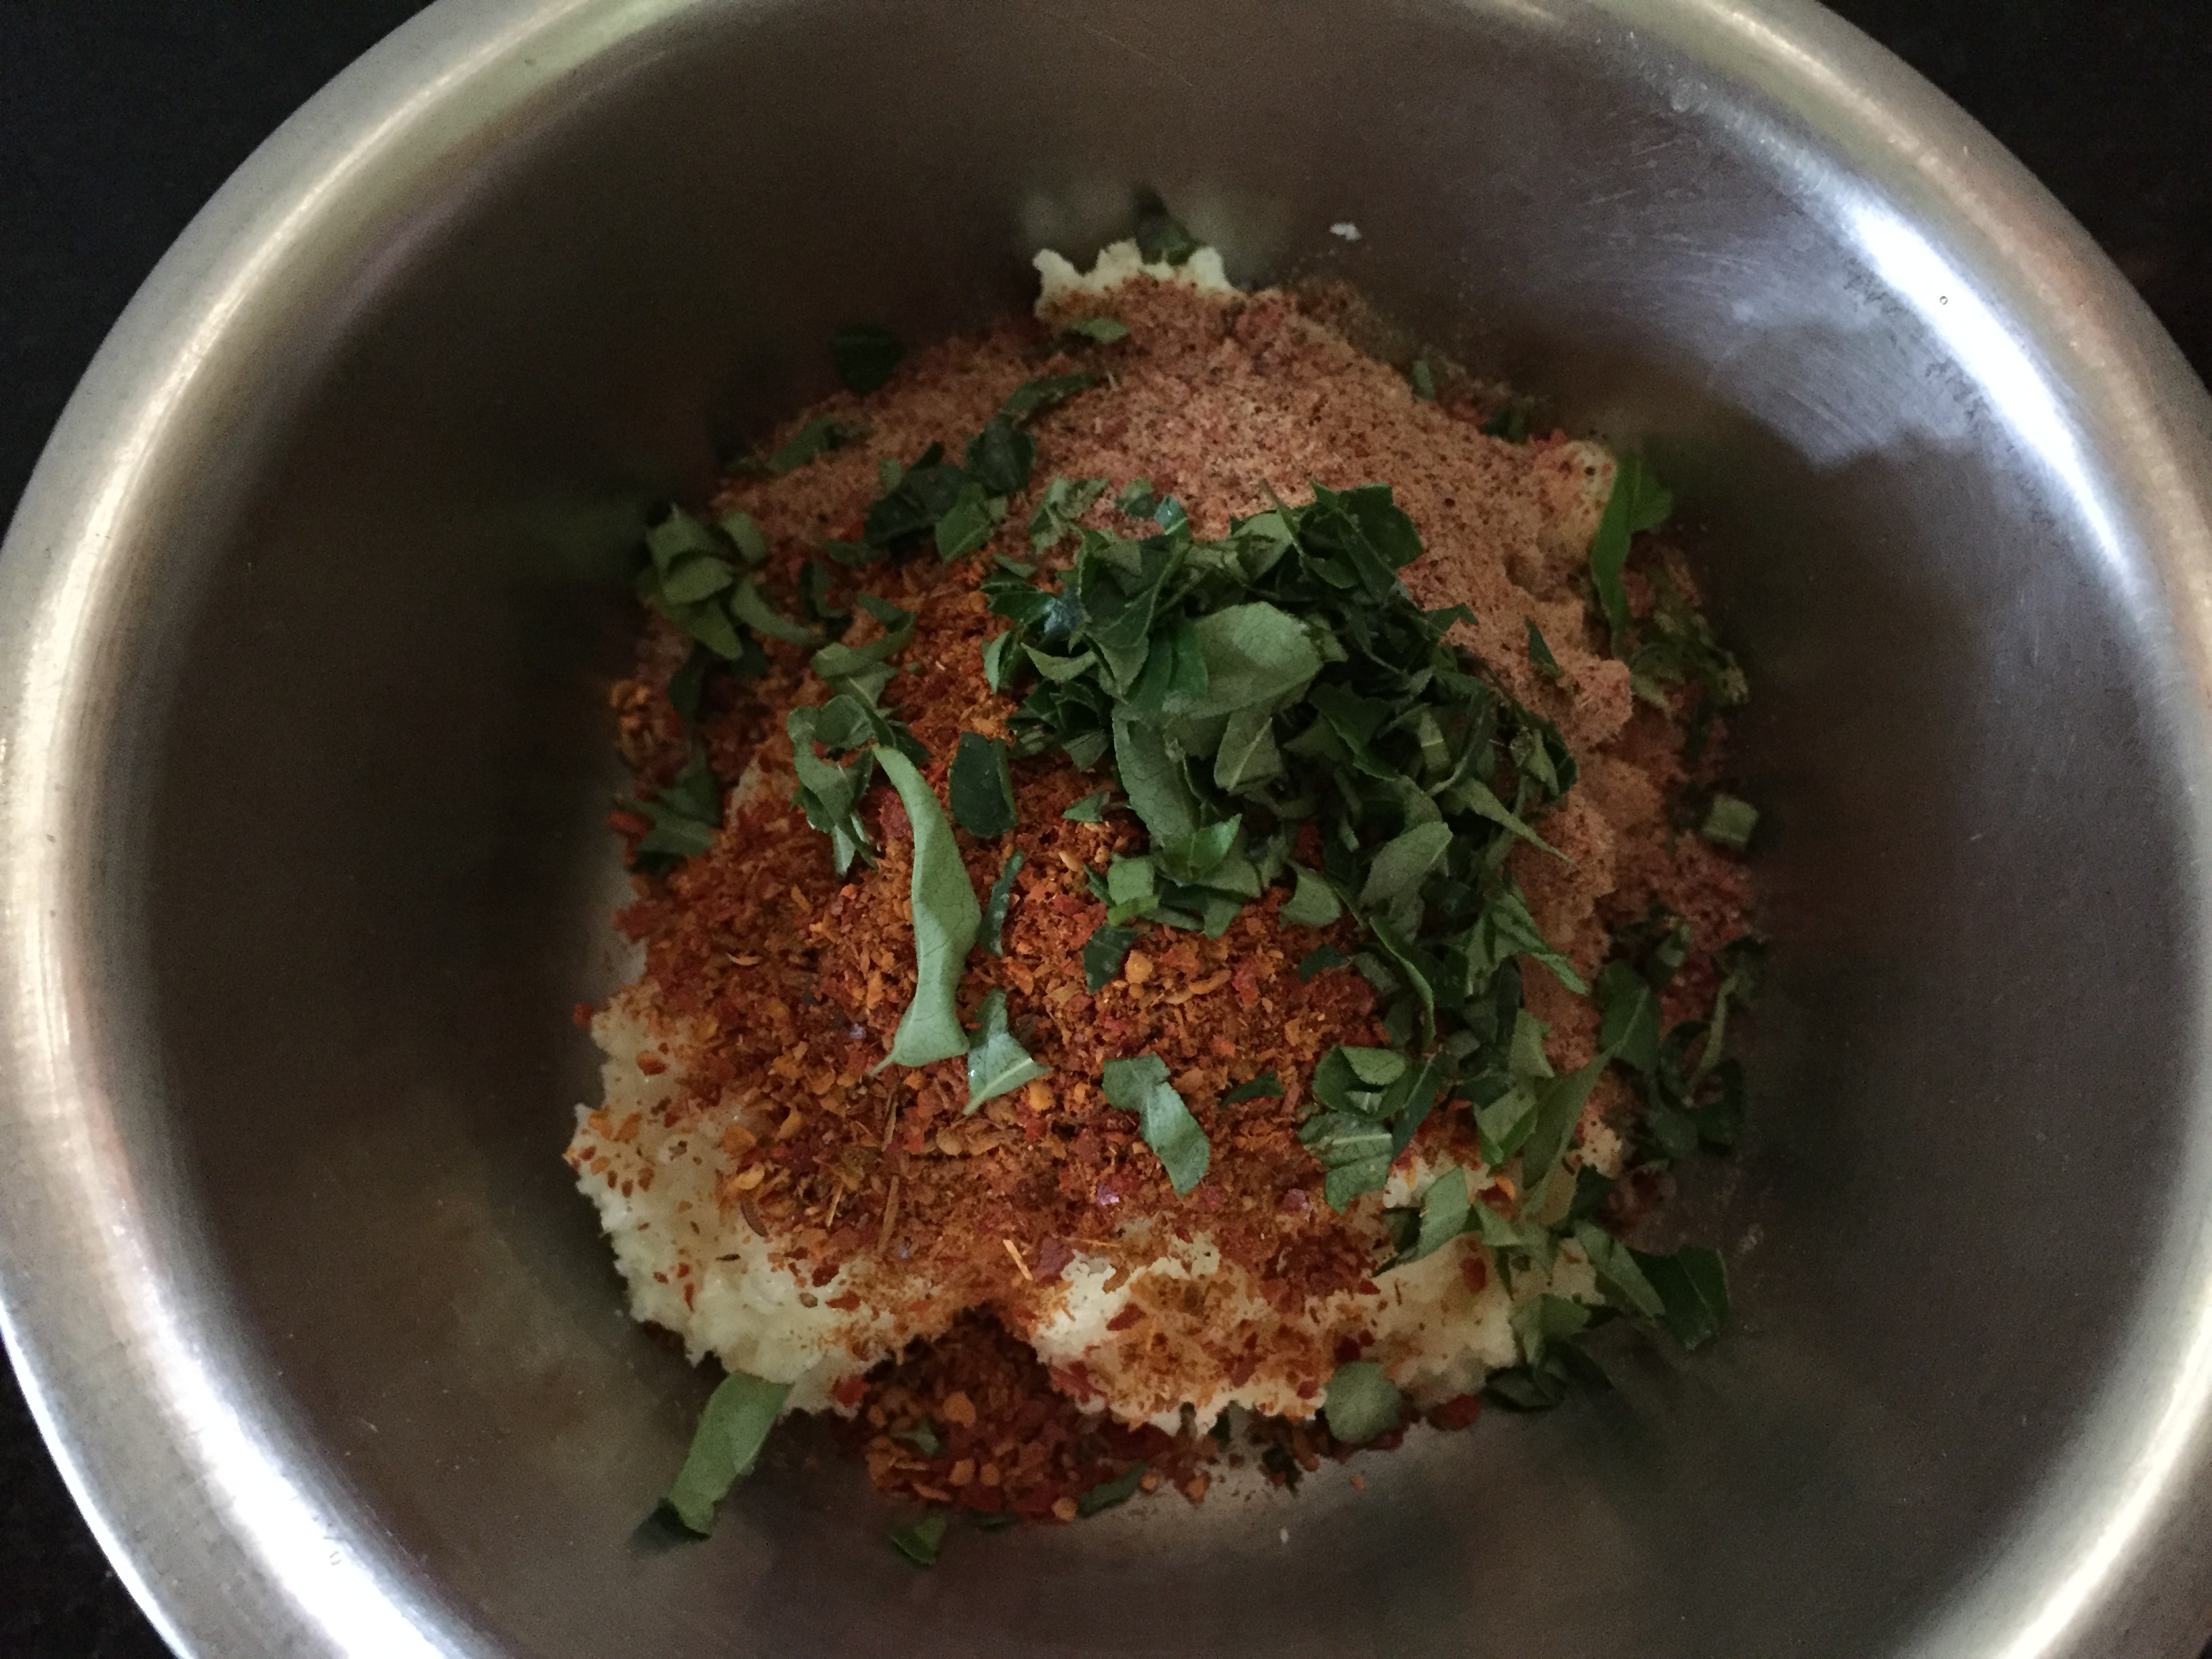
| Minced meat / Mutton keema | 1/2 kg |
| Shallots | 8 |
| Ginger | 1/2 inch piece |
| Garlic pods | 6 |
| Green chillies | 6 |
| Coriander leaves | 3 tablespoons |
| Roasted Bengal gram dhal | 3 tablespoons |
| Coconut grated | 2 tablespoons |
| Turmeric powder | 1/2 teaspoon |
| Salt | to taste |
| Cardamom , cloves , cinnamon | 2 each |
Method for meat balls
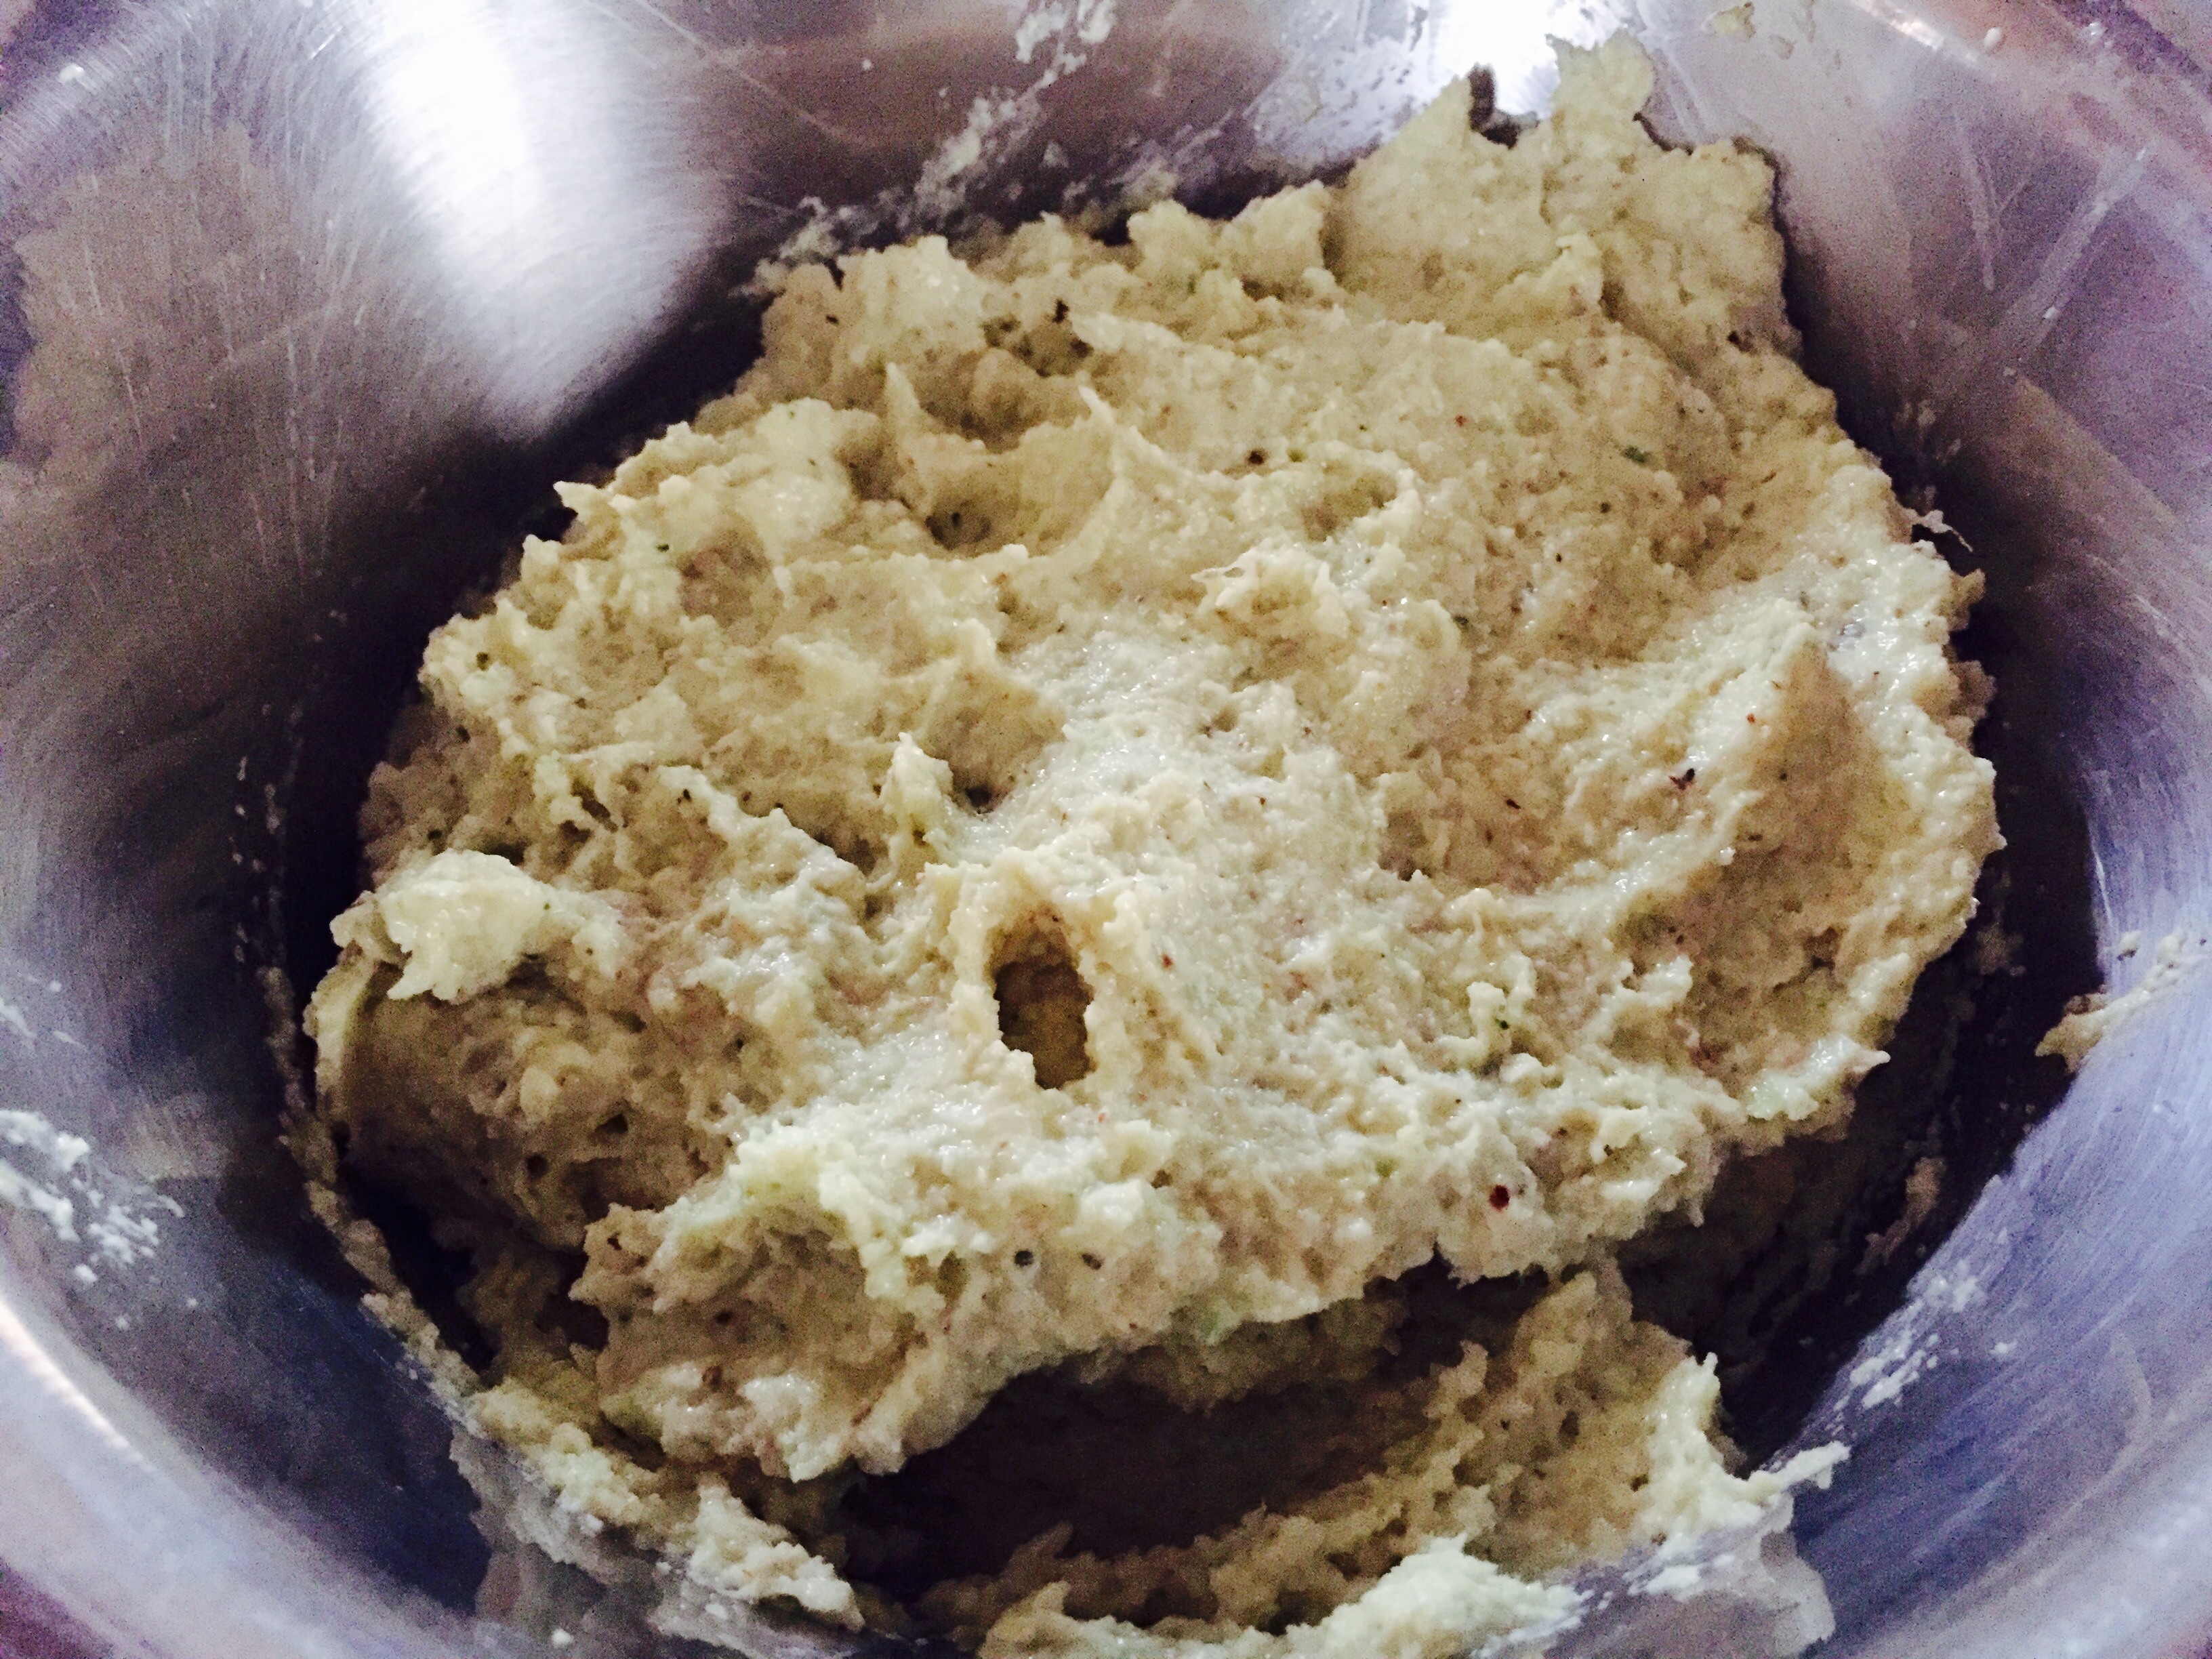
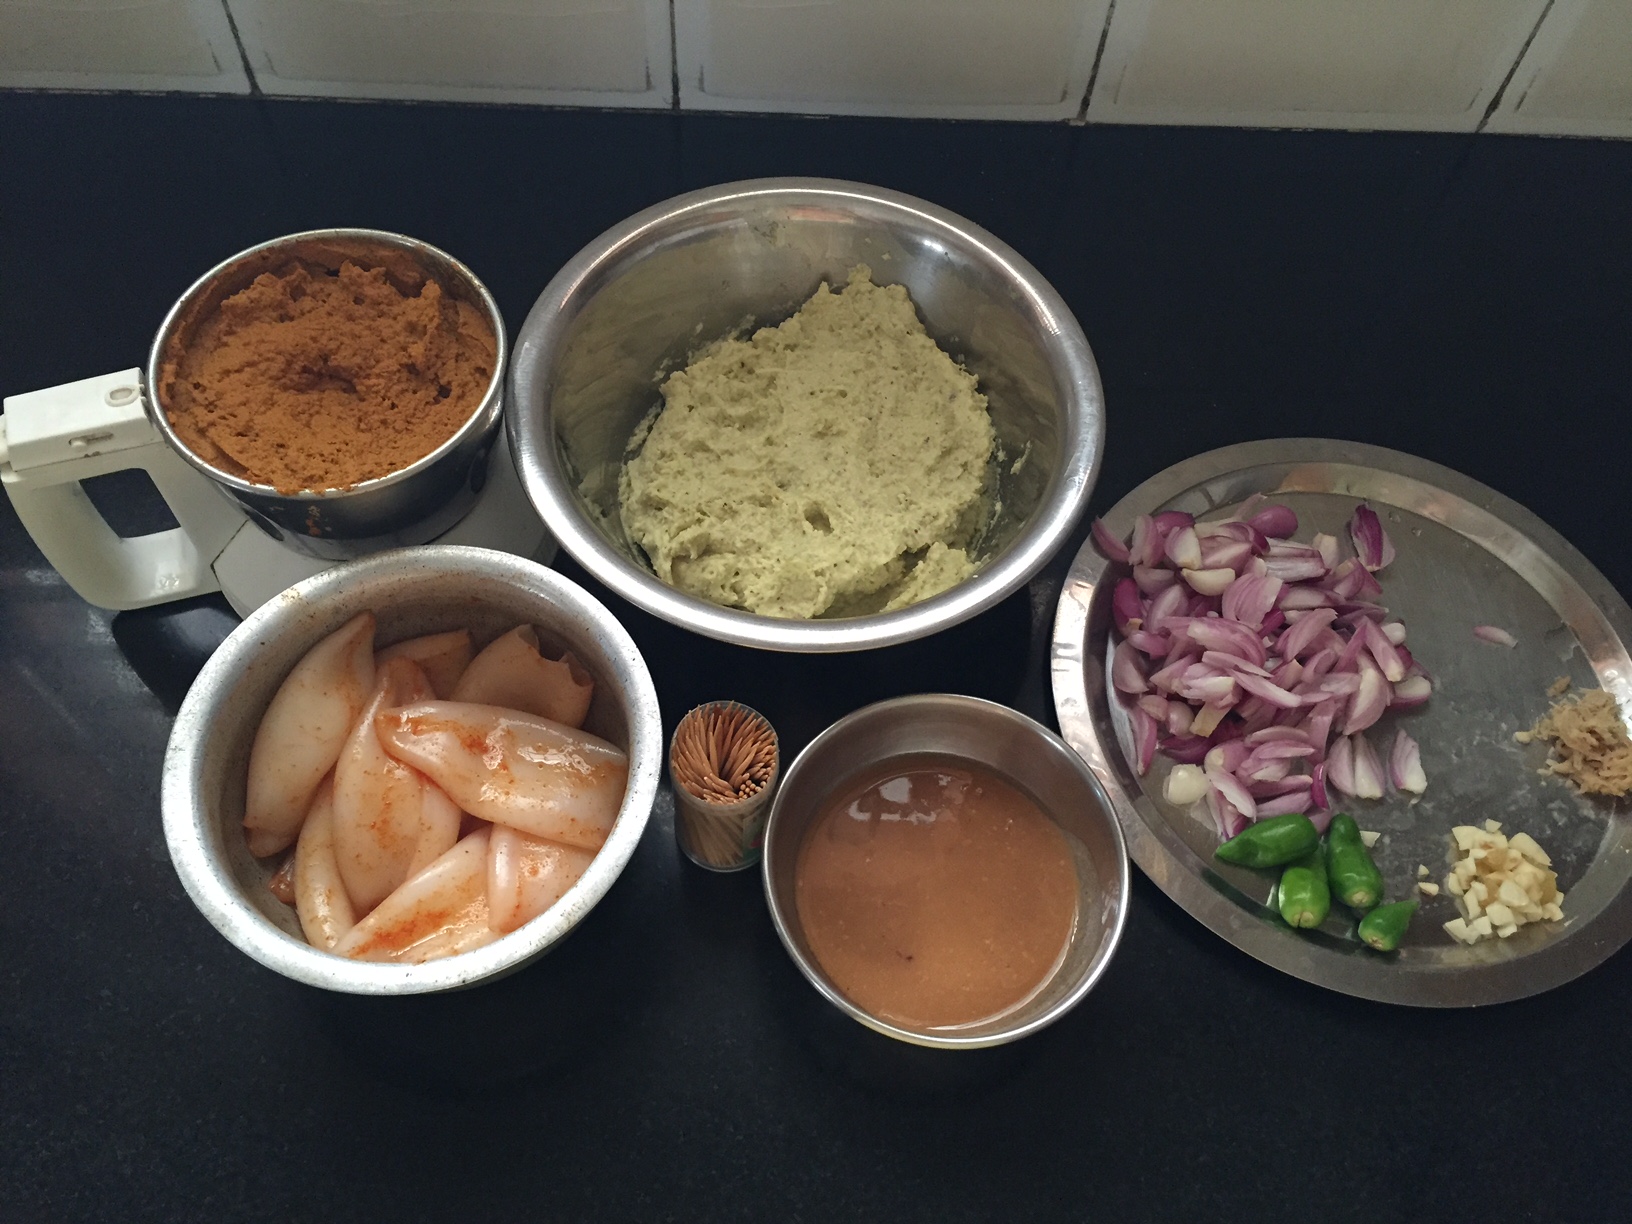
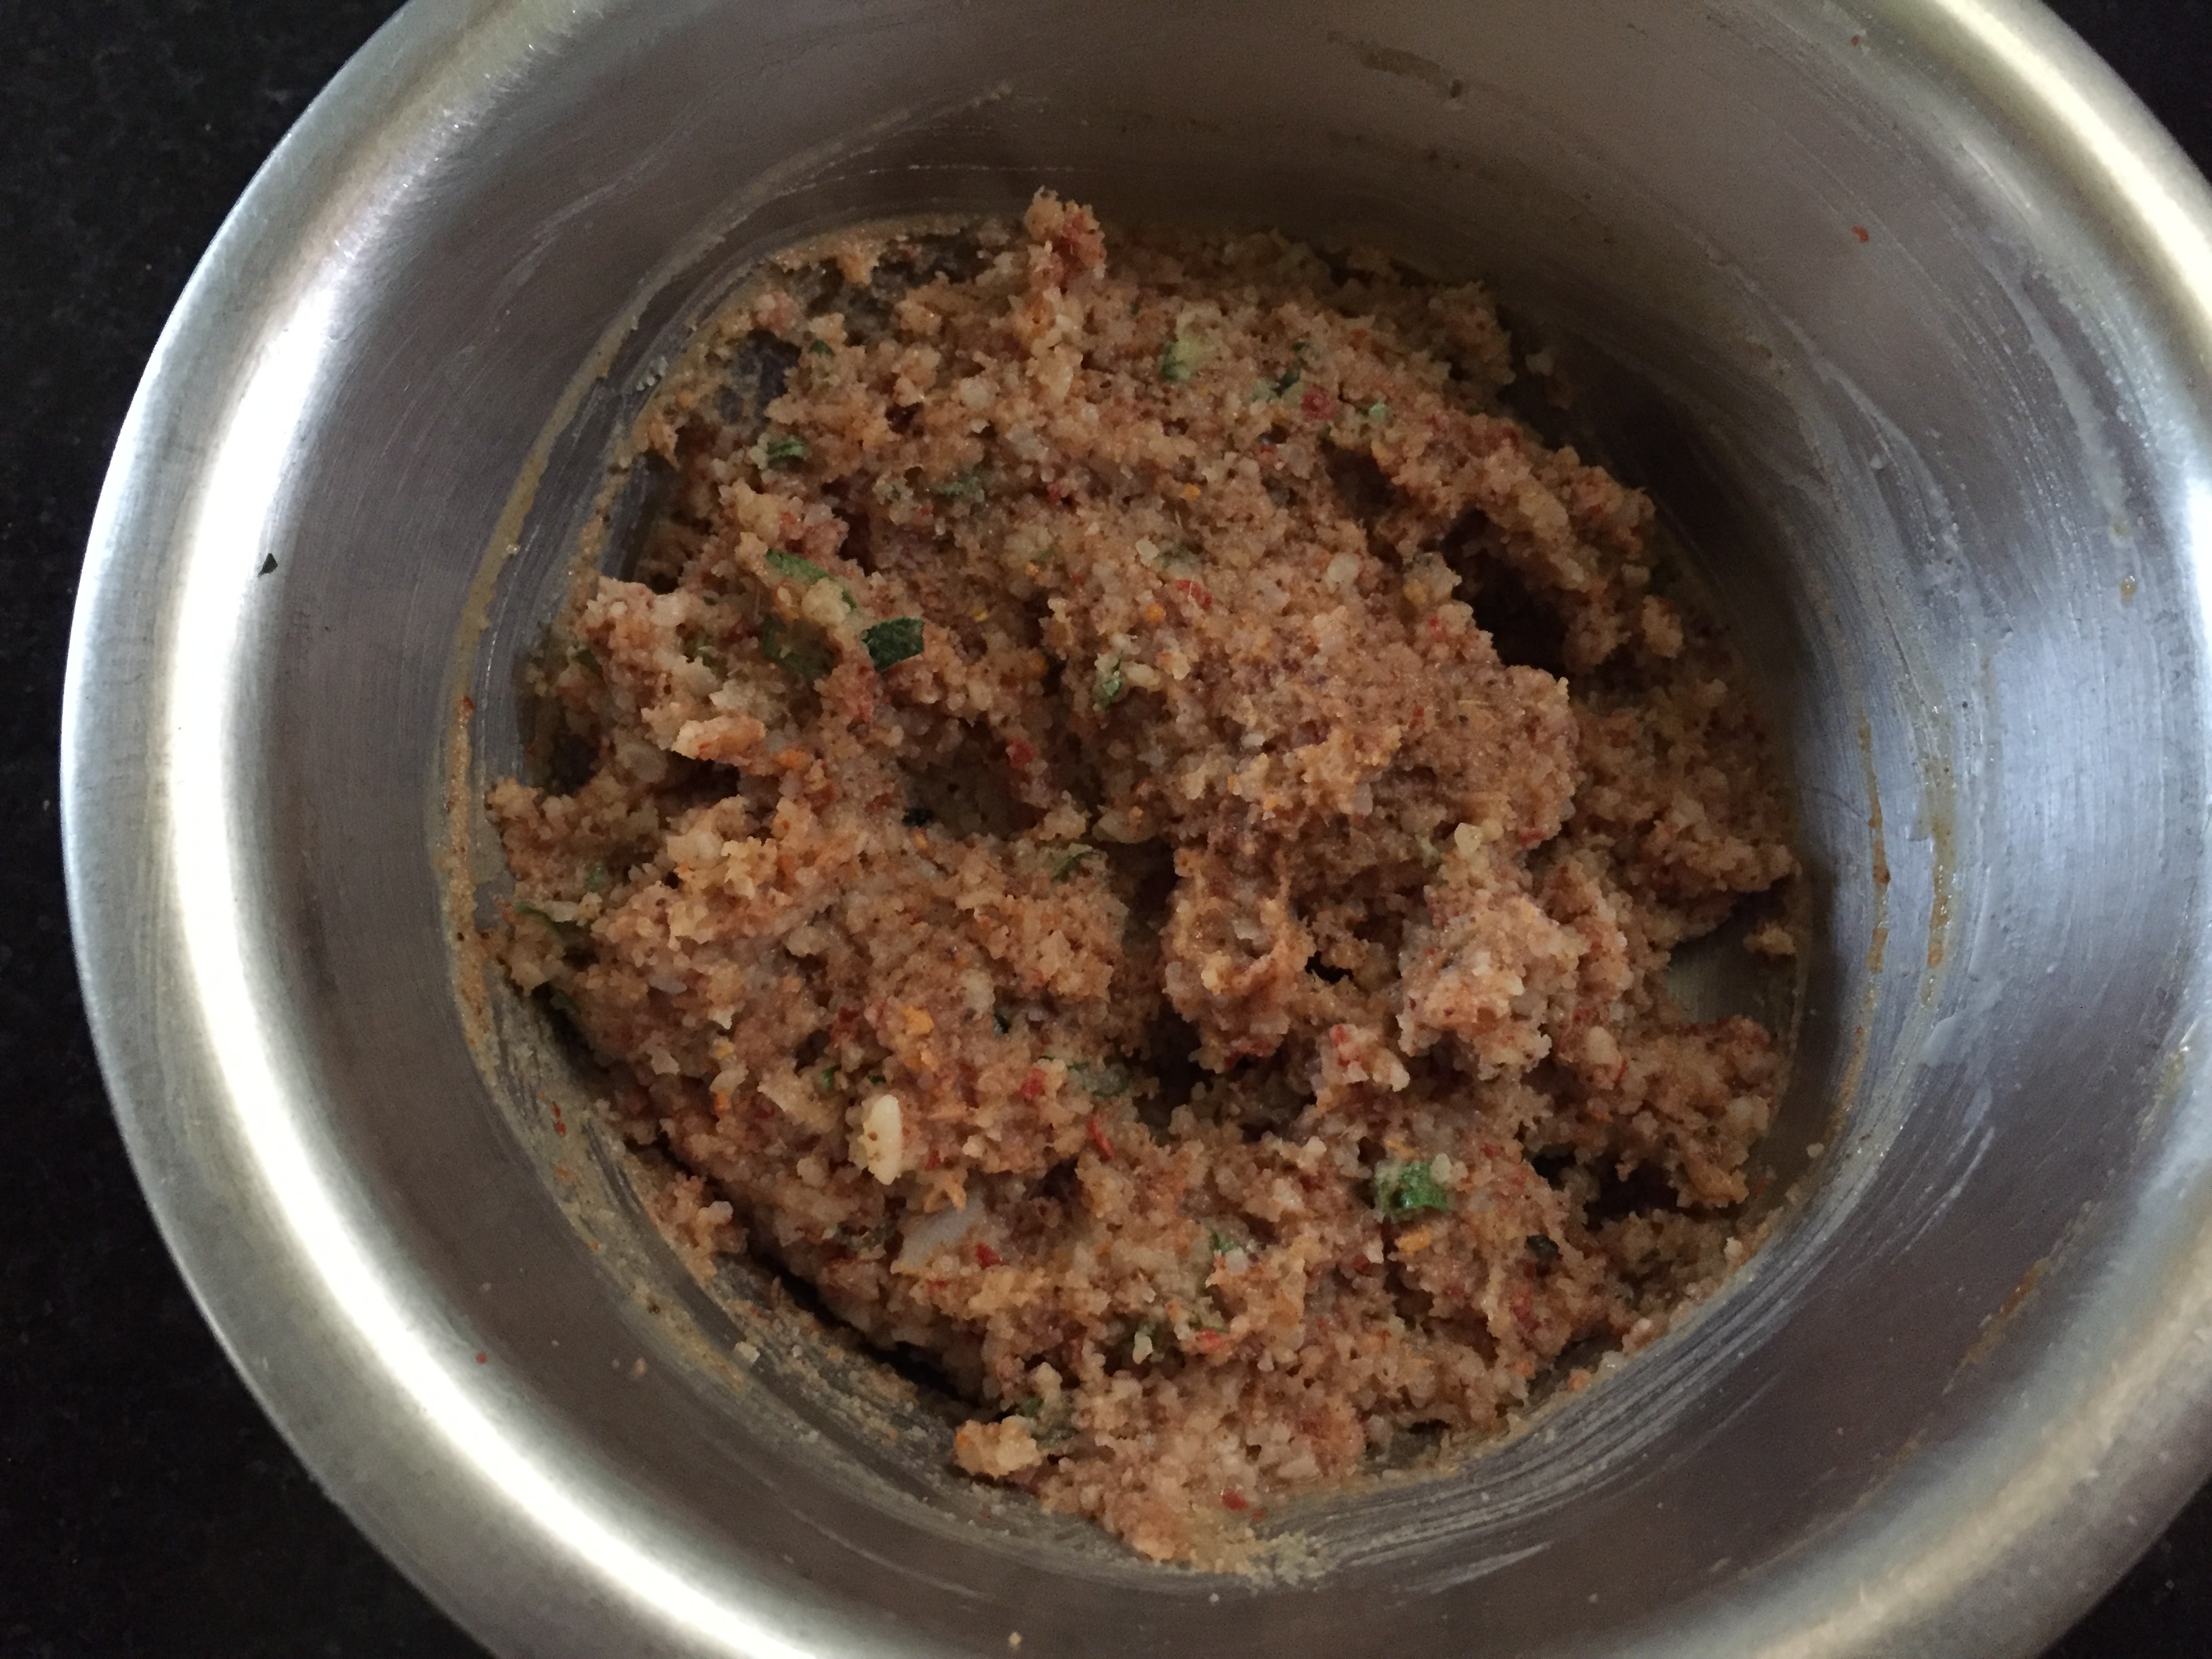
- Grind all the above ingredients together in a blender without adding water to a smooth paste .
Ingredients for gravy
Ingredients | Quantity |
|---|---|
| Big onions | 2 chopped finely |
| Cardamom , clove , cinnamon | 2 each |
| Ginger garlic paste | 2 teaspoon |
| Red chilli powder | 1 teaspoon |
| Coriander powder | 2 teaspoon |
| Turmeric powder | 1/2 teaspoon |
| Tomatoes | 3 |
| Oil | 2 tablespoons |
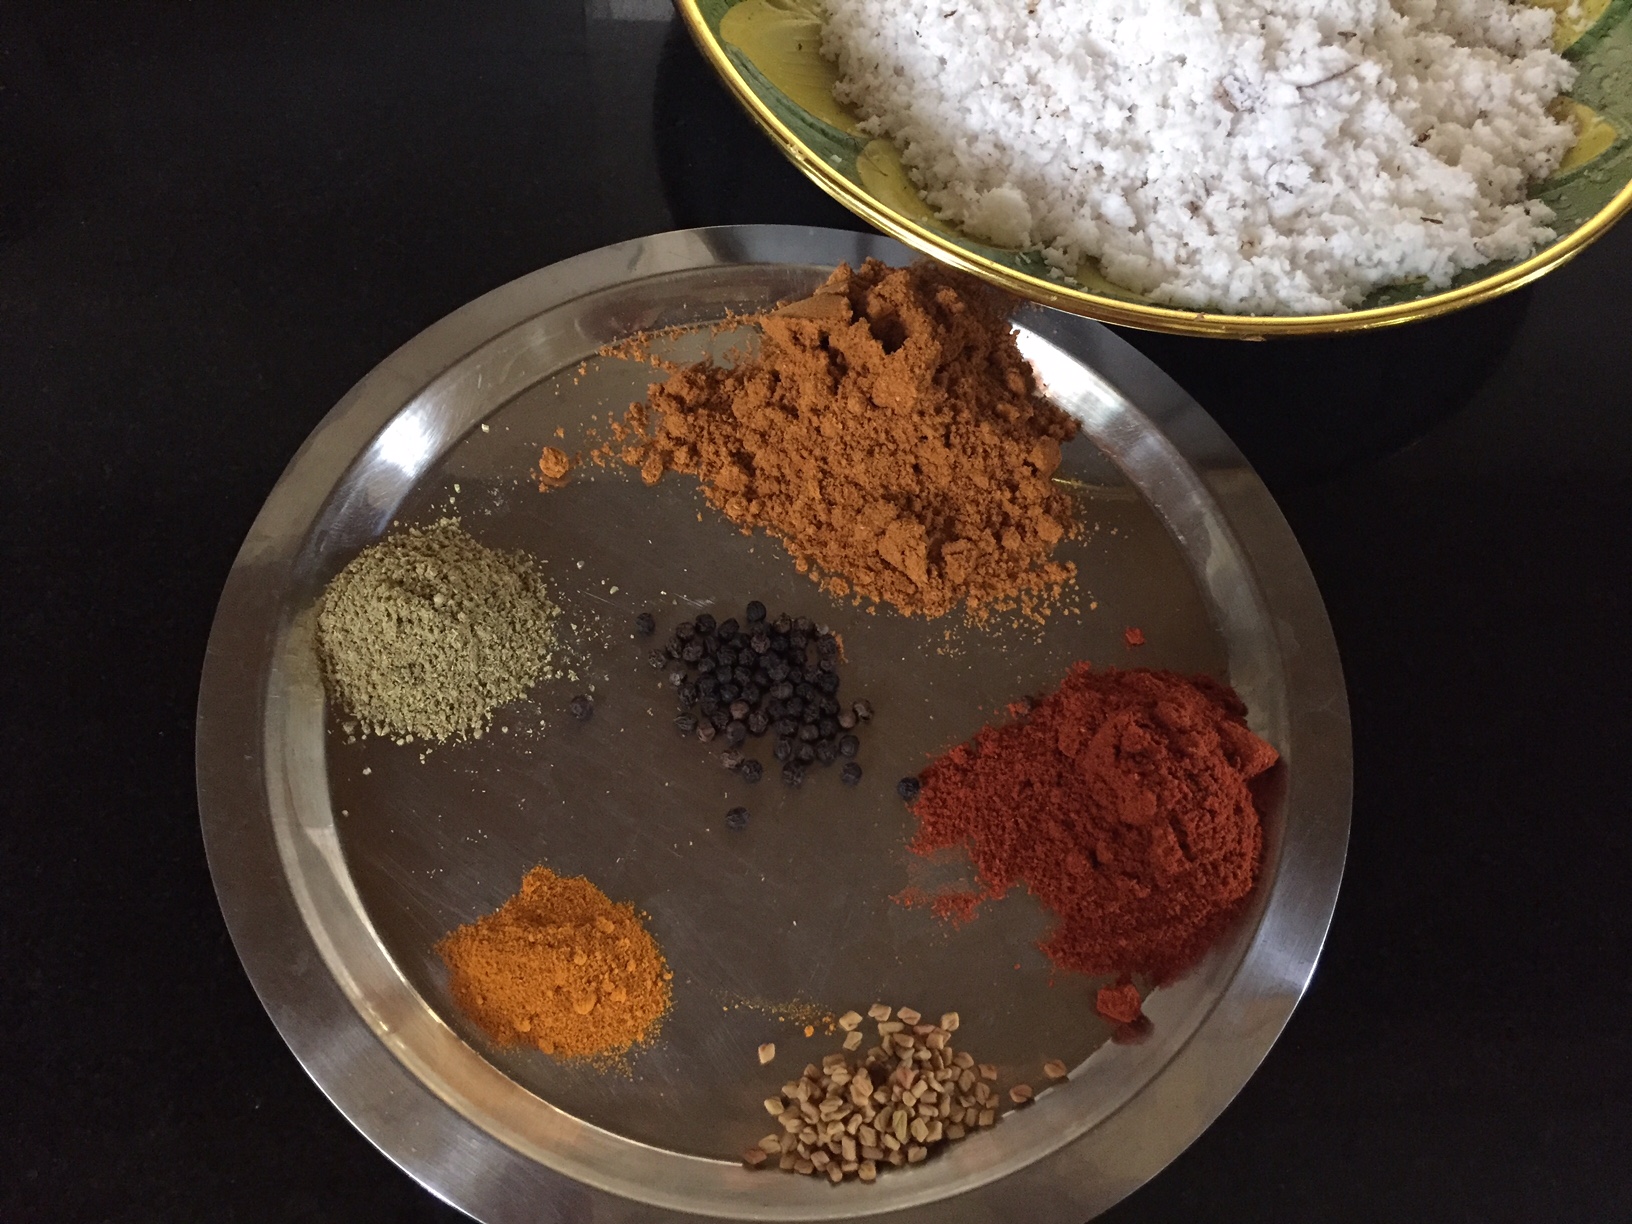
Ingredients to grind to a smooth paste
Ingredients | Quantity |
|---|---|
| Coconut | 4 tablespoons |
| Cashew nuts | 6 |
| Fennel seeds | 1/2 teaspoon |
| Poppy seeds | 1/4 teaspoon |
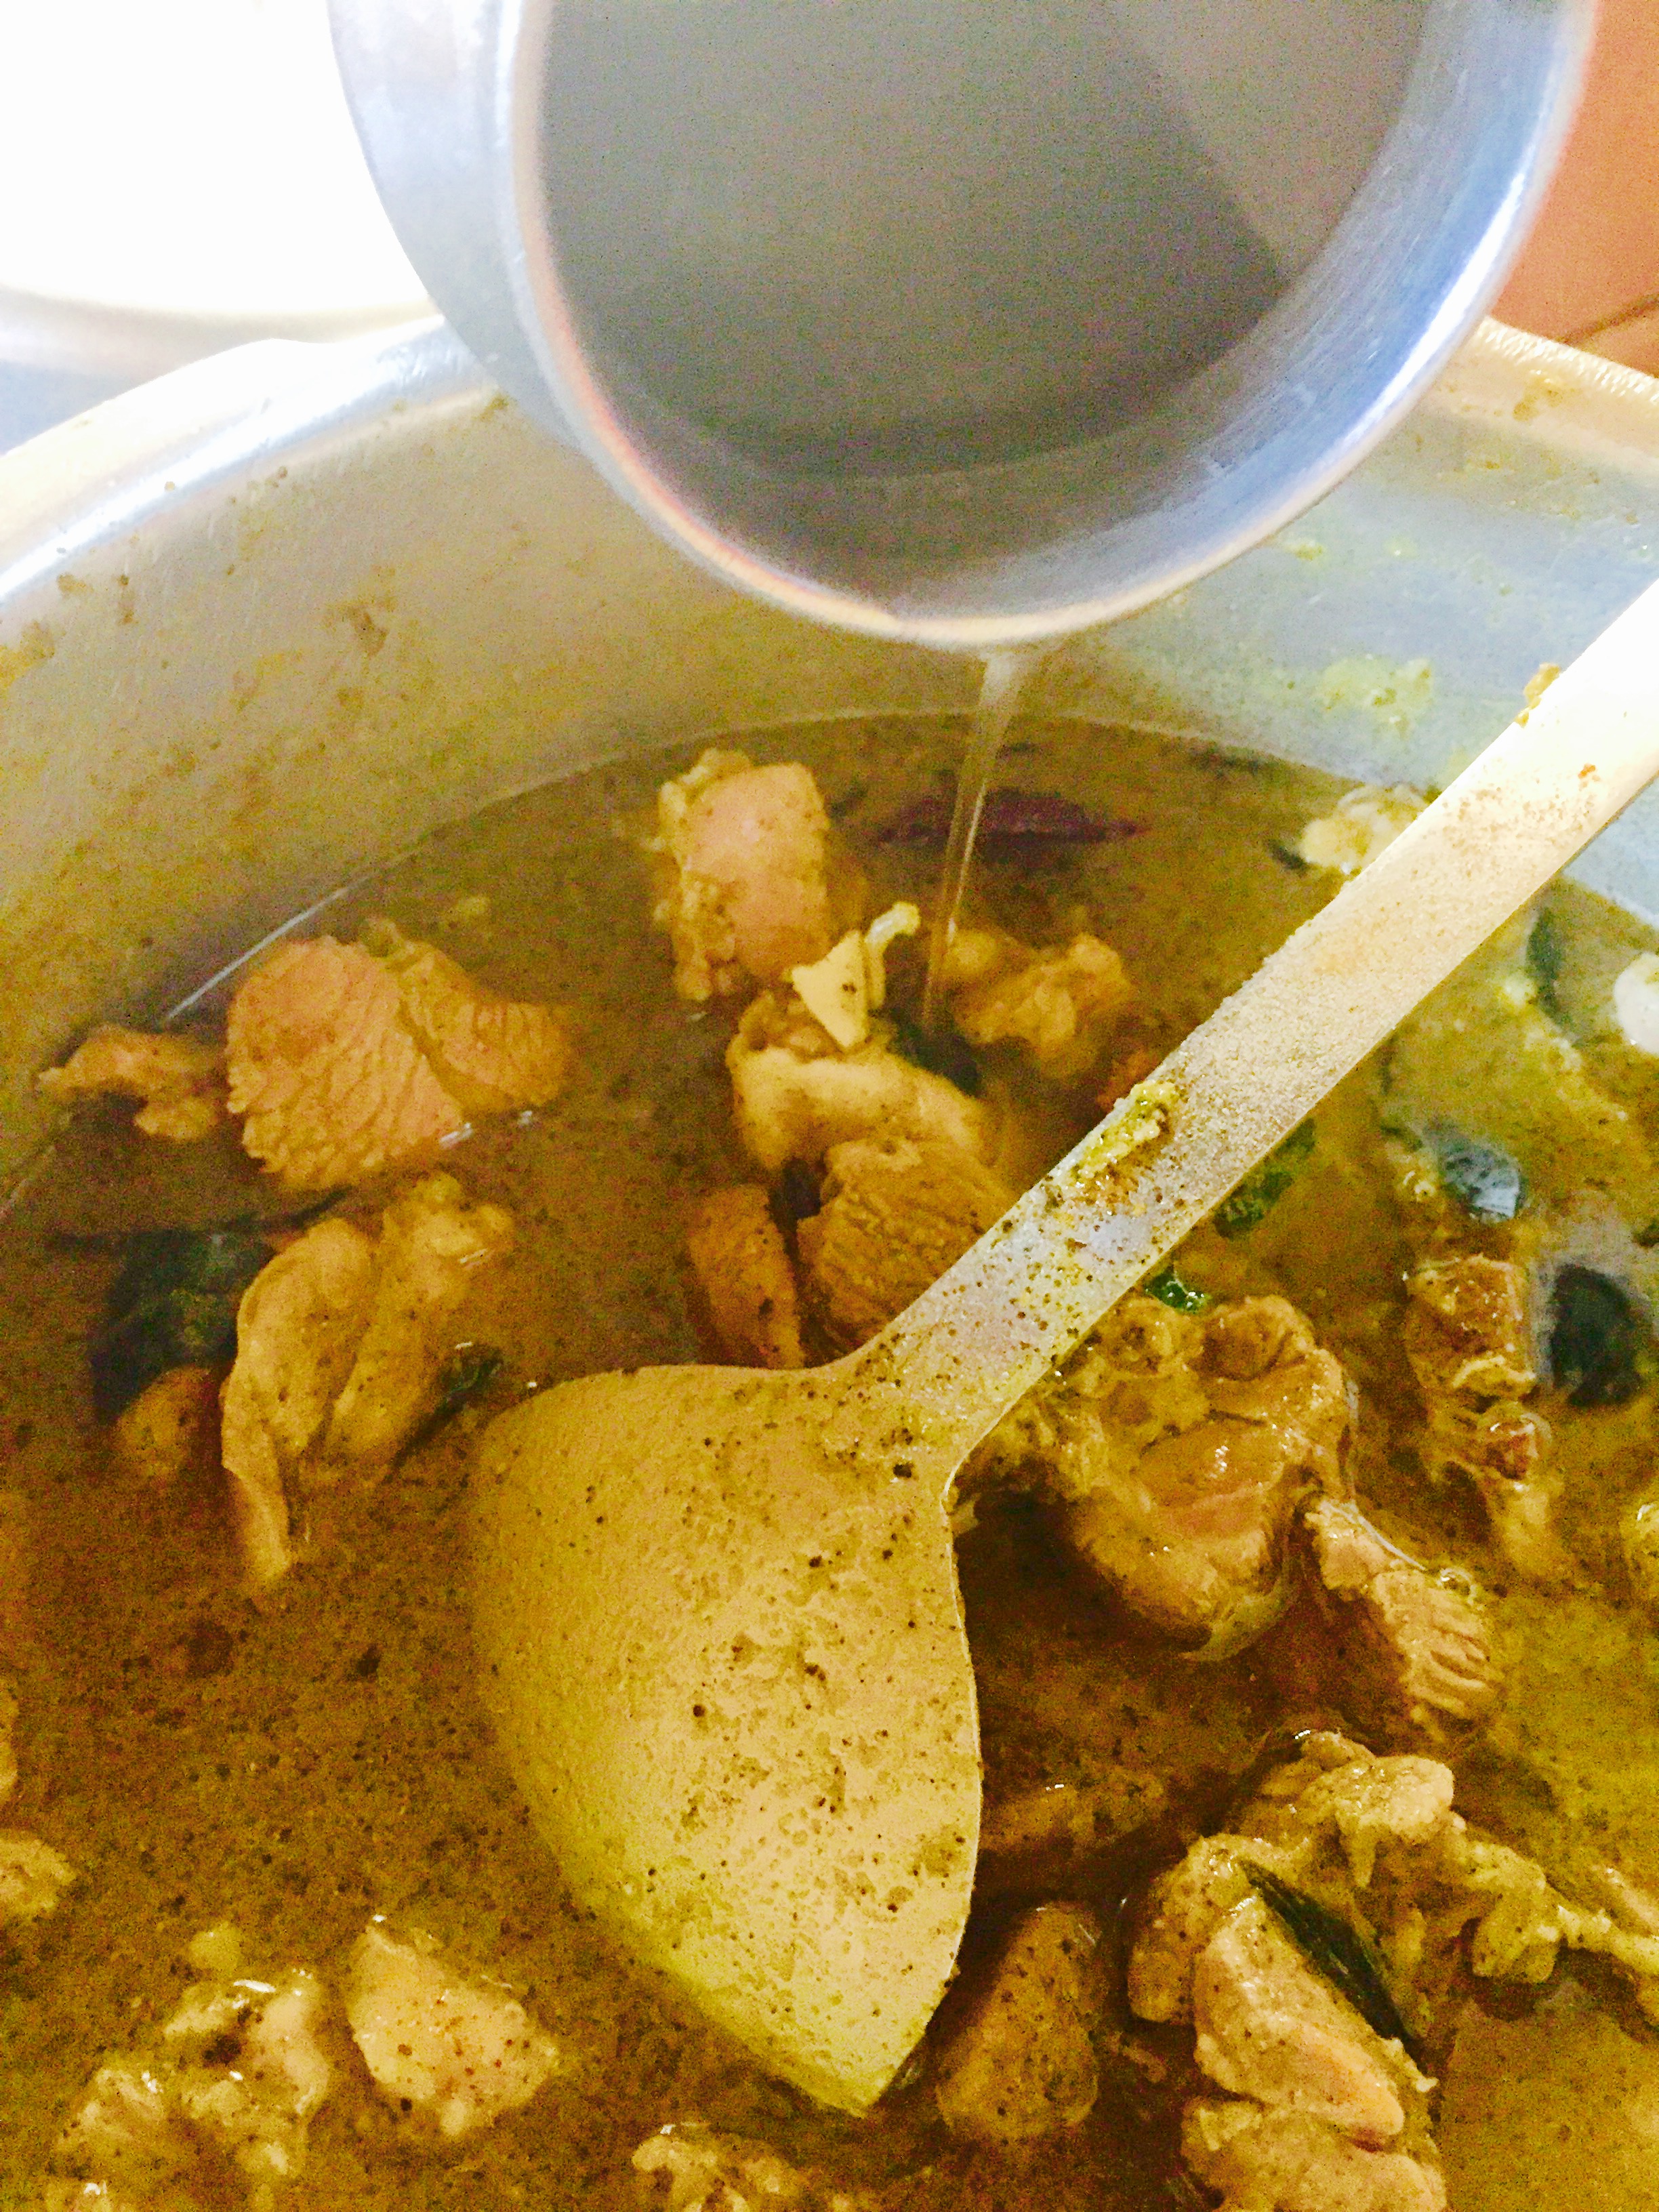
Method for gravy
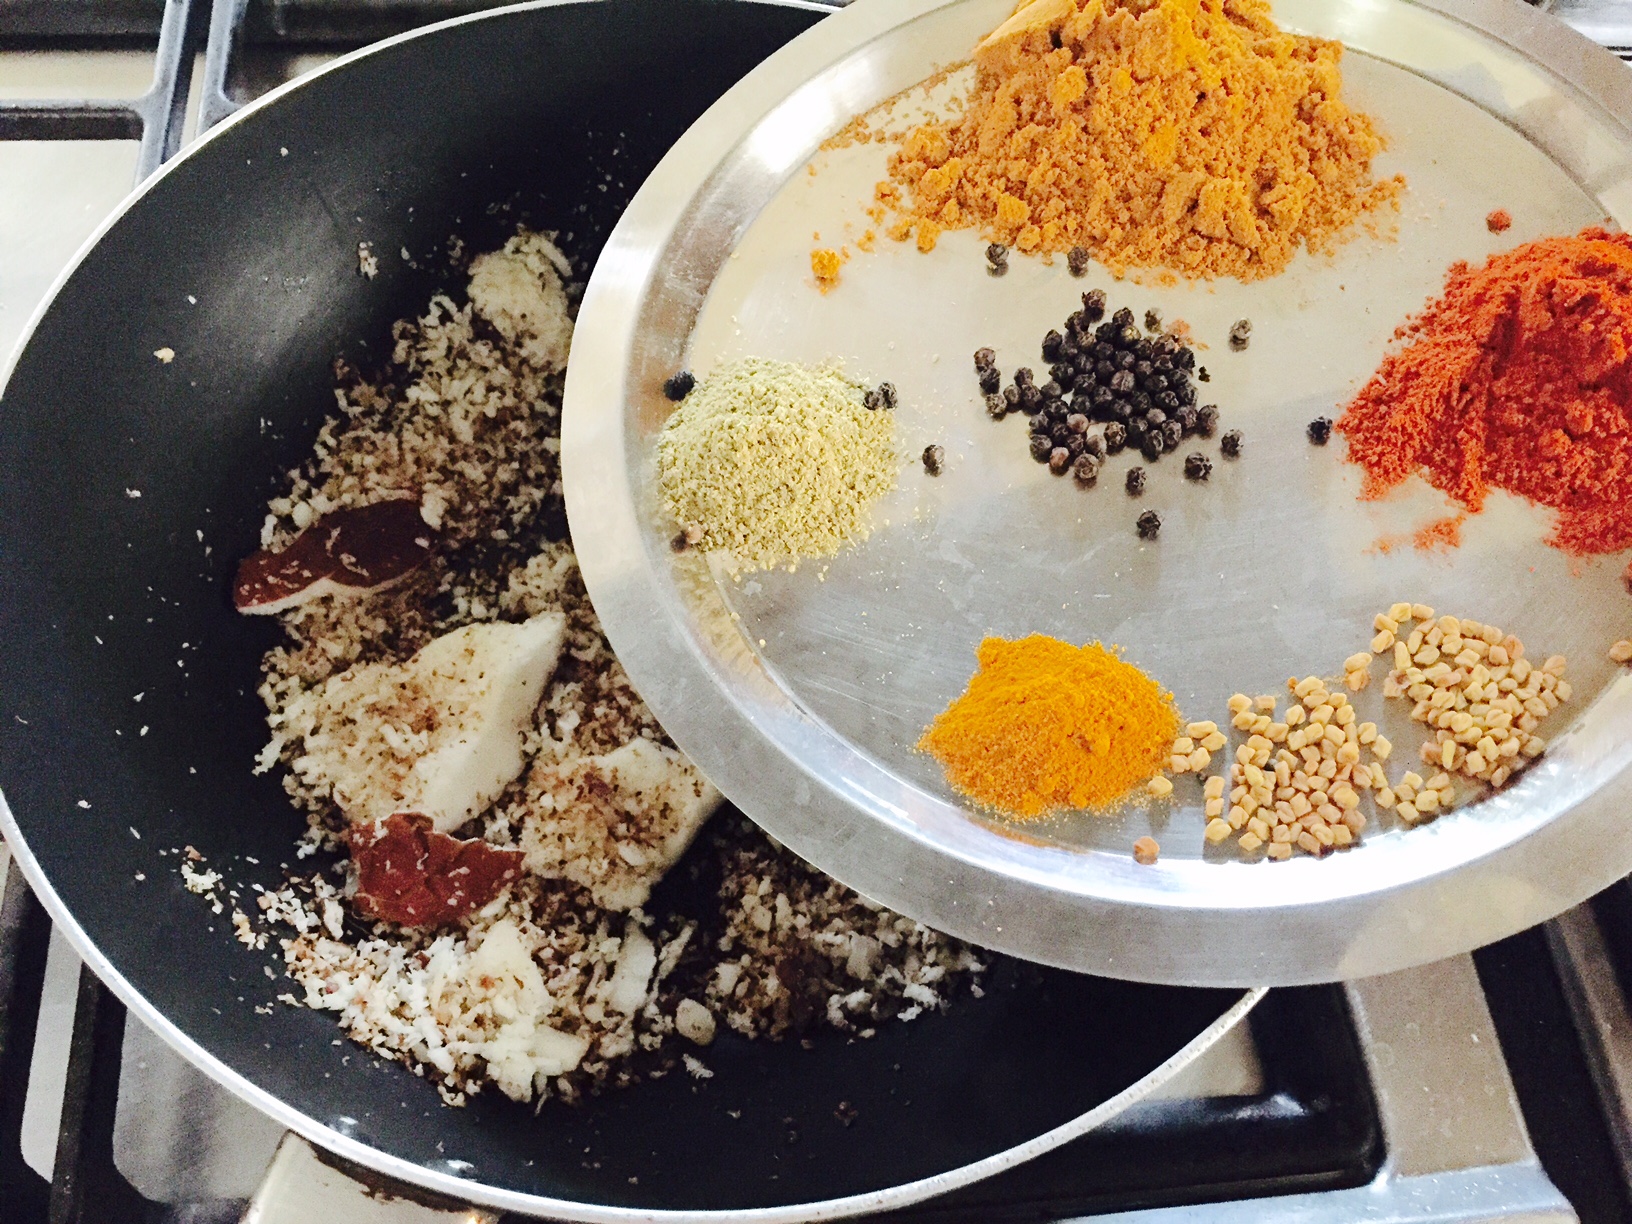
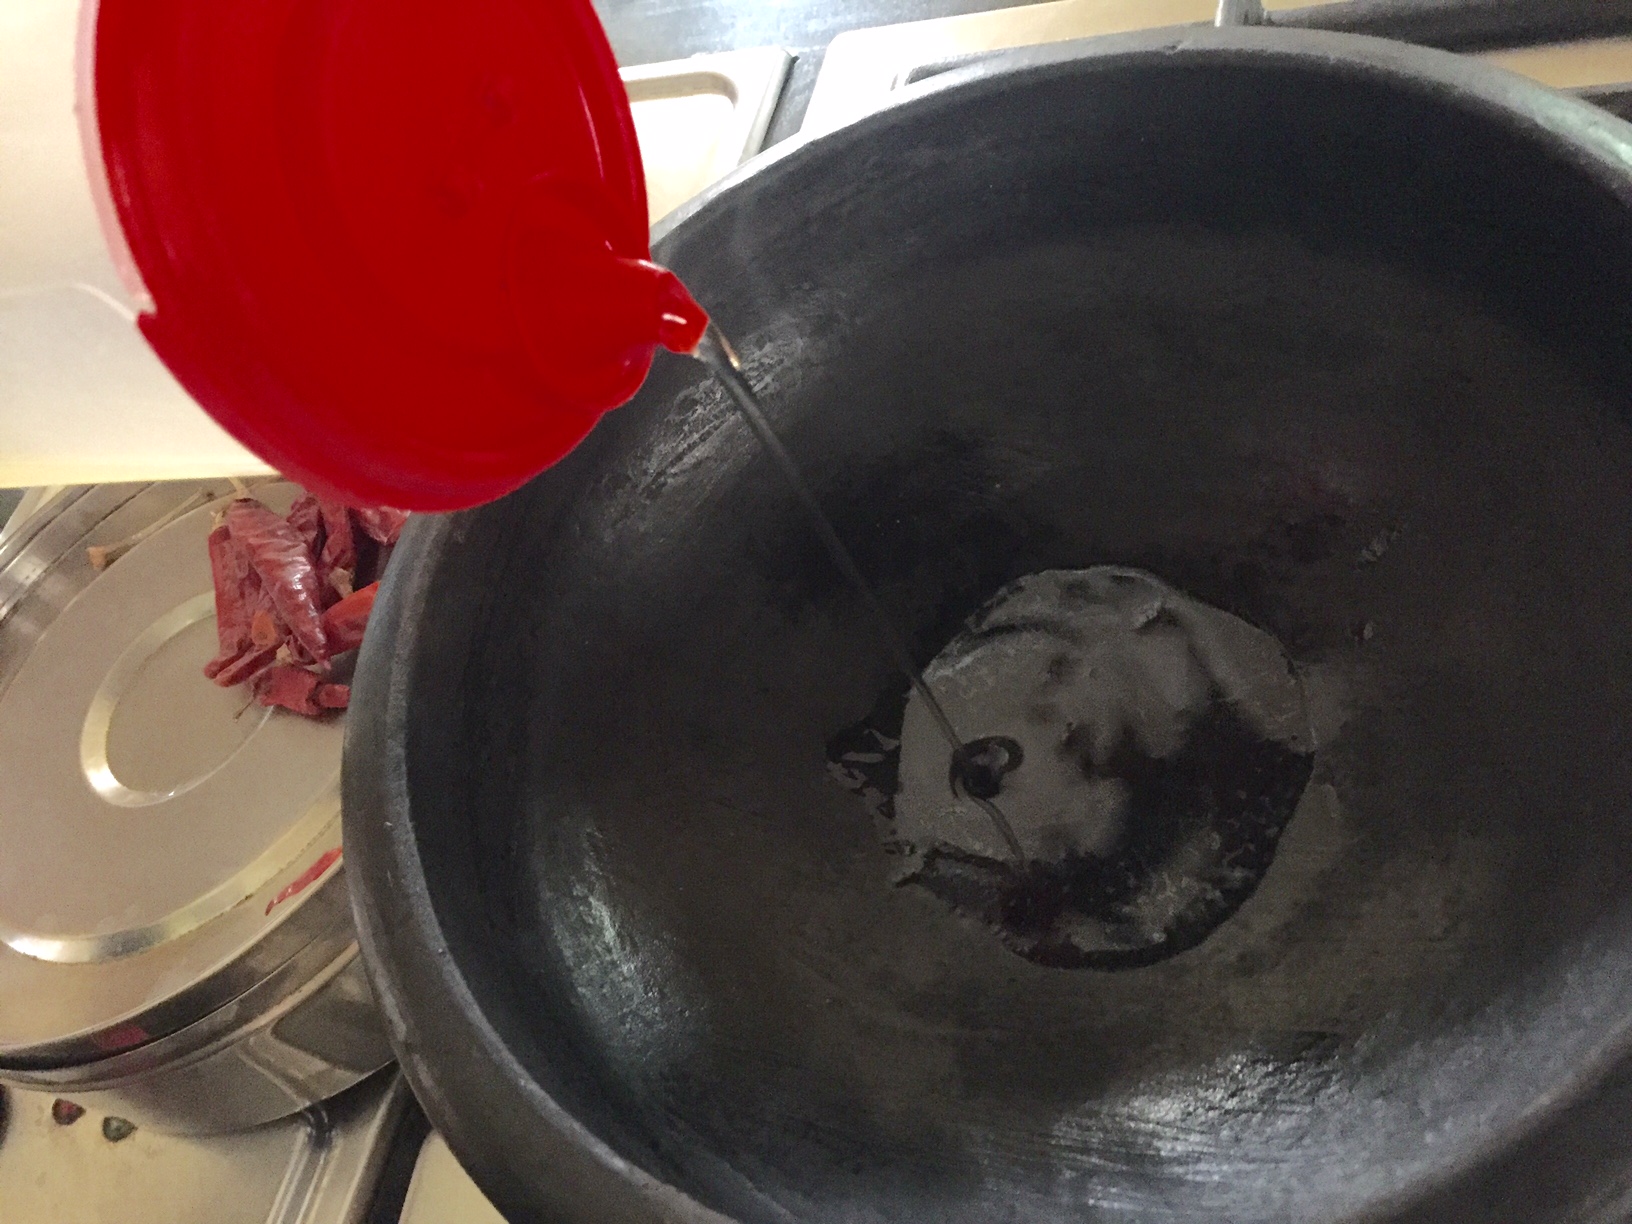
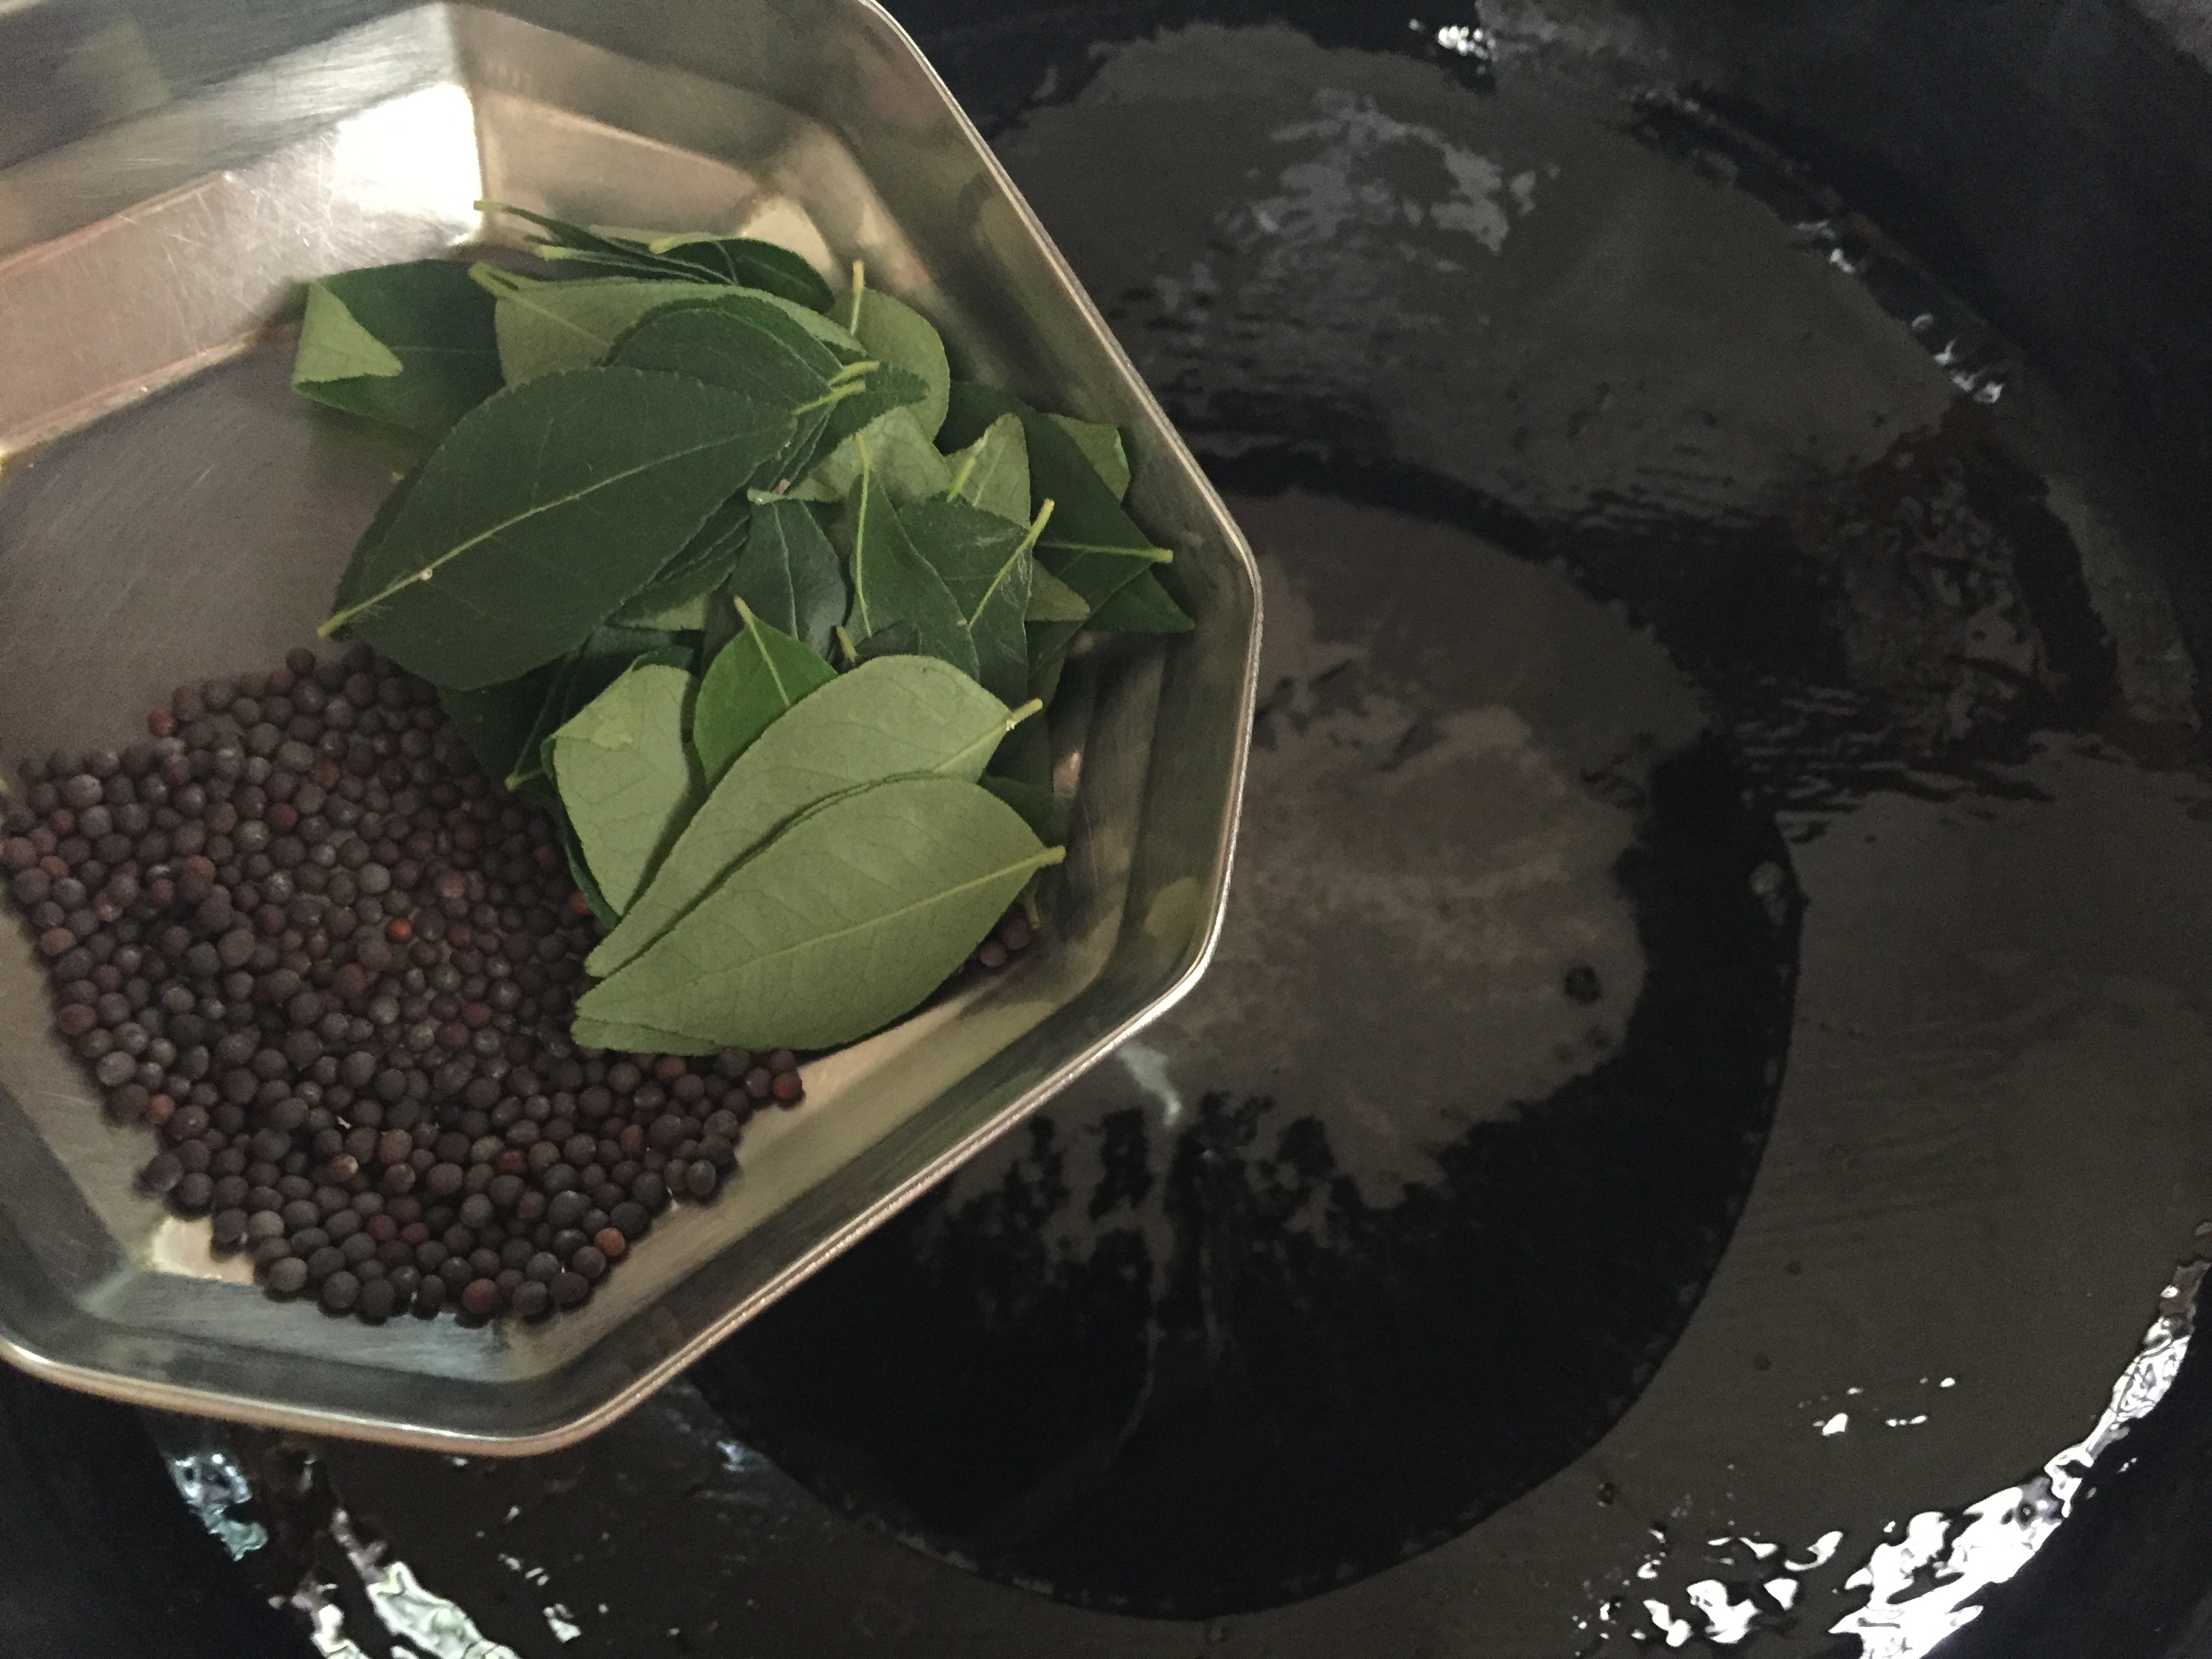
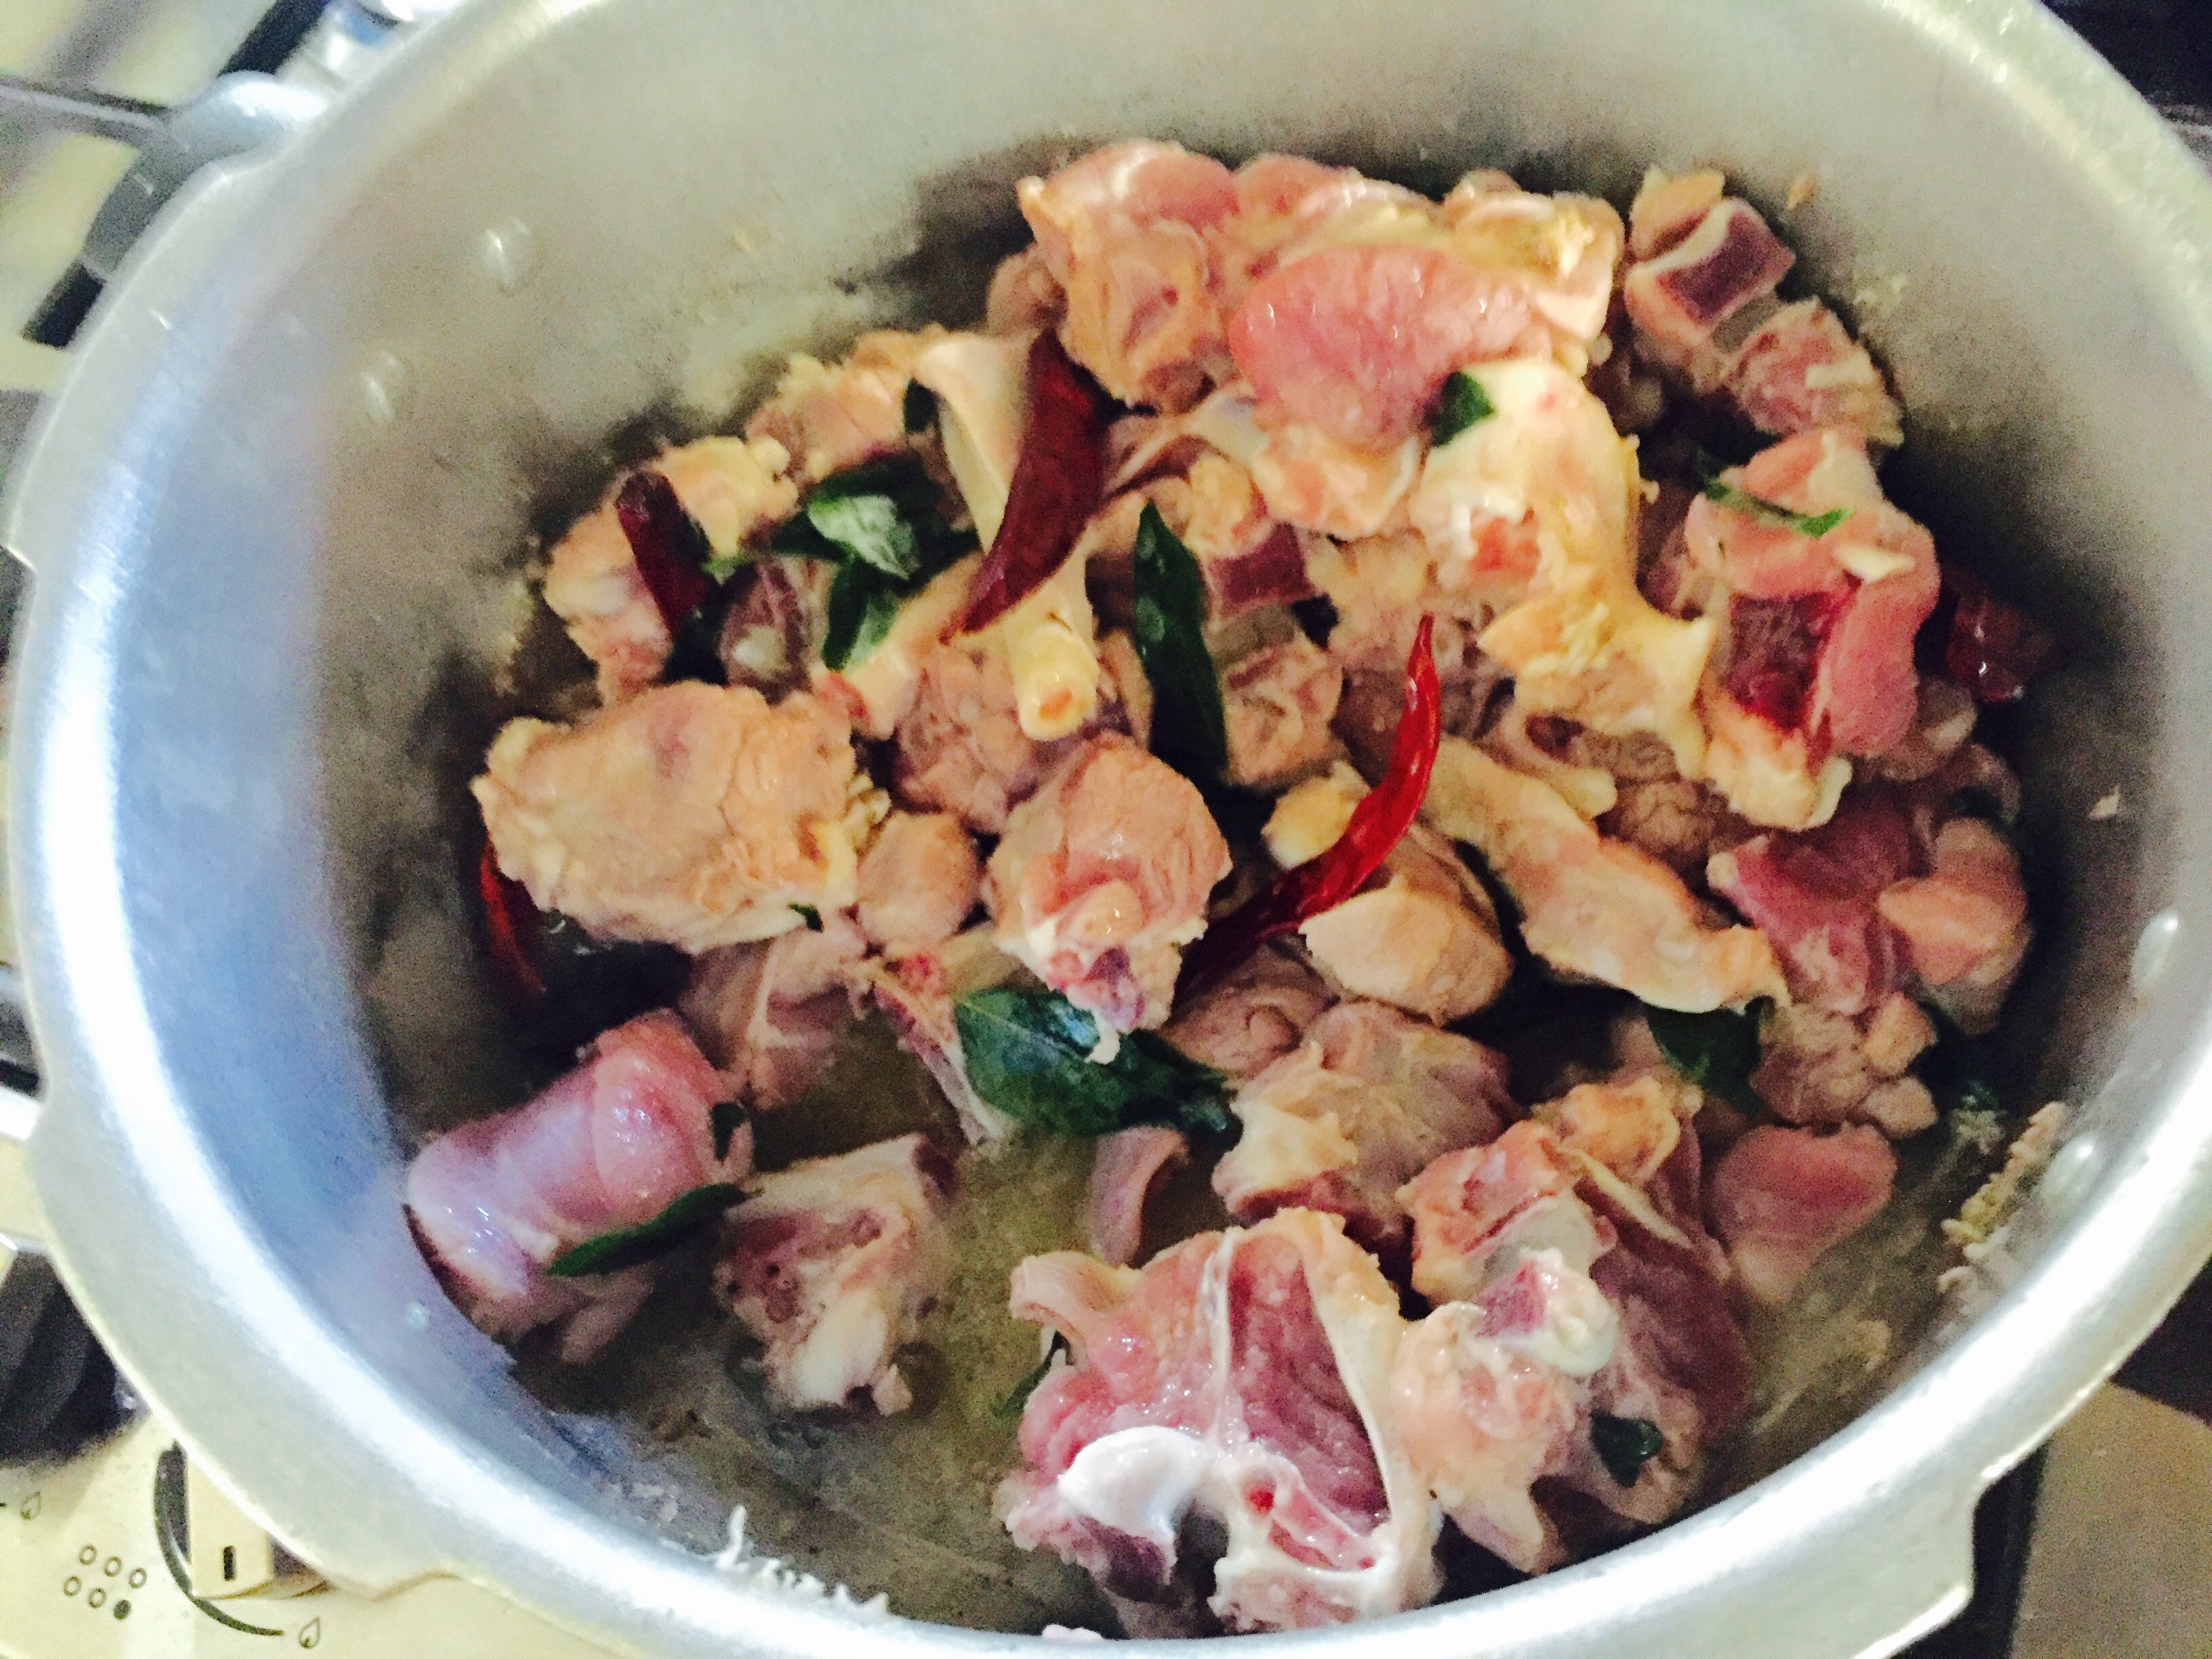
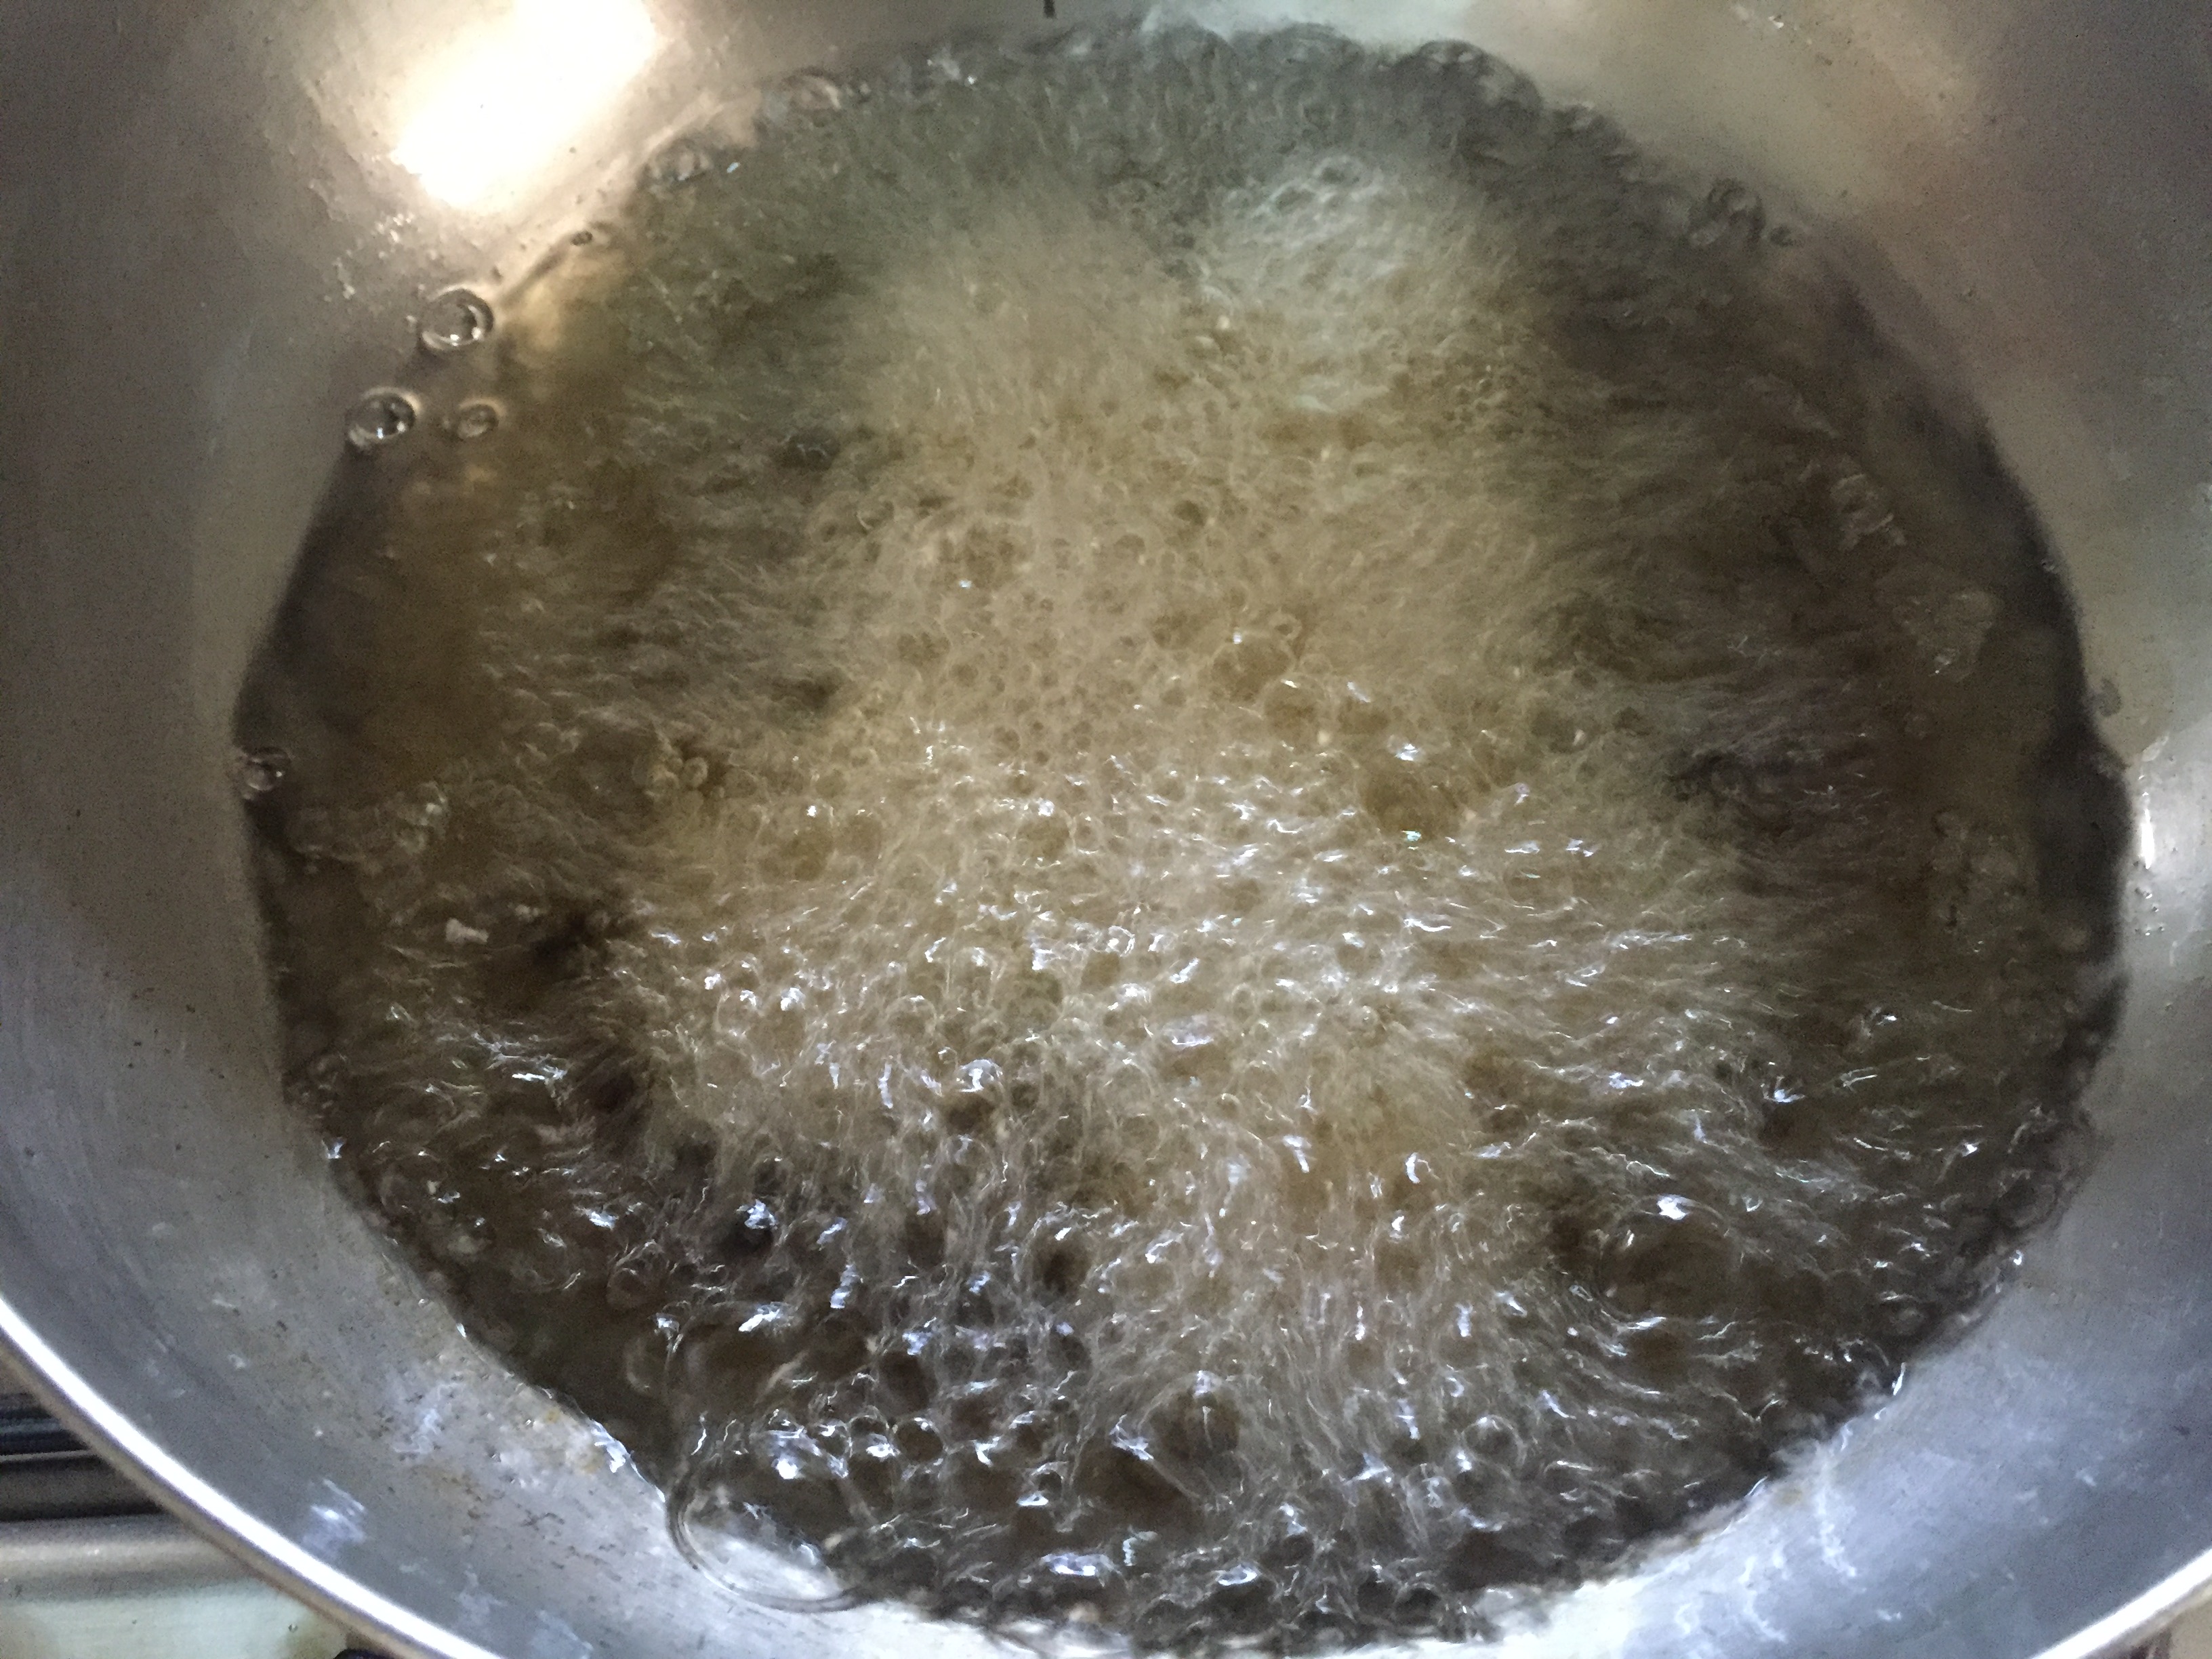
- Heat oil in a board vessel adding the whole spices letting them to splutter. Add onions and fry to translucent. Top with ginger garlic paste and fry until raw smell vanishes.
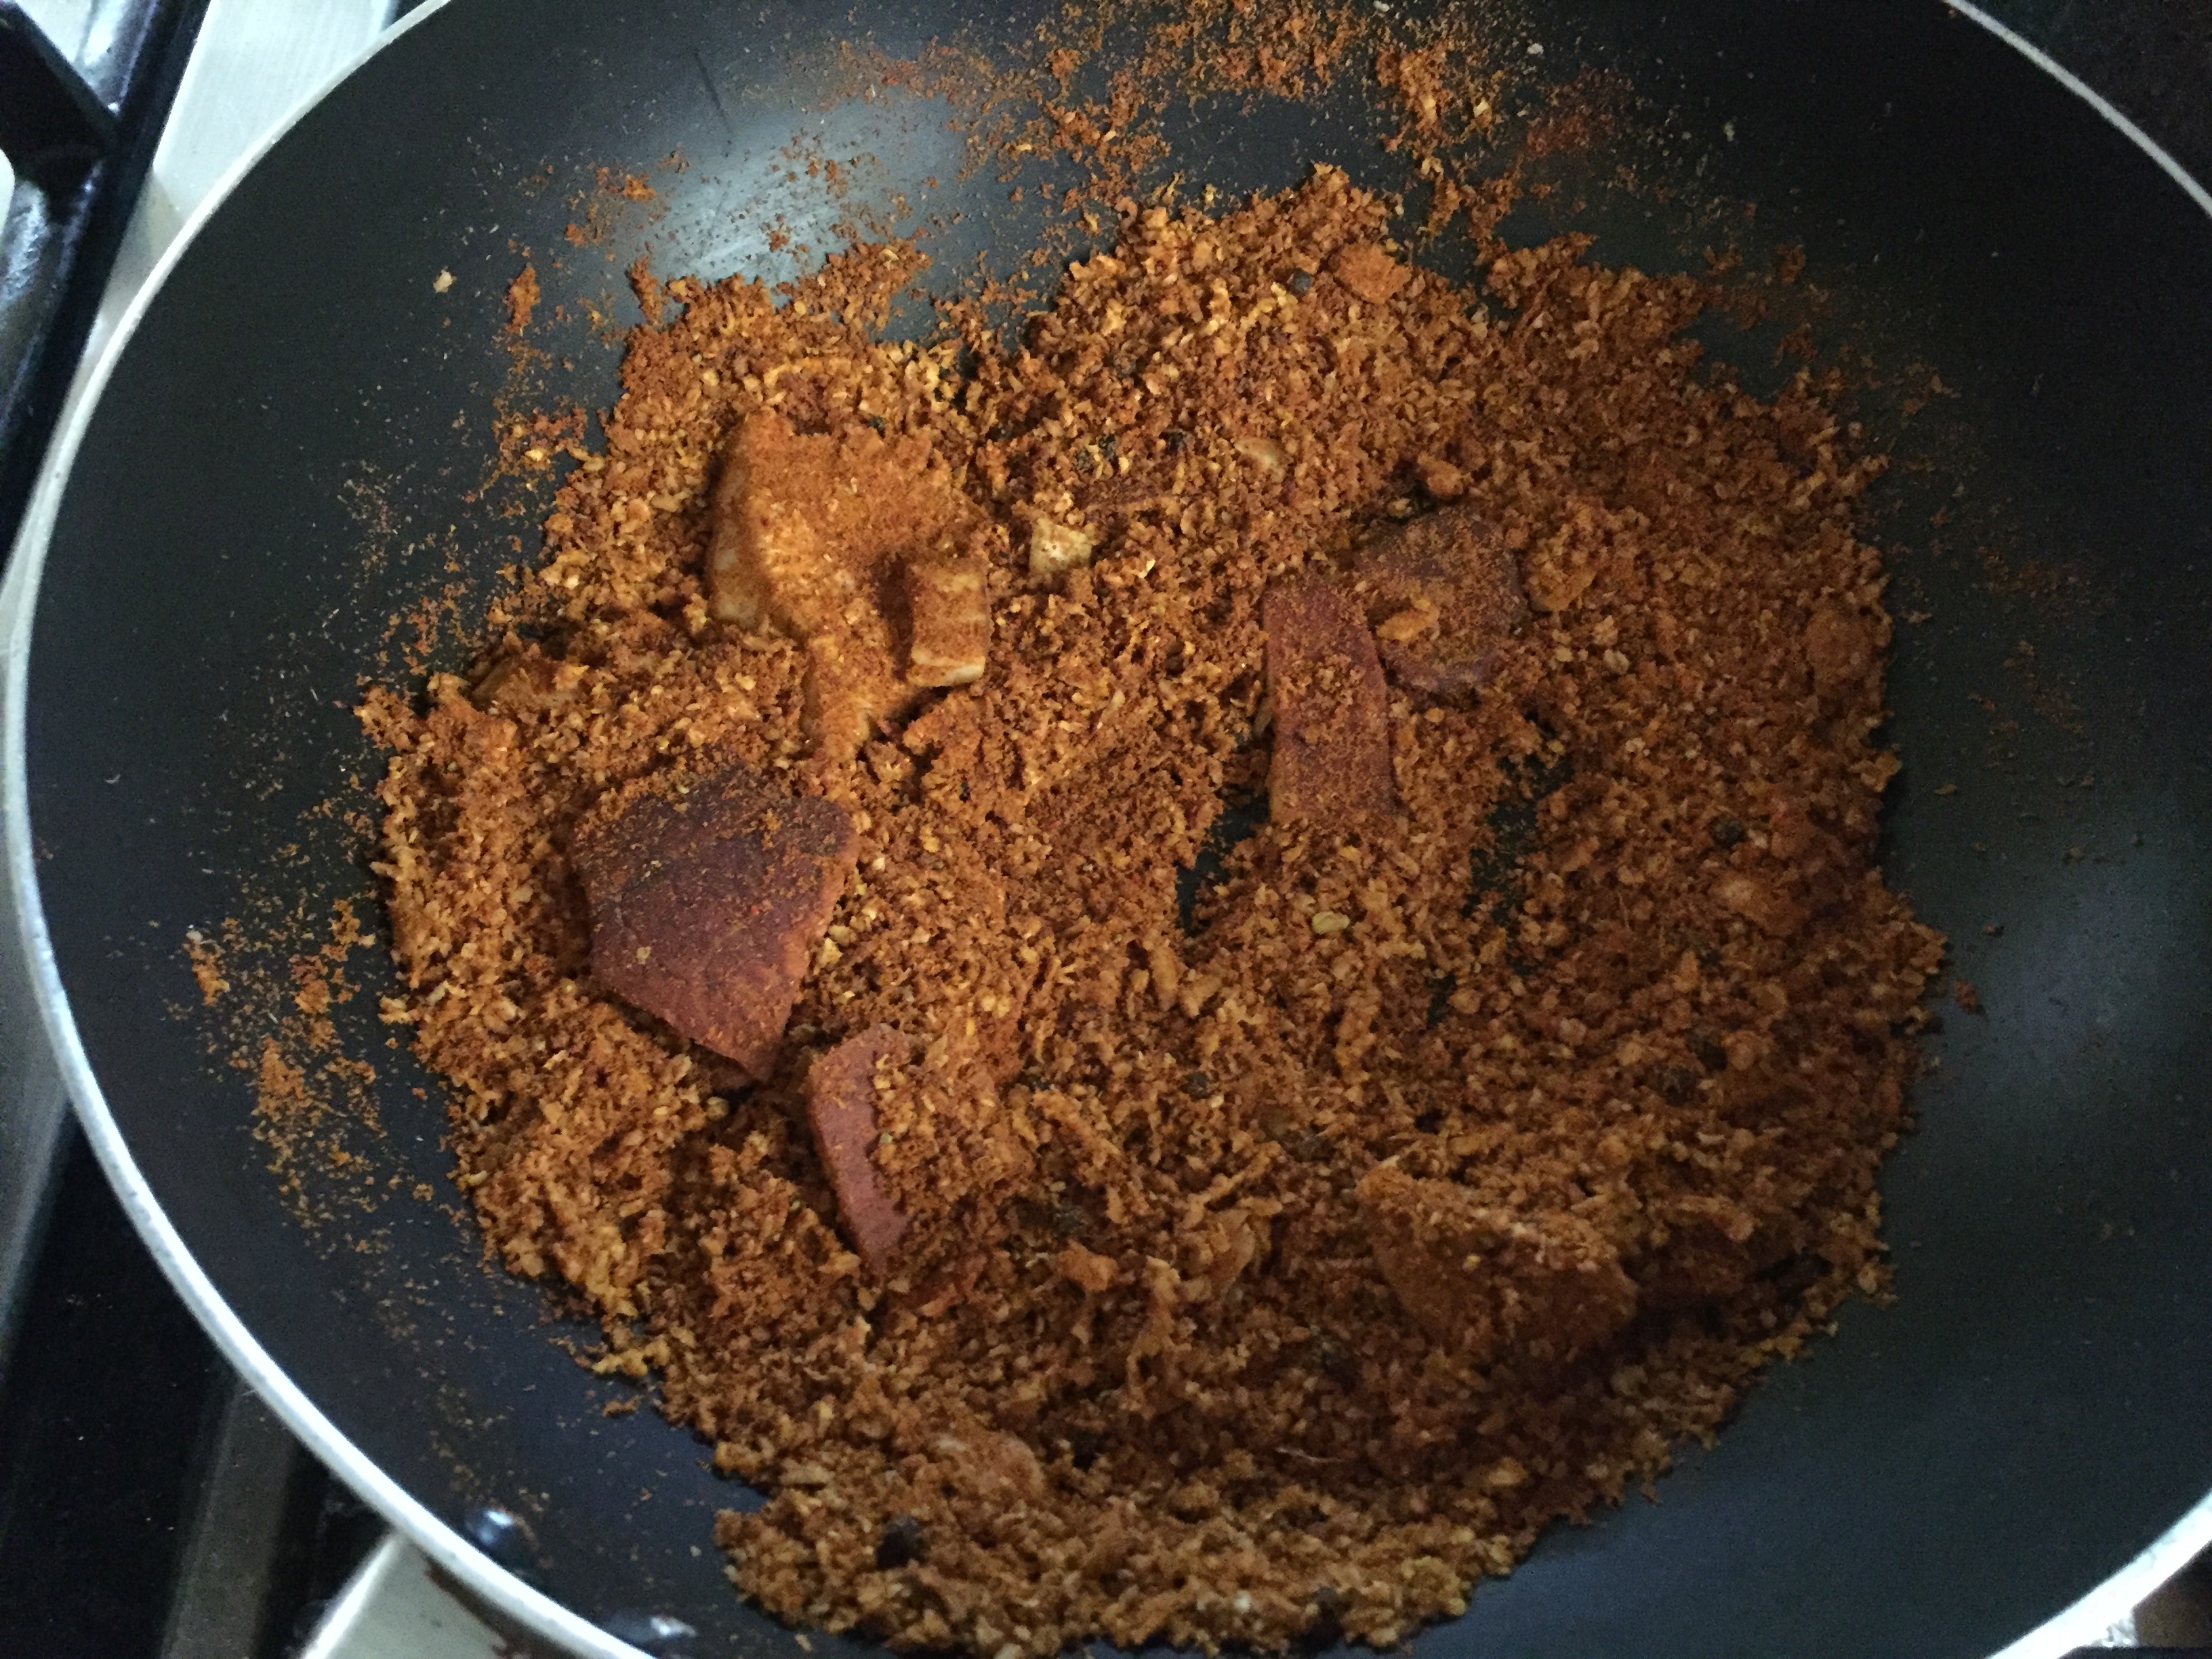
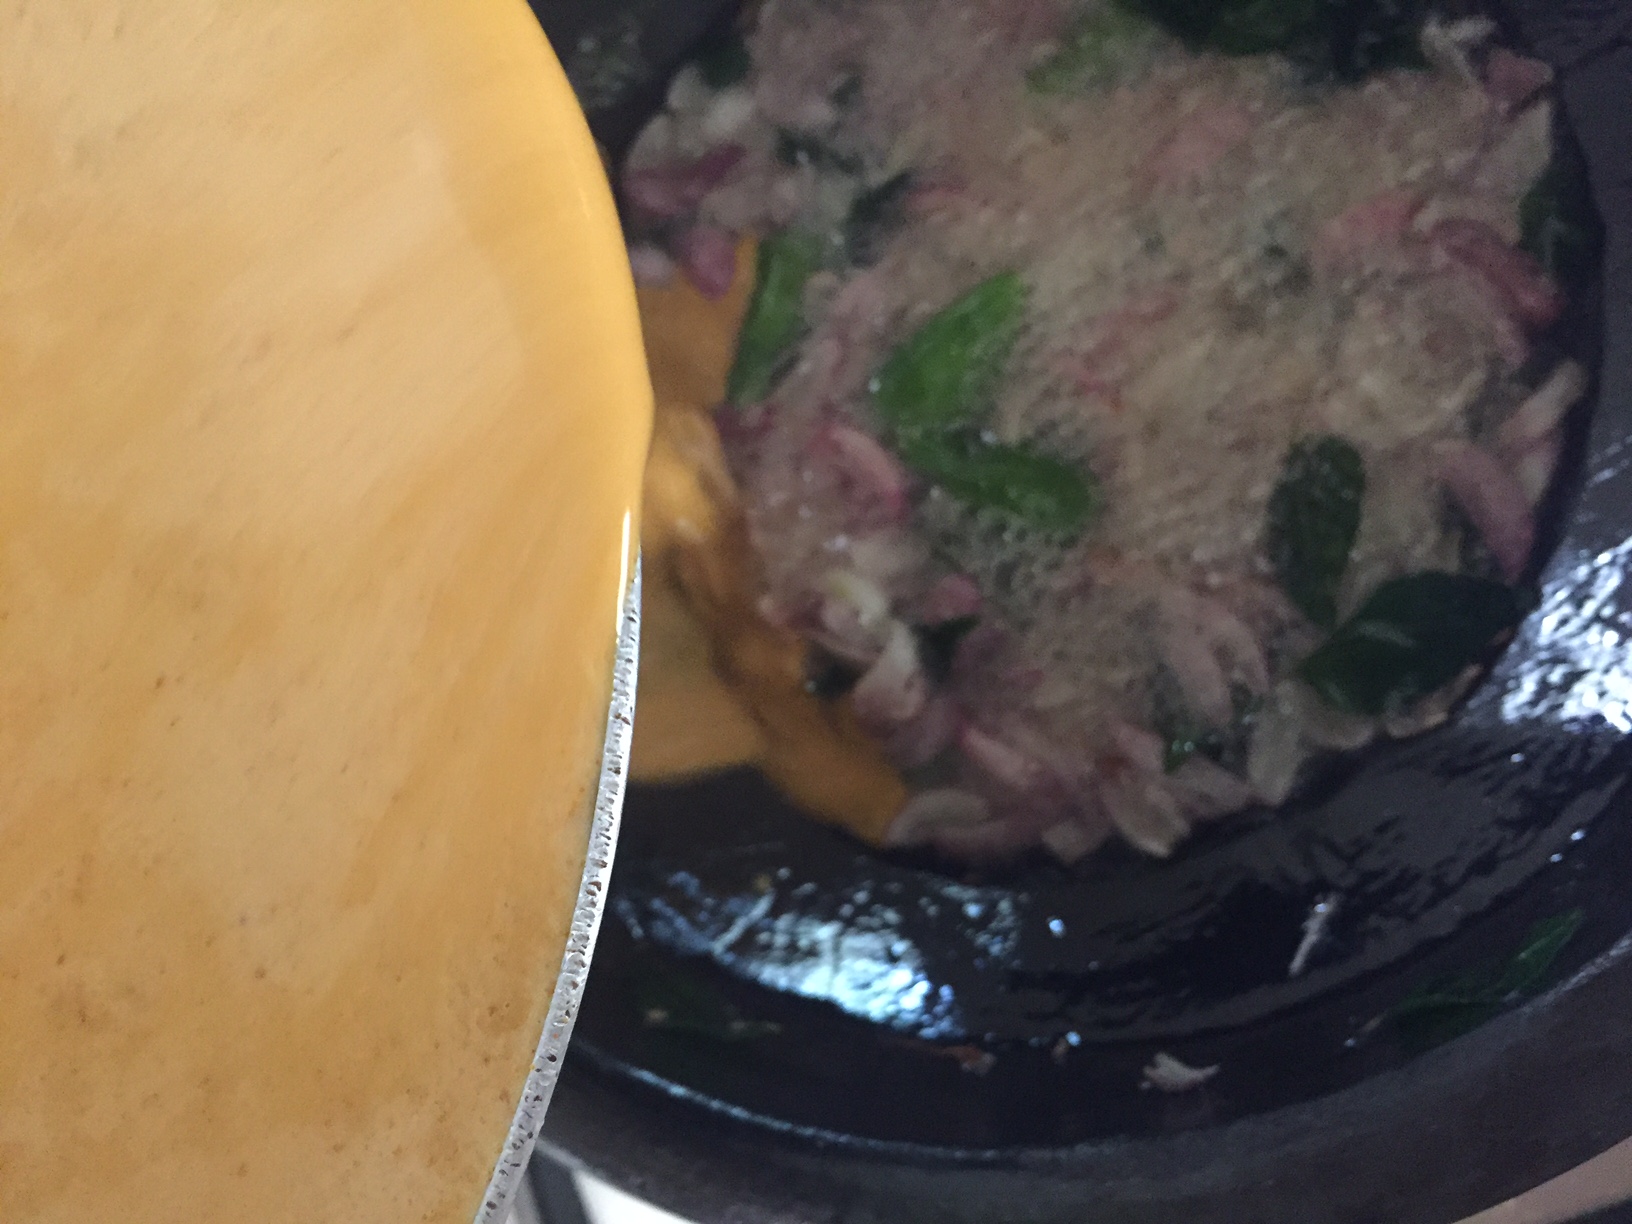
- Add red chilli powder, turmeric powder, tomatoes and sauté until oil separates. Add one cup of water and boil to take away the raw smell.
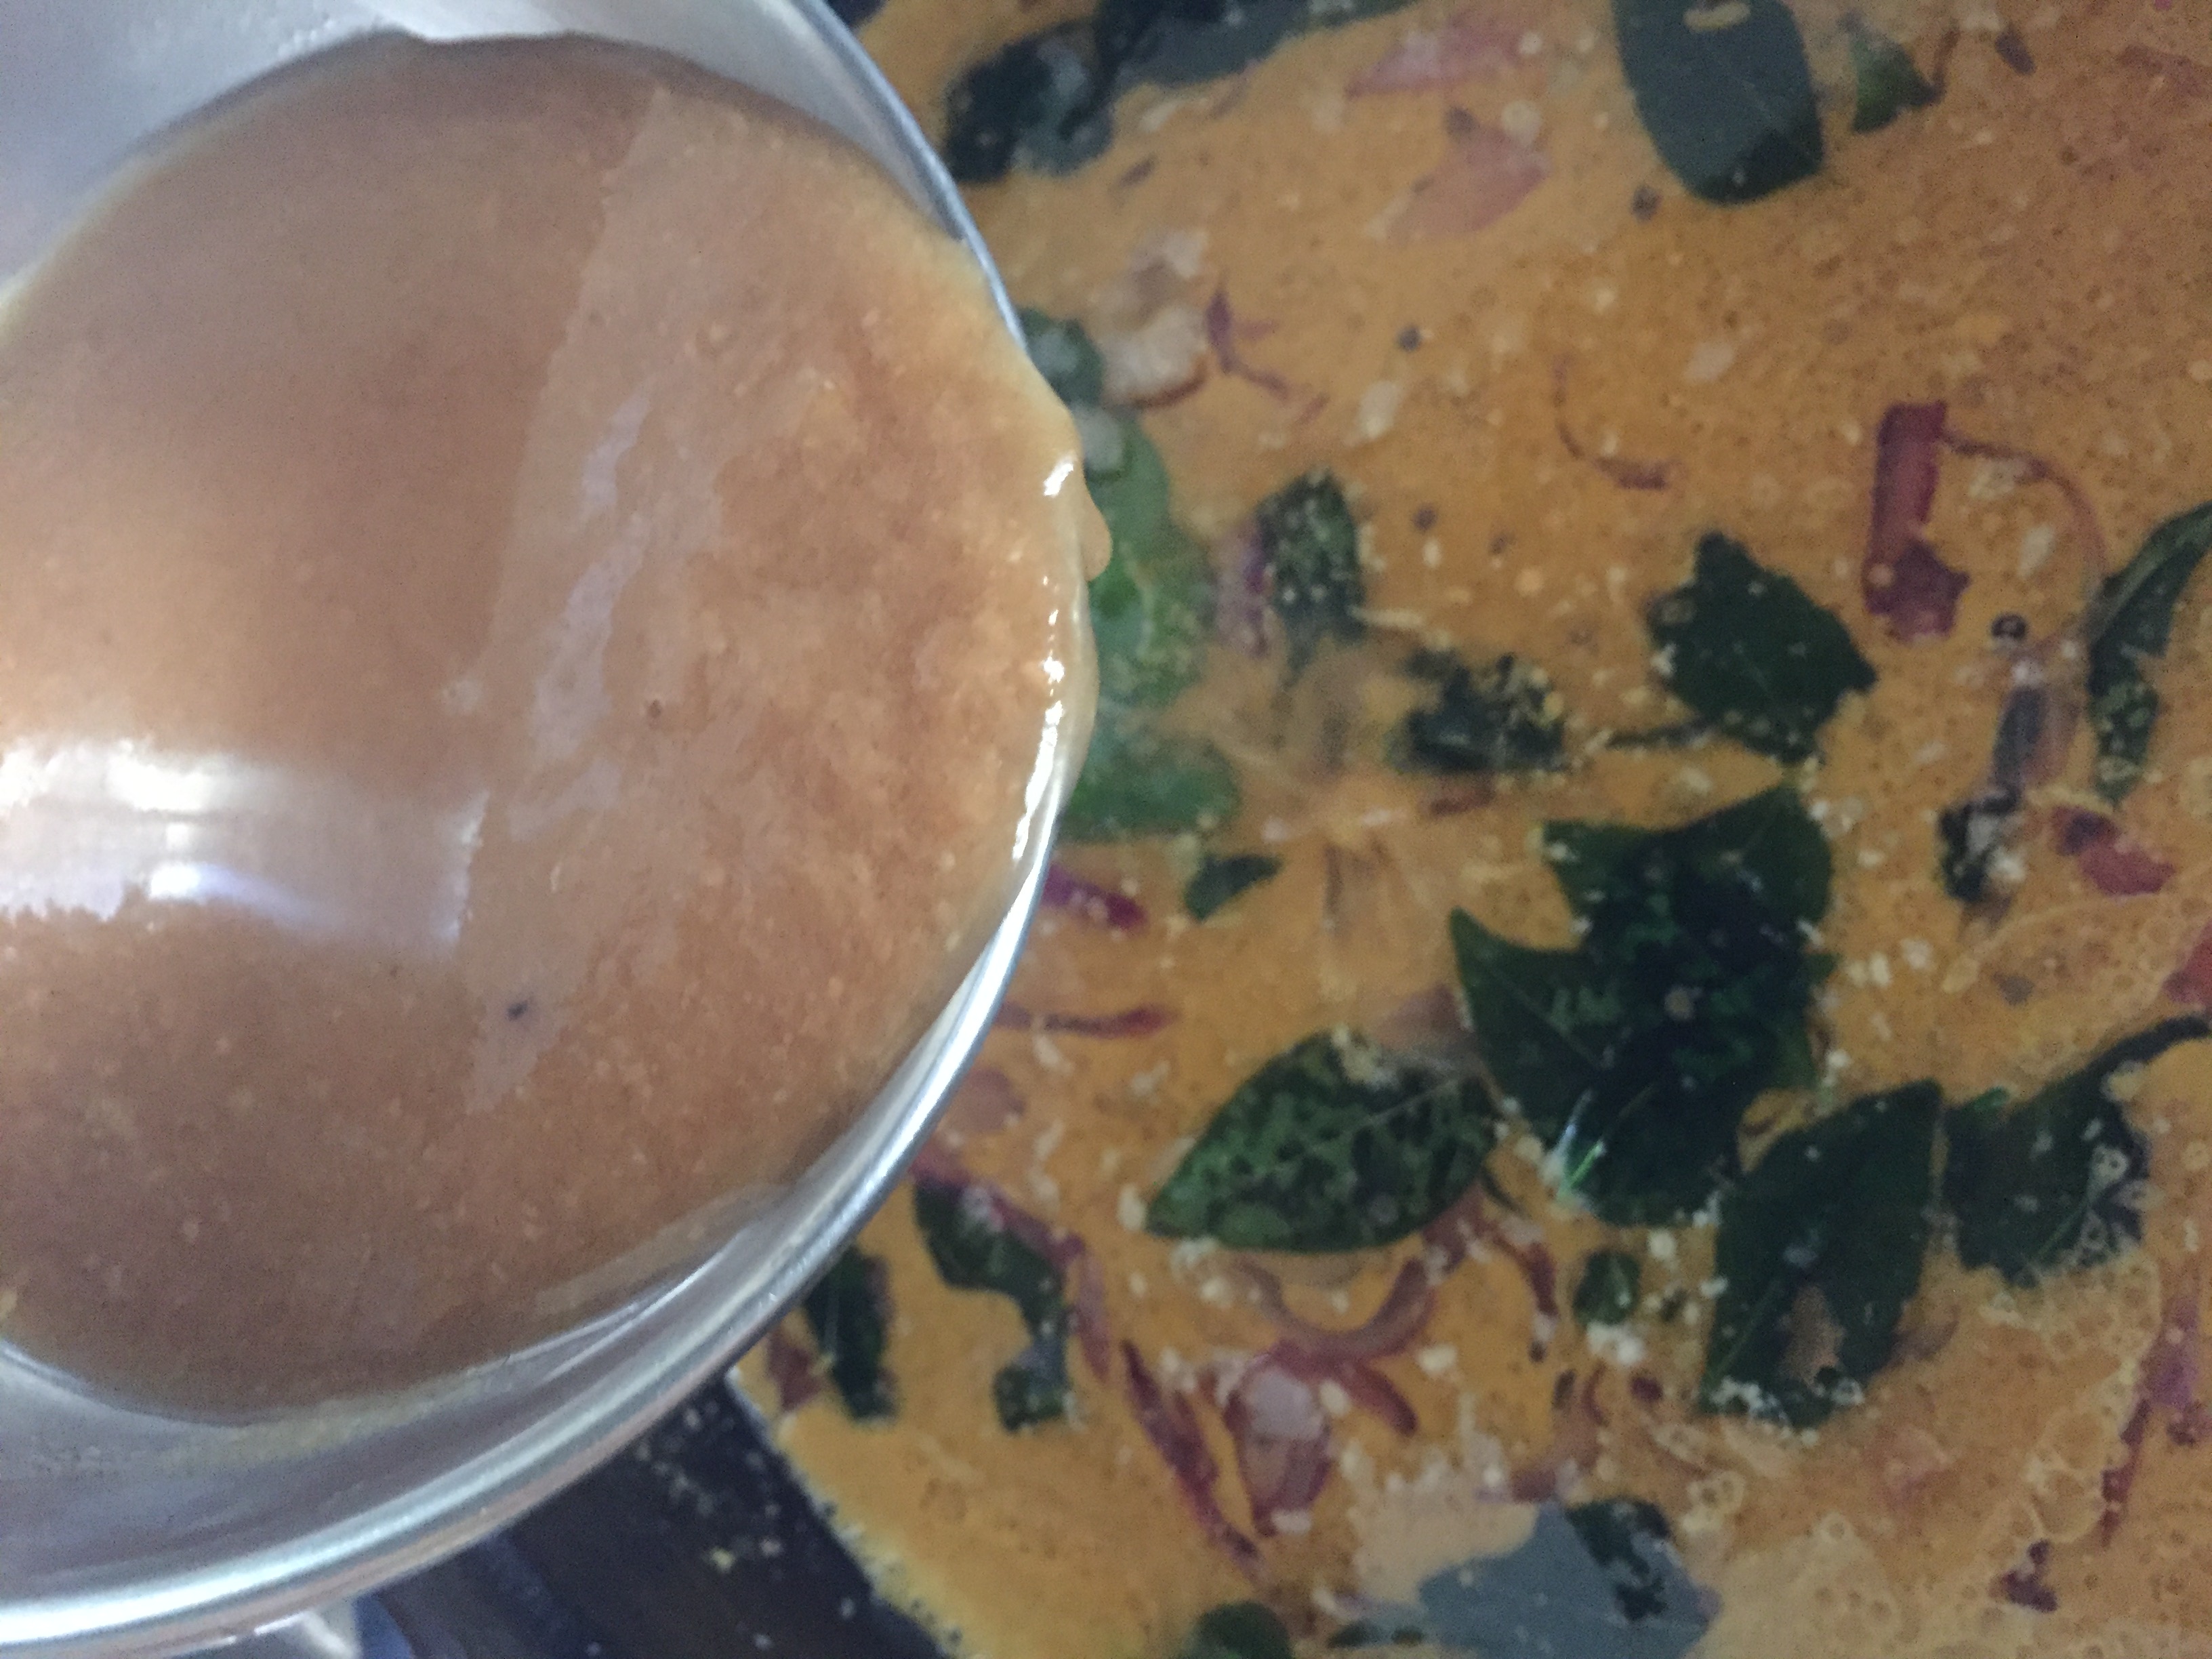
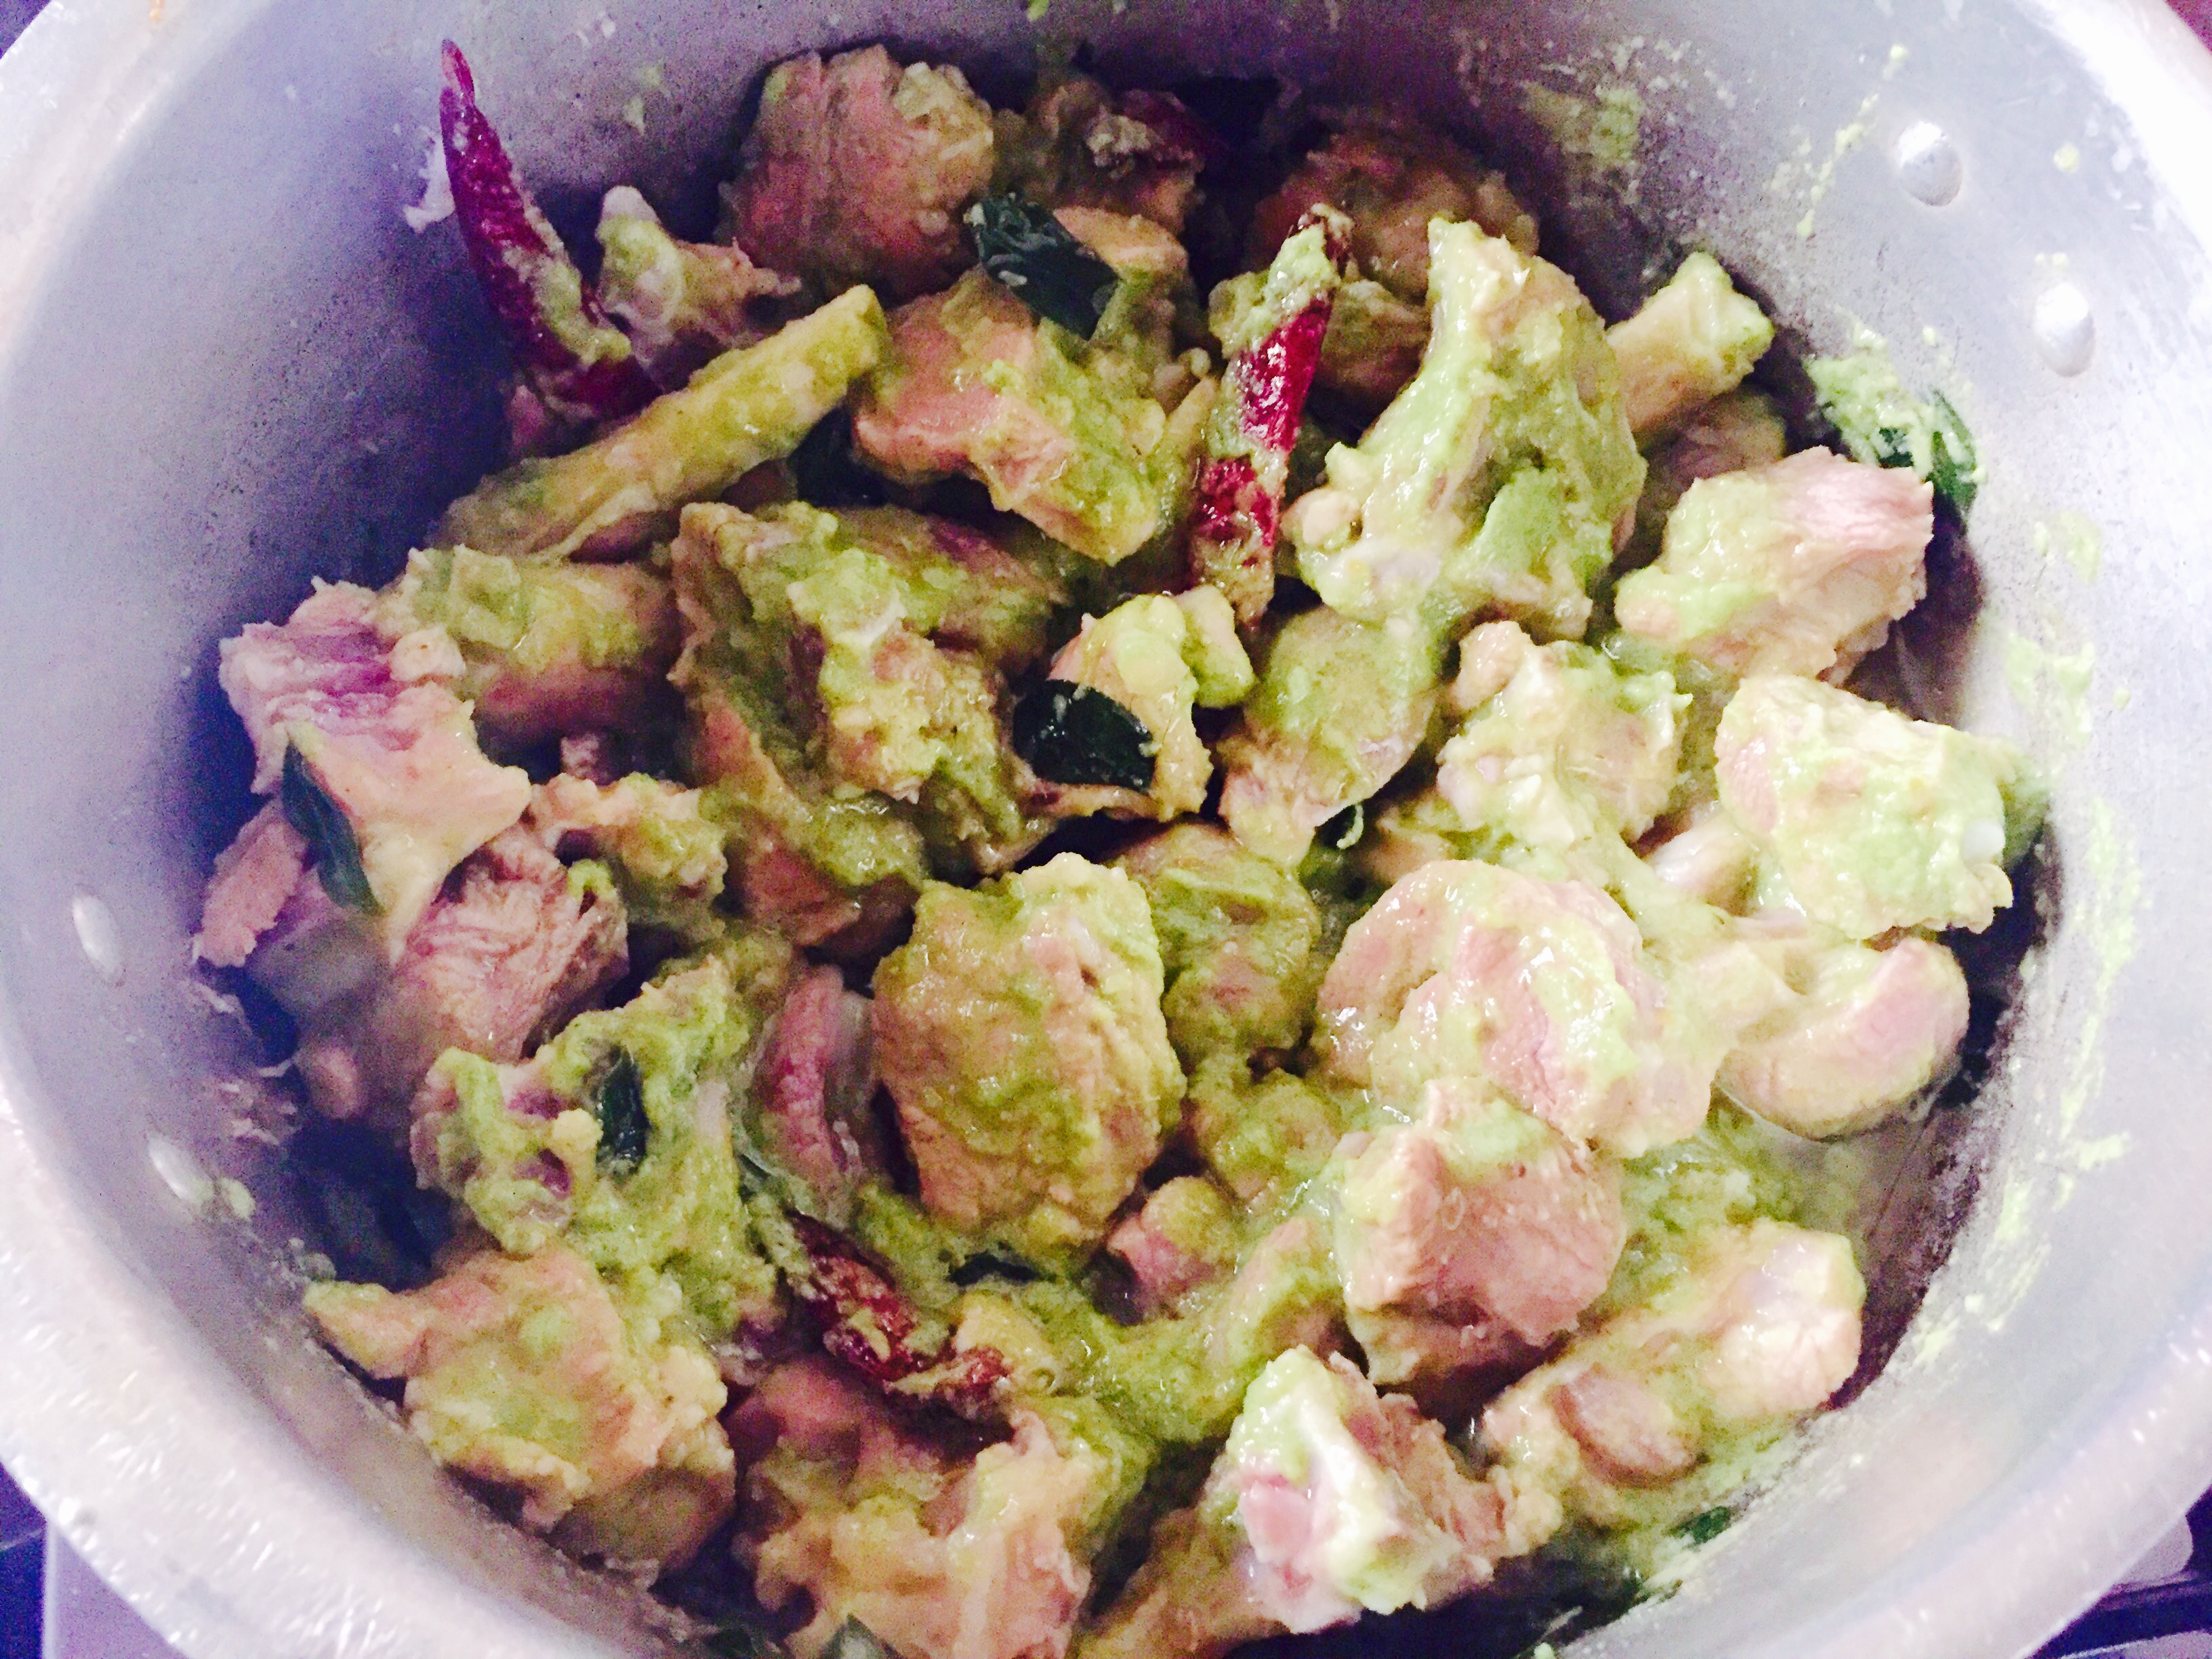
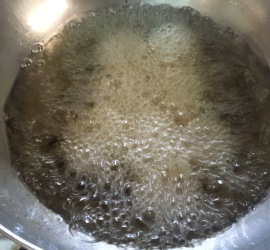
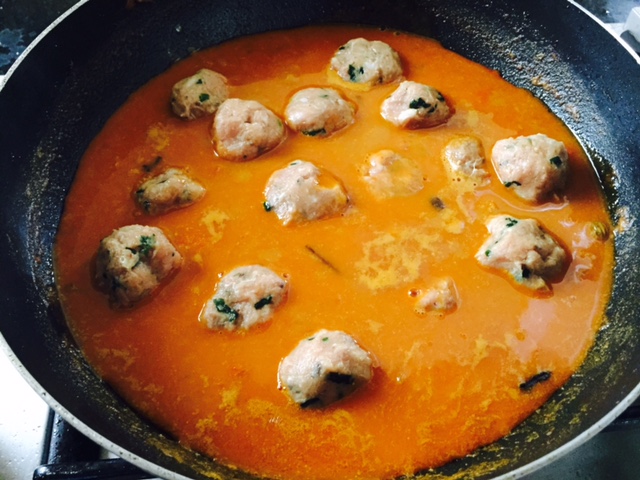
- Add ground coconut – cashew masala paste and boil to thicken until desired consistency. (Semi loose will be fine as we have to boil the meat balls in it )
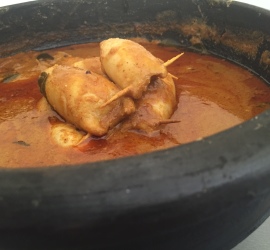
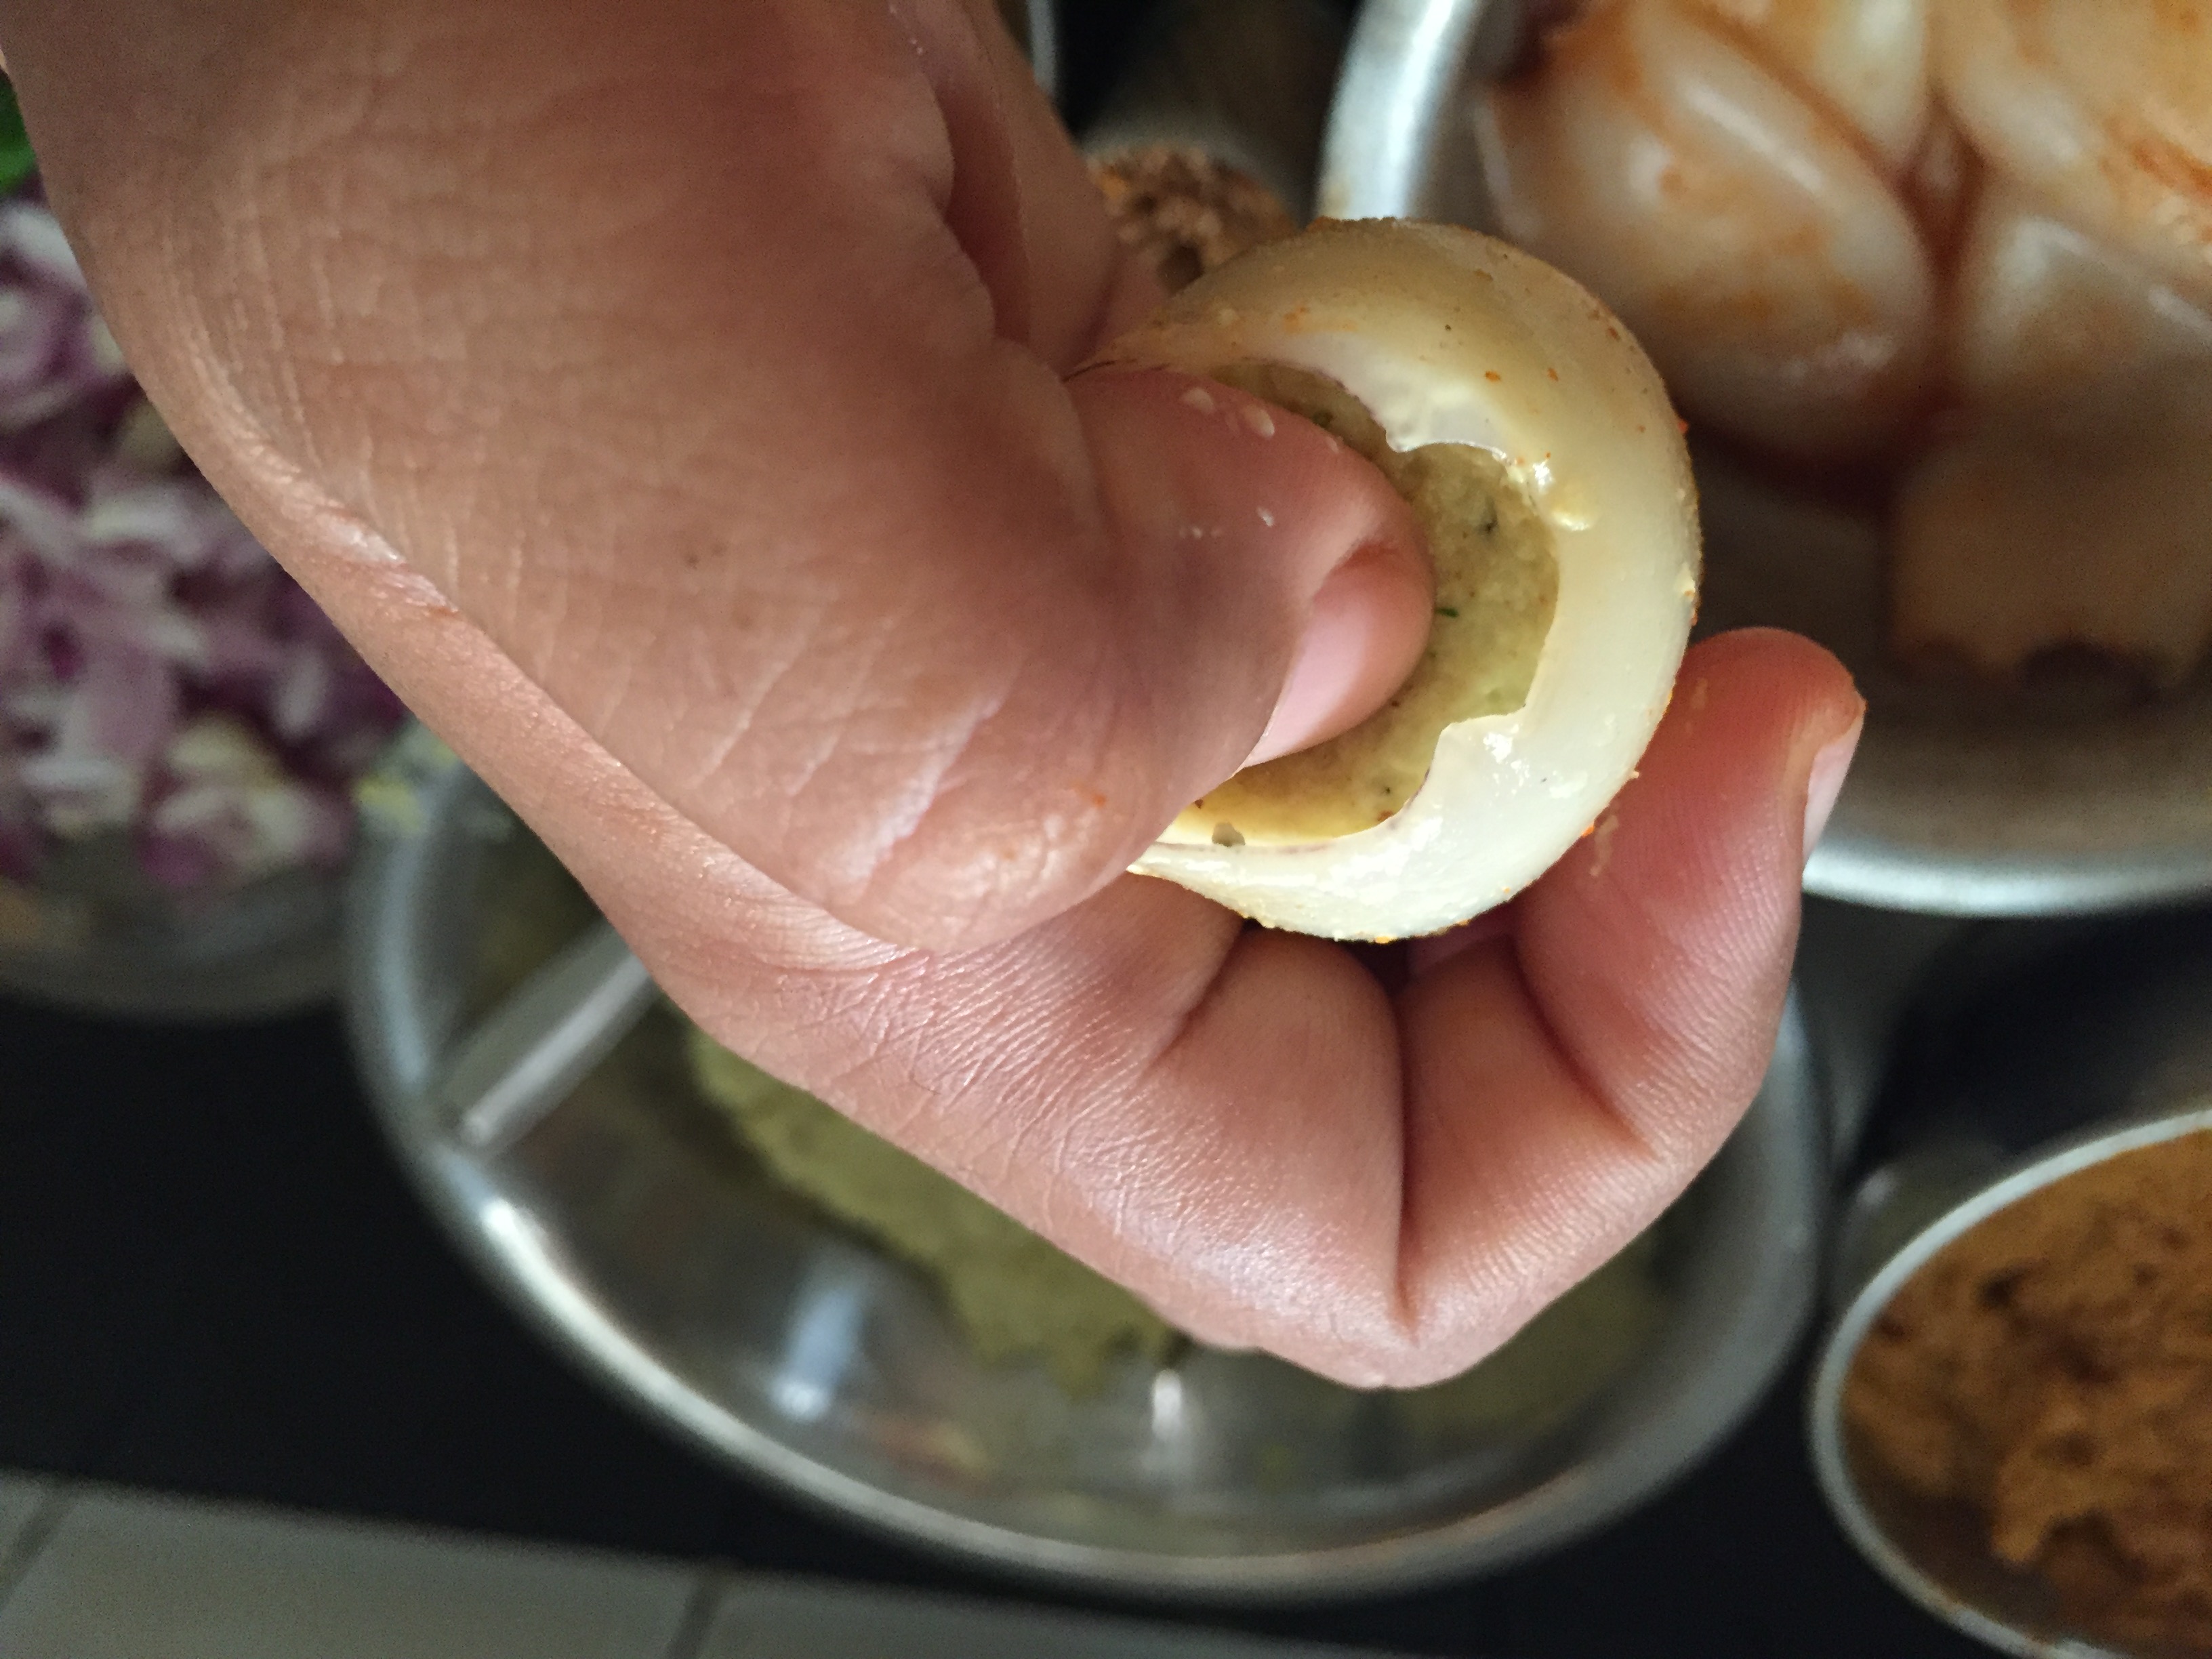
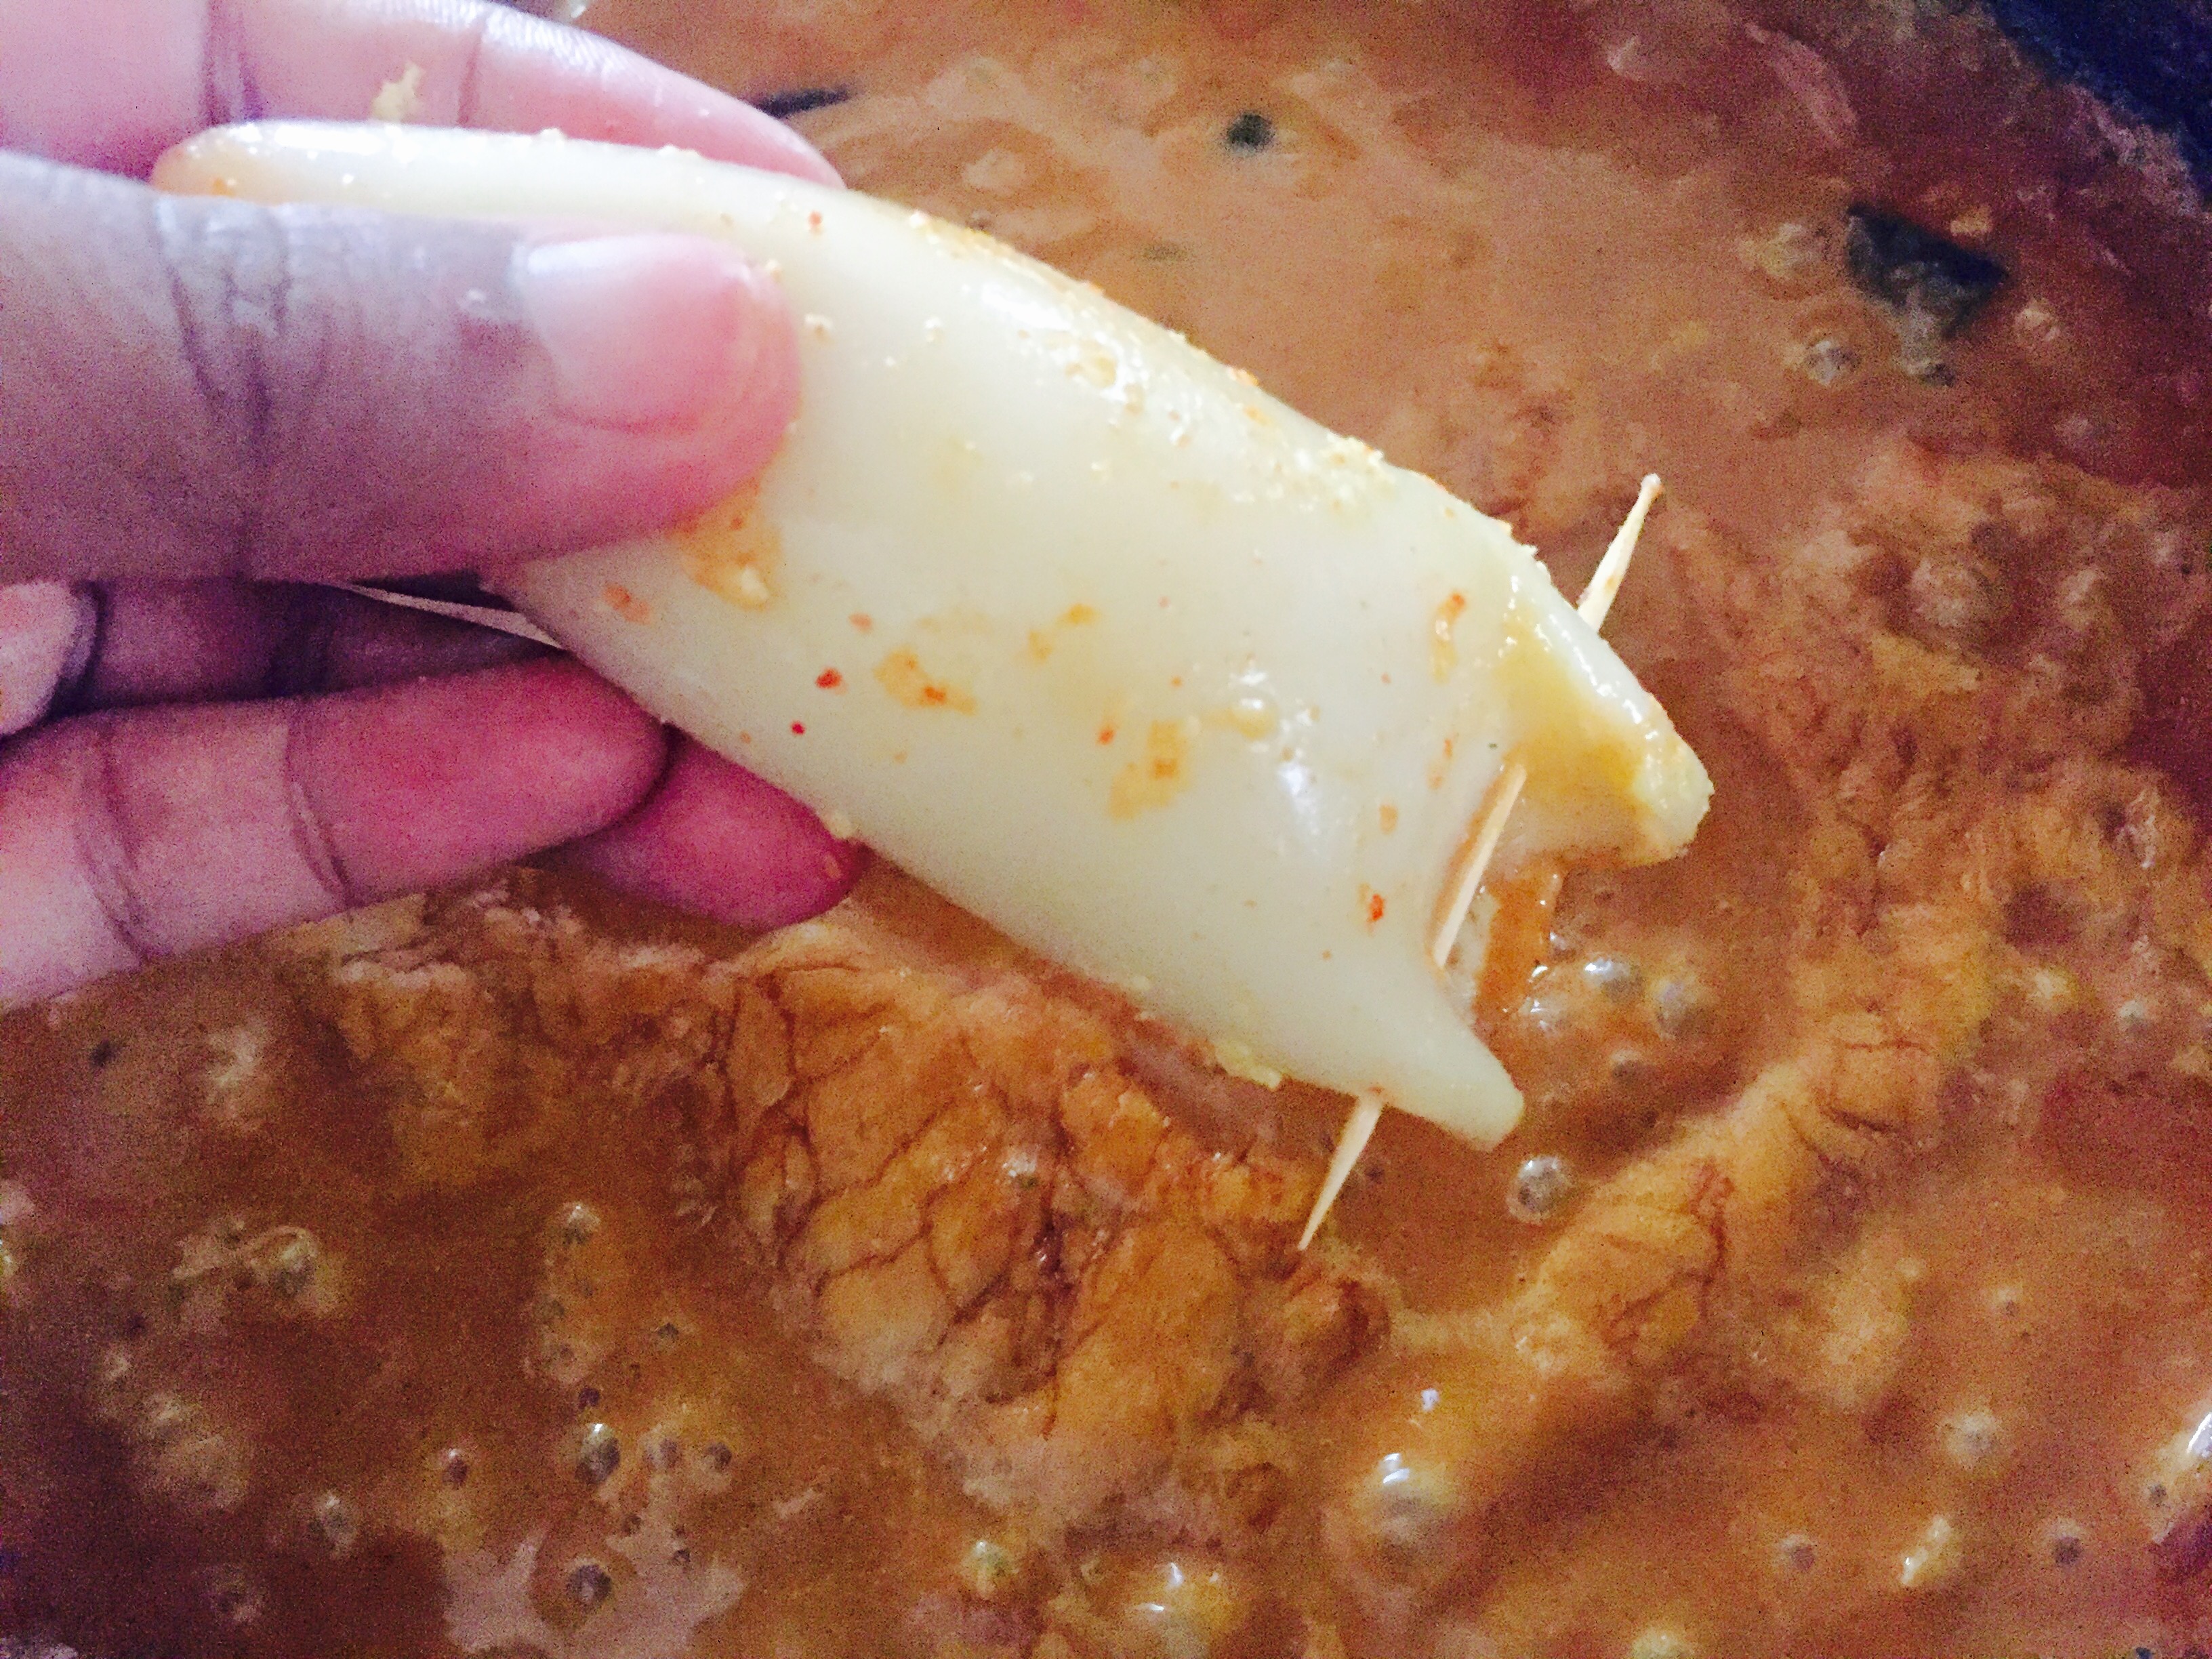
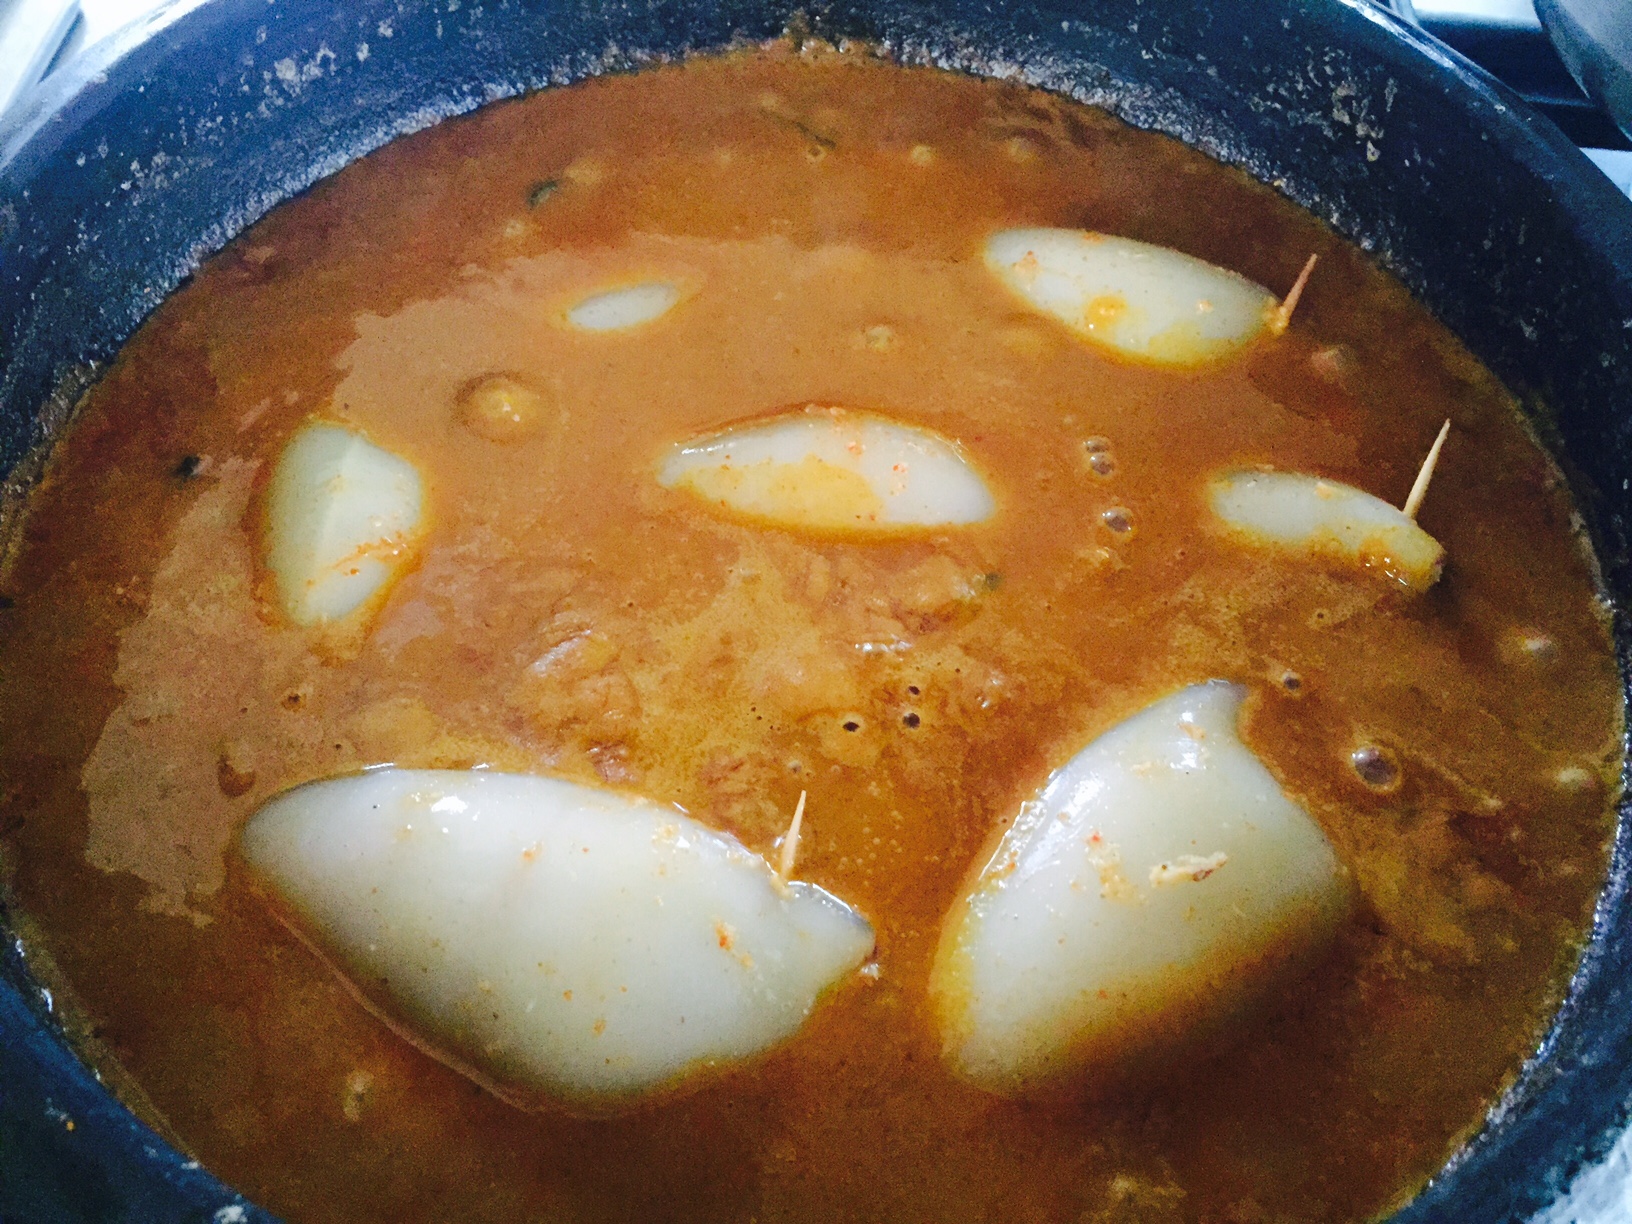
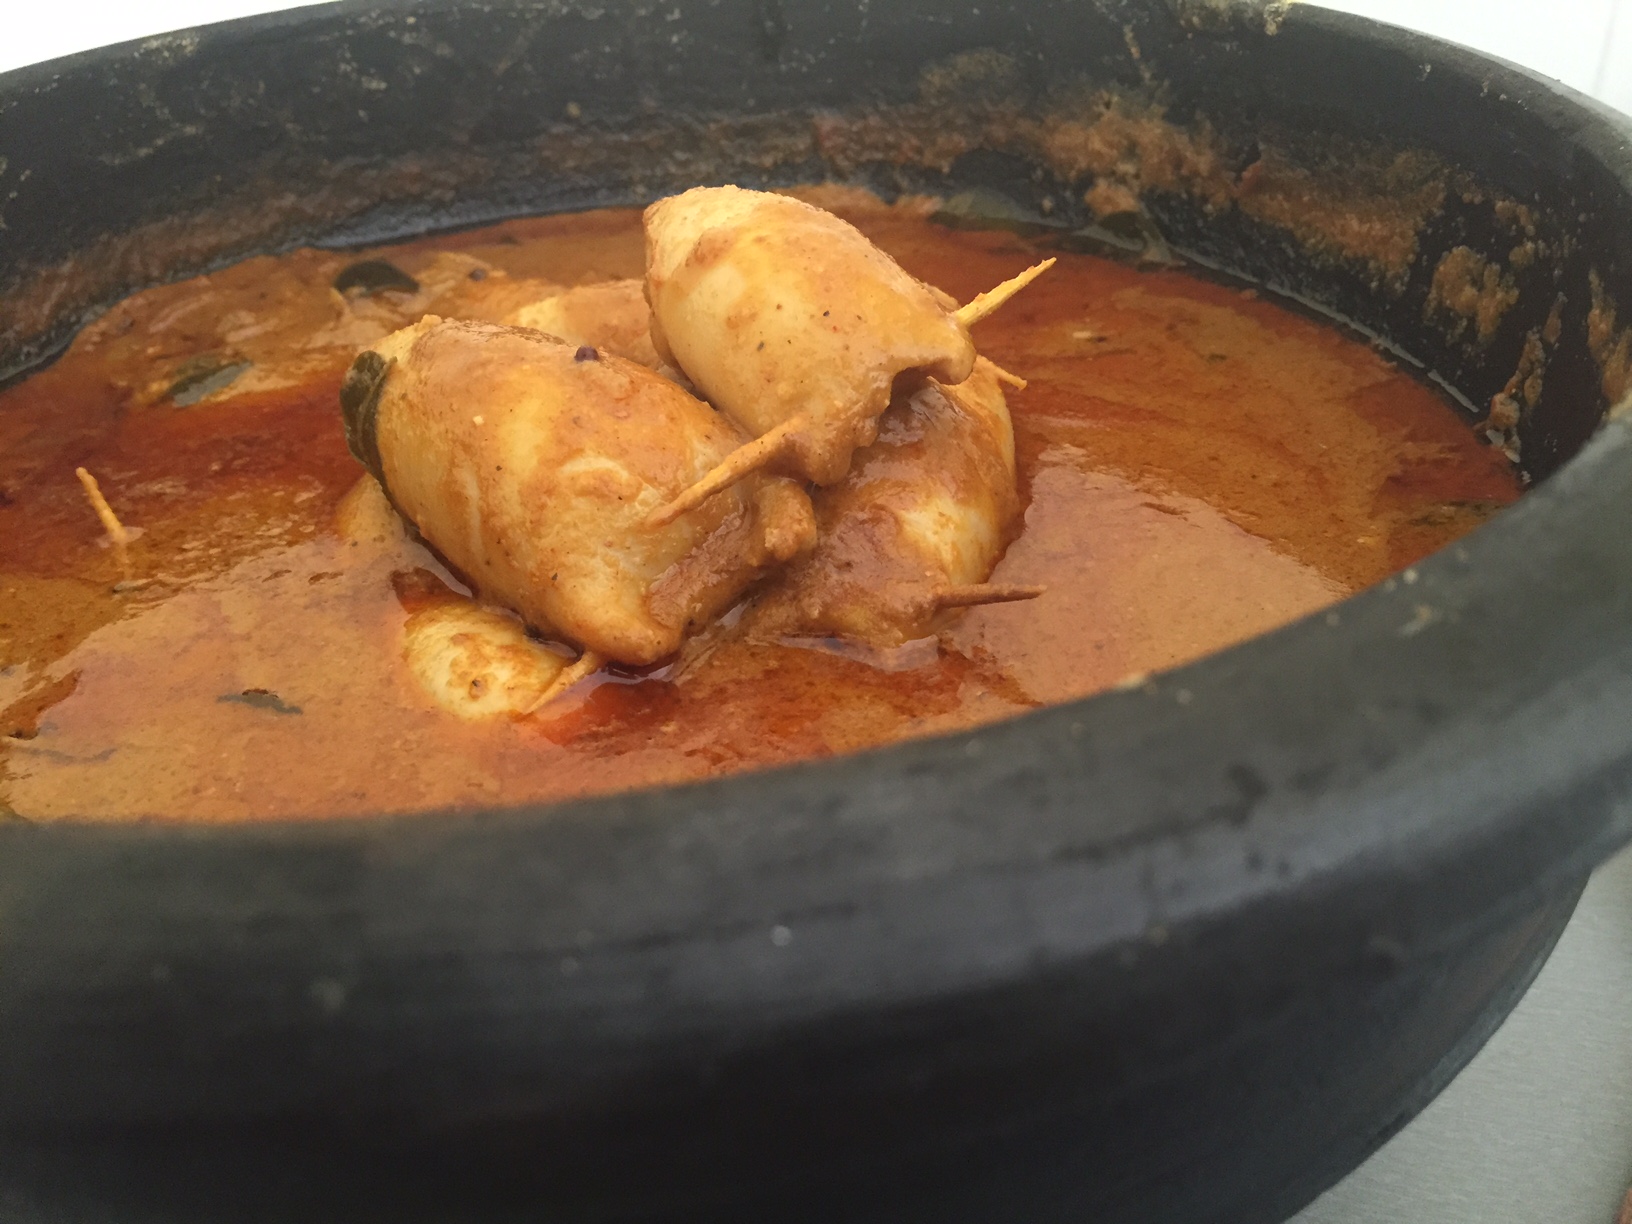
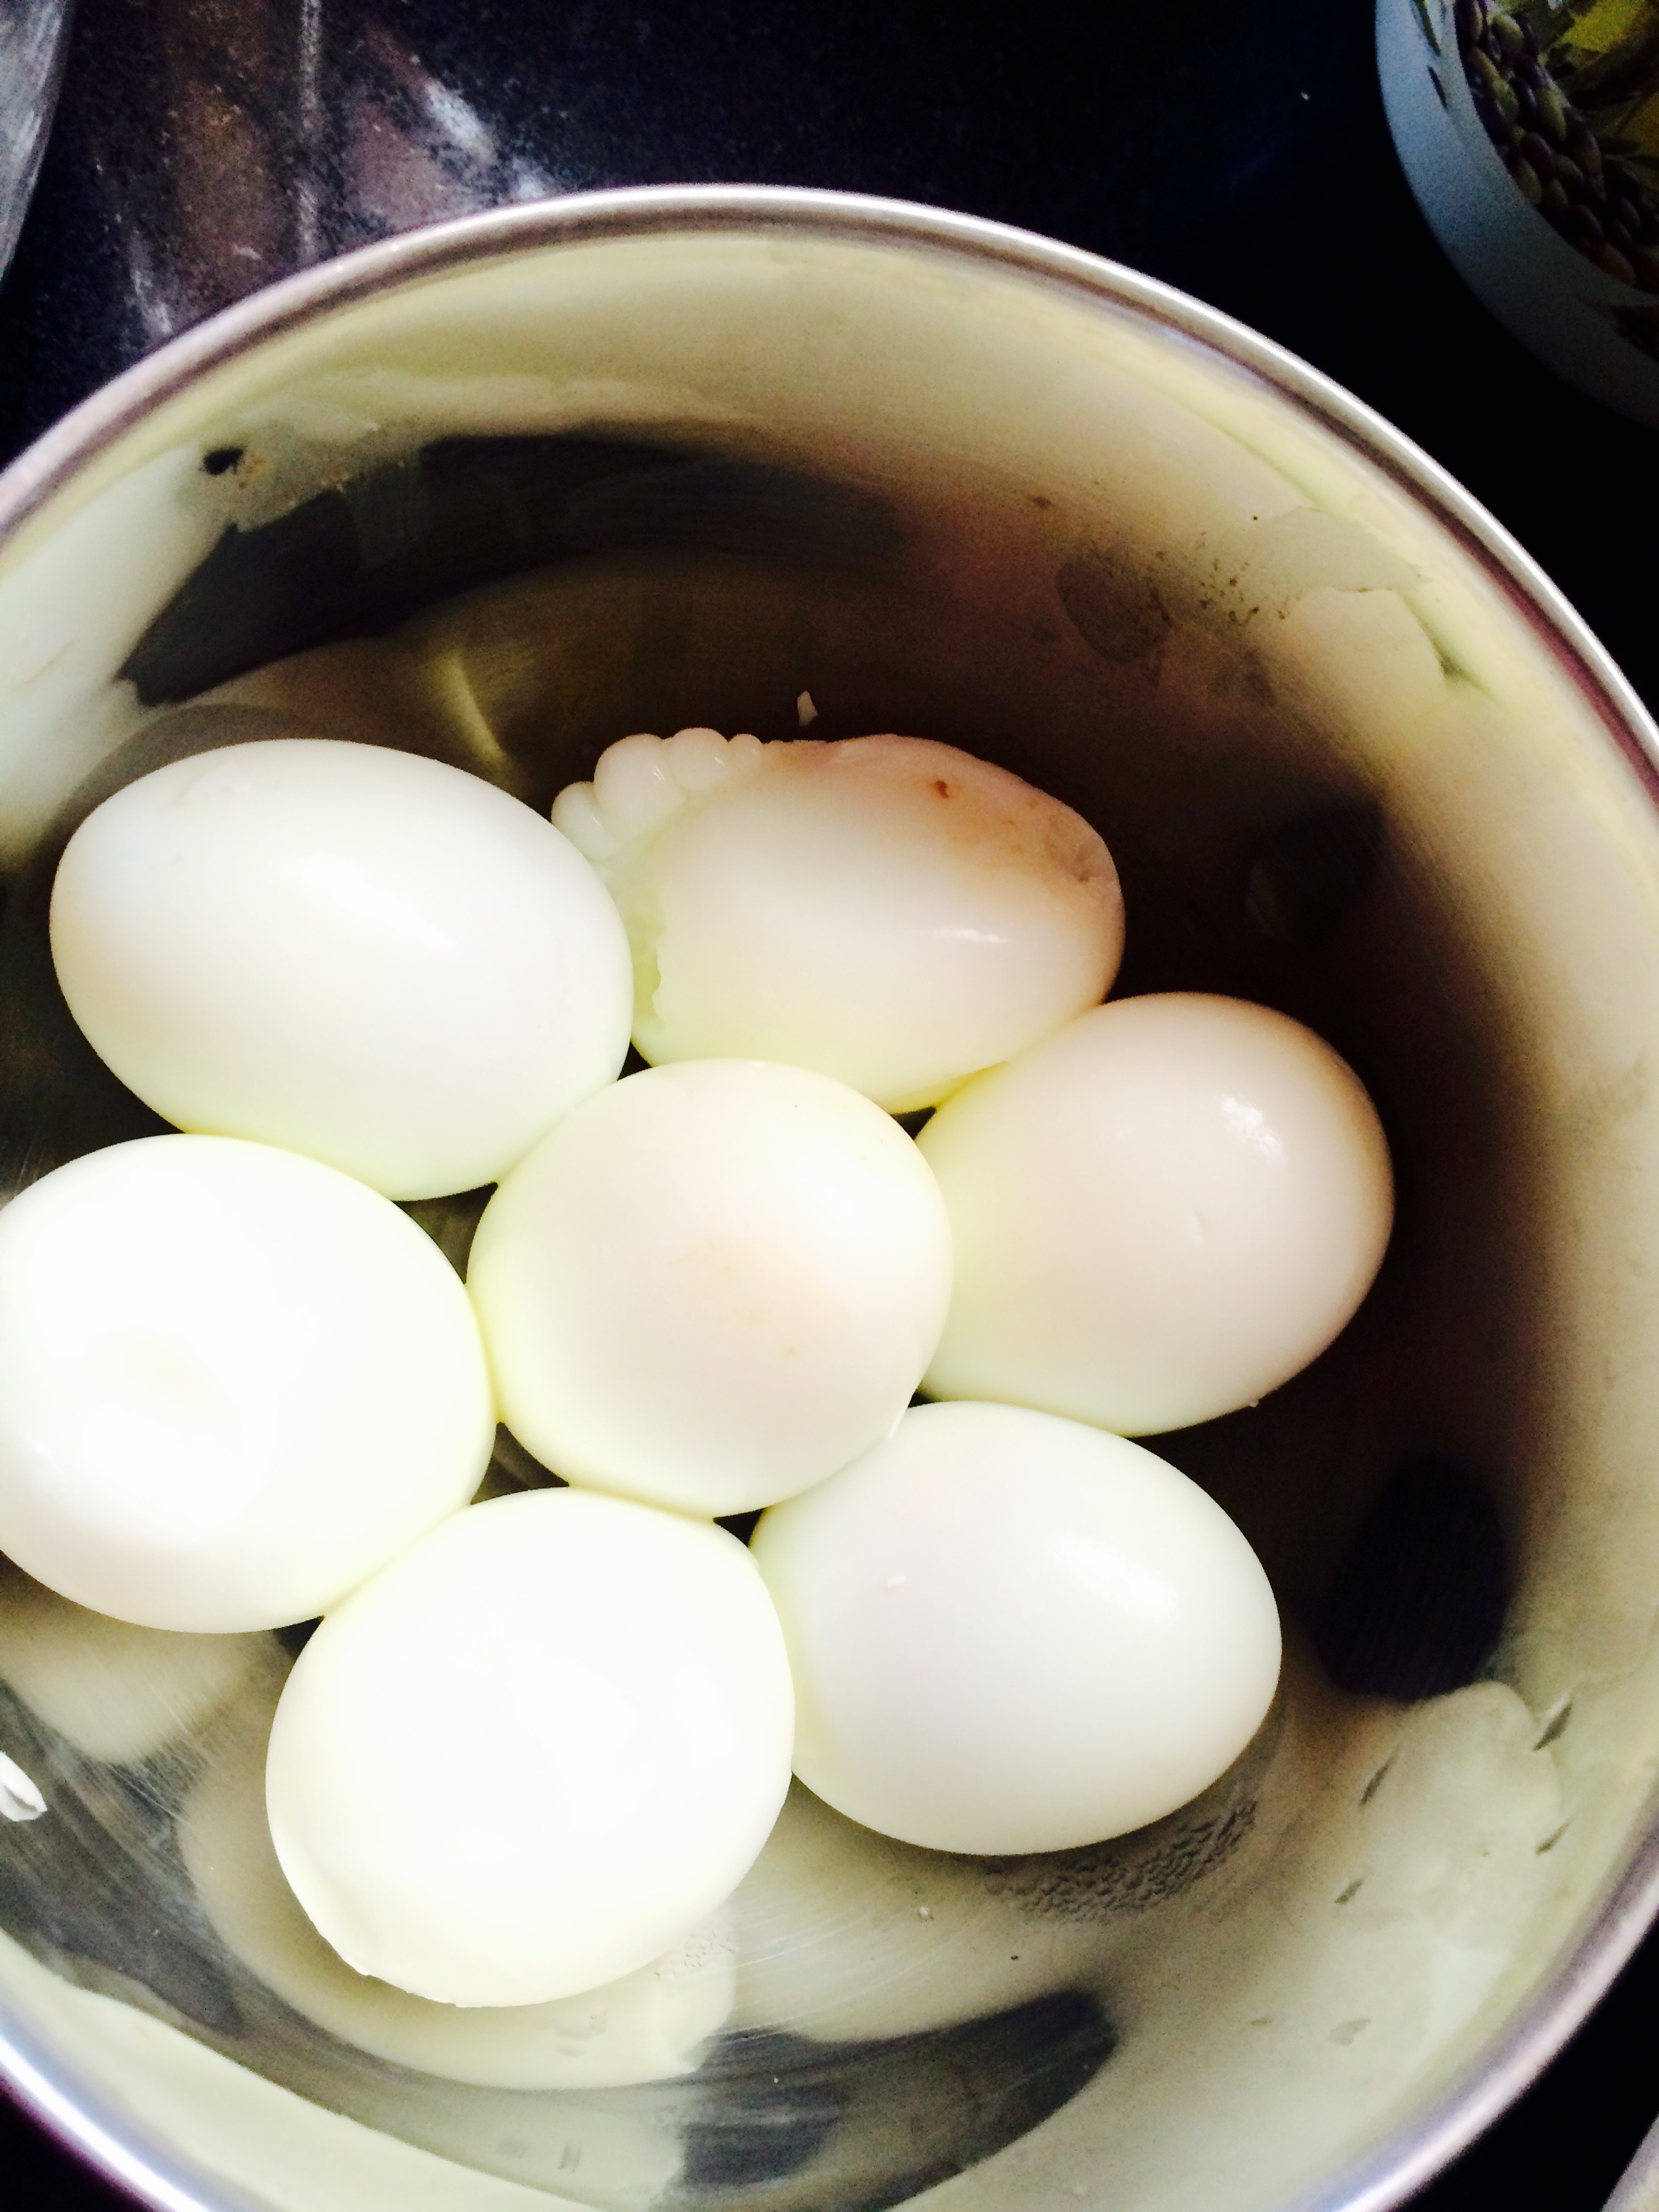
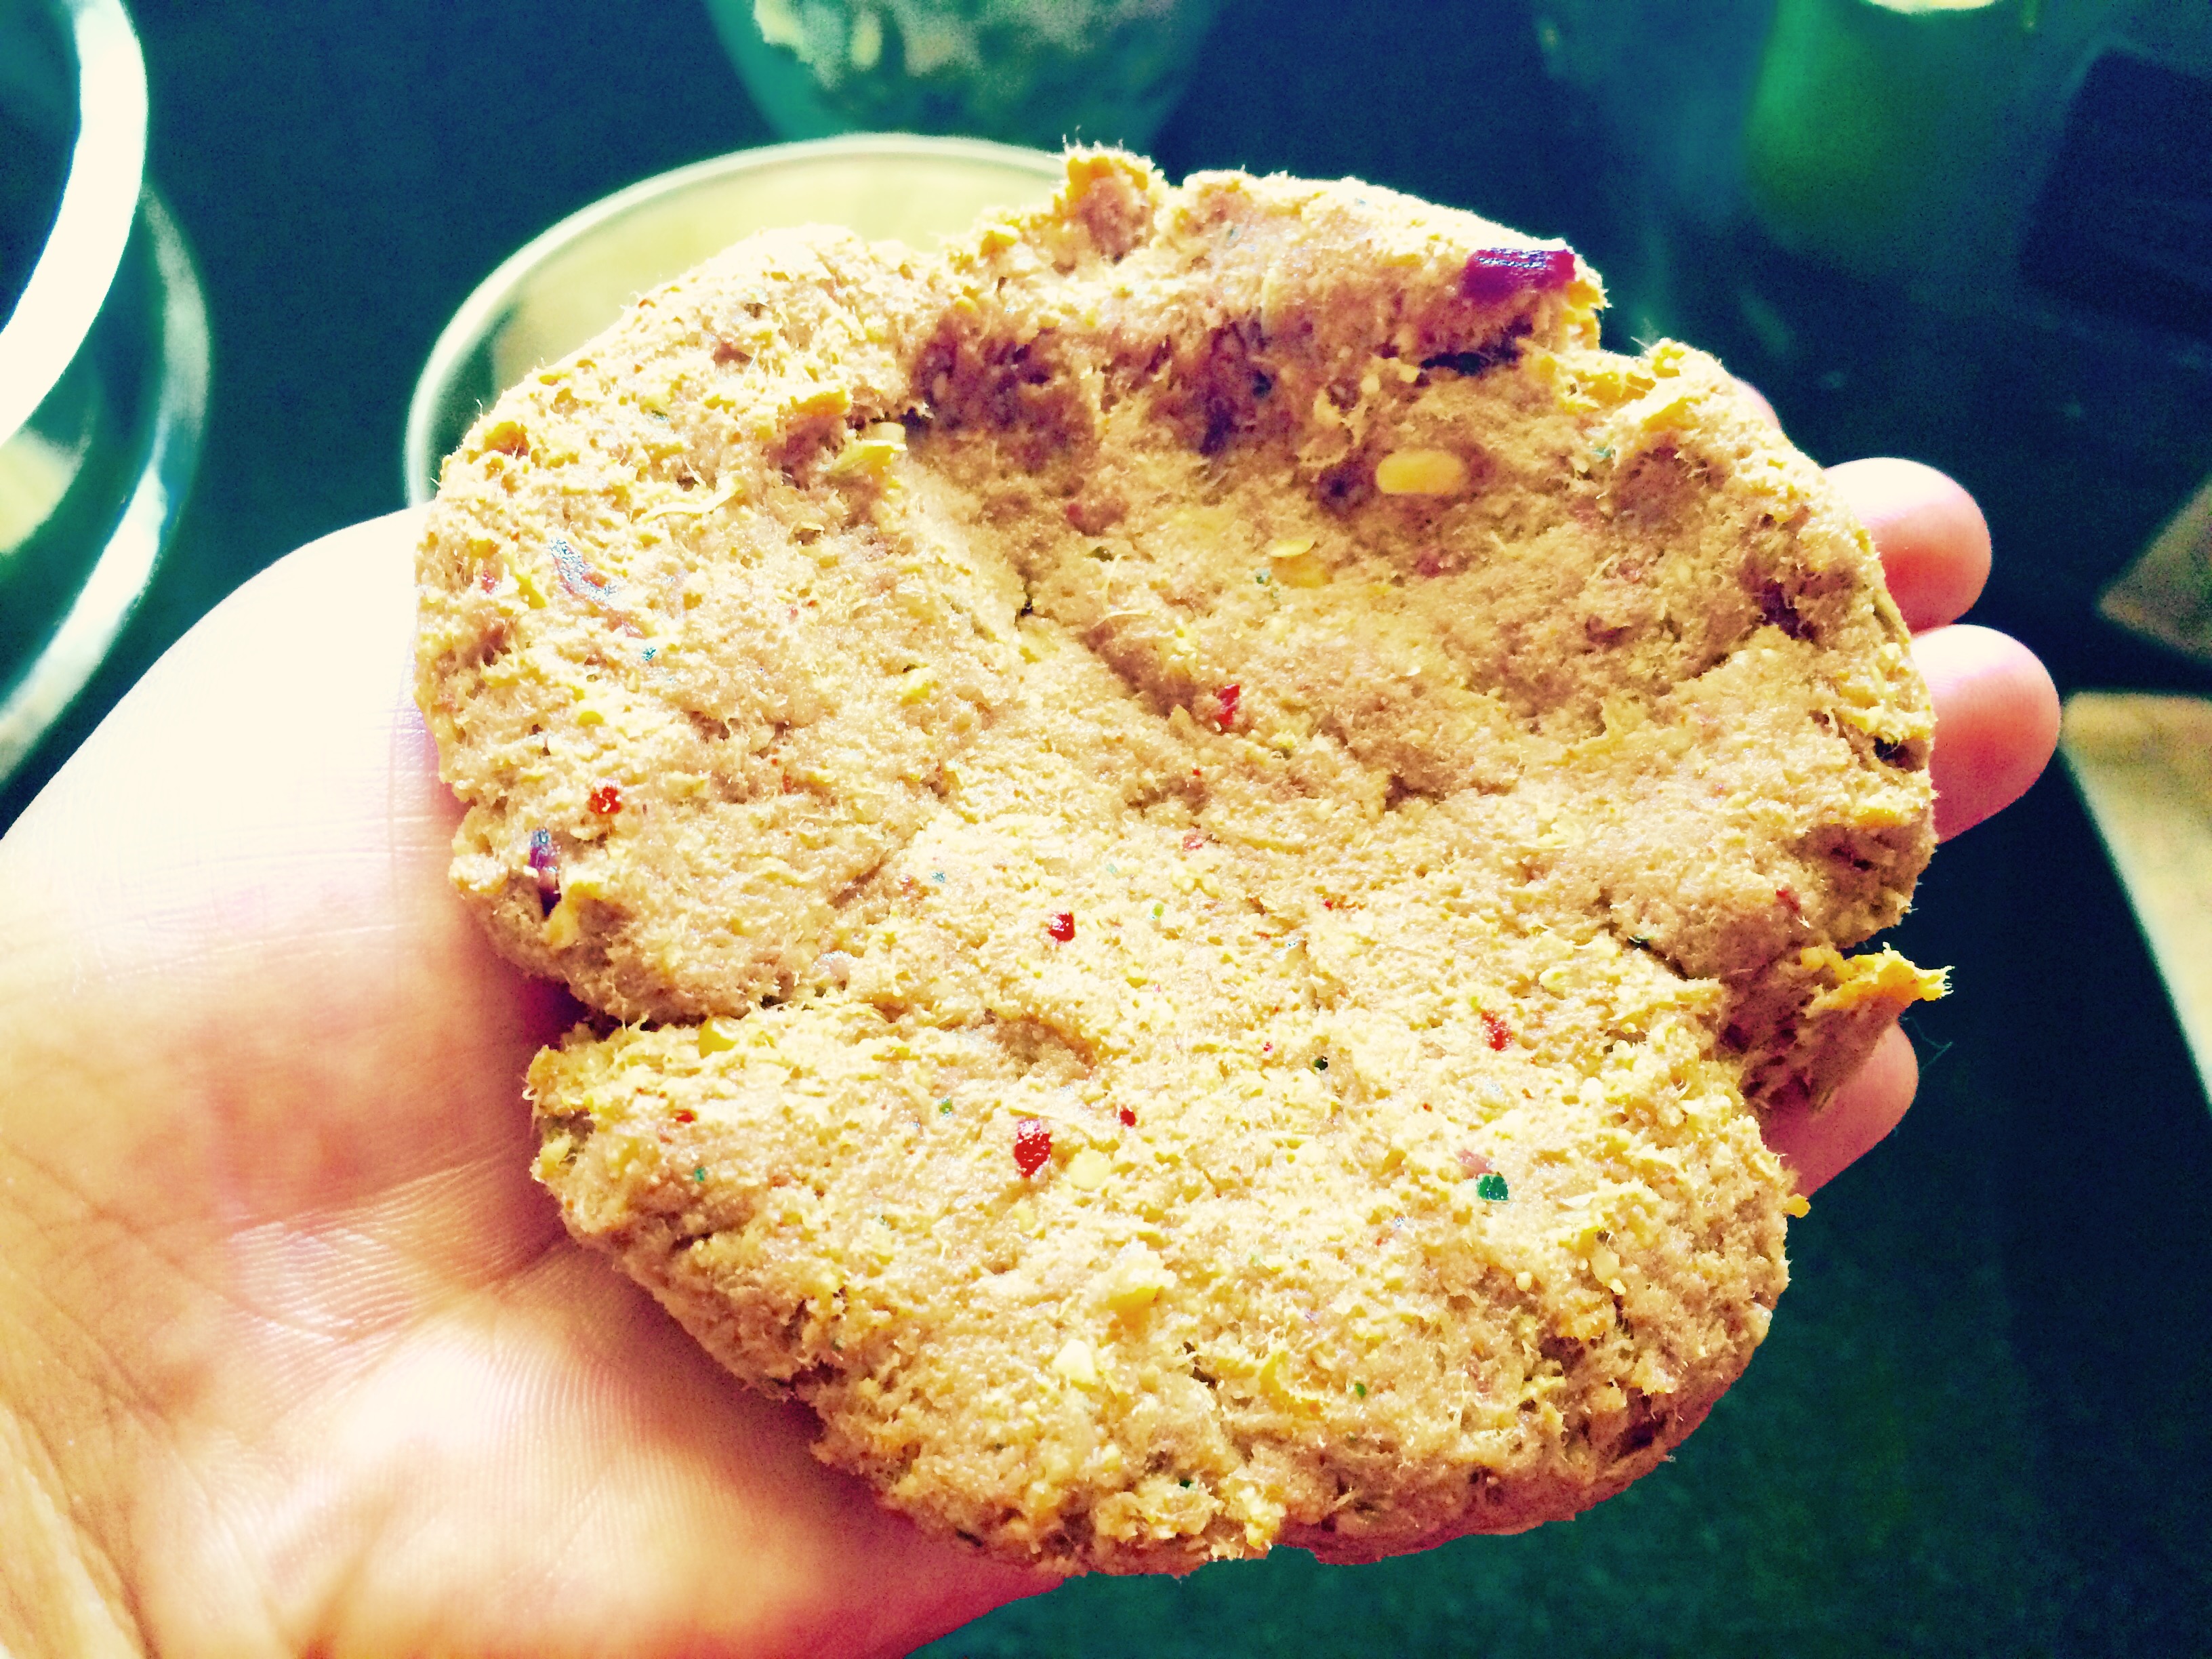
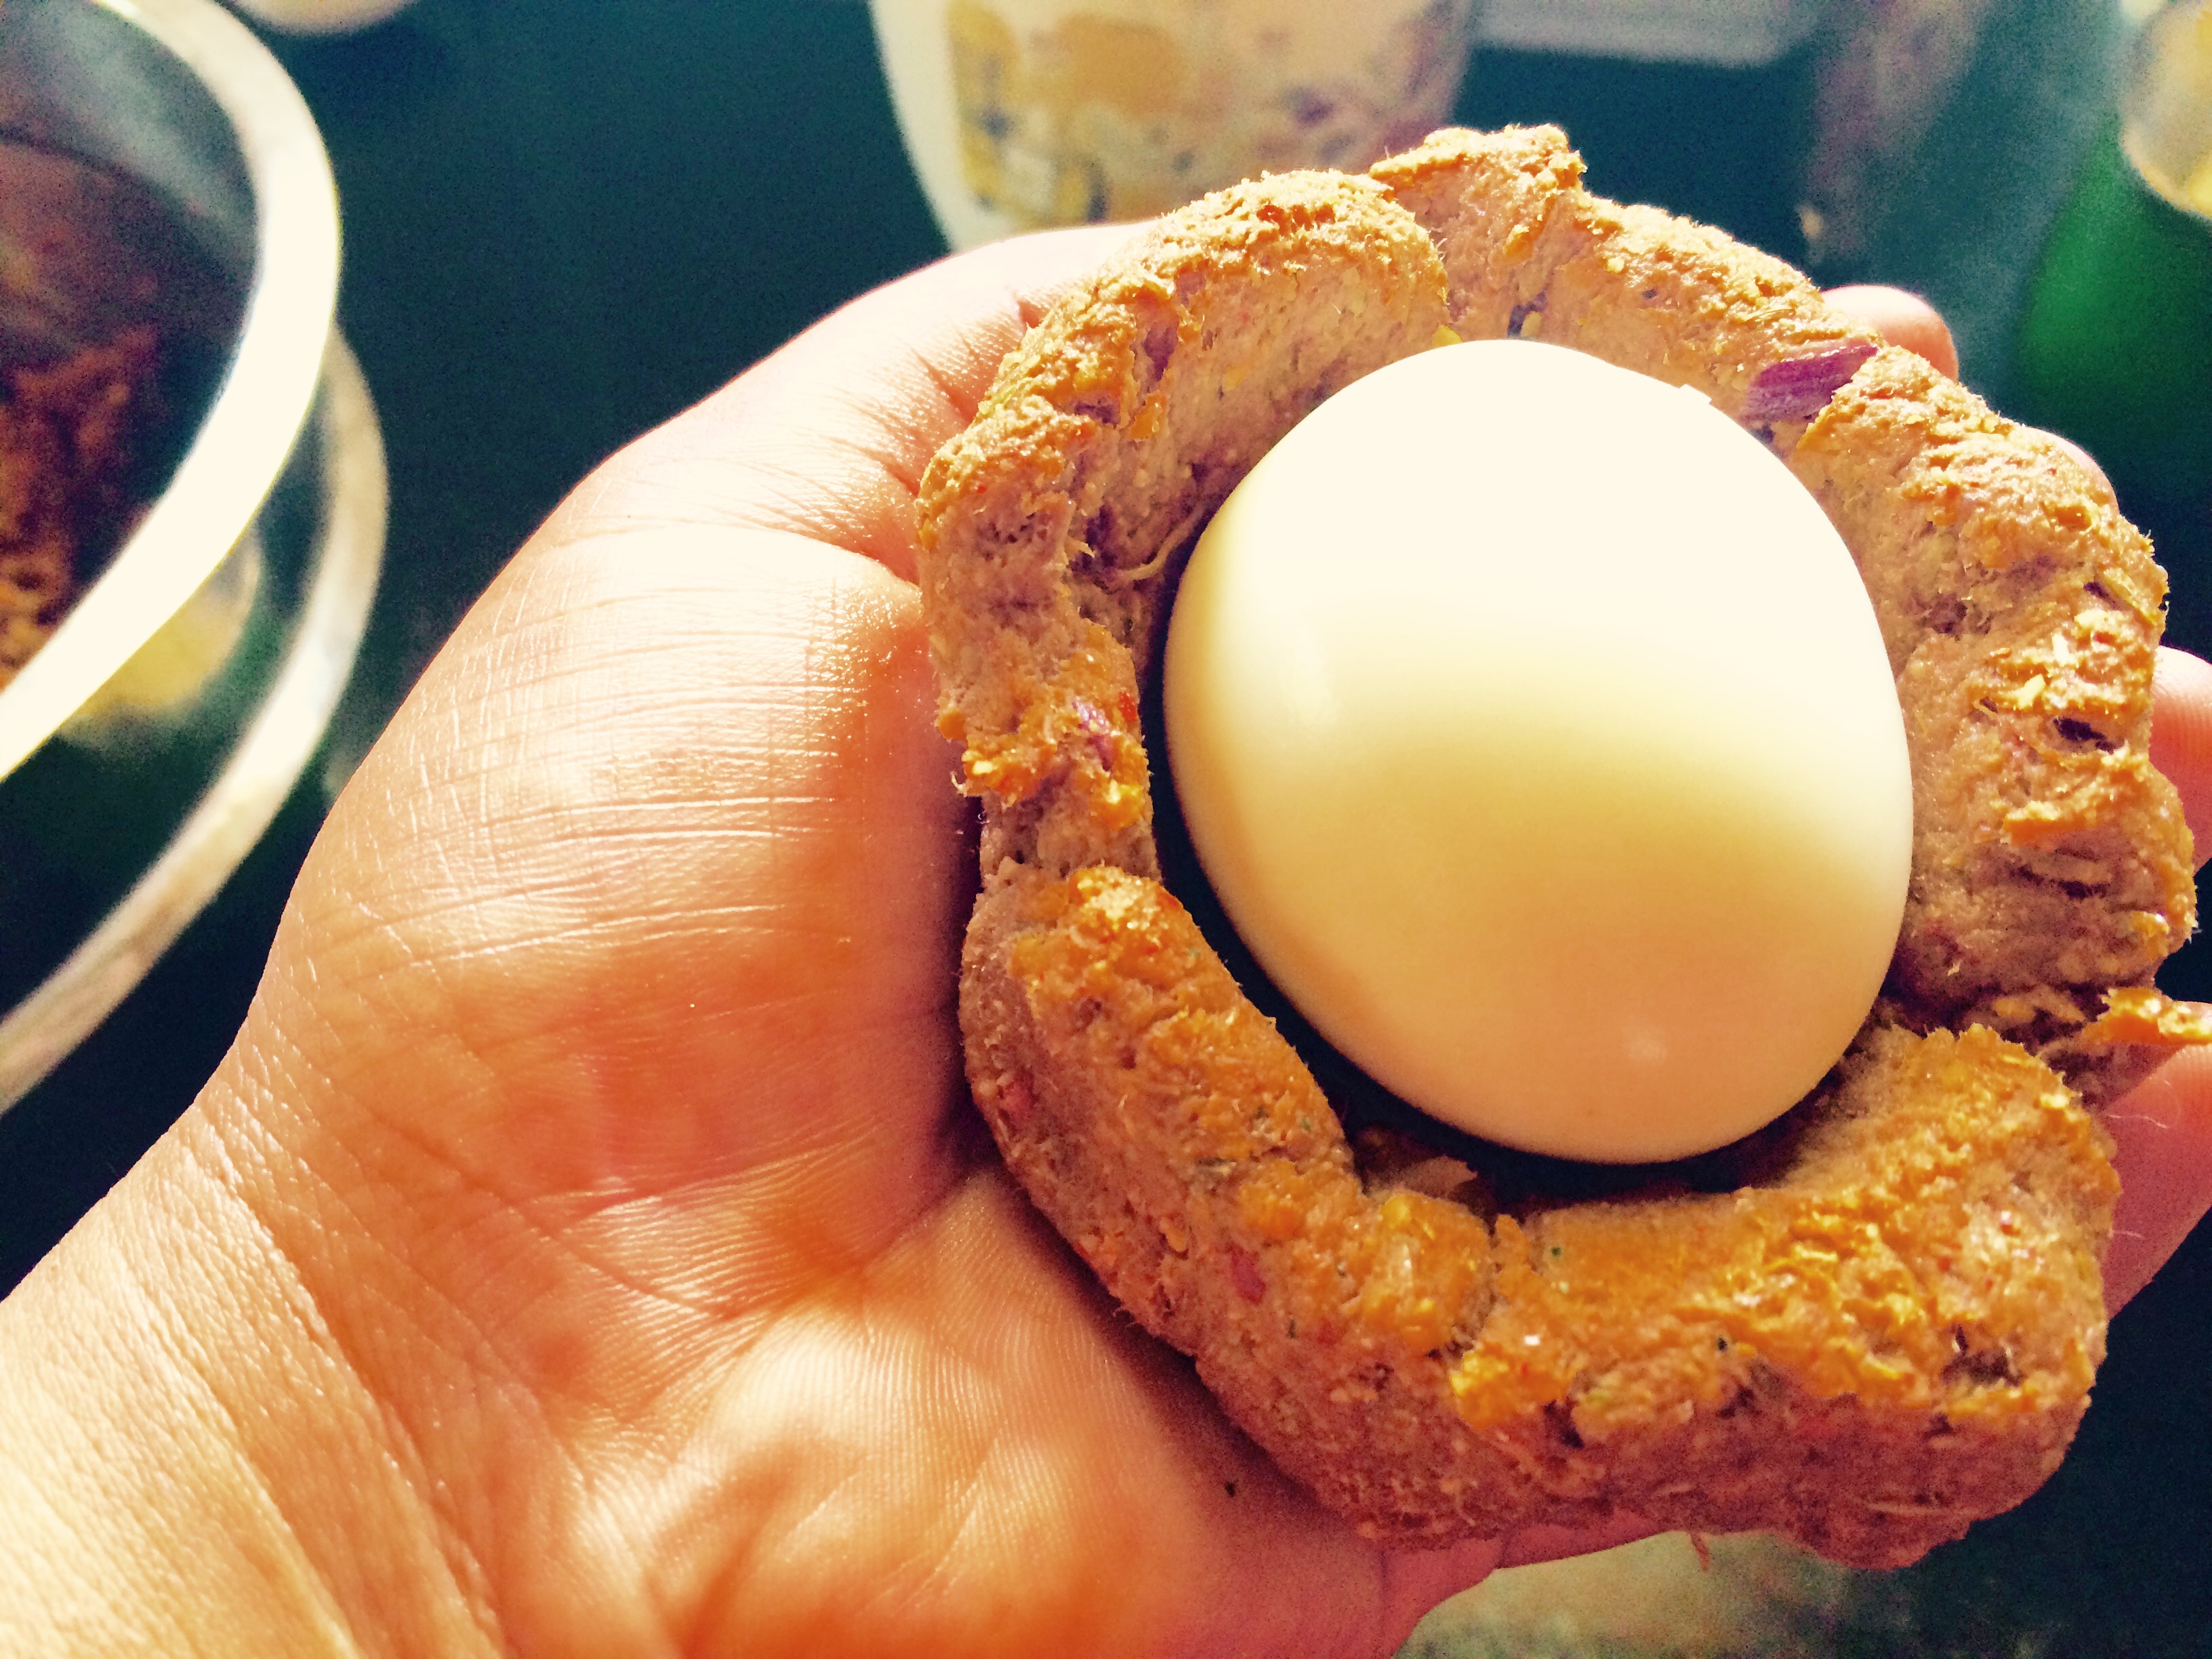
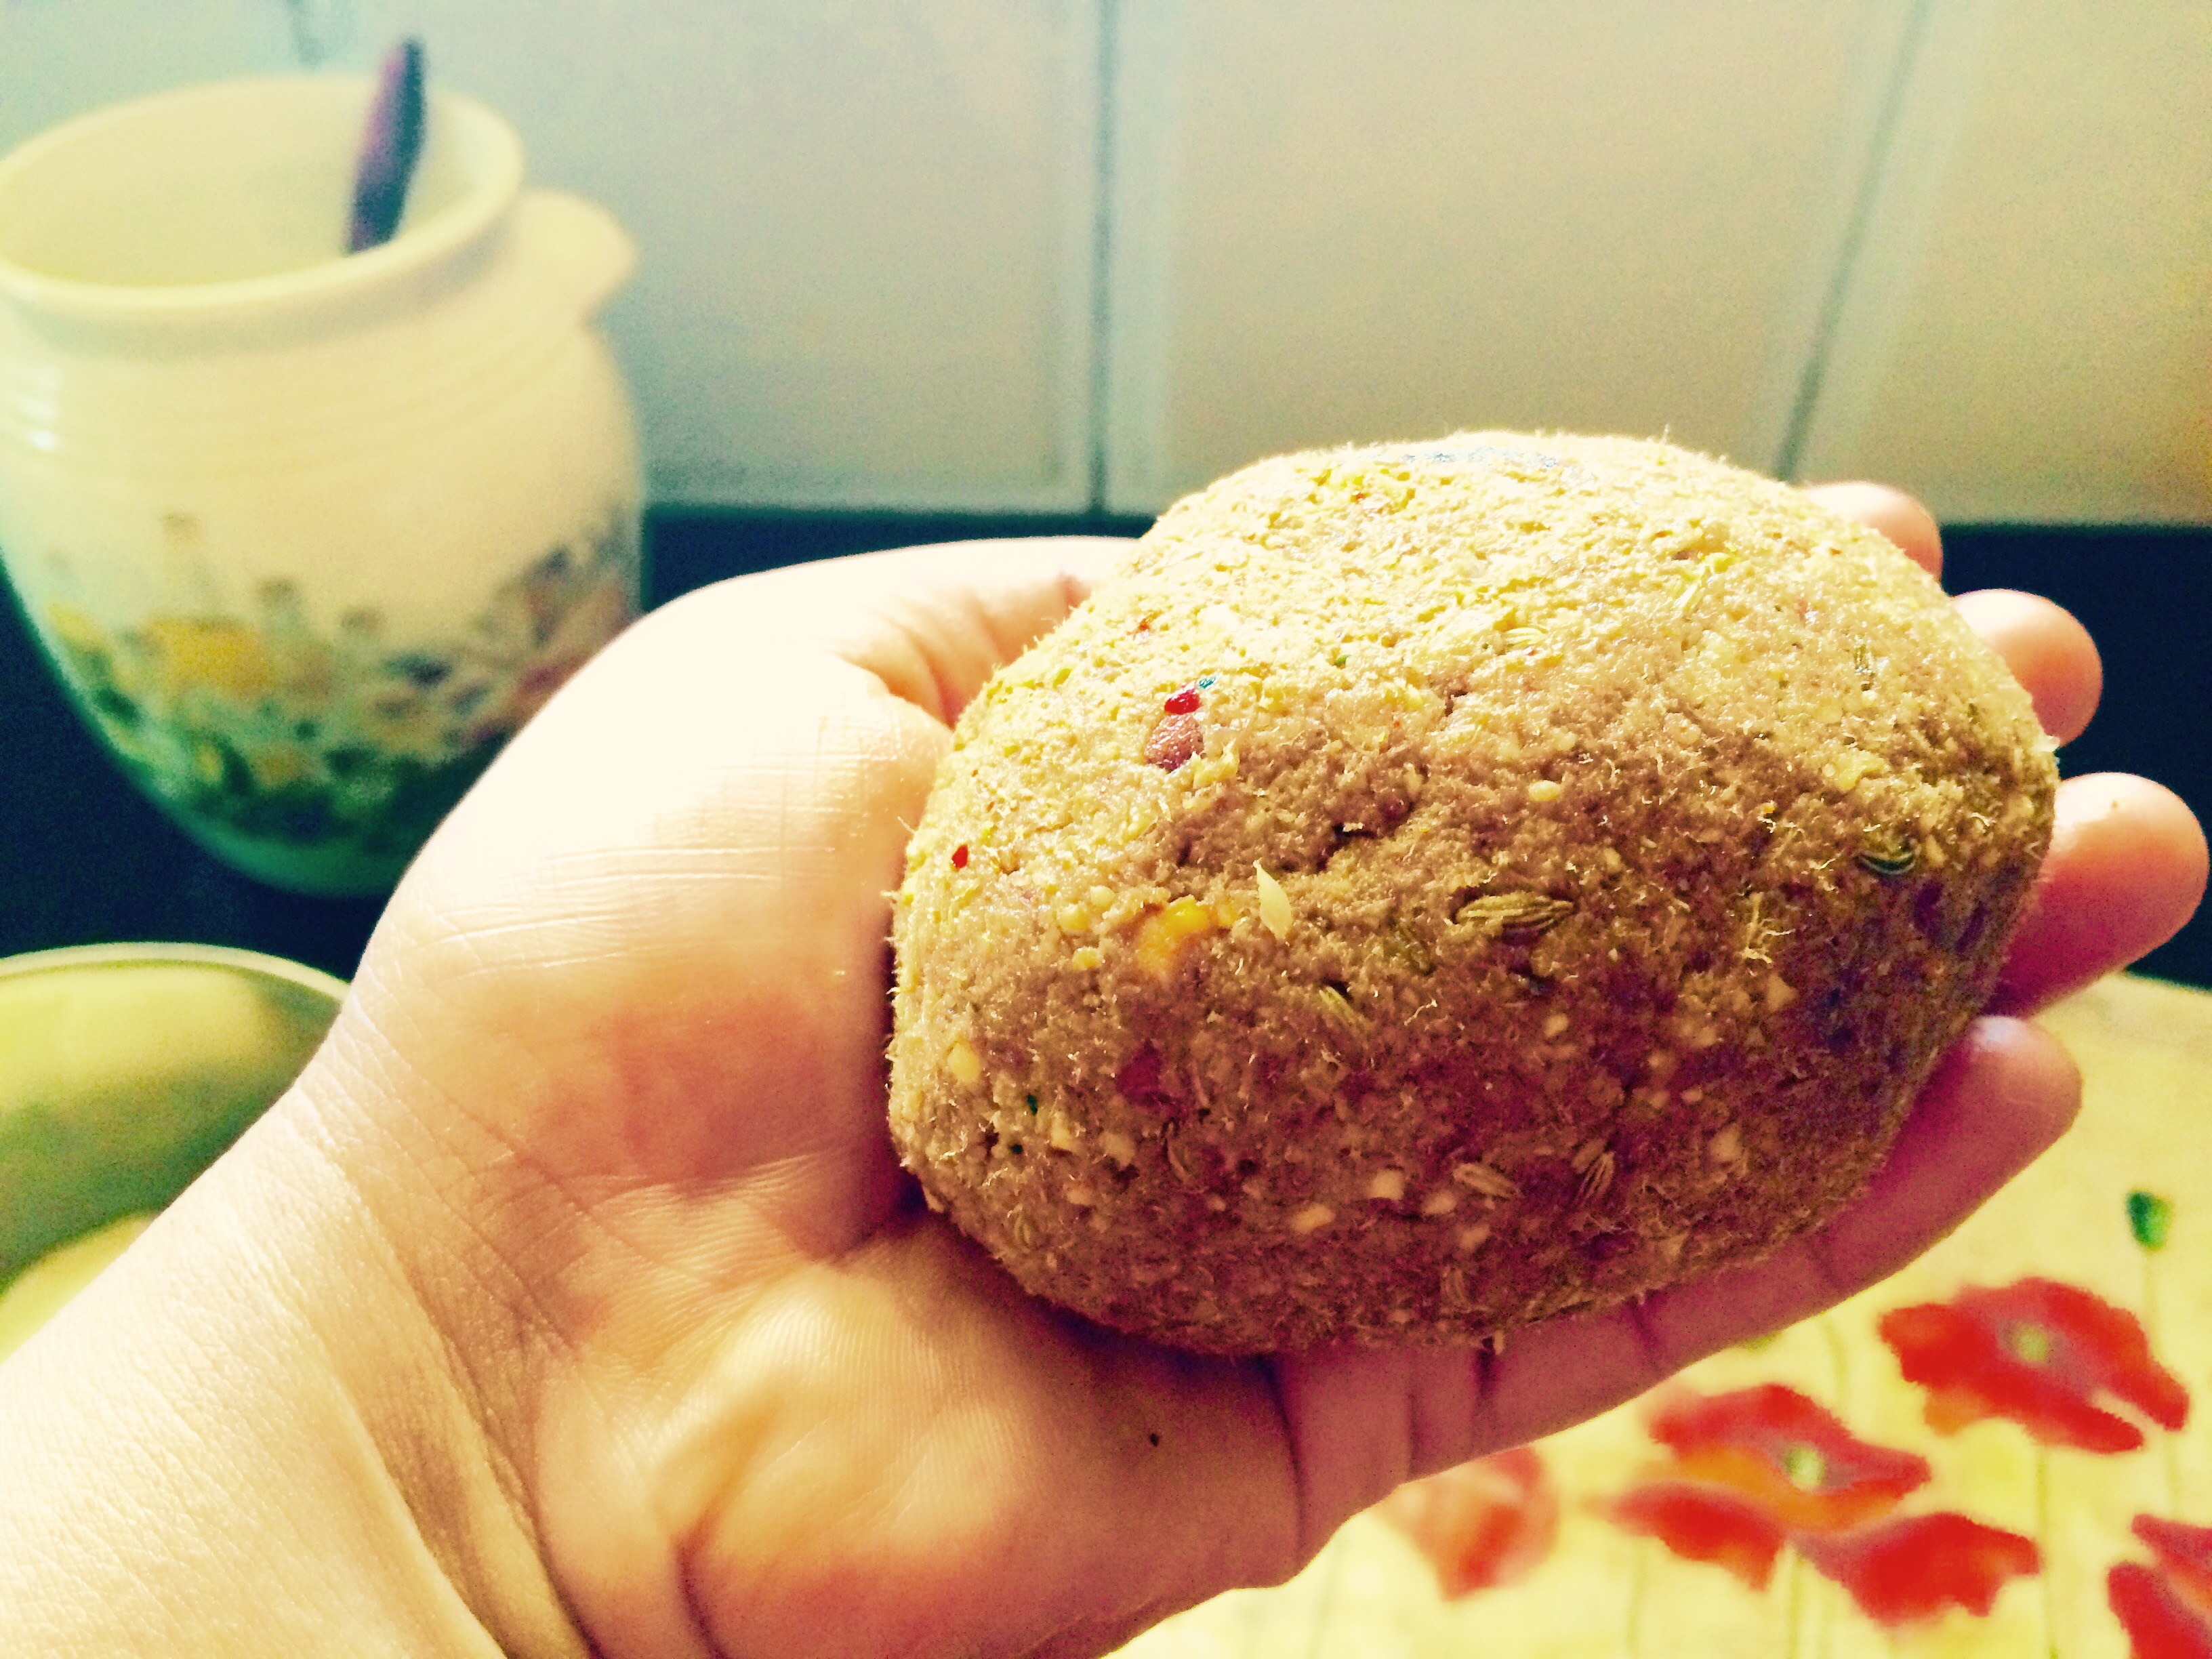
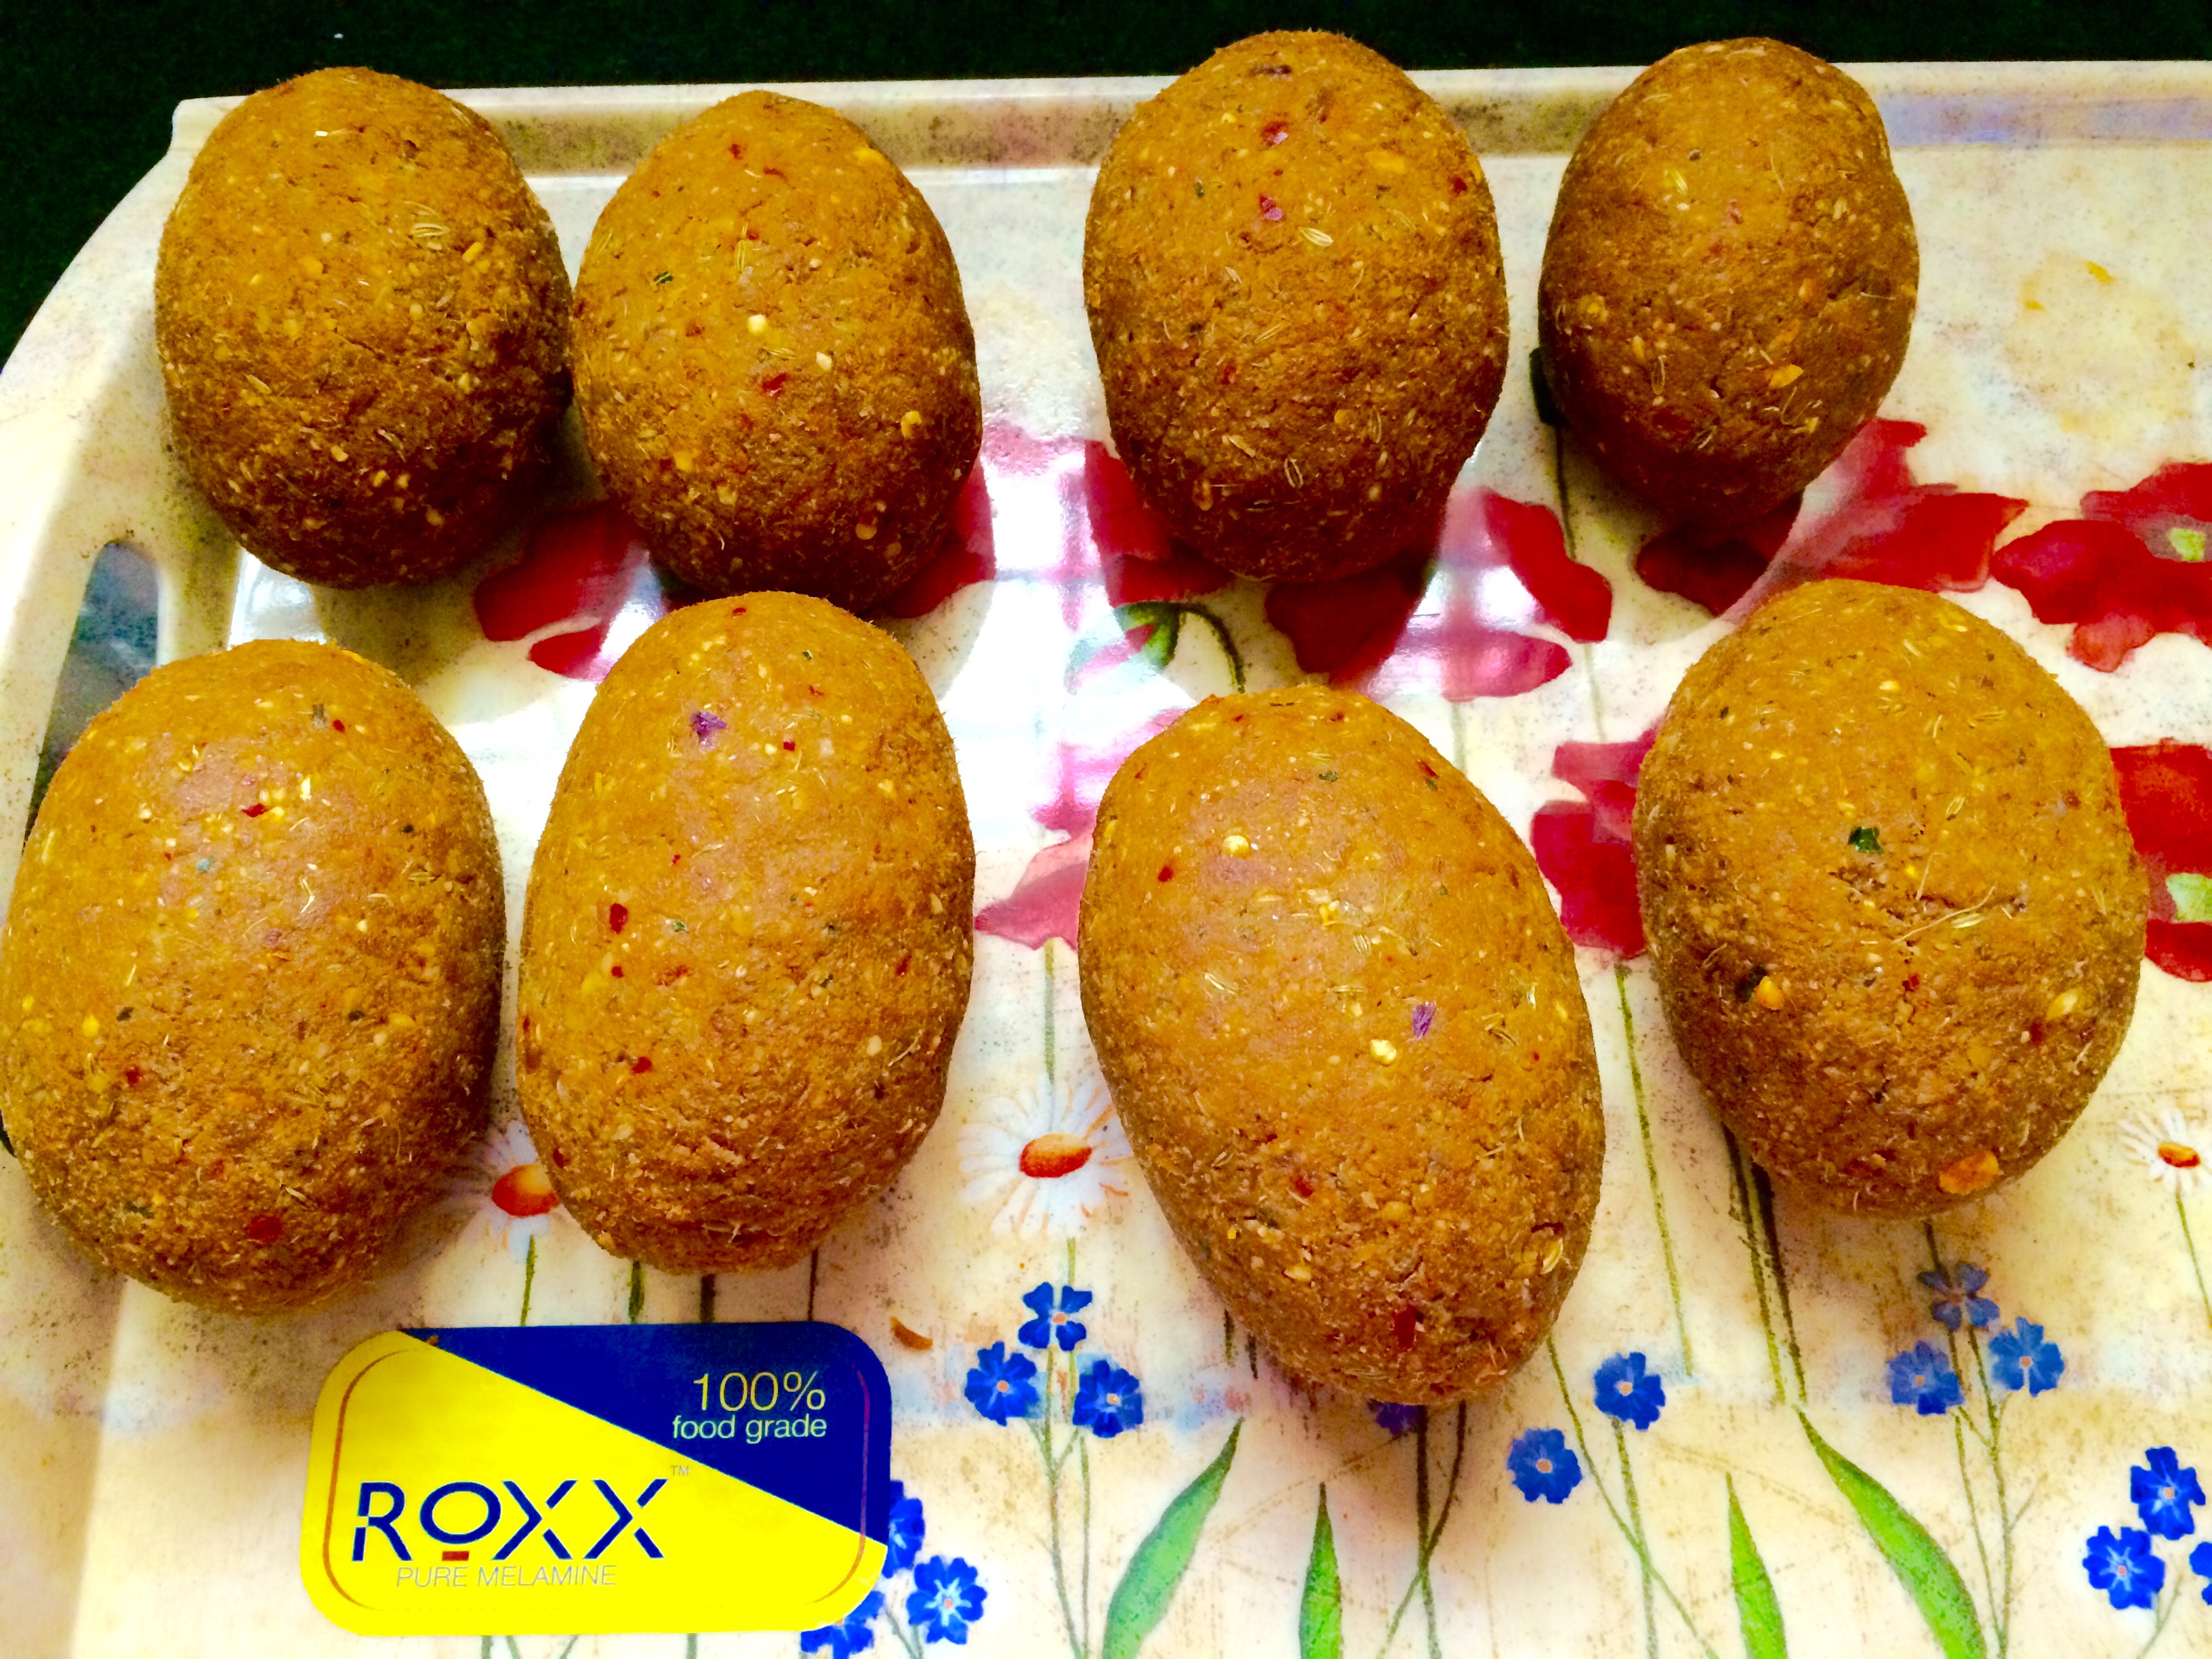
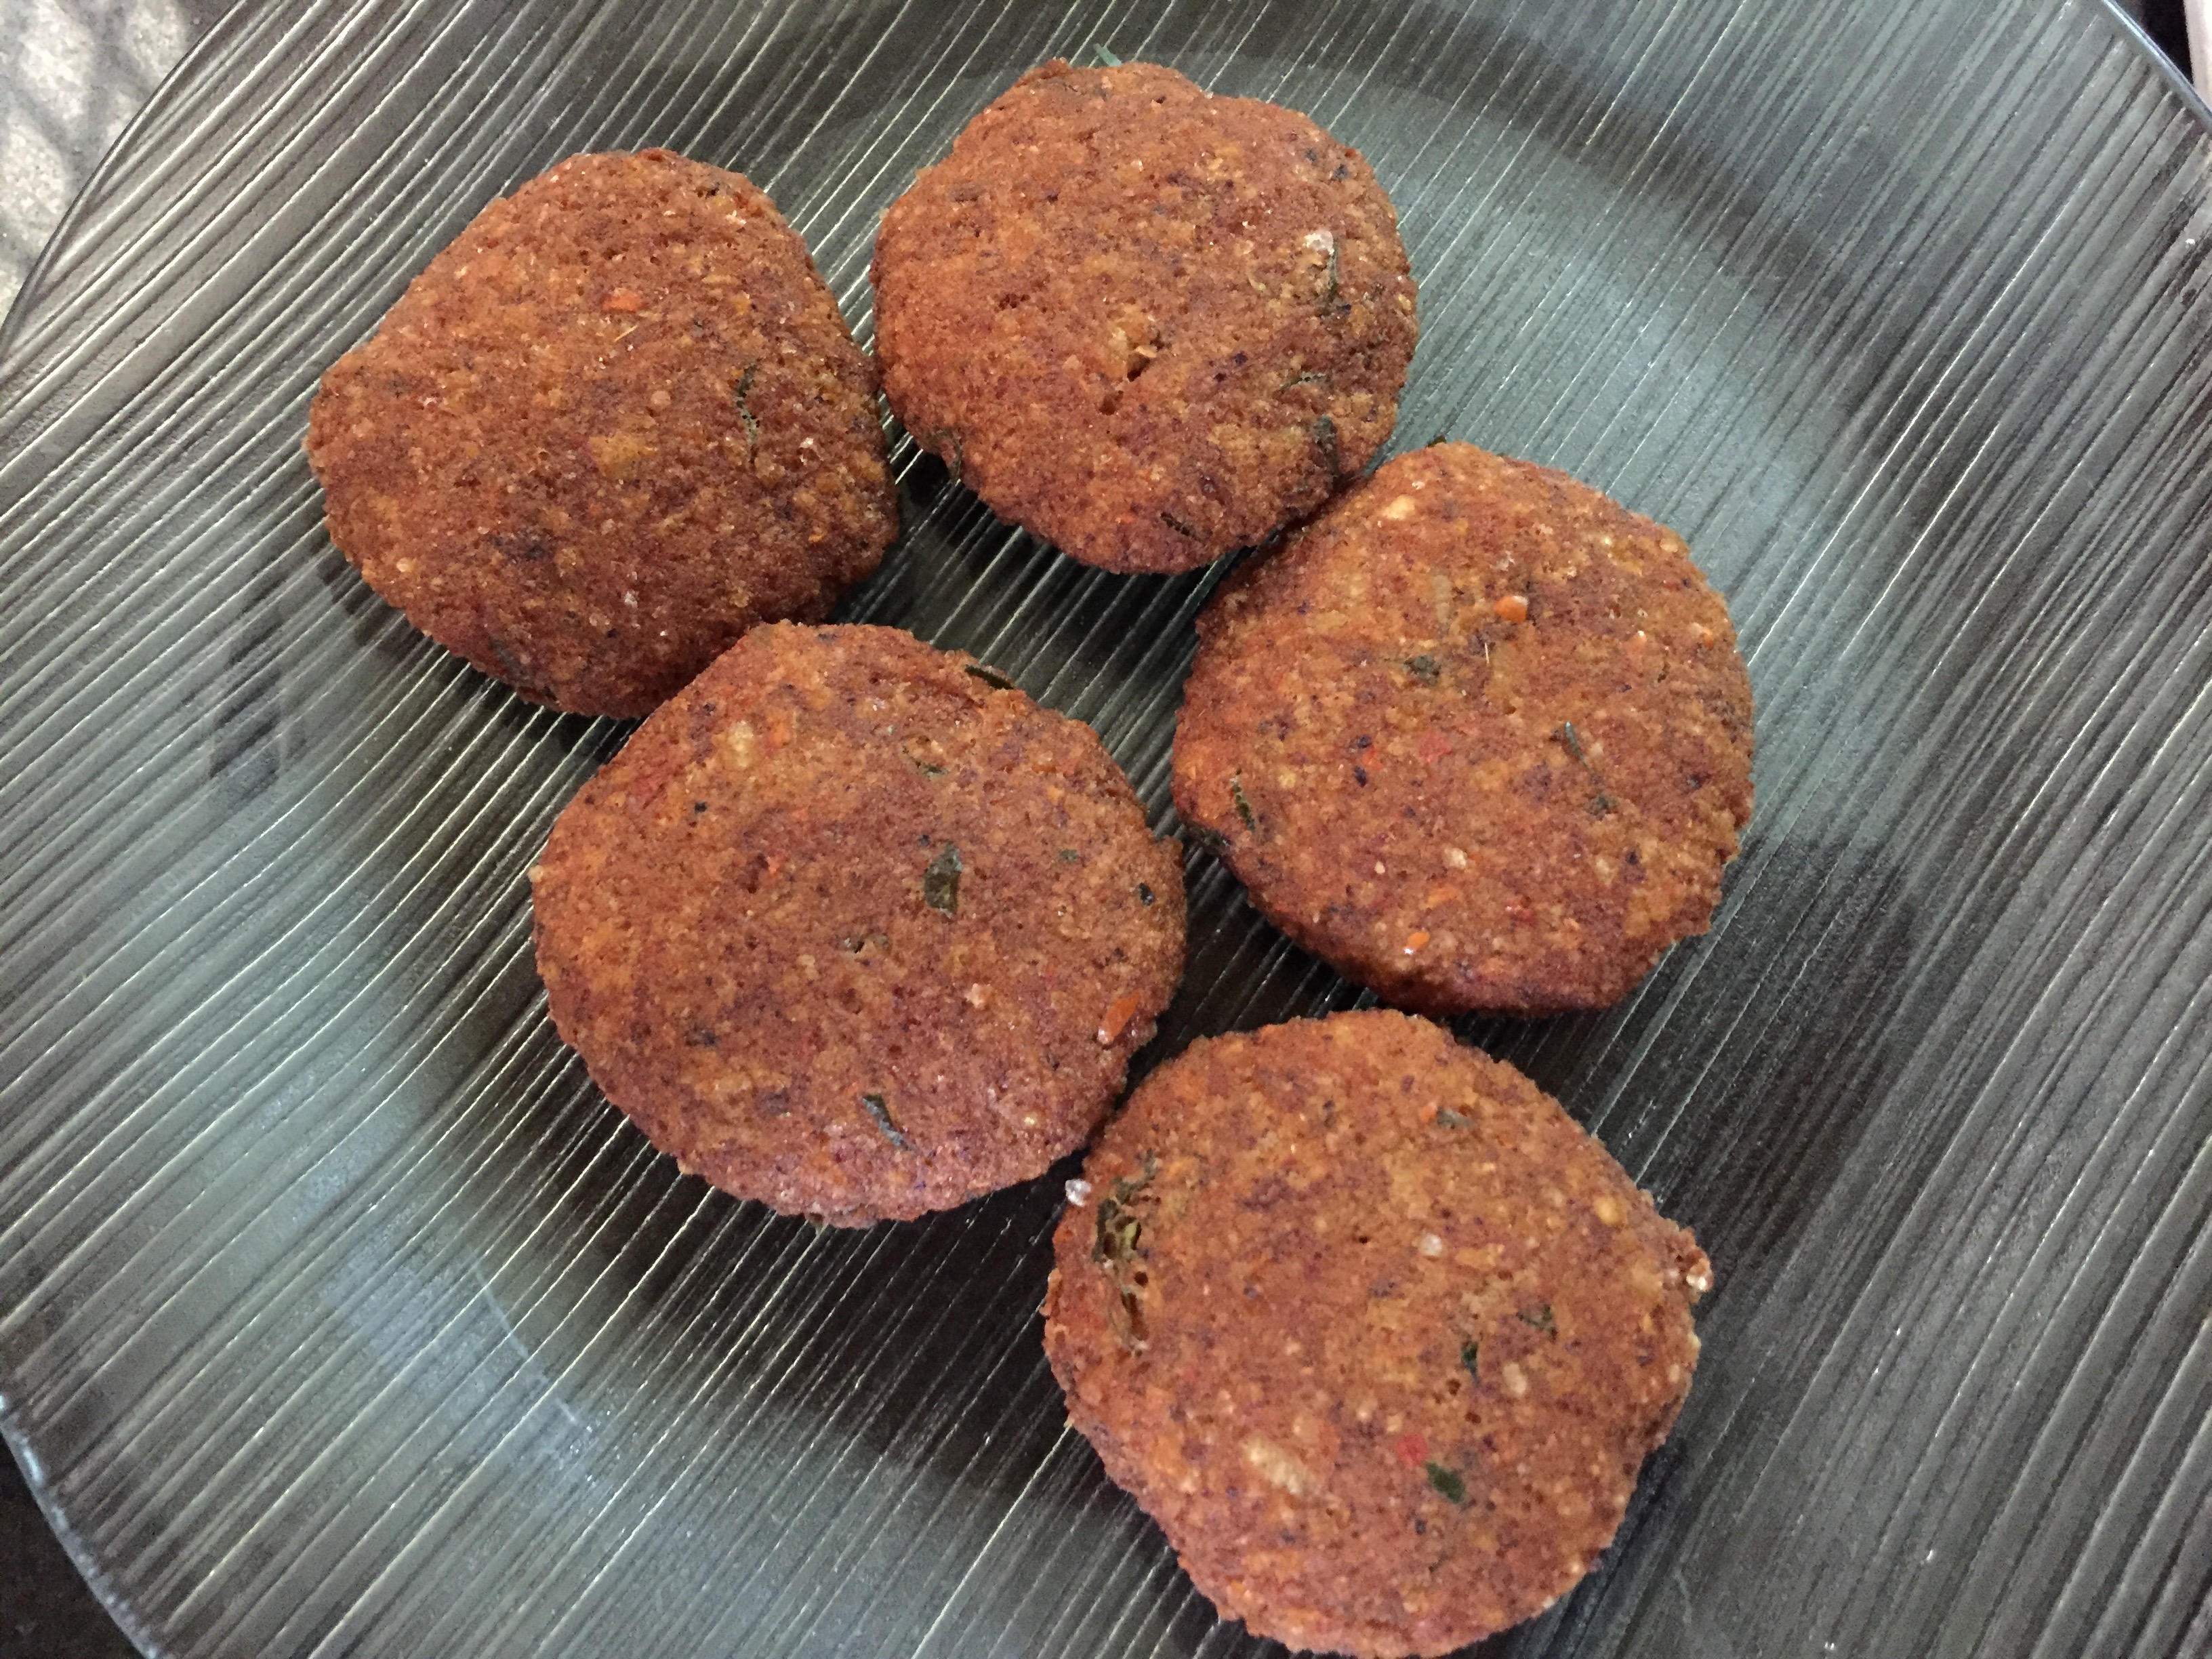
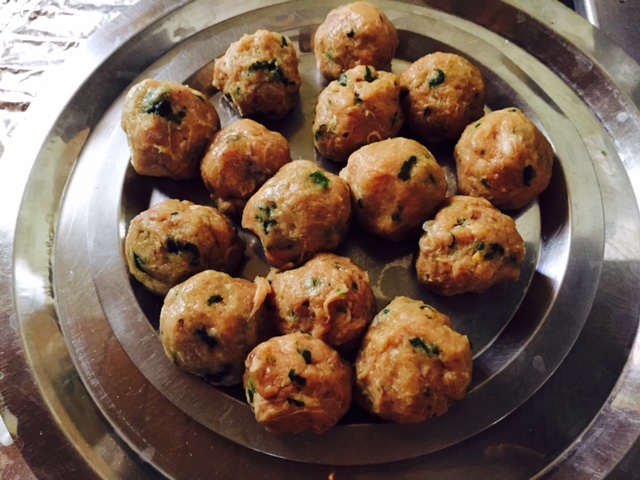
- Roll the ground minced meat mixture into lemon size balls. slowly drop the meat balls into the boiling gravy, lower the heat and cook until the meat balls are tender and cooked by turning them over gently once after eight minutes time. Cook further to cook on the other side the same way.
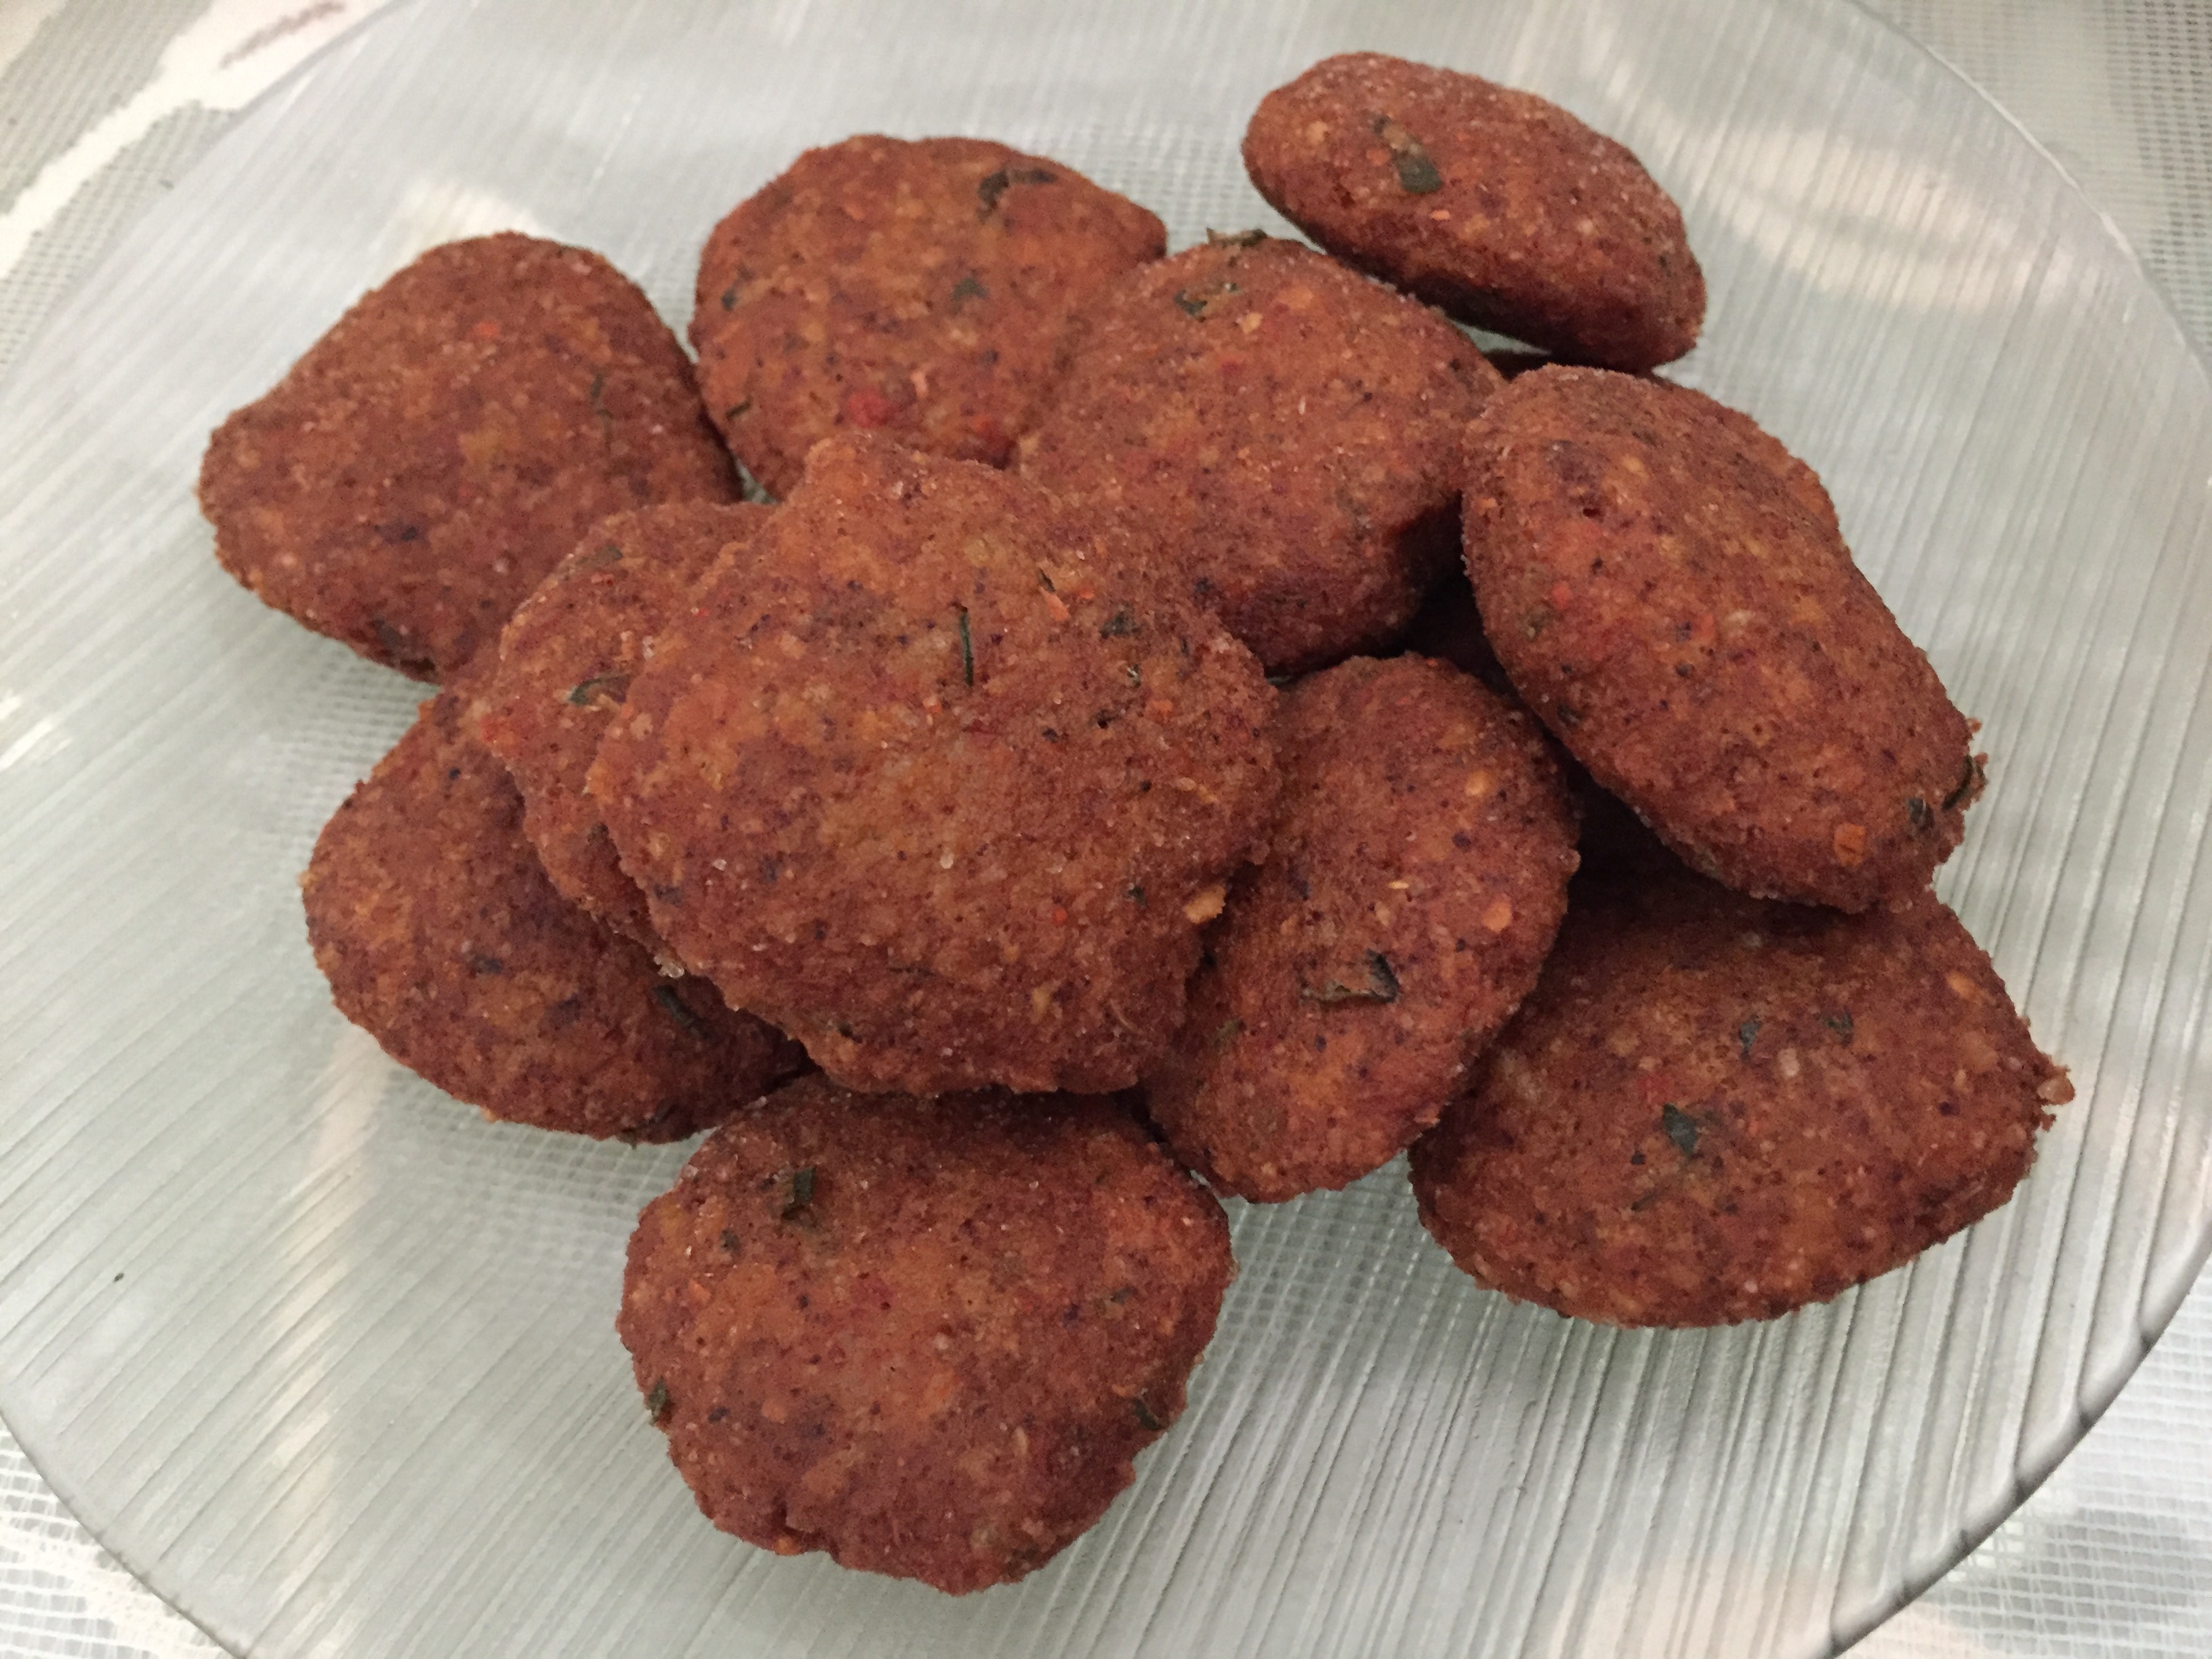
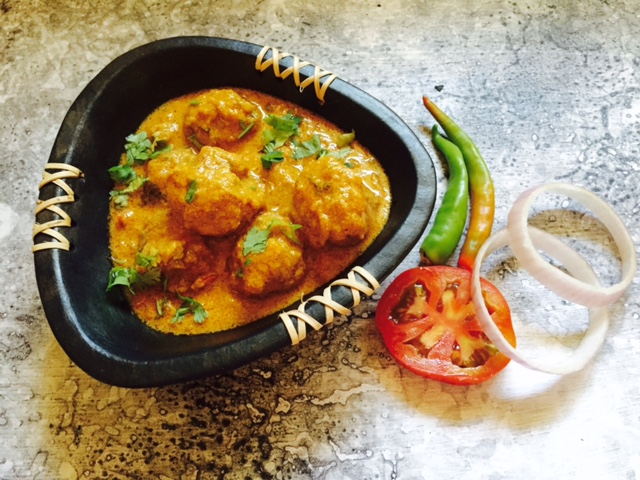
- Garnish with chopped coriander greens. Serve hot with ghee rice,pulaos, rotis, parata’s of your choice.