Dalcha

Share Button

 
image1(1)
 
image2(1)
 
image3
 
Preparation time : 15 minutes
Cooking time      : 25 minutes
Serves                : 4 members
 
Description
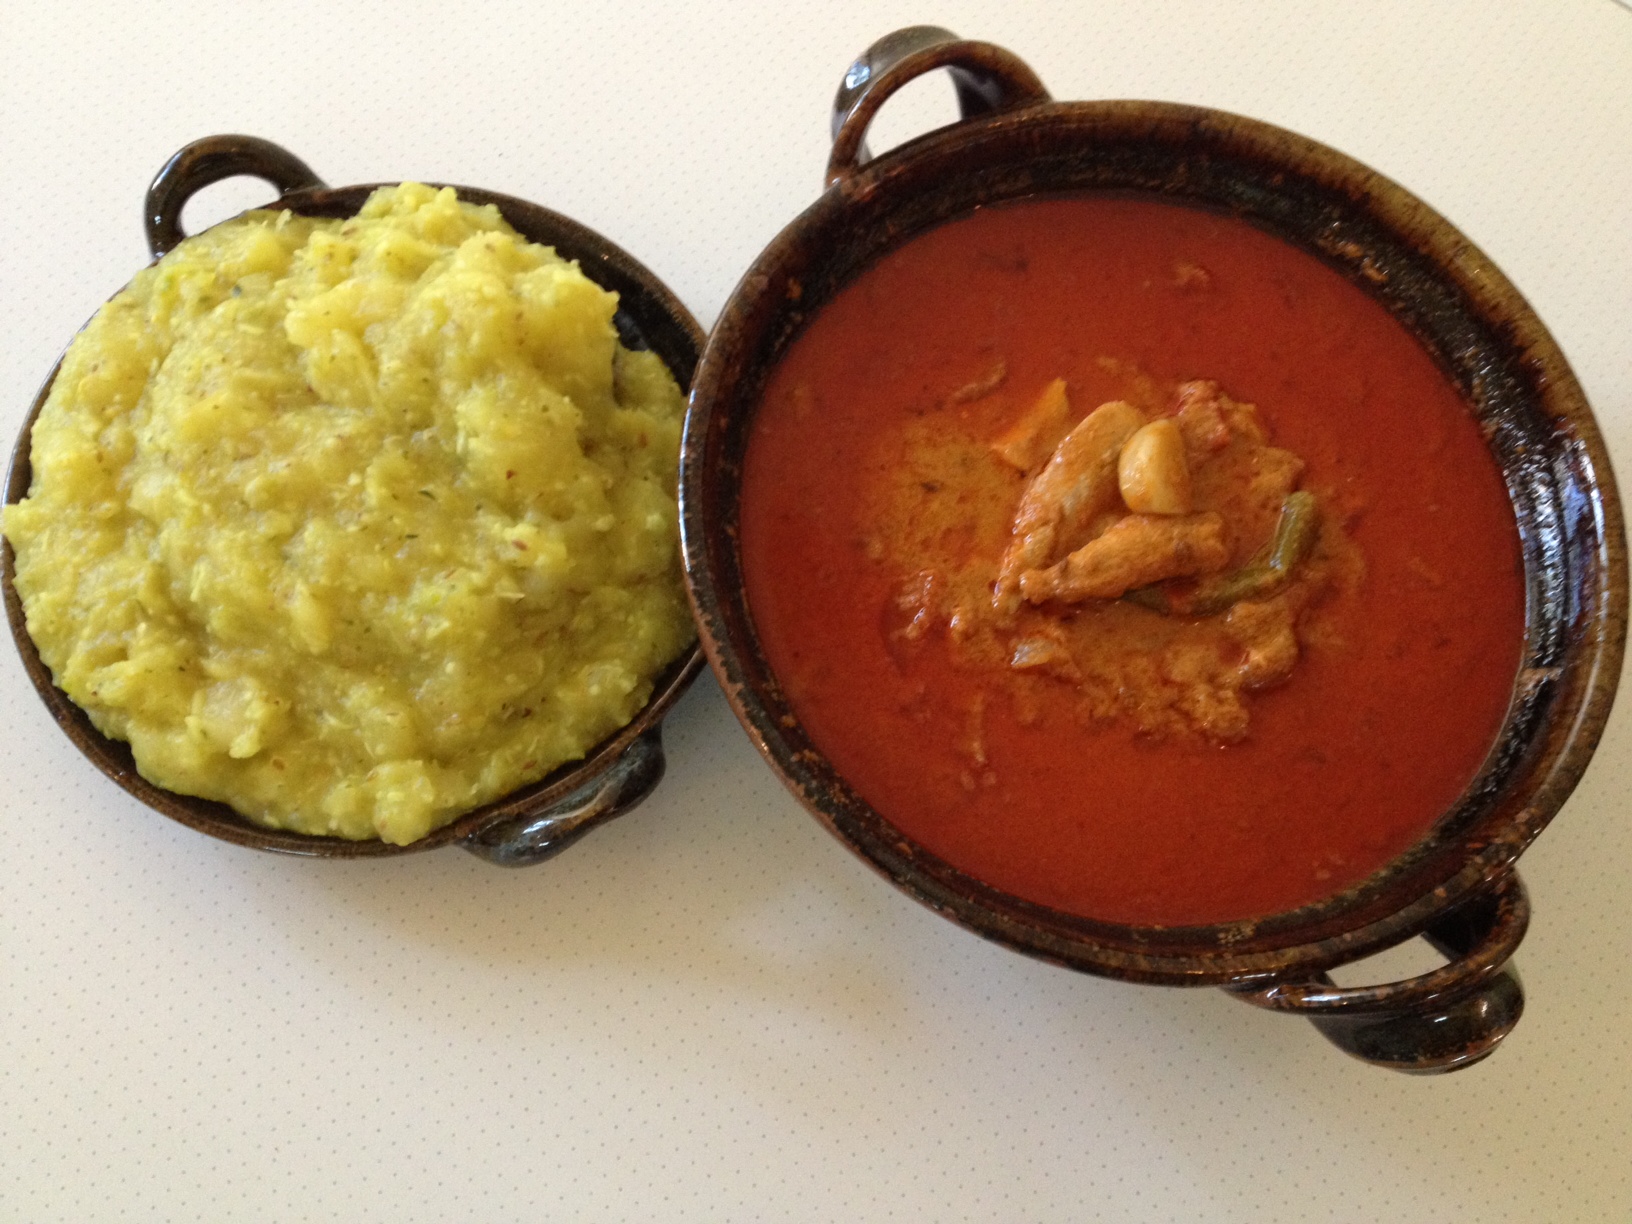
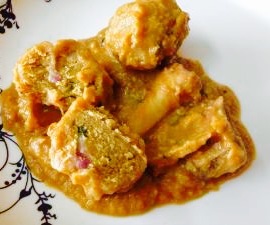
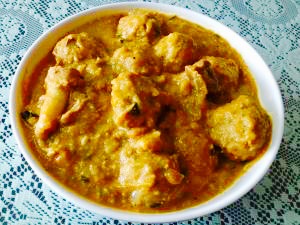
The word dalcha and the dish by itself is originally very own to Hyderabad cuisine. I have no idea as how this mighty dalcha landed up in all ravuthar (Tamil Muslim) homes as a must side dish for biriyani. The ravuthar’s of the southern districts of tamilnadu are unique, sharing similarities with Sri Lankan cuisine and using un usual ingredients like pandan leaves, dried tuna, poppy seeds, urugai or whole limes that are pickled in salt and used in various preparations. Each district and home have their own variations of the dalcha with slight change of the use of vegetable combination with mutton bones + fat + dal. This recipe is that I learnt from my mother-in-law which is a like through out the tirunelveli region. The dalcha recipe, allows the true characters of the vegetables used to shine, resulting in a creation far greater than the sum of their parts. There is no better way than to rely back to our roots and cook the old school way. I remember, in a wedding reception of one cousin bother in the family where the groom was ravuthar and the bride a mappla (malayali Muslim). We were served a grand malabar feast with layered biriyani. All the old women were shouting out loud asking for dalcha saying, the biriyani is shocking us.. Get us some dalcha. The rest of us around were all giggles as the ravuthar’s just can’t have biriyani with out their dalcha. True blue old haunts we are. I instantly sensed the gap in understanding food from place to place. yet again more to know, more to learn and more to understand as always.


Ingredients
Quantity
Yellow split peas / Toovar dal1 cup
Bengal gram ( Kadala paruppu)3/4 cup
Oil1 teaspoon
Mutton bones + fat 100 grams
Turmeric powder1/4 teaspoon
Ginger paste1/4 teaspoon
Garlic paste1/4 teaspoon
Egg plants1/4 kg each cut into 4 slices
Drum stick1 cut into finger length pieces
Yellow pumpkin1 slice cut into cubes
Raw mango peeled1 , cheeks cut into long thick pieces + seed
Big Onion 1 sliced
Small onionsone hand crushed
Green chillies6
Tomatoes2 medium sized chopped
Coriander leaves2 tablespoons chopped
Saltto taste
Red chilly powder1 teaspoon
Turmeric powder1/4 teaspoon
Cumin powder1/2 teaspoon
Fennel powder1/2 teaspoon
Coriander powder1 teaspoon
Tamarind pulp4 tablespoons or to taste
Coconut paste5 tablespoons

Ingredients to temper

Ingredients
Quantity
Gingely oil2 tablespoons
Mustard seeds 1 teaspoon
Fenugreek seeds1/4 teaspoon
Cumin seeds1/4 teaspoon
White urad dal1 teaspoon
Curry leaves1 tablespoon
Small onions1/2 hand chopped
Ginger garlic paste1/4 teaspoon each


Method

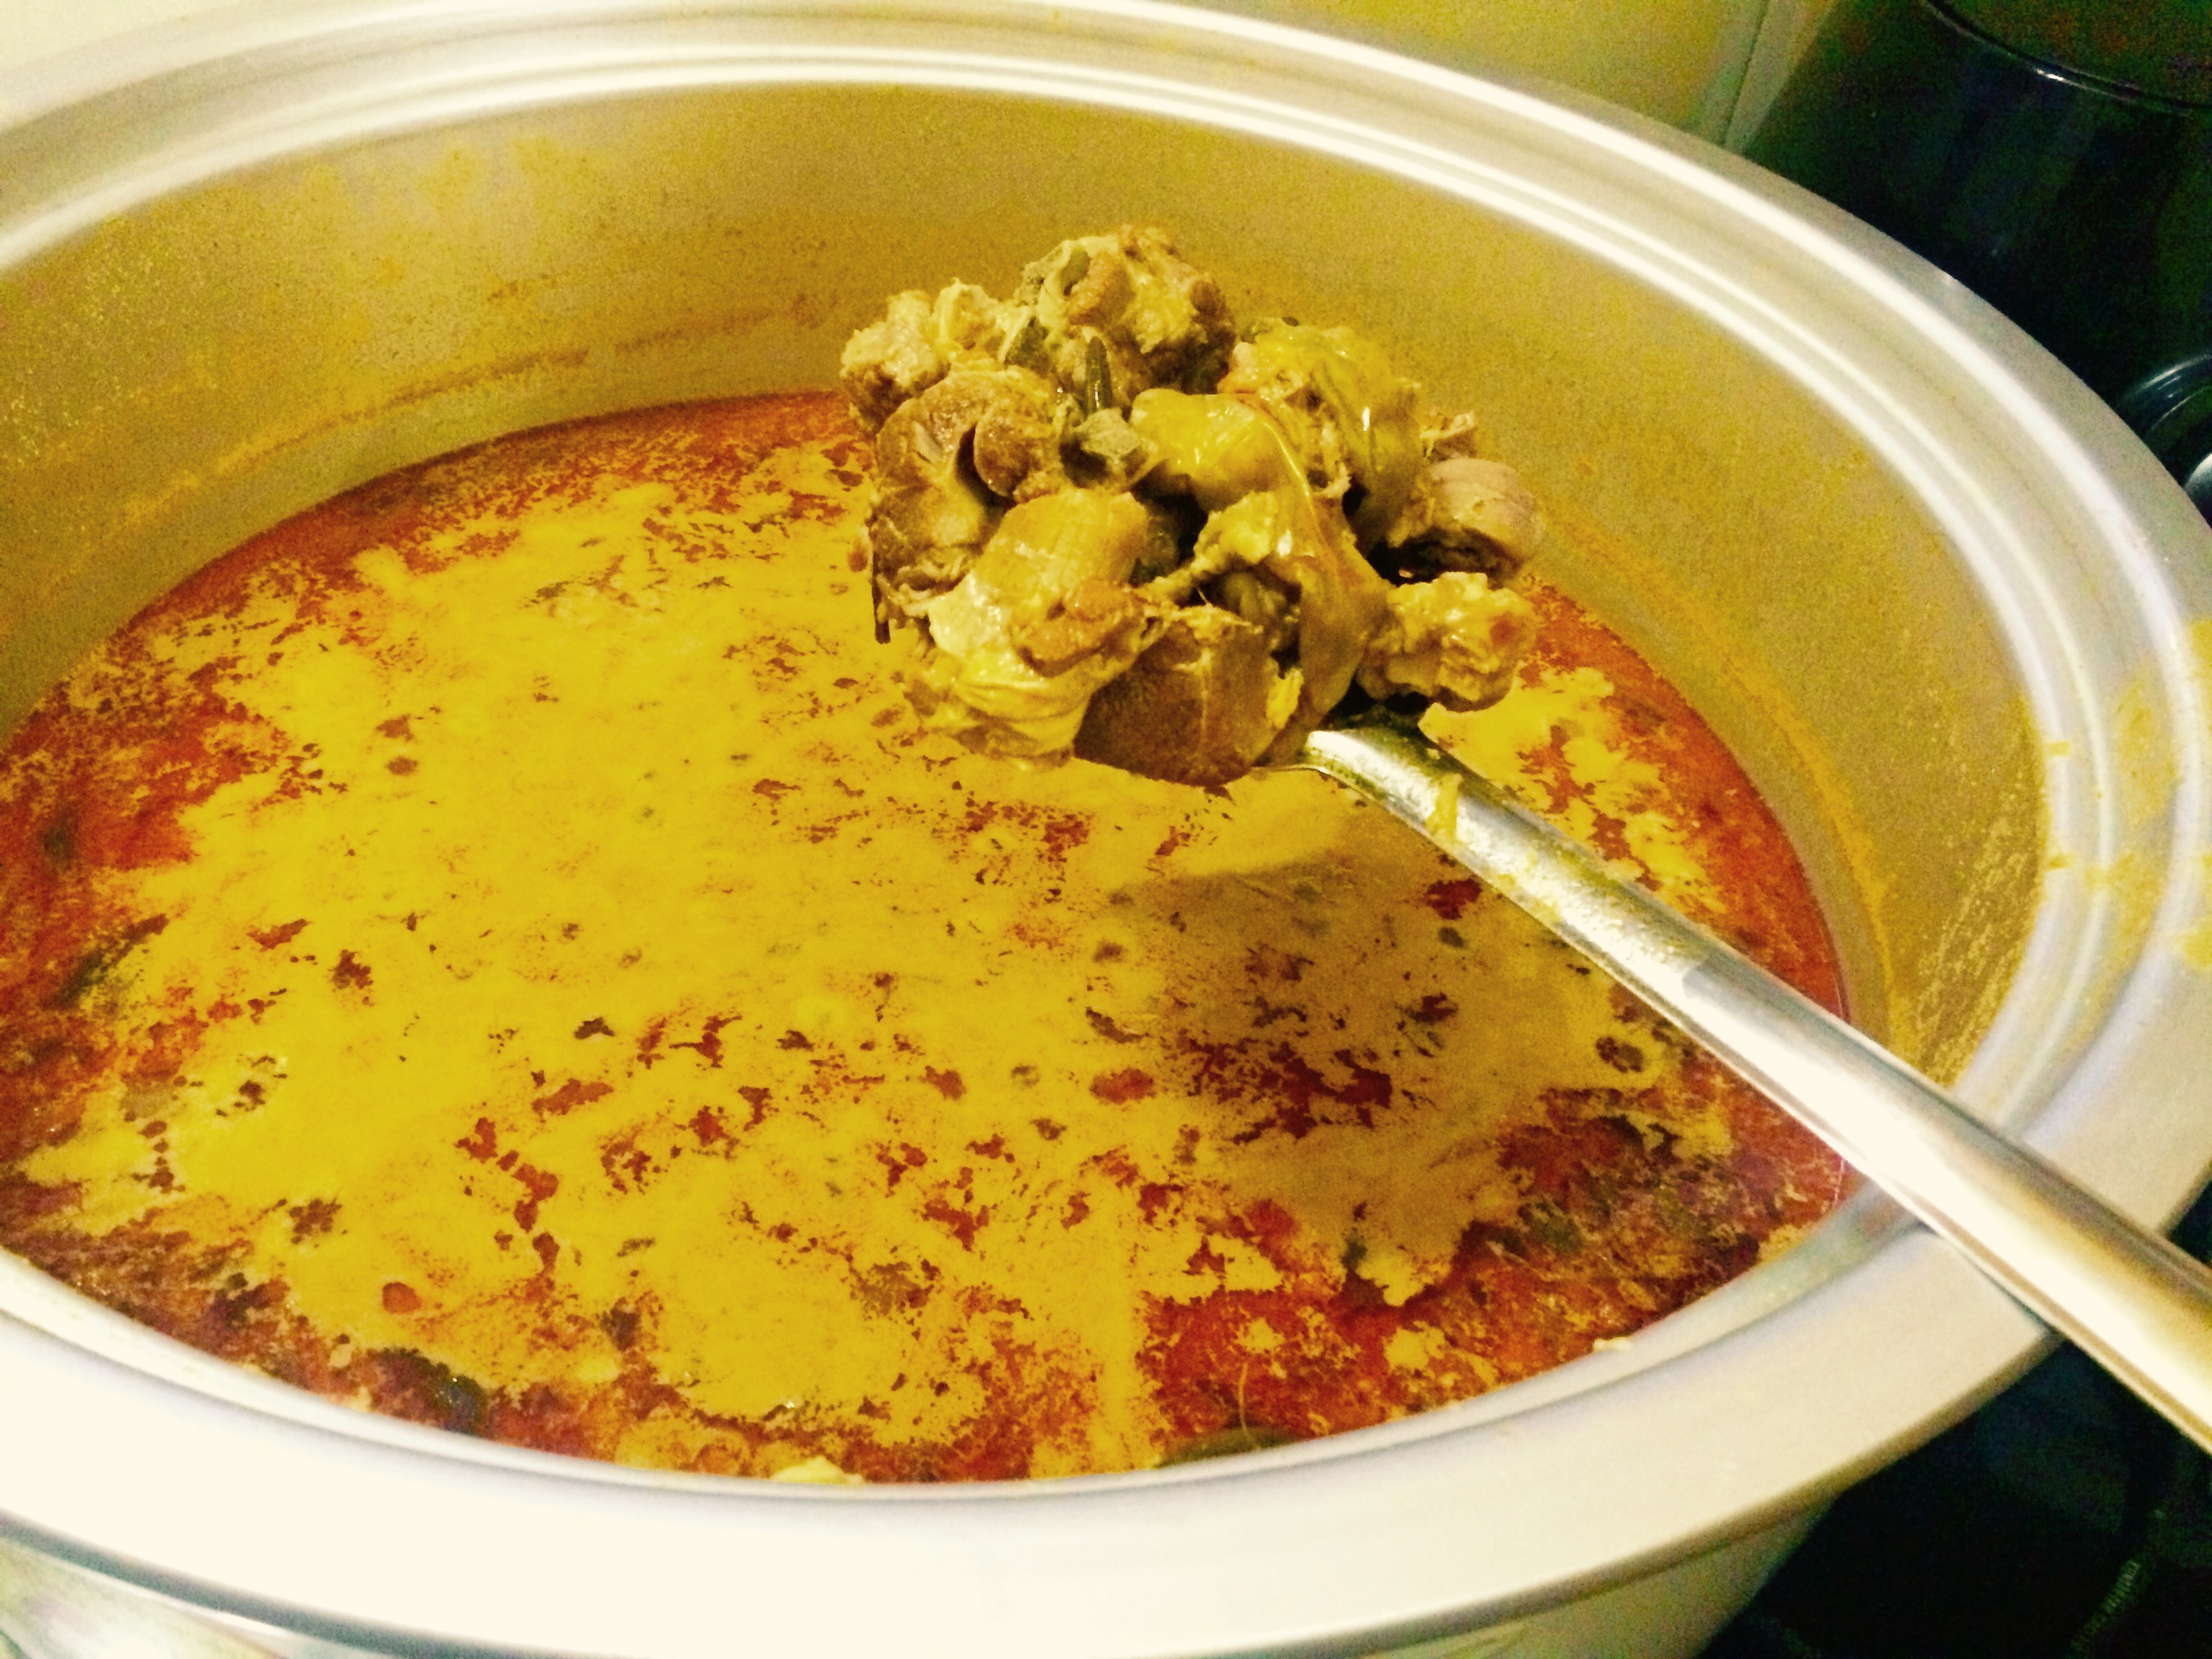
  • Heat a small pan with one teaspoon of oil. Add ginger and garlic paste. Sauté to crisp and golden. Top with the cleaned mutton bones and fat. Stir well for a minute or so until the colour of the bones and fag change. Remove from heat and keep is aside.
  • Pressure cook both the dals, the sautéed mutton bones + fat and turmeric powder with just enough water to well cooked. About 2-3 whistles. Open the pressure cooker only after the pressure in the whistle subsides.
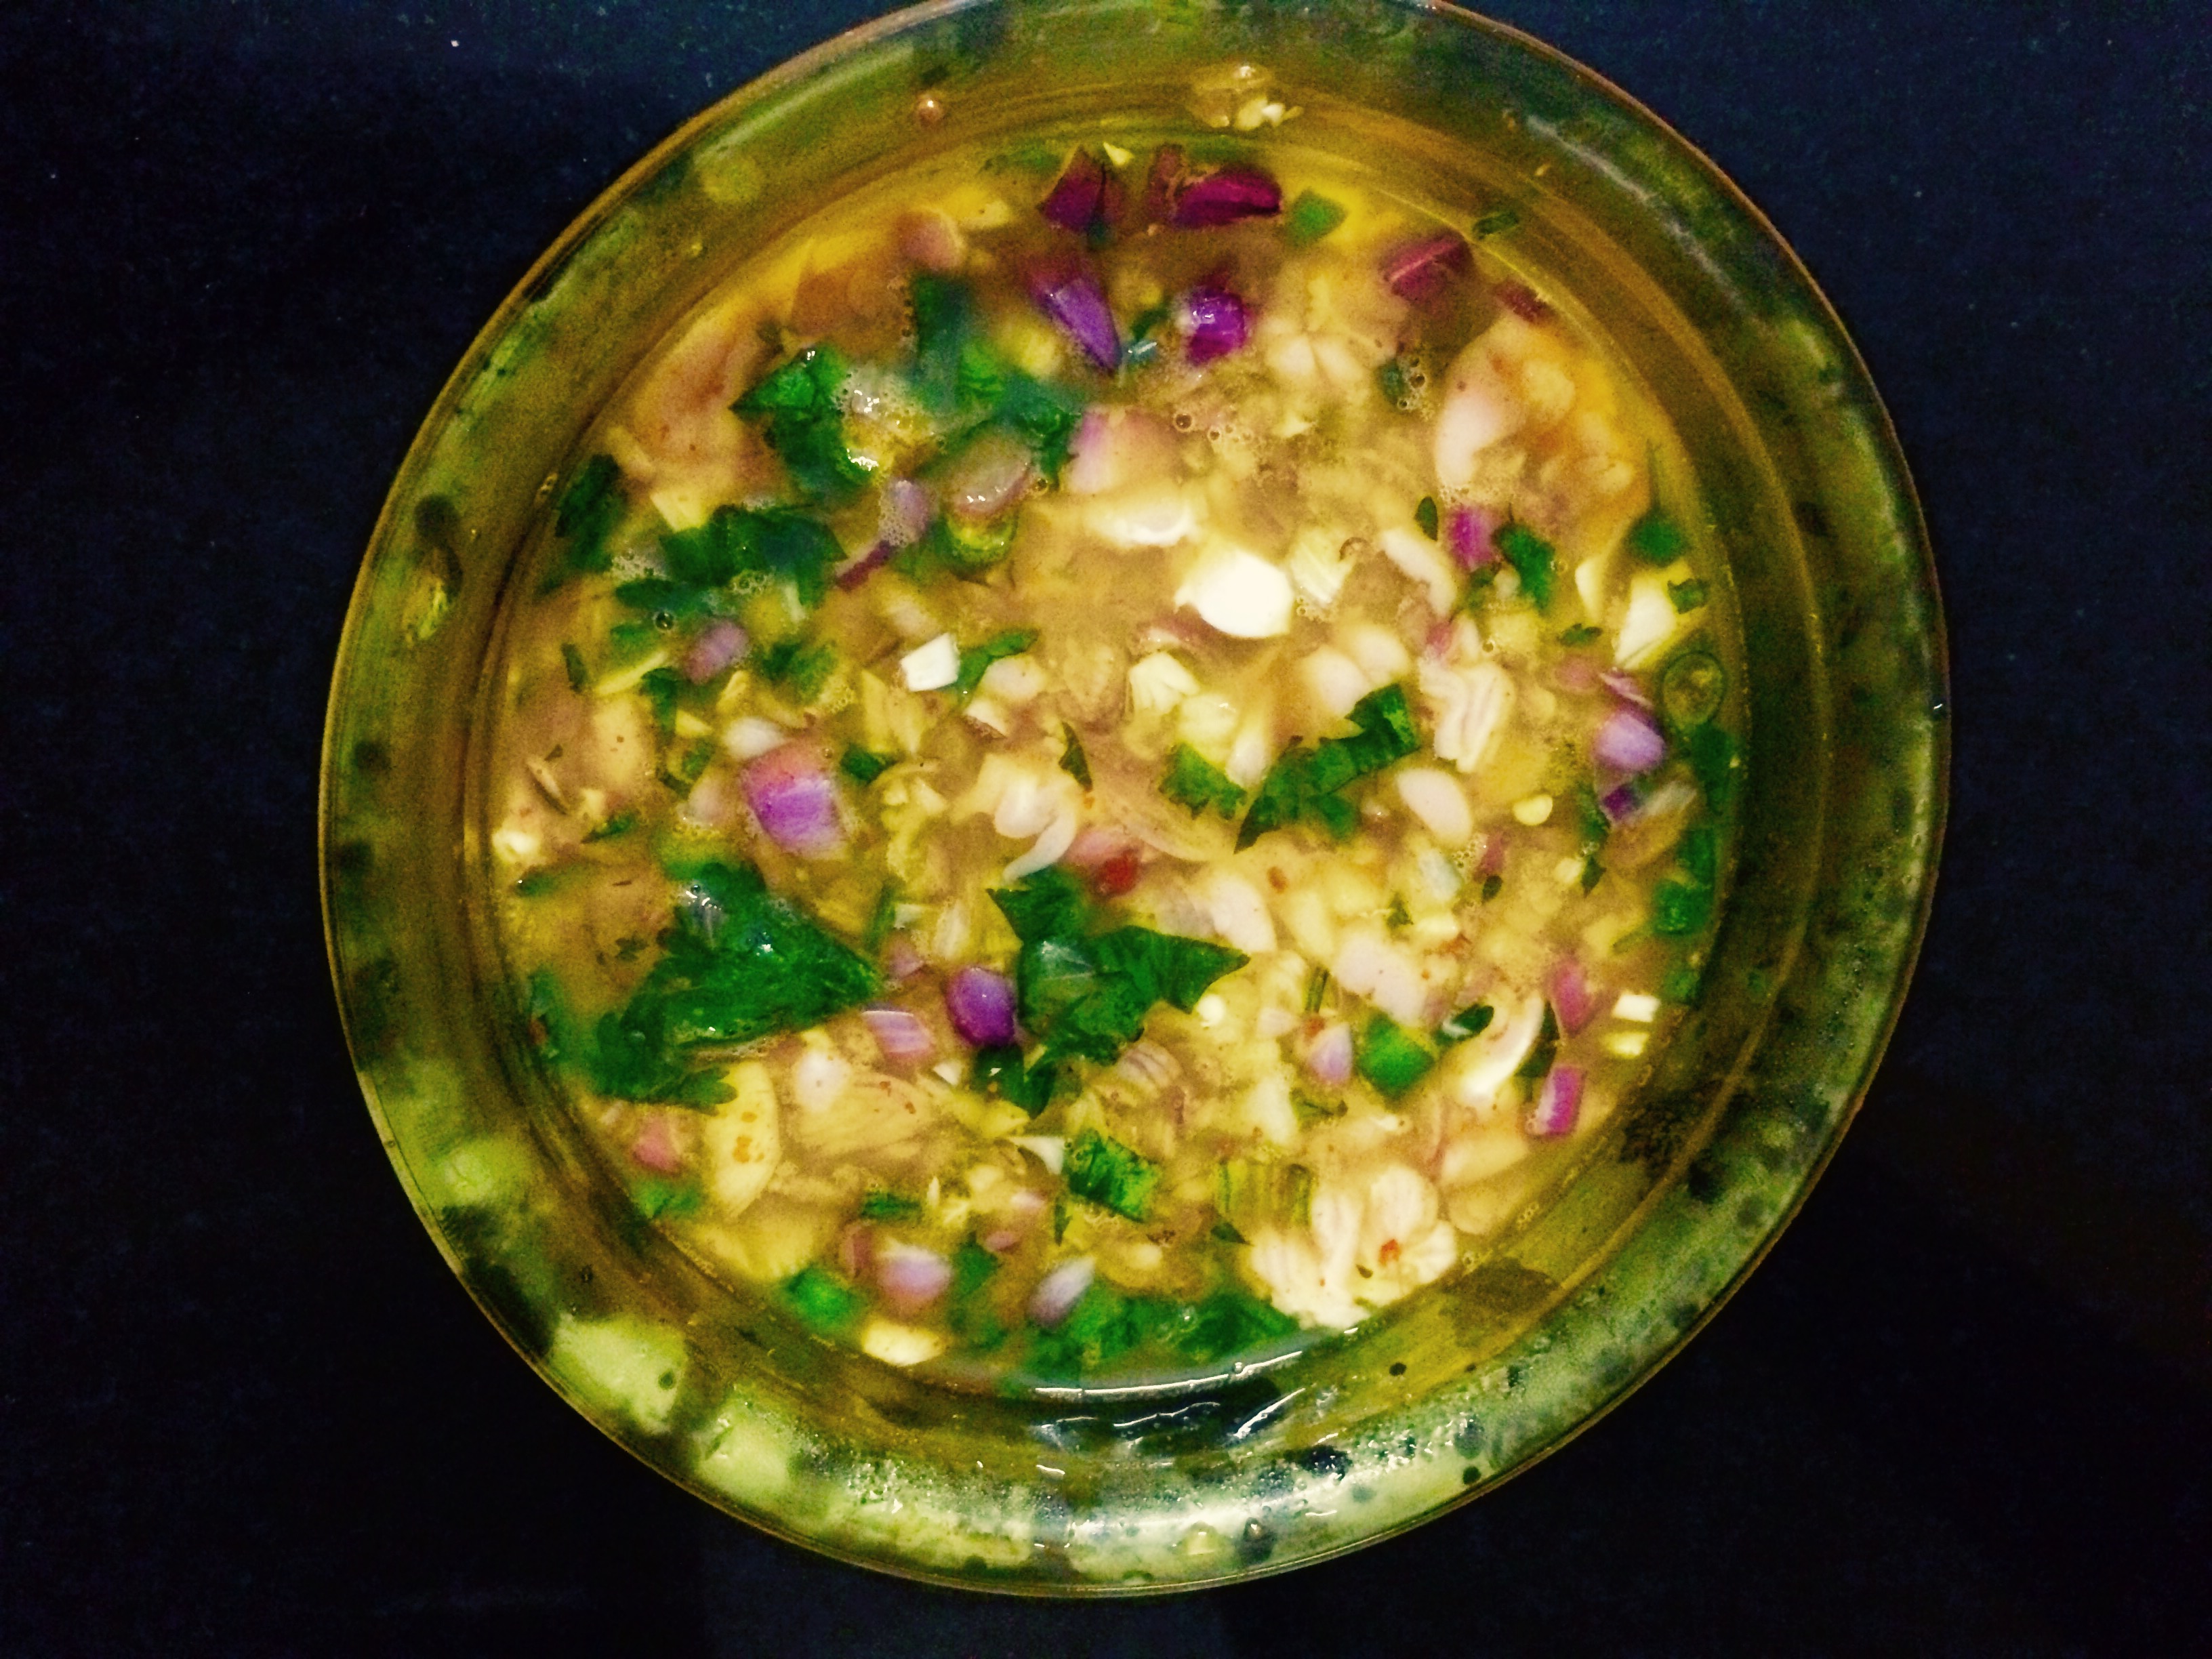
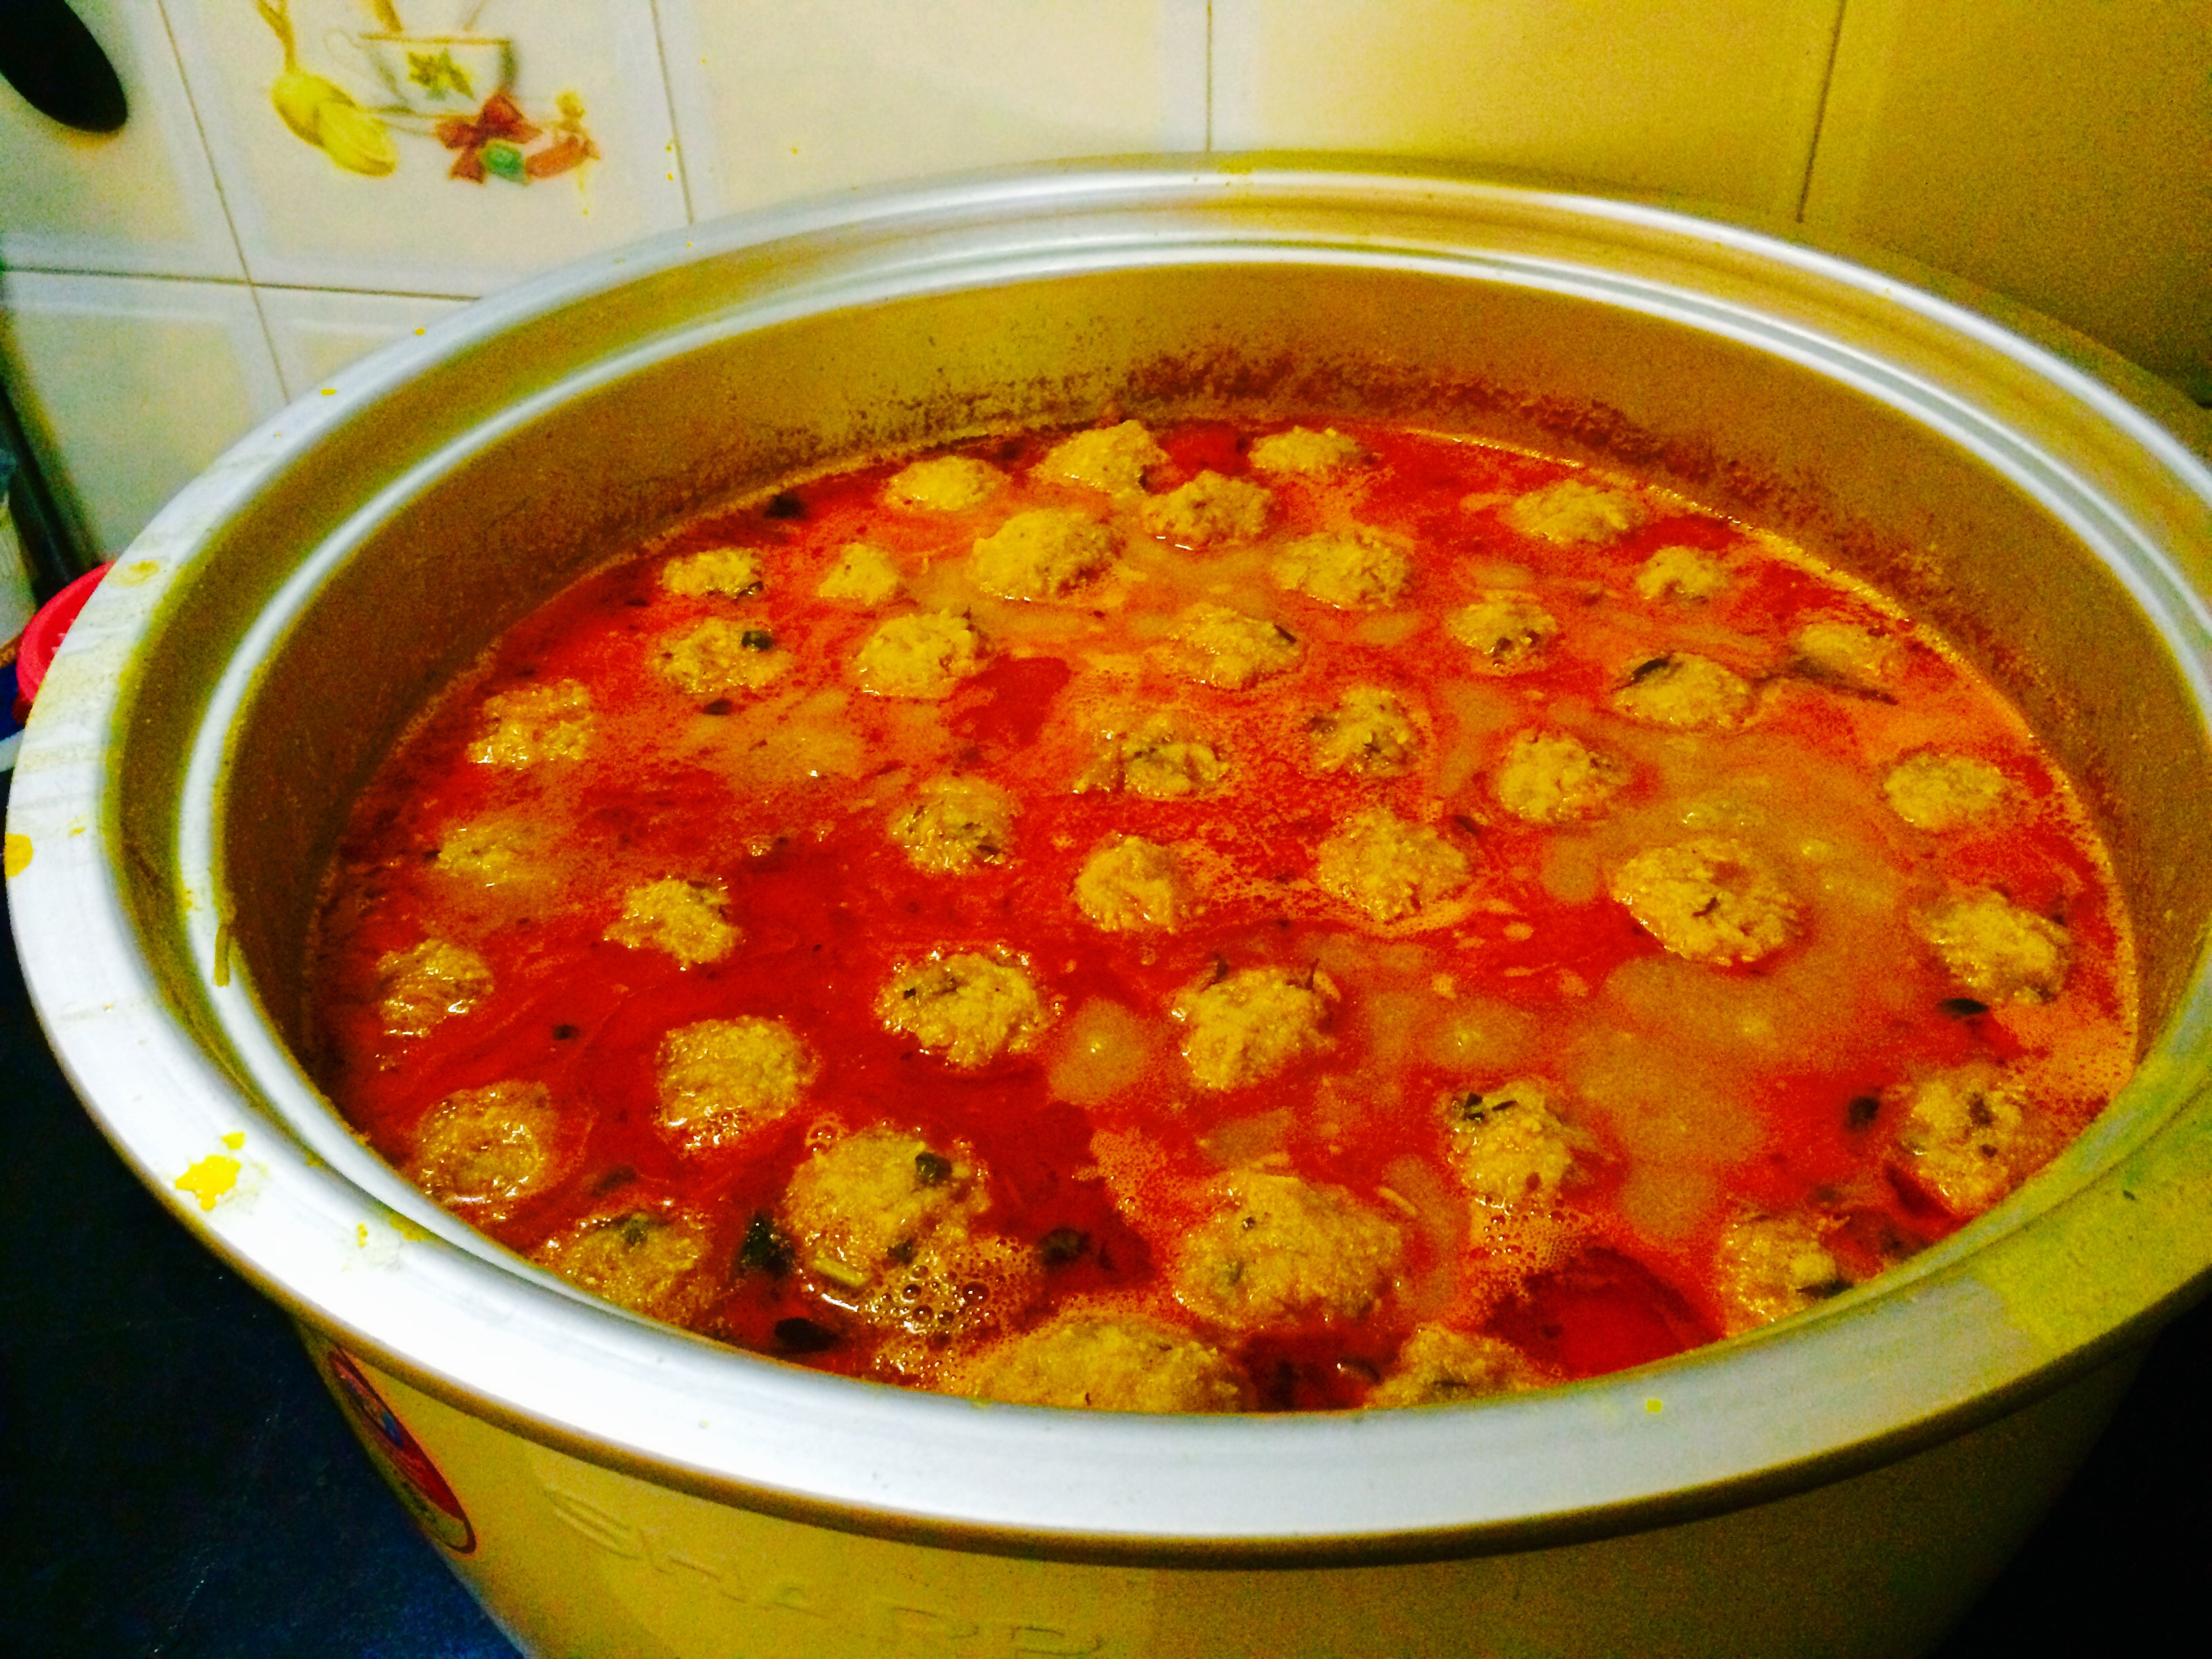
  • In a large pot, mix the cut egg plants, drum stick, yellow pumpkin, raw mango, big onion slices, small onion crushed, slit green chillies, tomatoes, coriander leaves, salt to taste, red chilli powder, cumin powder, fennel powder, coriander powder. Mix well. Add just enough water to boil the mixed vegetables and cook to 3/4 done.
  • Add tamarind pulp and cook the vegetables to done. Drain excess water from the pressure cooked dal. Mash the pressure cooked dal and bones with the bake of a big spatula to smooth. Add it to the cooked vegetables. Mix well. Add coconut paste and bring to boil.
  • Check seasoning for salt, sourness and chilli. All the three must be more than required as only then when tempered. The dalcha tastes correct.
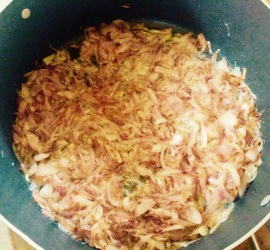
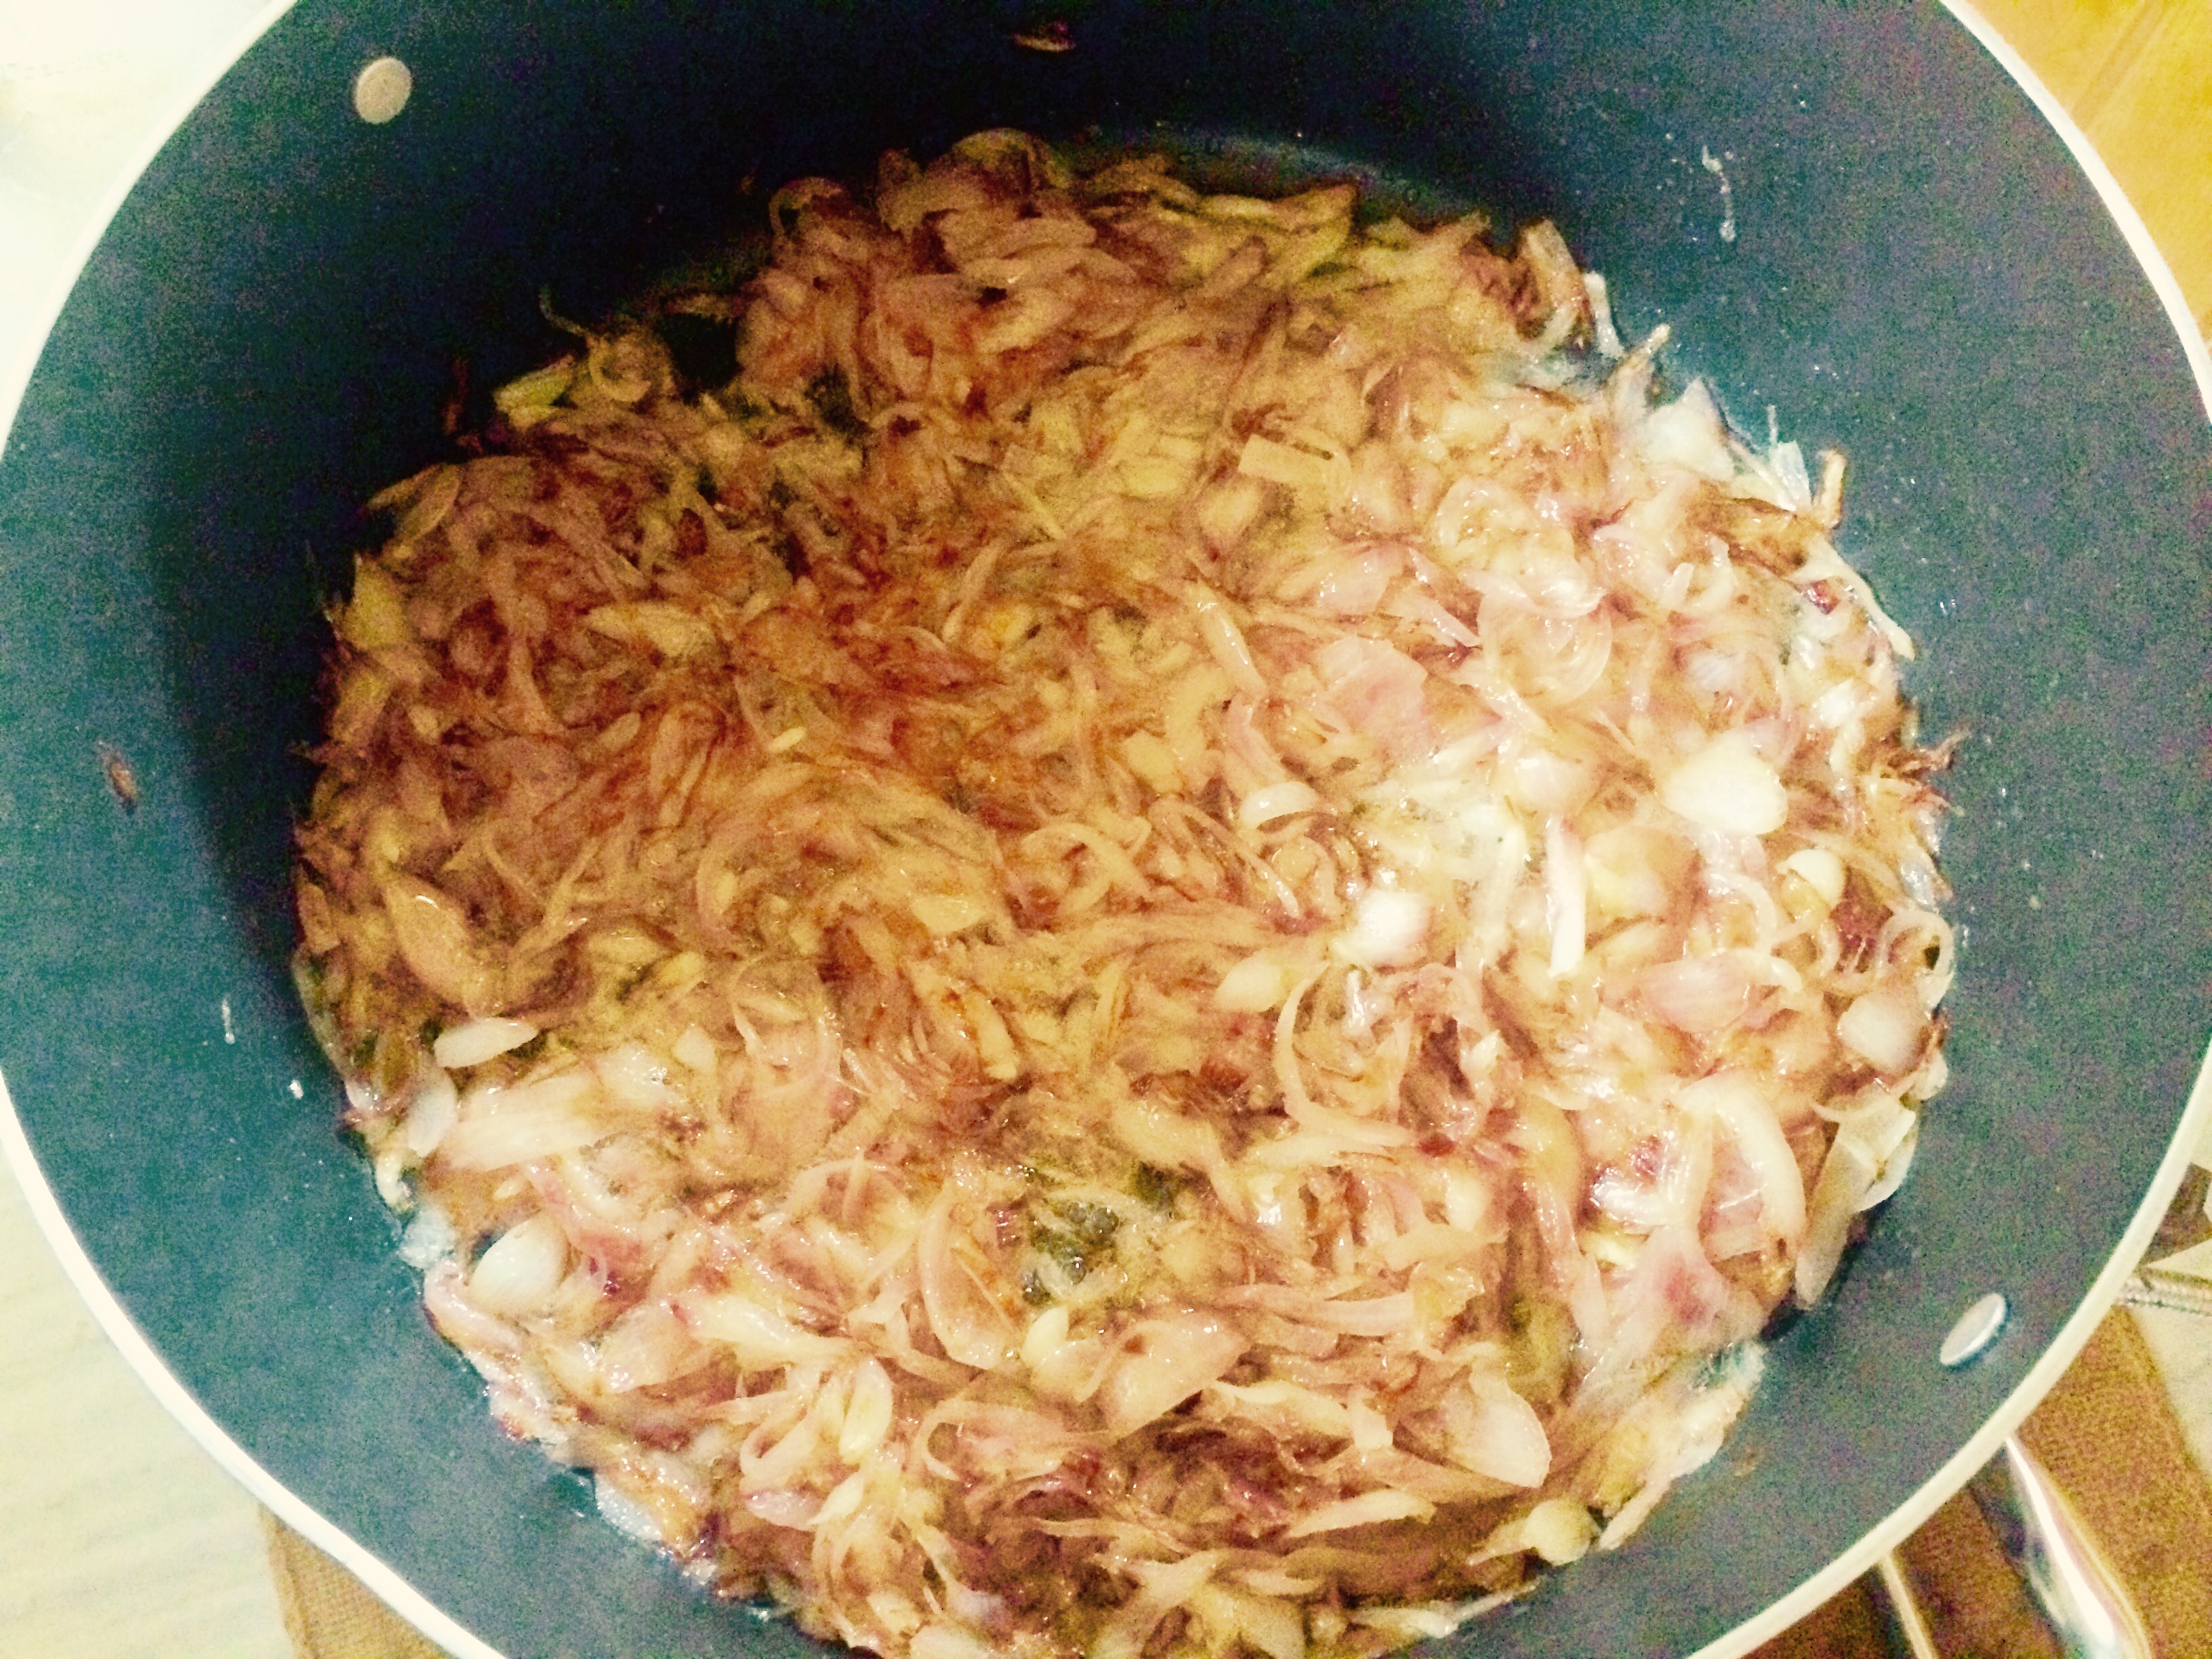
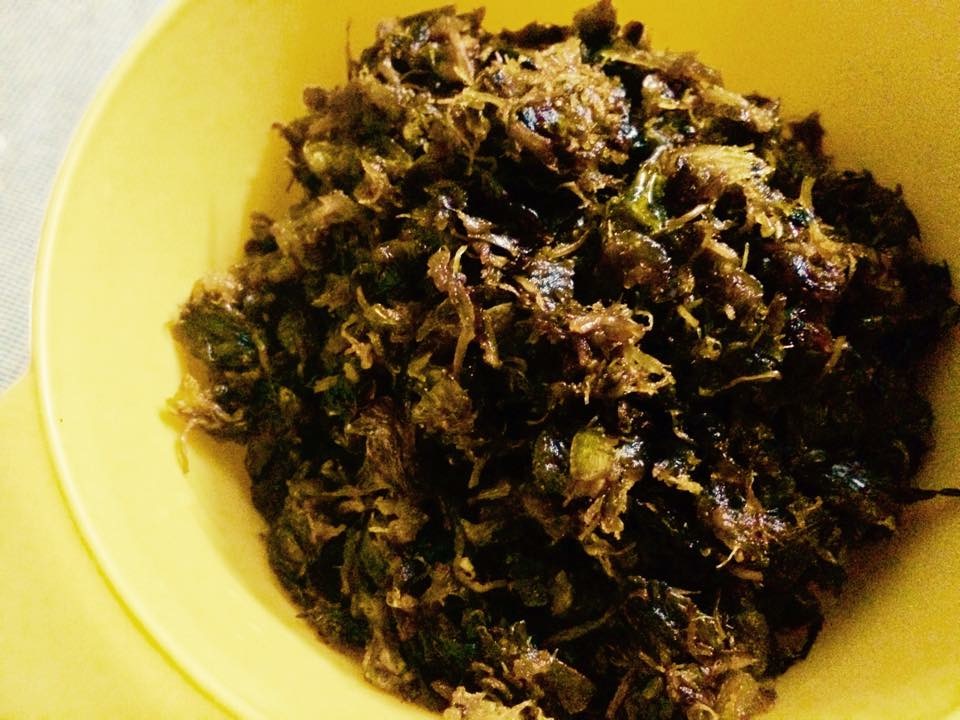
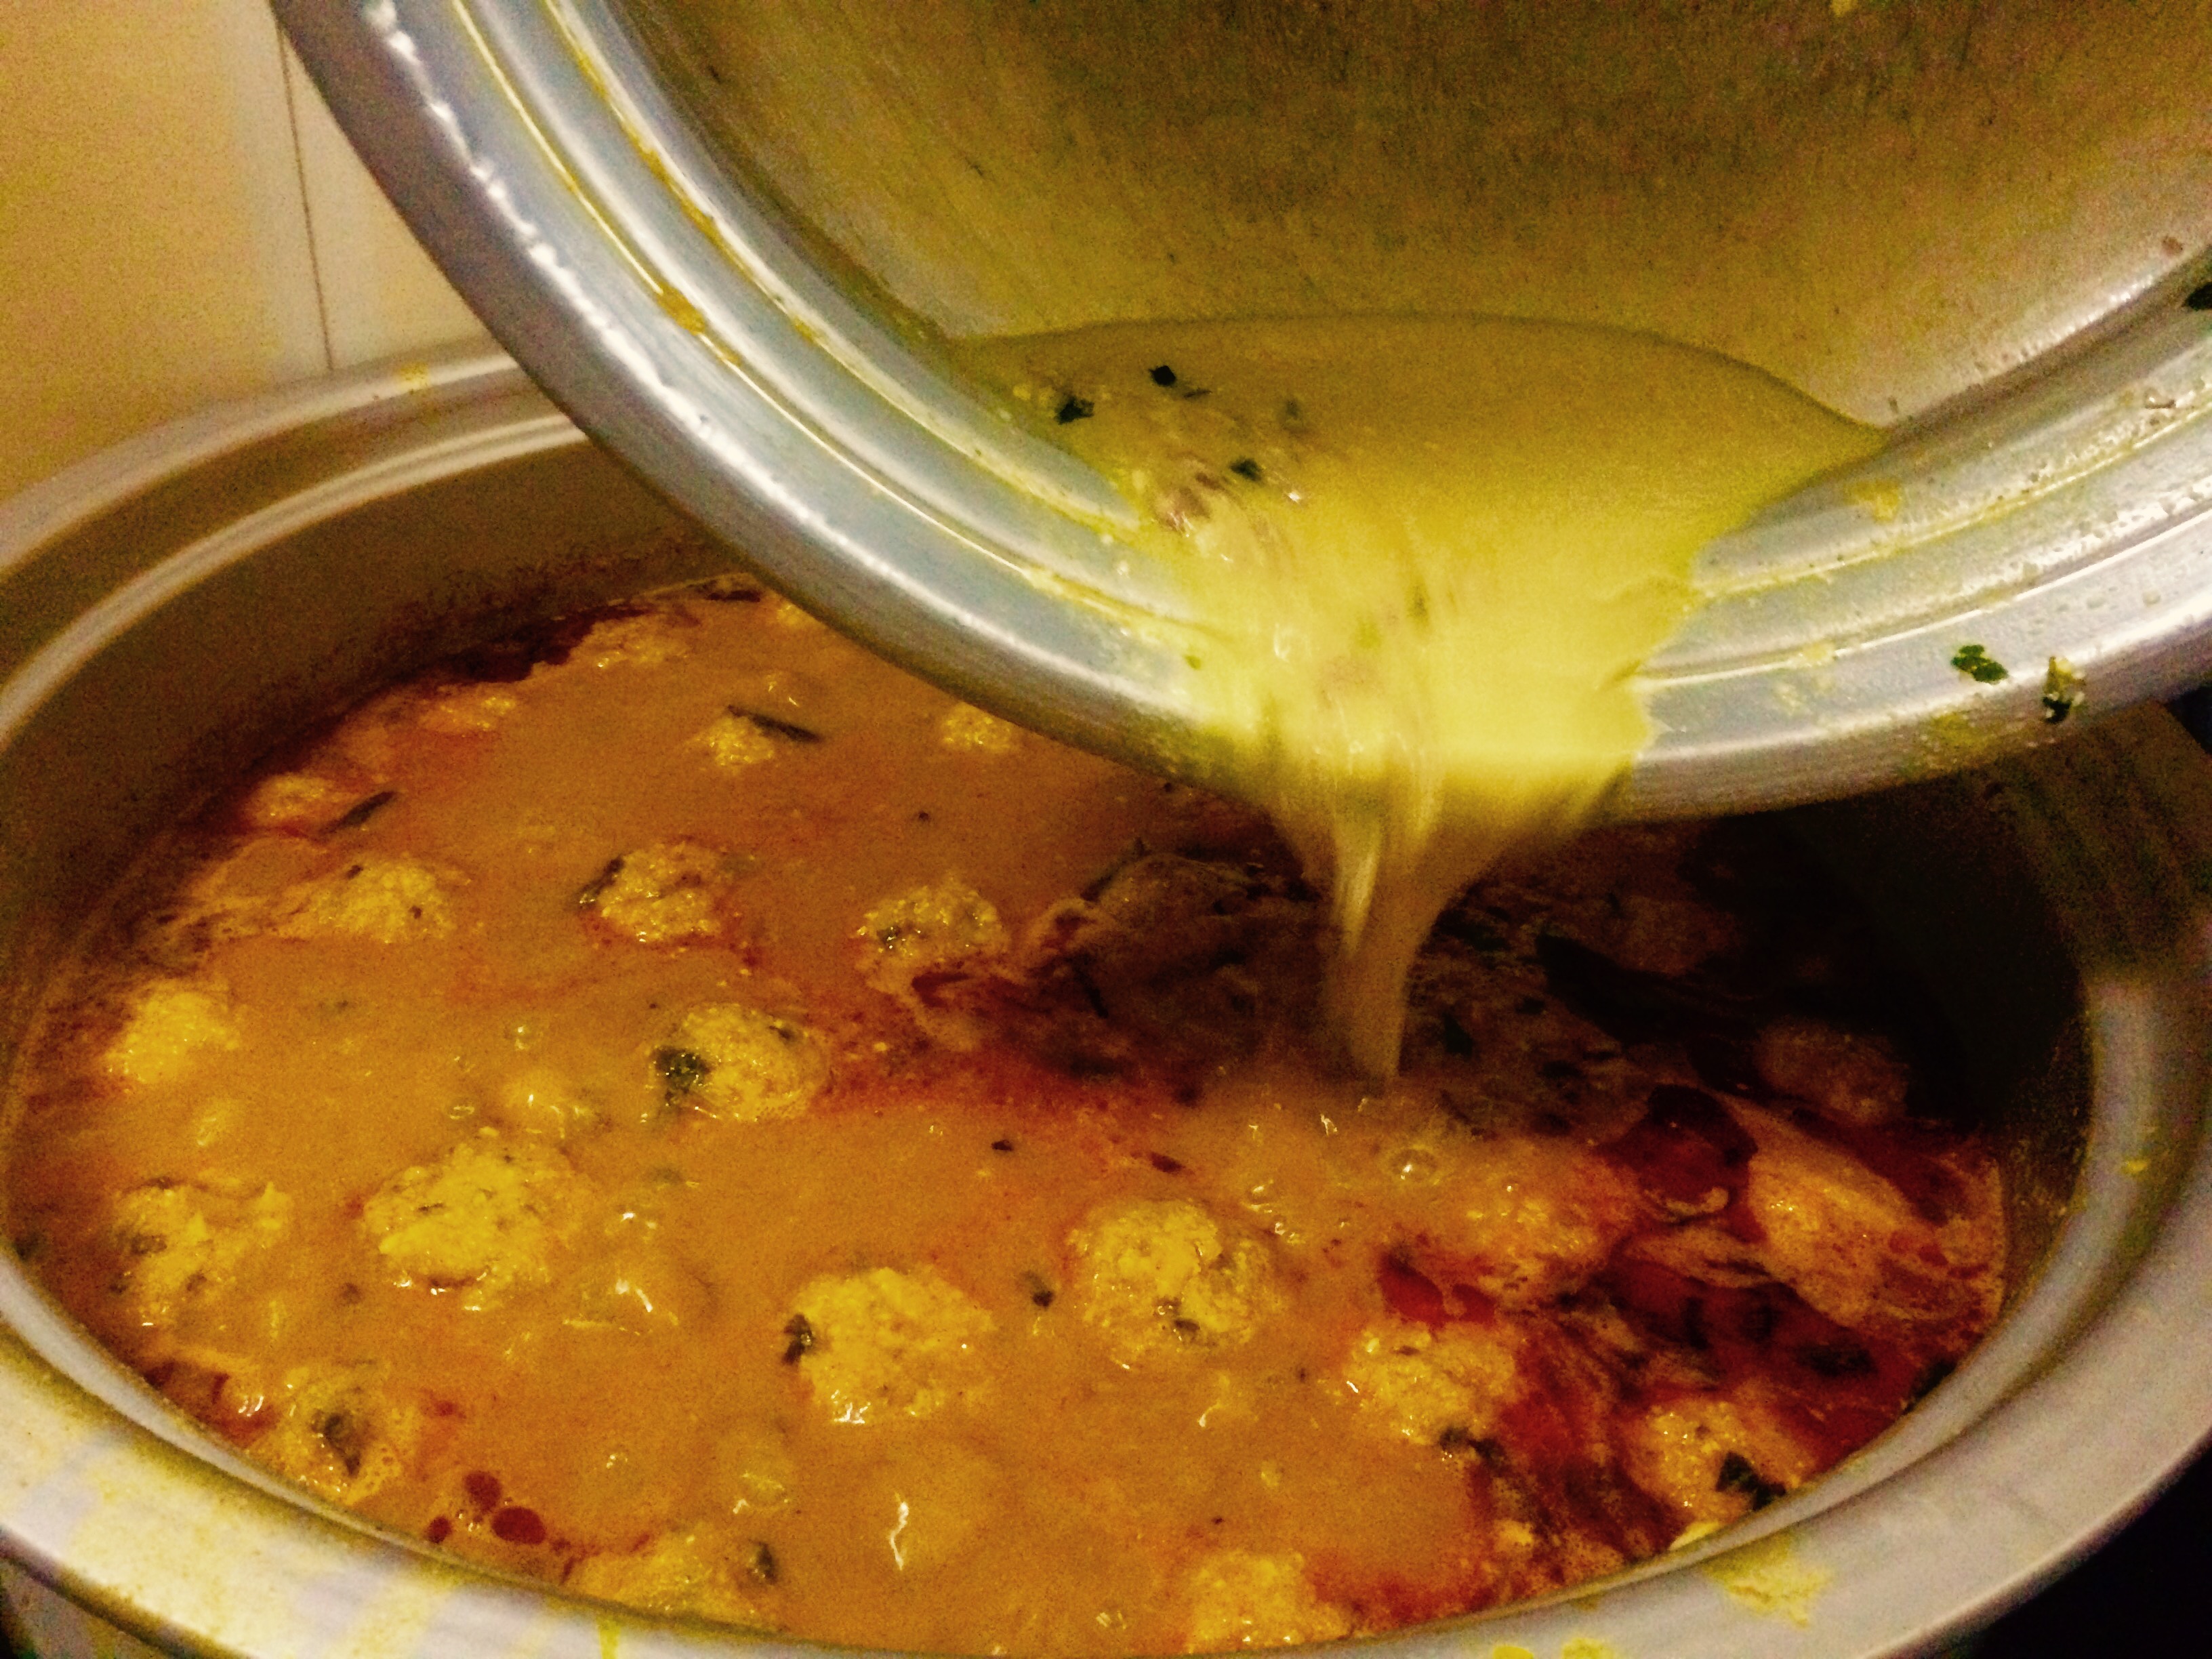
  • Heat the oil,add fenugreek seeds, mustard seeds, urad dal and cumin seeds. Once they crackle. Add the curry leaves and small onions. Once the small onions are golden. Add the ginger and garlic paste. Sauté to brown and crisp. Pour over the pot of dalcha.
  • Immediately pour a ladle of dalcha into the tempered hot vessel and swirl getting in all the flavours of the tempered pot into the dalcha. Pour into the dalcha pot and mix well.
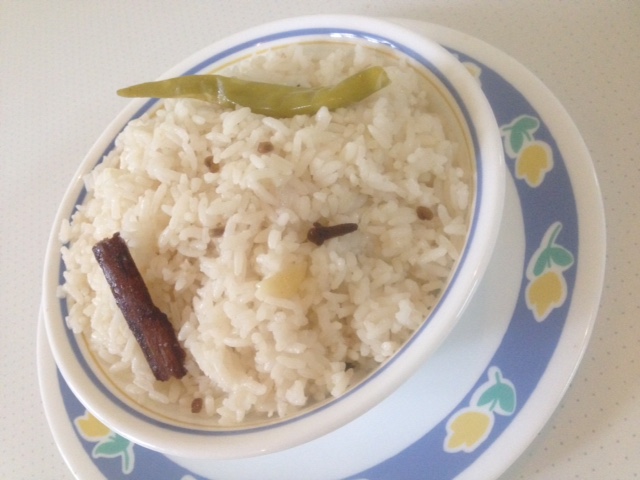
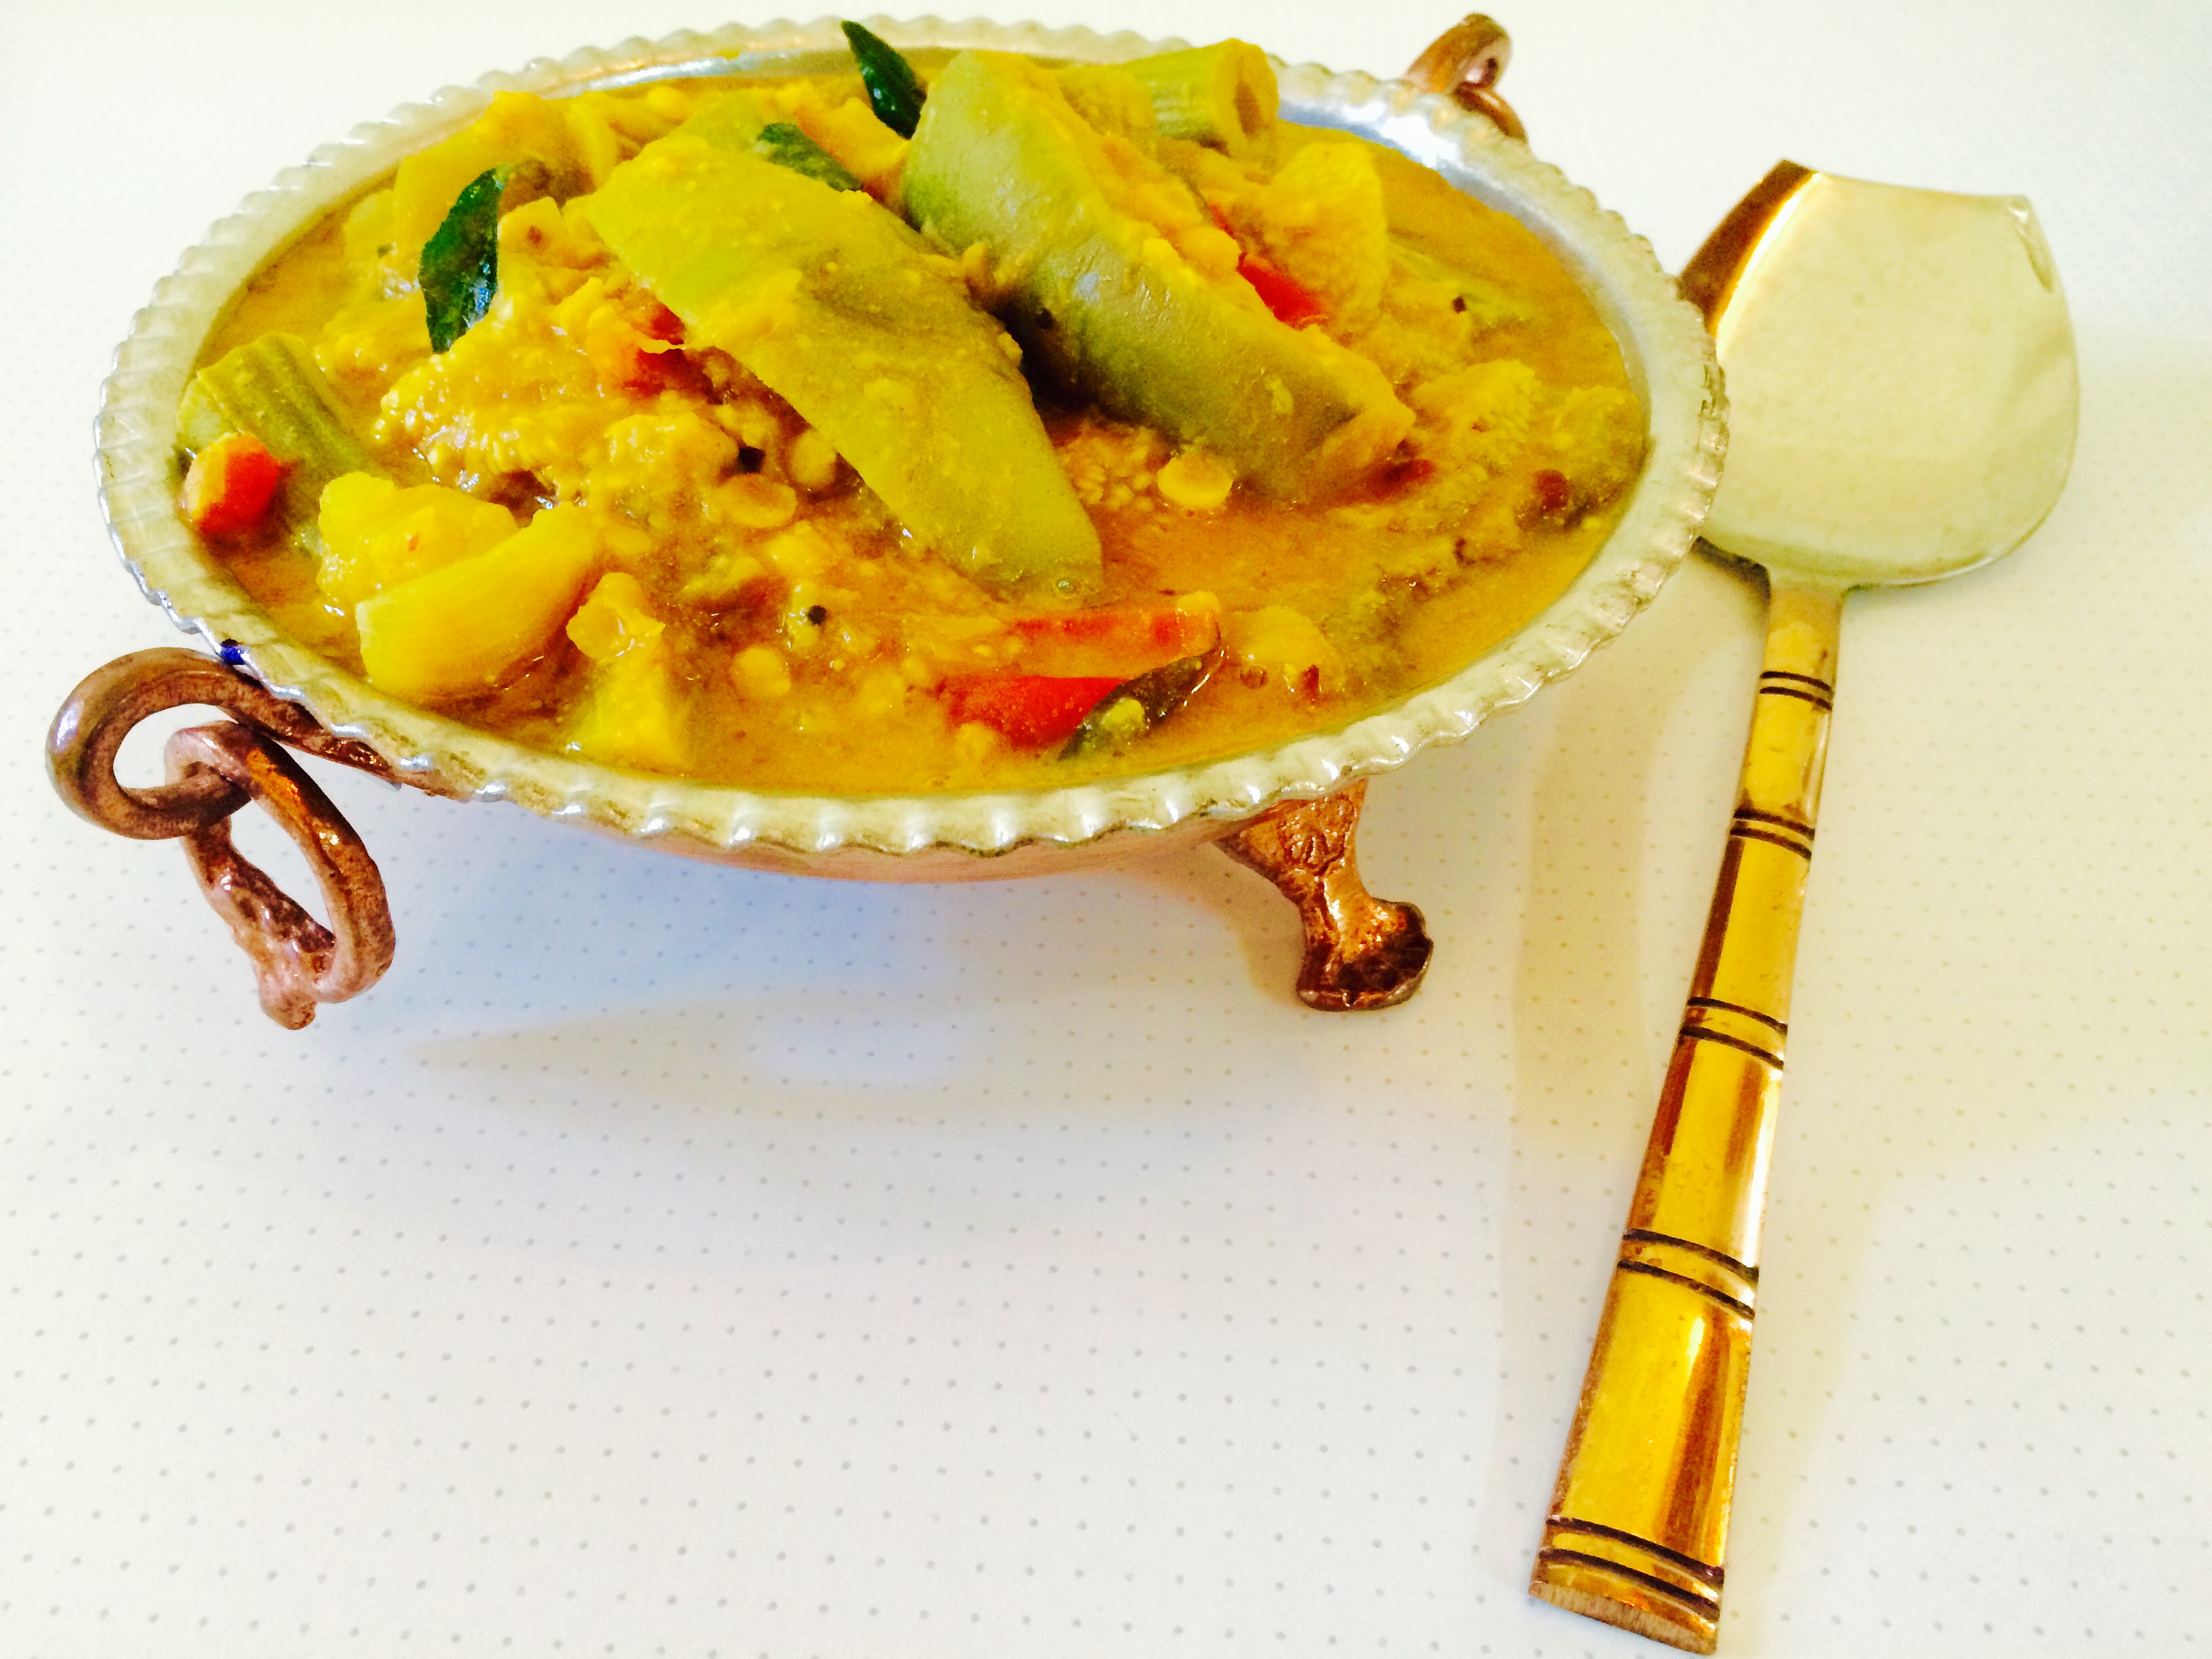
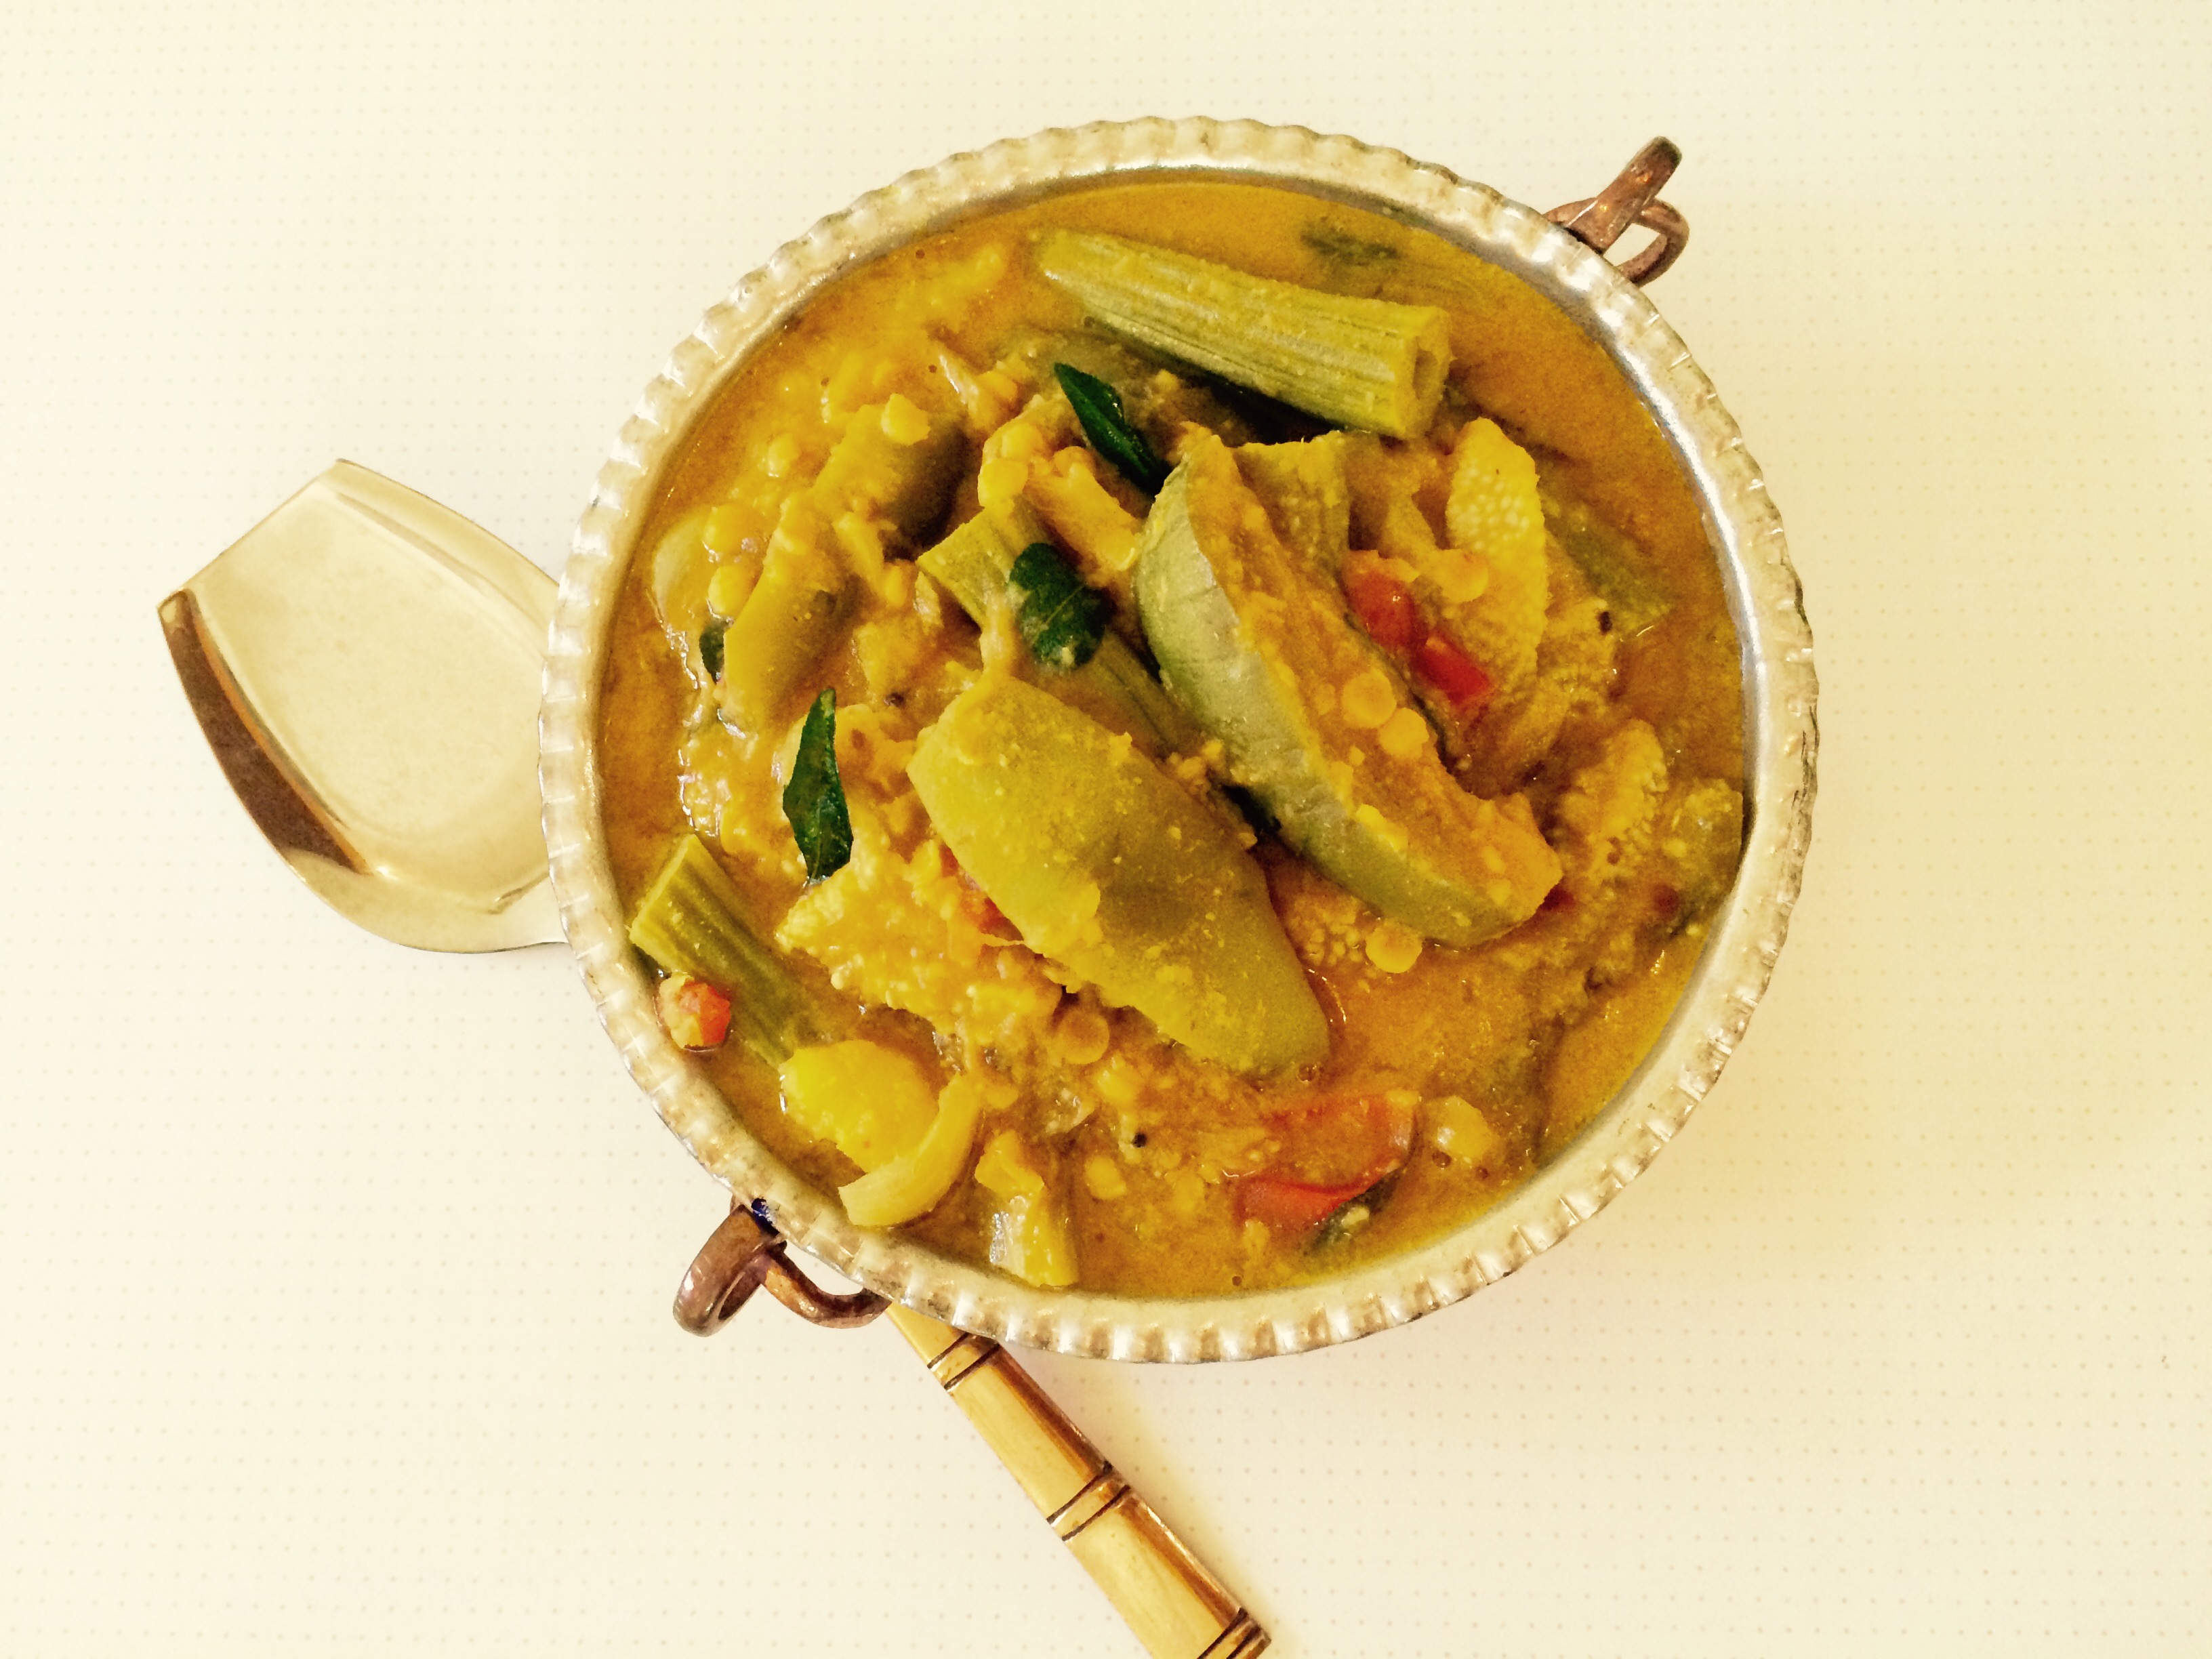
  • Serve hot along with biriyani, ghee rice (nei choru) or coconut milk rice (thenga choru) as a side dish.


kutha

Share Button

image4

image3

image2

image1

Preparation time : 15 minutes
Cooking time       : 35-40 minutes
Serves                  : 8 members

Description

Kutha… I know the word sounds wired as in Hindi it means dog. I felt the same way when I first got to know about this dish too. A recipe with few ingredients but time consuming one with Divine results. The technique of caramelizing the onions and the meat in low  heat did let me learn the art of slow cooking. The surprise element being the tenderness of the meat as its slow cooked . No idea from where my mother- in- law learnt this dish as I have never seen this dish on the table else where at any other relative’s place. The colour of the dish might put you off as its in a very dark shade of brown but the taste sure will let you feel soothed with its sweet element popping in from the onions along with the caramelized flavour. This is served as a side dish for ghee rice (nei choru) but it goes well as a side for any thing and every thing possible. At times when I have left overs, I use it as a stuffing for any savoury snack too.


Ingredients
Quantity
Bone less mutton 1/2 kg
Big onions 1 kg sliced
Green chillies 20 ground coarsely
Coconut oil 1/4 cup
Method
  • Pressure cook the cleaned meat to done. Reduce the water to dry. Cool completely and shred the meat by pulsing in a food processor to get threads of meat.
  • Heat the coconut oil in a non-stick wide pan. add the sliced onions. Sauté to caramelise for 20 minutes in medium heat. Add salt to taste and green chillies. Mix well and sauté for another five minutes.
  • Add the shredded meat and sauté for 15 minutes to brown in very low heat. Remove from heat and serve hot as a lip snaking side dish.

Notes

  • This is a slow cooked dish, so you have to be patient while cooking.
  • I start cooking with this dish and remove it from heat only when I am done with the rest of cooking.
  • Always use a non-stick pan as it helps not to get burnt and in very low heat as well.


Brain omelette

Share Button

image1(4)

image2(3)

image3(2)

image4(2)

image5(2)

image6(1)

Preparation Time     : 15 minutes

Cooking Time          : 4 -3 minutes for each omelette

Serving                    : 2 members

Description

Cooking is an art form from home made rustic authentic dishes to gourmet dishes or innovative dishes. The key to perfecting the art of cooking is attained with a delicate balance of flavour’s, aroma and taste which comes after years of practice and tasting. We need to understand each individual ingredient and marry them together. Once you achieve this, your food is guaranteed to transport you to another level. Like wise this simple omelette took me years to master the art of cooking it right. I know it’s just an omelette but then I failed on every try with the right colour to the spongy texture and crisp cover its supposed to have. As always my try’s with error and practice made me perfect with this simple dish. The beauty of this dish lies in the fact that it can be cooked at the last minute. The crisp outer cover, spongy cooked egg with oozy brain pieces and bite of the onions is to die for. Make sure to have it hot and once in a blue moon as this fatty indigent culprit can easily shoot up your cholesterol level.  happy trial and error to all of you.

Ingredients

Ingredients
Quantity
Goats brain2 cleaned and each cut into 6 pieces
Eggs4
Small onions1 cup chopped
Green chillies 2 chopped
Coriander leaves few chopped
Cinnamon1/4 inch piece
Clove 1
Coriander powder2 pinches
Ginger garlic paste 1/8 teaspoon ( a pinch of each )
Red chilli powder 2 pinches
Turmeric powder 1/8 teaspoon
Salt to taste
Cracked pepper to taste
Ghee 5 tablespoons

Method 

  1. Powder the cinnamon and Clove together. Mix all the ingredients together. Heat a shallow kadai with 2 tablespoons of ghee.
  2. Pour half the mix (about two ladles) and cook to done on both sides for 2 minutes each in medium low heat to a golden yellow colour.serve hot

Kaima kanji

Share Button

image1

Preparation Time   : 20 minutes

Cooking Time        : 30 minutes

Serving                  : 10 members

Description

All the men at home like the kayalpattimam Kari kanji (mutton kanji ) that’s made with rice, veggies, dal and mutton. It is tasty and filling but we ladies like the light version of kanji with less masala and white in colour with lots of coconut milk to soothe the empty stomach as you break your fast. So the debate of which kanji is to be made while breaking the fast is a big problem every single day . My mother- in- law came up with a genius idea of making the kanji the way we ladies like it but with an addition of a light mince meat gravy to it. As we can not taste what we have cooked due to fasting, the million dollar question of how does it taste was revealed only the Iftar table. We ladies of the house ( my mother- in- law , my co- sister and myself ) with crossed fingers awaited the results and it was in deed a pleasant result with all the men whole heartedly giving a thumbs up. A big solution to the debate was born and the sensational recipe bursting with mouth watering flavours was added to our regular menu at home. This is how I started to learn little tips and tricks that are perfect for the home cooks like us to see food served to be celebrated and enjoyed with exotic blends to suit all kinds of tastes.

Ingredients for kanji

Ingredients
Quantity
broken basmati rice1 1/2 cup heaped
fenugreek seeds 1/4 teaspoon
cumin seeds 1/4 teaspoon
garlic flakes5
small onions6
green chillies 2slit
coriander leaves chopped1 teaspoon
mint leaves1/2 teaspoon
thick coconut milk 2 cups
water 8 cups
salt taste
ghee 1 table spoon mustard seeds 1/4 teaspoon
cinnamon 1
clove 1
cardamom 1
curry leaves4
ginger garlic paste 1/4 teaspoon

Ingredients for minced meat

Ingredients
Quantity
Minced meat 1/4 kg
Red chilli powder1 teaspoon
Tomato1 big chopped
Small onions one hand chopped
Ginger garlic paste1/2 teaspoon
Salt to taste

Method for kanji

  1. Pressure cook, washed rice, small onions, garlic flakes, green chillies, mint leaves, coriander leaves, fenugreek seeds, cumin seeds along with the water for 4 to 5 whistles.
  2. Add salt to taste and coconut milk. Mix well adjust the consistency to a flowing thick porridge adding water if needed. Bring to boil.

Method for minced meat

Mix all the ingredients mentioned for minced meat together. Add 1/4 cup water and pressure cook for one whistle in medium flame.

How to proceed

    1. Pour the cooked minced meat mixture into the boiled rice kanji. Mix well and adjust seasoning.
    2. Heat ghee in a pan, crackle the mustard seeds, add the cinnamon, clove, cardamom, cut small onions 4, curry leaves and ginger garlic paste.
    3. Fry to brown and crisp and pour over the kanji and mix well. Serve hot with samosa, cutlet and paruppu vadai.

Ela Ada

Share Button

image1

image2 (1)

image3

image4 (1)

image5 (1)

image6 (1)

image7

image8

image9

image1 (1)

Preparation Time    :  30 minutes

Cooking Time        : one hour + 20 minutes

Serving                  : 5 members

Description

I get nostalgic about this dish as it reminds me of my lazy summer vacations and days filled with delicious food. I don’t remember seeing an empty table at my grand parents place in Palghat at any point of time in my entire lif. Three meals with home made snack’s for tea in the evening was a must every day. The remaining time we had the snack’s container… You can call it a drum as it was so huge and all the salt water marinated pickles from raw mangoes, pineapples, cranberries ( kalakaaei)….uff my mouth is watering thinking about all that. My grand father was a true blue foodie and made sure we had brunches in between while watching a movie , a cricket match or wrestling match in the telly. All the while my grand father making his presence with us giving good company. Me being the only grand daughter then was not pampered at all as my grand parents were fed up of having four daughters in a row. So I grew up with a lot of boys around me but I had my aunts who were all just with in ten years elder than me. So they were like my cousins rather than my aunts. Ela Ada was one snack that was there on the table nearly every alternative day and sure was taken for granted then. Only after my marriage did I realise I have fallen hard for how these home style unique recipes… Legacy of my grand mother worth their weight in gold let me reconnect with my ravuthar heritage. Well… Dining trends come and go but the nostalgic unforgettable table experience sure does endure our loved ones too as we can’t get those memorable by gone good old days.

Ingredients for the filling

Ingredients
Quantity
Jackfruit Puree3 cups
Powdered Jaggery3 cups
Ghee1/2 cup
Salta pinch
Grated coconut 1/2 of a small coconut

Method

  1. Remove the fruit bulbs, deseed them. Pressure cook in a cooker  for 3 whistles, with about ½ cup water. Allow to cool naturally and grind to a smooth paste to get jackfruit purée.
  2. Heat a heavy bottomed Kadai add the jaggery. Dissolve the jaggery in about 1 cup of water.Strain and remove the impurities. Wash the kadai and pour back the jaggery syrup into the kadai.Let it boil on medium heat till one string consistency.
  3. Then add the pureed jackfruit and cook on medium heat, stirring once in a while to avoid burning.
  4. Do not cook on high flame.Once all the moisture is absorbed and the mixture starts thickening add the ghee little at a time or whenever you feel the mixture sticking to the bottom. Keep stirring and cooking till the mixture leaves the sides of the kadai.
  5. Add grated coconut and a pinch of salt. mix well. Take’s about one hours time to get to a gooey thick consistency. Remove from flame and let it cool naturally.

 Ingredients for the cover

Ingredients
Quantity
Rice flour2 cups
Salt a pinch
Hot water2 1/2 cups
Banana leaves 3 leaves cut into note book size
Coconut oil1 tablespoon

Method for cover

Mix rice flour, salt and hot water together to get a smooth, loose pliable  dough. Keep covered until needed to be used.

How to proceed

  1. Apply coconut oil over the note book size cut banana leaves. Place them over the stove top on medium heat so the leaves become soft and foldable.
  2. Take a lemon size ball of dough and knead well. Roll to a ball with no cracks. Place over the greased banana leaf. With the help of your greased Palm, press gently to flatten.
  3. Turn over and press again going all around the round disc making sure it’s equal and gets to a thin round disc. Place one tablespoon of cooled filling on one side of the circle.
  4. Fold over with the banana leaf to get a semi circle. Press the edges together over the top of the banana leafy gently but making sure it’s sealed well.
  5. Do the same with all the filling and cover dough. Steam in a idli vessel for 10-12 minutes and serve hot .

Notes

  1. Make sure to knead the dough well only then you get ela Ada with no cracks.
  2. You can use just jaggery and grated coconut alone for filling When pressed for time or crave this dish when jackfruits are not in season I do the cheats way of using ready made chakka  varatti  ( double horse brand ).
  3. Mix a little powdered jaggery and grated coconut to it and use.

Bread sweet

Share Button

image1

image3

image4

image5

image6

image7

image8

image9

image10


Preparation Time  : 30 minutes

Cooking Time       : 25 minutes

Serving                 : 6 members

Description

Every festive meal in a the ravuthar ( tamil – Muslim ) community is served with a sweet beside for sure. The sweet is mainly made with a fruit or a vegetable of choice and flavoured with cardamoms,ghee,sugar,nuts and raisins.We have white pumpkin sweet called mittah,tomato sweet,pineapple sweet,beetroot sweet,green mango sweet… The variety differs from each district through out Tamil Nadu. There is a vast regional difference in the food from North to South of the state.Only in the recent the mighty bread sweet has been added into most of the wedding menus. No idea as to from where this simple yet stunning crowd pleaser popped up out of a sudden but has become very popular over taking the older variations. The first thing to be served on to the plantain leaves at weddings are the sweets as a symbol of serving a helping of happiness to begin with.Where we start with the sweet waiting for the remaining main course ( what else other than biriyani in a Muslim wedding ) to be served.I remember,my friend meera’s mother in law sharing the recipe with me once but never did try it as at home the old school menu is welcomed un-changed always.My gal ANISHA got the recipe from me once and she told me all were wooed by the bread sweet.Now my turn… Did make it once when I had to send a packed lunch to my friends house.Gave a spoon full to hubby dear and he liked it too. From then on its a regular at home with sparks of conversation flying over and over again debating about the votes for the new in bread sweet or the old school ones. My vote goes to all the sweets as each sweet has it’s simplicity of its own.Ubiquitous at most ravuthar festive occasions, this simple sweet is relished for its pleasurable dining experience and perfect for large gatherings. You don’t need to be an expert cook to make this sweet. You just have to want to do it  Like I do always..

Ingredient

Ingredient
Quantity
Bread loaf 1 cut into cubes with the crust
Sugar3 cups
Water1 1/2 cup
Un sweetned Kova100 grams
Cashew nuts 3 teaspoons chopped
Raisins 3 teaspoons
Almonds 5 soaked in hot water for a minute , peeled and cut into thin strips
Pistachios10 soaked in hot water for a minute , peeled and cut into think strips
Salt a pinch
Saffron a few strands soaked in 2 tablespoons of warm milk
Ghee4 tablespoons
Oil to deep fry

Method

  1. Boil sugar and water together for four to five minutes. Mixing well,until sugar dissolves and gets a bit thick.
  2. heat oil to deep fry in medium heat. Deep fry the beard pieces in three batches to a deep golden brown colour.
  3. Make sure not to burn them. Drain over absorbent paper. Cool completely. Blitz the crisp bread pieces to a coarse powder and set aside.
  4. Heat ghee,add cashew nuts. Once they start to get to a light golden colour add the raisins and sauté,lowering the heat.
  5. Top with the coarse bread powder and sugar syrup. Mix well to combine and get to a gooey mass.
  6. Add the Un sweetened kova to little water and dilute it. Pour over the bread and mix well.Bring to boil until you get a mushy mass of semi thick sweet in your pan.
  7. Top with a pinch of salt,almond strips,pistachio strips ( I have added cucumber seeds and chirongi nuts-saara paruppu in tamil, which is optional) and saffron soaked in milk. Mix well. Taste and adjust.
  8. serve at room temperature garnished with more almond strips and pistachio strips.

Notes

  1. Make sure to deep fry the bread cubes in medium high flame for a few seconds to a deep golden colour.
  2. As the bread cubes tend to burn easily, in case you are using sweet kova,add less sugar syrup.
  3. I always dilute the kova with little water and pour over the bread as it’s easier to mix with no lumps.

Pilachappam

Share Button

IMG_1529

Preparation Time : 20 minutes

Cooking Time : 1-2 minutes for each pilachappam

Serving : 3-4 members

Description

Every time there’s a wedding in the family , we get to know new set of people , new customs , new slang of the same language that you talk every day to food habits for sure . I make sure to ask and take note of the new authentic recipes from the newly wedded bride after a while when I get comfortable with the individual. This recipe is one such that I took note from hubby dear’s first cousin sister fathima , who was married off to a place called trichy in Tamil Nadu . Her in- laws native is a coastal Muslim village called amma pattinam where fish is the most popular main dish . I did take note of a few more recipes from her and was amazed that the use of tomatoes are nil in all the recipes but each recipe does have a natural tang to it some how . The magic of authentic recipes sure does amaze you like always . This dish is basically a prawn pan cake that is had as it is with no dips or curries , mainly for breakfast . These time – tested, treasured  family recipes are an introduction to the distinctive traditional cuisine from our ancestors that gives us a opportunity to learn and try these age old ancient recipes that have been handed  down from one generation to the next . I hope that this cherished family recipe of hubby dear’s  cousin will continue to be enjoyed by you all and the future generations.

Ingredients 

Ingredients
Quantity
Small prawns cleaned1/4 kg
Rice flour / iddiappam flour1 cup
Eggs3
Thick coconut milk first extract1 cup
Thin coconut milk second extract1 cup
Small onions1/4 kg chopped
Green chilly2 chopped
Saltto taste
Curry leaves6 chopped
Cumin powder1 1/2 tablespoons
Fennel seed powder / perumjeeragam powder1 1/2 tablespoons
Turmeric powder 1/4 teaspoon
Soda salta pinch
Ghee or oillittle to drizzle around each pilachappam

Method 

  1. Mix small onions , green chillies , curry leaves , cleaned prawns , cumin powder , fennel powder , salt to taste and thin coconut milk second extract together .
  2. Bring to boil and cook the prawns to well done and gets to a gravy consistency masala . Remove from heat and cool completely. Mix rice flour , eggs , thick coconut milk first extract , soda salt , cooled prawn gravy together to get a dosa batter consistency batter .
  3. Taste and adjust seasoning .  Heat a griddle/ dosa pan ( I used my non – stick small pancake griddle ) grease with ghee or oil . Pour around one big ladle of batter over the hot griddle to a small round shape .
  4. Drizzle ghee or oil around and cook until you see bubbles on top .Takes around 50 seconds to a minute . Turn over and cook for 30 seconds . Remove and serve hot as it is with no dips or curries .

Thenga choru / coconut milk rice

Share Button

image1

Preparation Time : 20 minutes

Cooking Time : 25-30 minutes

Serving : 2 members

Description

The first food item other than biriyani and ghee rice that comes to any true blue  ravuthar house hold menu  to entertain guests and loved ones would be thenga choru which is a rice based dish where rice is cooked in coconut milk and flavoured with spices  by tempering in coconut oil . This aromatic rice is served with a non vegetarian curry made with mutton , chicken , fish or dried fish . Each house hold has its own variation of this same recipe . This recipe is from my mothers place , that is very different from the thenga choru made at my in – laws place . This dish sure does smell of deliciousness when ever served the same way and travels across the dining table which lingers with in you until the next time . All my memories of this dish is having it with my aunts and cousins , where from spicy stories to sweet small bites from the past to plans of the future were discussed bringing every one and everything together through food . This has now led me to celebrate ravuthar communities   rich cultural and food in equal measures.

Ingredients

Ingredients
Quantity
Rice ( par boiled rice / pulungal arisi)200 grams
Cinnamon1 inch piece
Cloves4
Fenugreek seeds1/4 teaspoon
Green chillies2 slit
Small onions one hand chopped
Garlic 4 chopped + 4 whole peeled
Water200 ml
Coconut milk300 ml
Saltto taste
Coconut oil 5 tablespoons

Method

  1. Hear coconut oil in a pressure cooker . Add cinnamon , cloves , fenugreek seeds , small onion chopped and whole peeled garlic . Sauté until the fenugreek seeds crackle and the onions get to a pale pink colour .
  2. pour water , coconut milk , salt and green chillies . Do not let the coconut milk and water boil but once it’s hot enough and heated up add washed rice .
  3. Mix well .  close the pressure cooker and cook for 3 whistle. Switch off the heat and wait for the whistle sound to subside . Open and serve hot with any non – vegetarian curry .

Notes

Here are a few non – vegetarian curries that this thenga choru can be served with . Click the links below for the recipes .

Salna ( can be made with mutton also )

http://www.sautefrynbake.com/category/authentic-dishes/chicken-salna/

Kaaei  charu

http://www.sautefrynbake.com/category/authentic-dishes/kaaei-charu/

Red hot fish curry

http://www.sautefrynbake.com/category/non-vegetarian/red-hot-fish-curry/

This is a chutney that is served only with the mutton and chicken curries . Helps you gobble up more rice for sure .

Puli chutney

http://www.sautefrynbake.com/category/authentic-dishes/puli-chutney/


Kappa

Share Button

image (1)

Preparation Time : 15 minutes

Cooking Time : 20-25 minutes

Serving : 5-6 members

Description

Growing up as a kid with mallu’s ( malayalis ) all around me from my best friends , teachers , class mates to every possible person around me being a Mallu some how or the other . My fascination towards gods own country mesmerised me for sure . Though a Tamil speaking native from Palghat in Kerala , I always loved to say that I was a Malyali ( not sure why , crazy me ) and the food habits also did tie my tongue down . Hearing all the mallu’s go gha gha about the kappa and fish curries that they have at home . I used to drool and imagine it as food of heaven. The first kappa and fish curry I ever tasted was at my teacher ( she taught my son too :-)) ) mrs Betty Francis home in arcaud . The kappa was kind of whole in pieces and I know that’s how it’s supposed to be as well but at home hubby dear likes soft gooey stuff so my version is always a bit mushy , fluffy , light and succulent than the original form . I can eat this either hot or cold at any time of the day with a satisfying plop on my plate . ( greedy , greedy , shameless me :-)) . Once in a while it’s nice to stick to old fashioned dining and open our bellies to a smorgasbord of food experience isn’t it ??
Ingredients

Ingredients
Quantity
Tapiocaa / Kappa1 Kg
Gridded coconut1 cup
Green chillies 5
Cumin seeds 1 teaspoon
Curry leaves1 spring
Sliced shallots / small onion4
Garlic 8 flakes
Turmeric powder 1/2 teaspoon
Water 1 Litter
Saltto taste

Method

  1. Clean and cut the tapioca into small pieces each of size around 1 1/2 inch and wash it thoroughly in water.
  2. Pressure cook the tapioca for 1 whistle time. Turn of the flame after its getting cooked, remove the water and keep it aside.
  3. Grind the coconut , green chillies, cumin seeds, curry leaves, shallots, garlic and turmeric powder lightly in a mixer to a coarse paste .
  4. Add the ground coarse paste into the cooker along with tapioca, add water, close the lid and cook it for 3-5 whistles (depending on the hardness of the tapioca)
  5. Lower the flame, and open the cooker after its cooled. Mix it thoroughly into a semisolid consistency .
  6. ( I mashed it a bit more than required as at home all love the dish this way ) Serve it hot with red hot fish curry .

Thakkadi

Share Button

image1

image2

image3

image4

image5

image6

image7

image8

image9

image10

Preparation Time : 50 minutes
Cooking Time      : 50 minutes
Serving                :  6-8 members

Description

Thakkadi is an authentic dish very own to the Tamil Muslims of southern districts of tamilnadu in and around tirunelveli district and Sri Lanka . I am not sure if this dish migrated from sir Lanka to India or vies –  ver – sa . I was introduced to this dish as a newly wedded bride and ever since loved this dish to the core . We do have a similar dish in the northern districts of tamilnadu called thikkadi that is an influence from the Kerala pedi and tastes similar to the pedi as well . The basic concept of both the dishes are the same that you basically are cooking rice flour dumplings in a mutton stew but with a slight difference of the texture of rice flour used and the size of the dumplings . Here we use coarse rice flour powder fried to a golden brown colour along with grated coconut , flavoured with the mutton curry and other few more ingredients leaving way to high lighten  the flavour of the rice dumplings even more . This rustic looking dish does take time to master the art of cooking and understanding like for a biriyani . I myself took a few years to get the exact loop of the authentic way to cook this dish that head towards to finding new cheats ways to replicate this dish . But what ever said and done the pains taking authentic way is the winner finally . This dish is mainly done to impress the newly wedded groom and sent over to married daughters homes as a gift and a mark of love . I was super excited about this dish and went raving about it when at mom’s place to all my cousins and aunts . When I mentioned the word ” THAKKADI ” my aunt , shaji Akka ( mom’s third sister ) just closed my mouth . I didn’t know what was happening around . Her two boys started laughing out loudly . My aunt then told me that this word is used to abuse people in her hubby’s ( Salem ) place . I felt so embarrassed and made sure never ever to utter this word any where in and around Salam there after . Wired that a dish which is addressed to be a sign of love here at my place is also addressed as an abusive word in another part of the world .

Ingredients for the mutton salna

Ingredients
Quantity
mutton 1 kg
onion2 sliced
small onion1 hand cut into 1/2
curry leaves 1 strand
cinnamon1 inch piece 2
cloves4
cardamom2
ginger garlic paste 1 tablespoon each
tomatoes 3 big chopped
green chillies6 slit
Turmeric powder 1/4 teaspoon
coriander leaves2 tablespoons chopped
saltto taste
poppy seeds1/4 cup ground to a paste adding 1 teaspoon of fennel seedsseeds
Coriander powder 5 tablespoons heaped
Red chilli powde3 1/2 tablespoons
Cumin seeds powder2 tablespoons
Fennel seeds powder2 tablespoons
curry masala powder 6 tablespoons heaped ground to a smooth paste ( can just add the powder as it is but my mother - in - law grinds it and adds more taste ) powder as it is but my mother - in - law grinds it and adds more taste )
coconut 1/2 grated and ground to a smooth paste
thick coconut milk1/2 cup

Method

  1. Grind turmeric powder , coriander powder , red chilli powder , cumin seed powder and fennel seed powder with little water to a smooth paste . The curry masala is ready .
  2. Heat 100 ml of oil ( gingely oil or vegetable oil . Gingely oil is used traditionally ) in a pressure cooker .
  3. Add cinnamon , cloves , cardamom , small onions and curry leaves . Once they splutter and onions are brown , top with ginger garlic paste and fry to crisp .
  4. Add meat , onions , tomatoes , green chillies , coriander leaves chopped and salt to taste . Sauté for 5 minutes till colour of the meat changes and lets out some juice .
  5. Add the poppy seed paste and sauté for another 5 minutes . Top with the masala  paste and sauté for 3 minutes .
  6. Pour water to cover the meat about 2 inch above in the pressure cooker . close with lid and pressure cook for 3 whistles or until meat is cooked  to 3/4 . Add coconut paste and coconut milk .
  7. Bring to boil and simmer for 5 minutes until oil floats on top .
  8. Top with chopped coriander leaves  and set aside .

Ingredients  For the rice dumplings

Ingredients
Quantity
Coarse Rice flour fried with coconut thangatta maavu as known authentically ( can use puttu flour instead )authentically ( can use puttu flour instead ) 3 cups heaped
Small onion 1 1/2 hand full chopped 
Green chillies3 chopped
Coriander leaves1 tablespoon chopped
Curry leaves1 tablespoon chopped
Grated coconut1/2 hand full
Salt to taste

Method for rice dumplings

  1.  Mix the coarse rice flour with all the other ingredients and mix well .  To this mixture add 2 cups of clear salna ( mutton curry –  as it adds more flavour to the rice dumplings ) and 1/2 cup of lukewarm water little by little and knead till you get a soft dough.
  2. Let it rest for 5 minutes. make balls out of the dough to a big lemon size .  Set aside one ball ( or a little crumbs from rolled balls would do ) . Check the Mutton salna if it has enough water to cook the rice dumplings .
  3. Add more luck warm water  if needed  and transfer to a large wide mouthed heavy vessel with lid . Check seasoning and adjust . Bring to boil and reduce the flame to medium but the salna must be boiling in medium flame .
  4. Now is the perfect time to add the rice flour dumplings into it. Add the dumplings in batches of 8 at a time . Do not stir for 3 minutes . Once the dumplings are cooked it starts to float on top .then stir very gently with the help of a wooden spoon.
  5. Follow with another batch of 8 dumplings and proceed as before . Be patient and cook the entire rice dumplings in batches of 8 . Make sure not to reduce or increase the flame at any time when cooking the rice balls .
  6. The temperature has to be same at all times . Takes about 20-25 minutes in total . Remove one rice dumpling , cut into half and check if it’s cooked . The rice dumpling stays intact as a ball and has a smooth even finish on the cut side of the dumpling .
  7. When tasted there is no raw flour taste . Now crumble one reserved raw rice ball all around to help thicken the runny loose mutton salna . Allow to simmer for about 5-8 minutes to thicken .
  8. The mutton also must be cooked as well by now . Finally turn off the heat and serve hot with a garnish of coriander leaves .

Notes

1. can steam the dumplings in the microwave for a minute and then drop into the mutton  salna and cook further . By this way being a beginner you feel more confident that the rice dumplings don’t break and dissolve at any cost . I used to do so in the initial tries of making takkadi  but these rice dumplings are not as soft as the directly boiled in the salna ones .
2. always cook the rice dumplings in a wide mouthed heavy bottom vessel with the temperature at the same level from start to finish before the last 5 minutes . I usually use my electric rice cooker to do this step as it helps to maintain the temperature in the same level but once cooked do not keep in ” keep warm ” as the rice dumplings tend to break . You have to remove the inside vessel of the electric rice cooker and set aside until needed to be served .
3. make the mutton salna a day ahead so that you just have to prepare the rice dumplings  , cook and serve . Which makes things much more easier .
4. best had for breakfast as it’s such a heavy dish and advisable to skip lunch there after :-)) .
5. The mutton salna should be a watery loose mass of gravy so that the rice flour dumplings can cook and float in the watery gravy .
6. while checking for seasoning before dropping the dumplings , feel free to add more masala powders to taste as well .
7. a very tricky dish to master but never ever loose hope . Keep trying to master the art and understand the dish .
8. An easy fool proof flour mix . Rice flour ( iddiappam flour ) – 1/2 cup : puttu flour – 1 cup mixed gives a hassle free rice dumplings for beginners but the texture does differ from the authentic coarse grainy thakkadi ( rice flour dumplings ) .