10 minute itsy bitsy clear soup
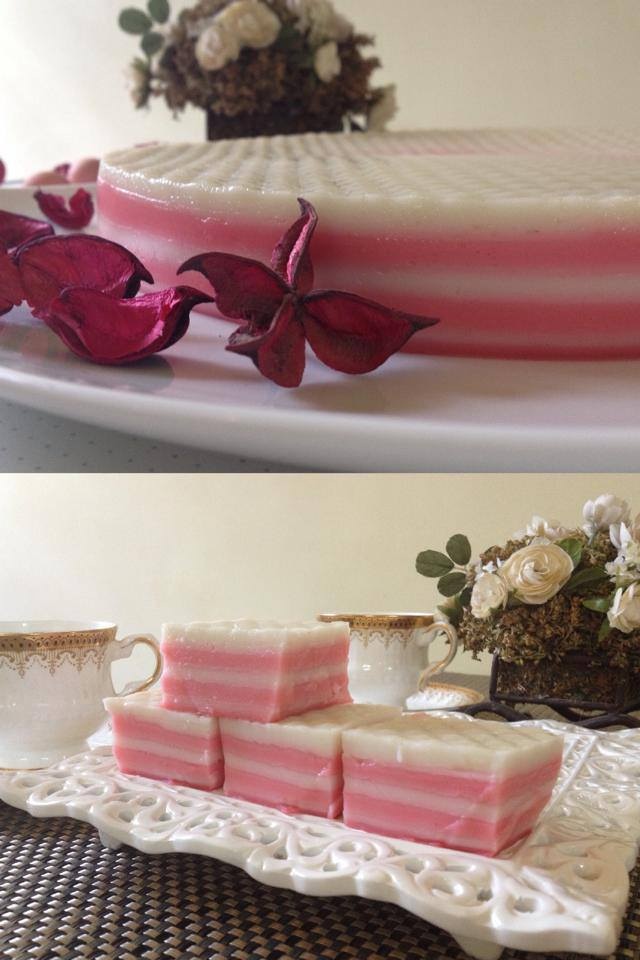
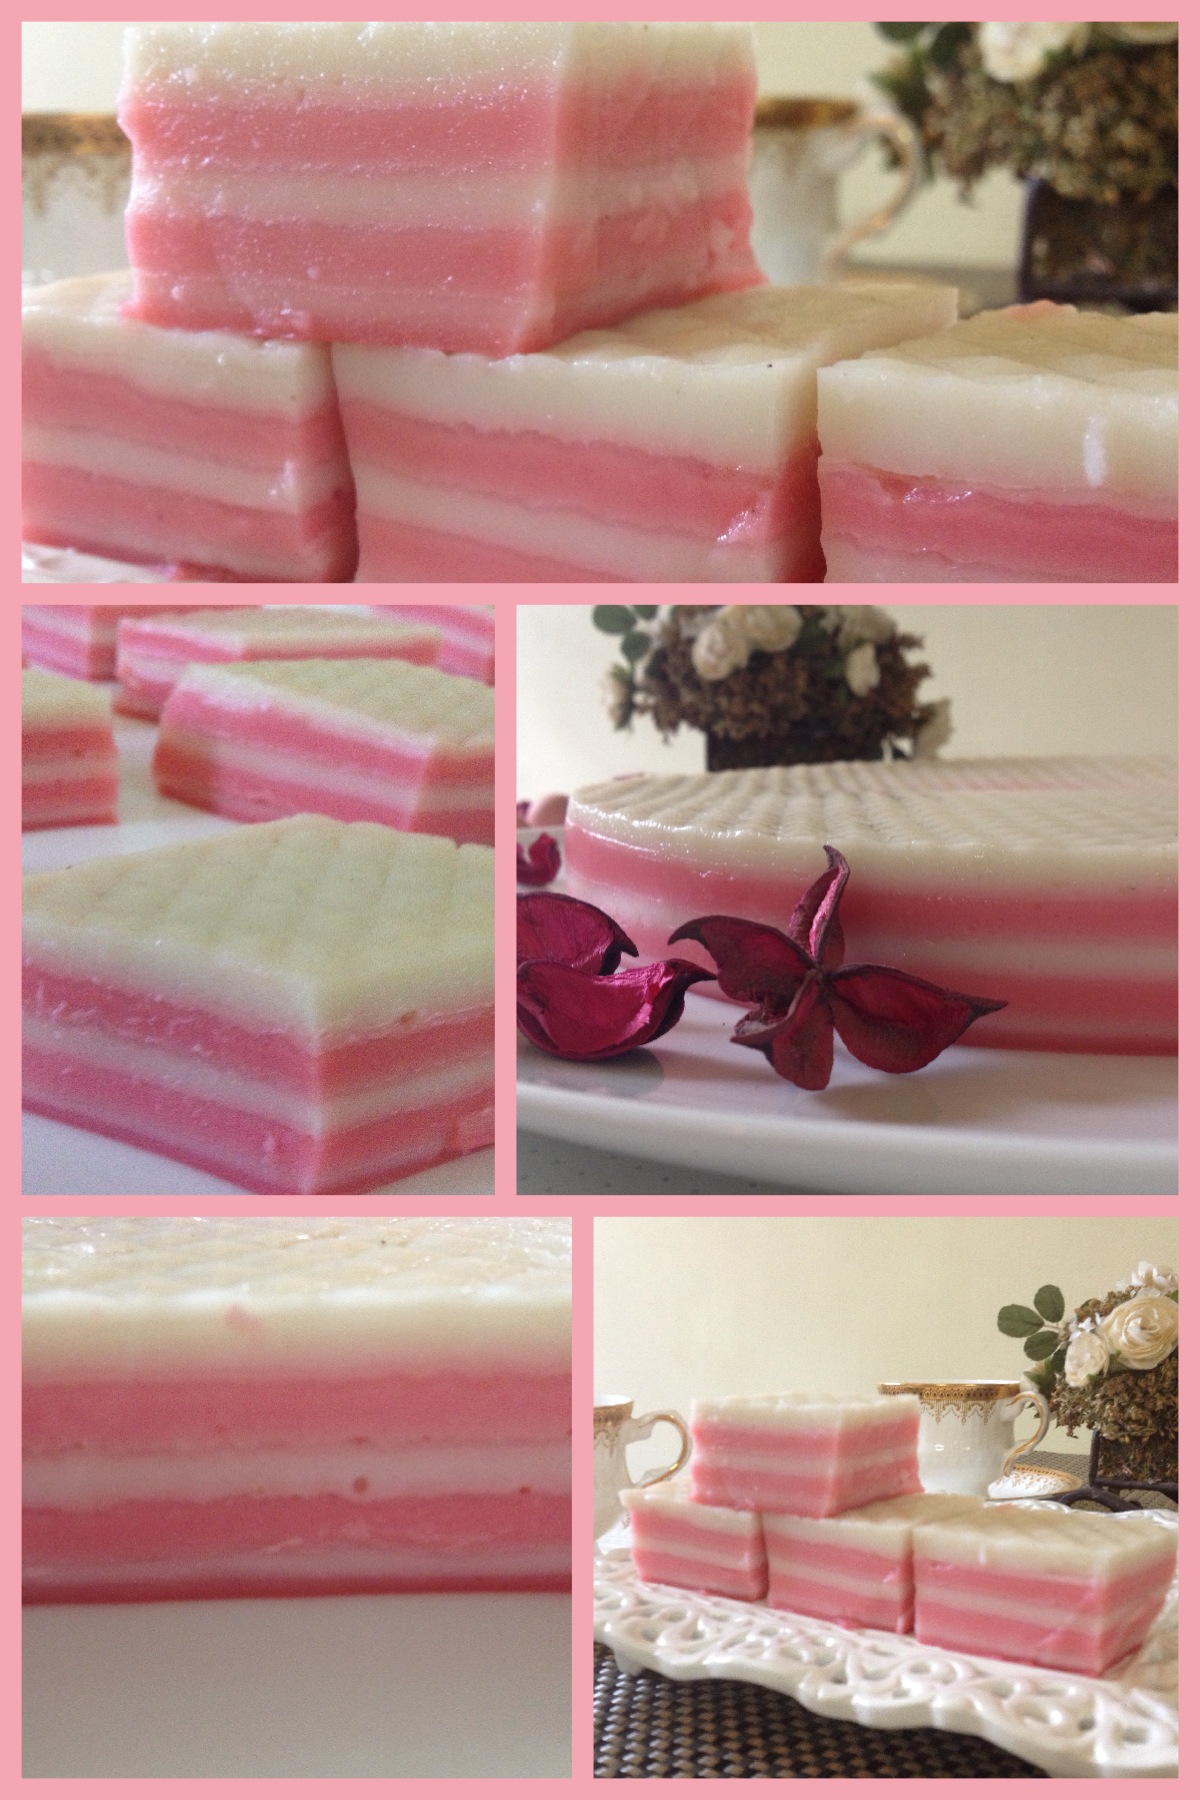
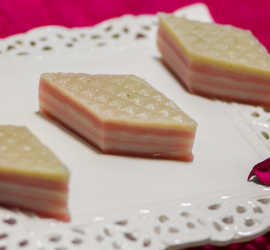
3 Coloured stacked up sandwich
5 Minute chocolate mug cake
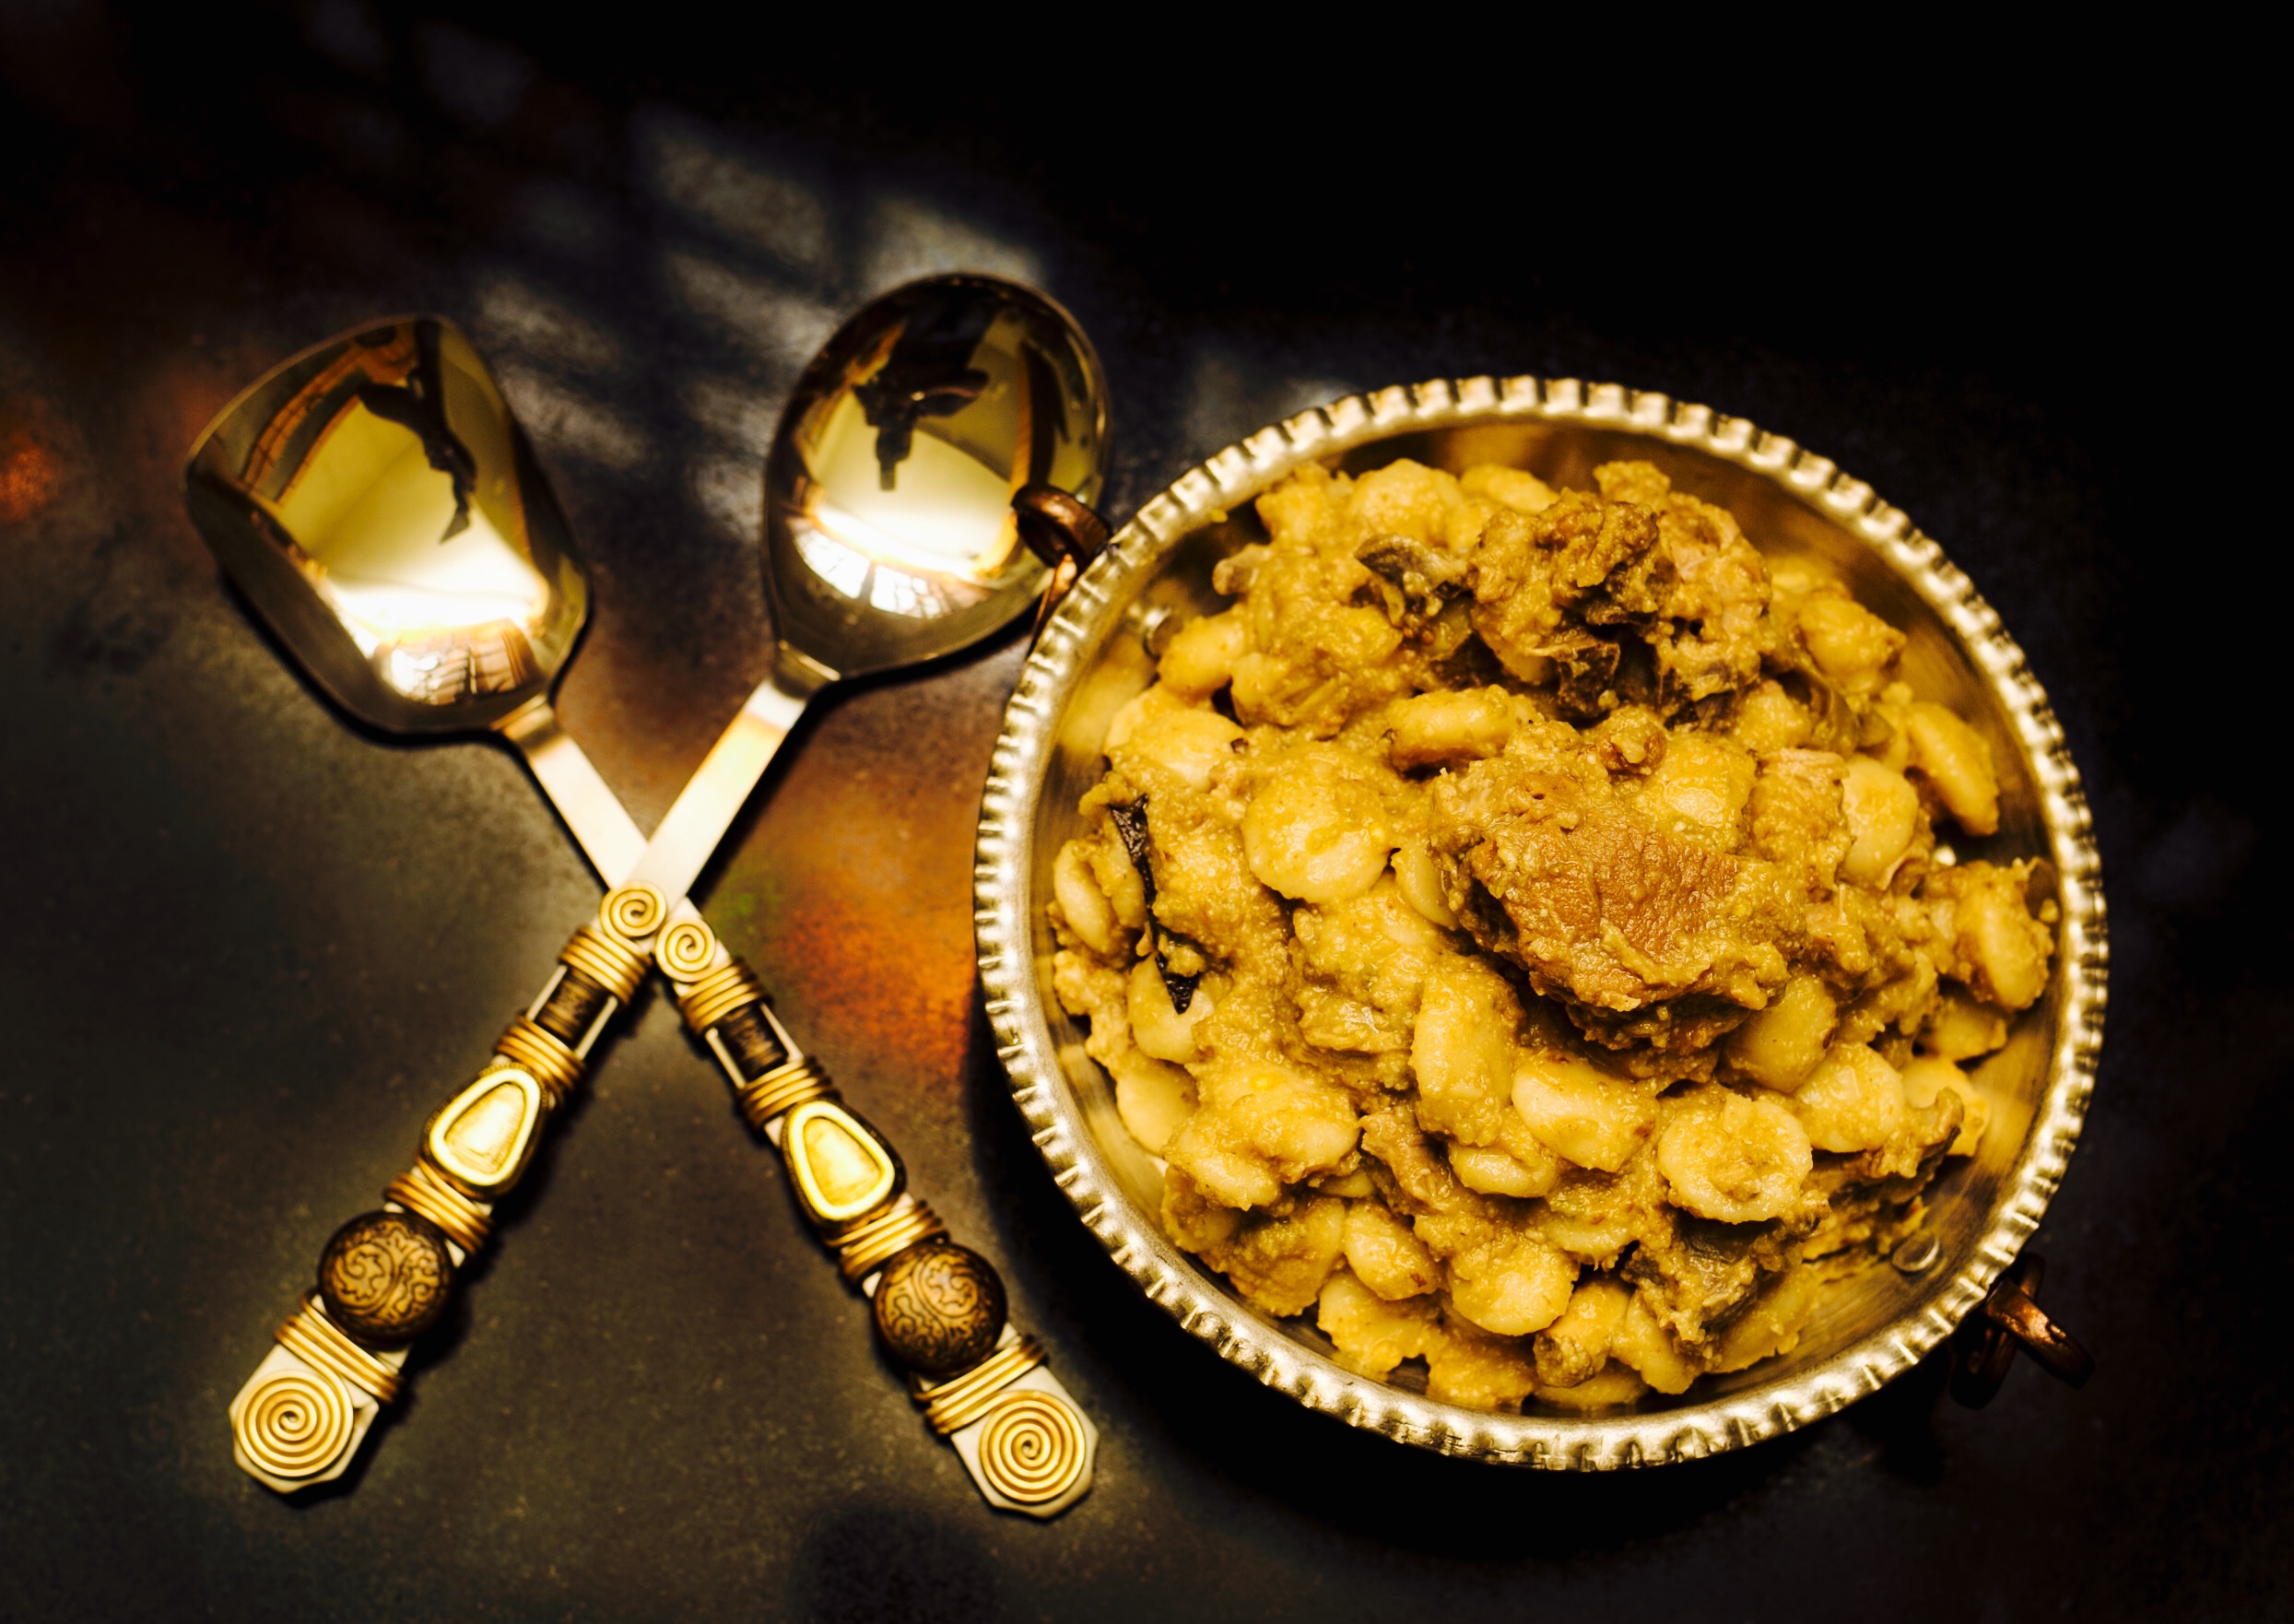
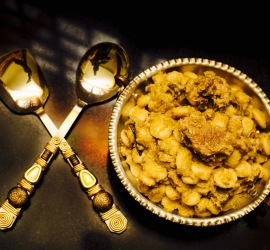
Aattu kudal varatiyathu ( goat tripe / intestine )
Apple and Banana Flitters with Home made Custard
Apple capsicum and peanut pesto salad
Baked oats with fruits and nuts
Baked peanut butter chicken strips
Baked stuffed cabbage rolls
Baked sweet potato wedges
Baked sweet Romano peppers filled with cheesy prawns
Banana flower vada / vaala poo Vadai
Barbecued Chicken kandhari
Beet's and avocado salad with orange dressing
beetroot halwa white chocolate truffles
Bengali style fish cooked in plantain leaves
Bread pita pockets with lamb filling
Broccoli crapes with green spinach sauce
Butter milk fruit panna cotta
Butter scotch peach praline
Capsicum edged chicken Cutlets
Cauliflower shezwan stir fry
Chapati layered casserole
Cheesy curry leaf chicken strips
Cheesy whole stuffed gobi with butter masala
Chellu podium chakka kotta charu
Chicken and mushroom in cashewnut sauce
Chicken balls gravy with mint flavoured rice
Chicken cheese baked casserole
Chicken cheese kola urundai biriyani
chicken coriander seek kebab
Chicken stuffed and baked in potato shells
Chicken stuffed pleated doughnuts
chicken stuffed wheat semolina Dumplings with tangy n sweet orange sauce
Chinese - kerala chicken fry
Chinese egg plant stir fry
Chocolate and Coconut Balls
Chocolate cup cakes with chocolate ganache frosting
Chocolate Ferrero Rocher Cake
Chocolate hazelnut brownies
Chocolate Hazelnut Custard
Coconut milk semolina sweet balls
Coconutty crispy prawn fry
Coconutty Jack fruit pudding
Cornflakes crusted chocolate pudding
Cornflakes crusted fish fry
Cornflakes Crusted Prawns
Creamy Fruity - veggie salad
Crispy bread salad dressed with orange and maple syrup
Cucumber relish salad with cheese dressing
Cup cakes with Raspberry Icing
Curried fish and quiona stuffed capsicum
Dahi - cheese ghost kebab
Deconstructed egg Pudding
Deconstructed trifle pudding
Dominos style filled garlic bread
Drinking chocolate pudding
Dulce de leche cream cheese brownies
Easy chocolate biscuit pudding
edible carrot halwa cups served with ice cream and gulab jamoon
Egg stuffed chicken kofta curry
Eggless cashew nut cookies
Ennai kovakkai / tindora / ivy guard /
Eraal karuvadu edichathu / dry prawn powder
Five minute microwave eggless chocolate chip brownies
Foxtail millet pesarattu/ Thinai pesarattu
Fresh fenugreek greens gota
Fresh green pepper corns fish fry
Fruit Ball Custard Pudding
Ghee escort full chicken roast
Golden sesame fried chicken
Grilled semolina cakes with mushroom ragout
Guava and mango layered pudding
Healthy paneer filled dumplings
Herb crusted vegetable sandwich
Herbed cheese Chicken Kiev's
Herbed chicken quesadilla
Herby green vegetable stir fry
Home made cheesy baked barittos with salsa and green peas guacamole.
Home made instant caramel sauce
Home made nachos served with Italian sauce and topping
Home made pesto sauce tossed with spaghetti
Home made pesto wheat veggie Katti roll
Home style mutton pepper fry
Hot and sweet barbecue chicken with veggies
Hyderabad mutton dum biriyani
Indo - Chinese batter fried chicken
Italian cheesy rice balls
Italian meat balls with spaghetti
Italian panco crusted chicken fries
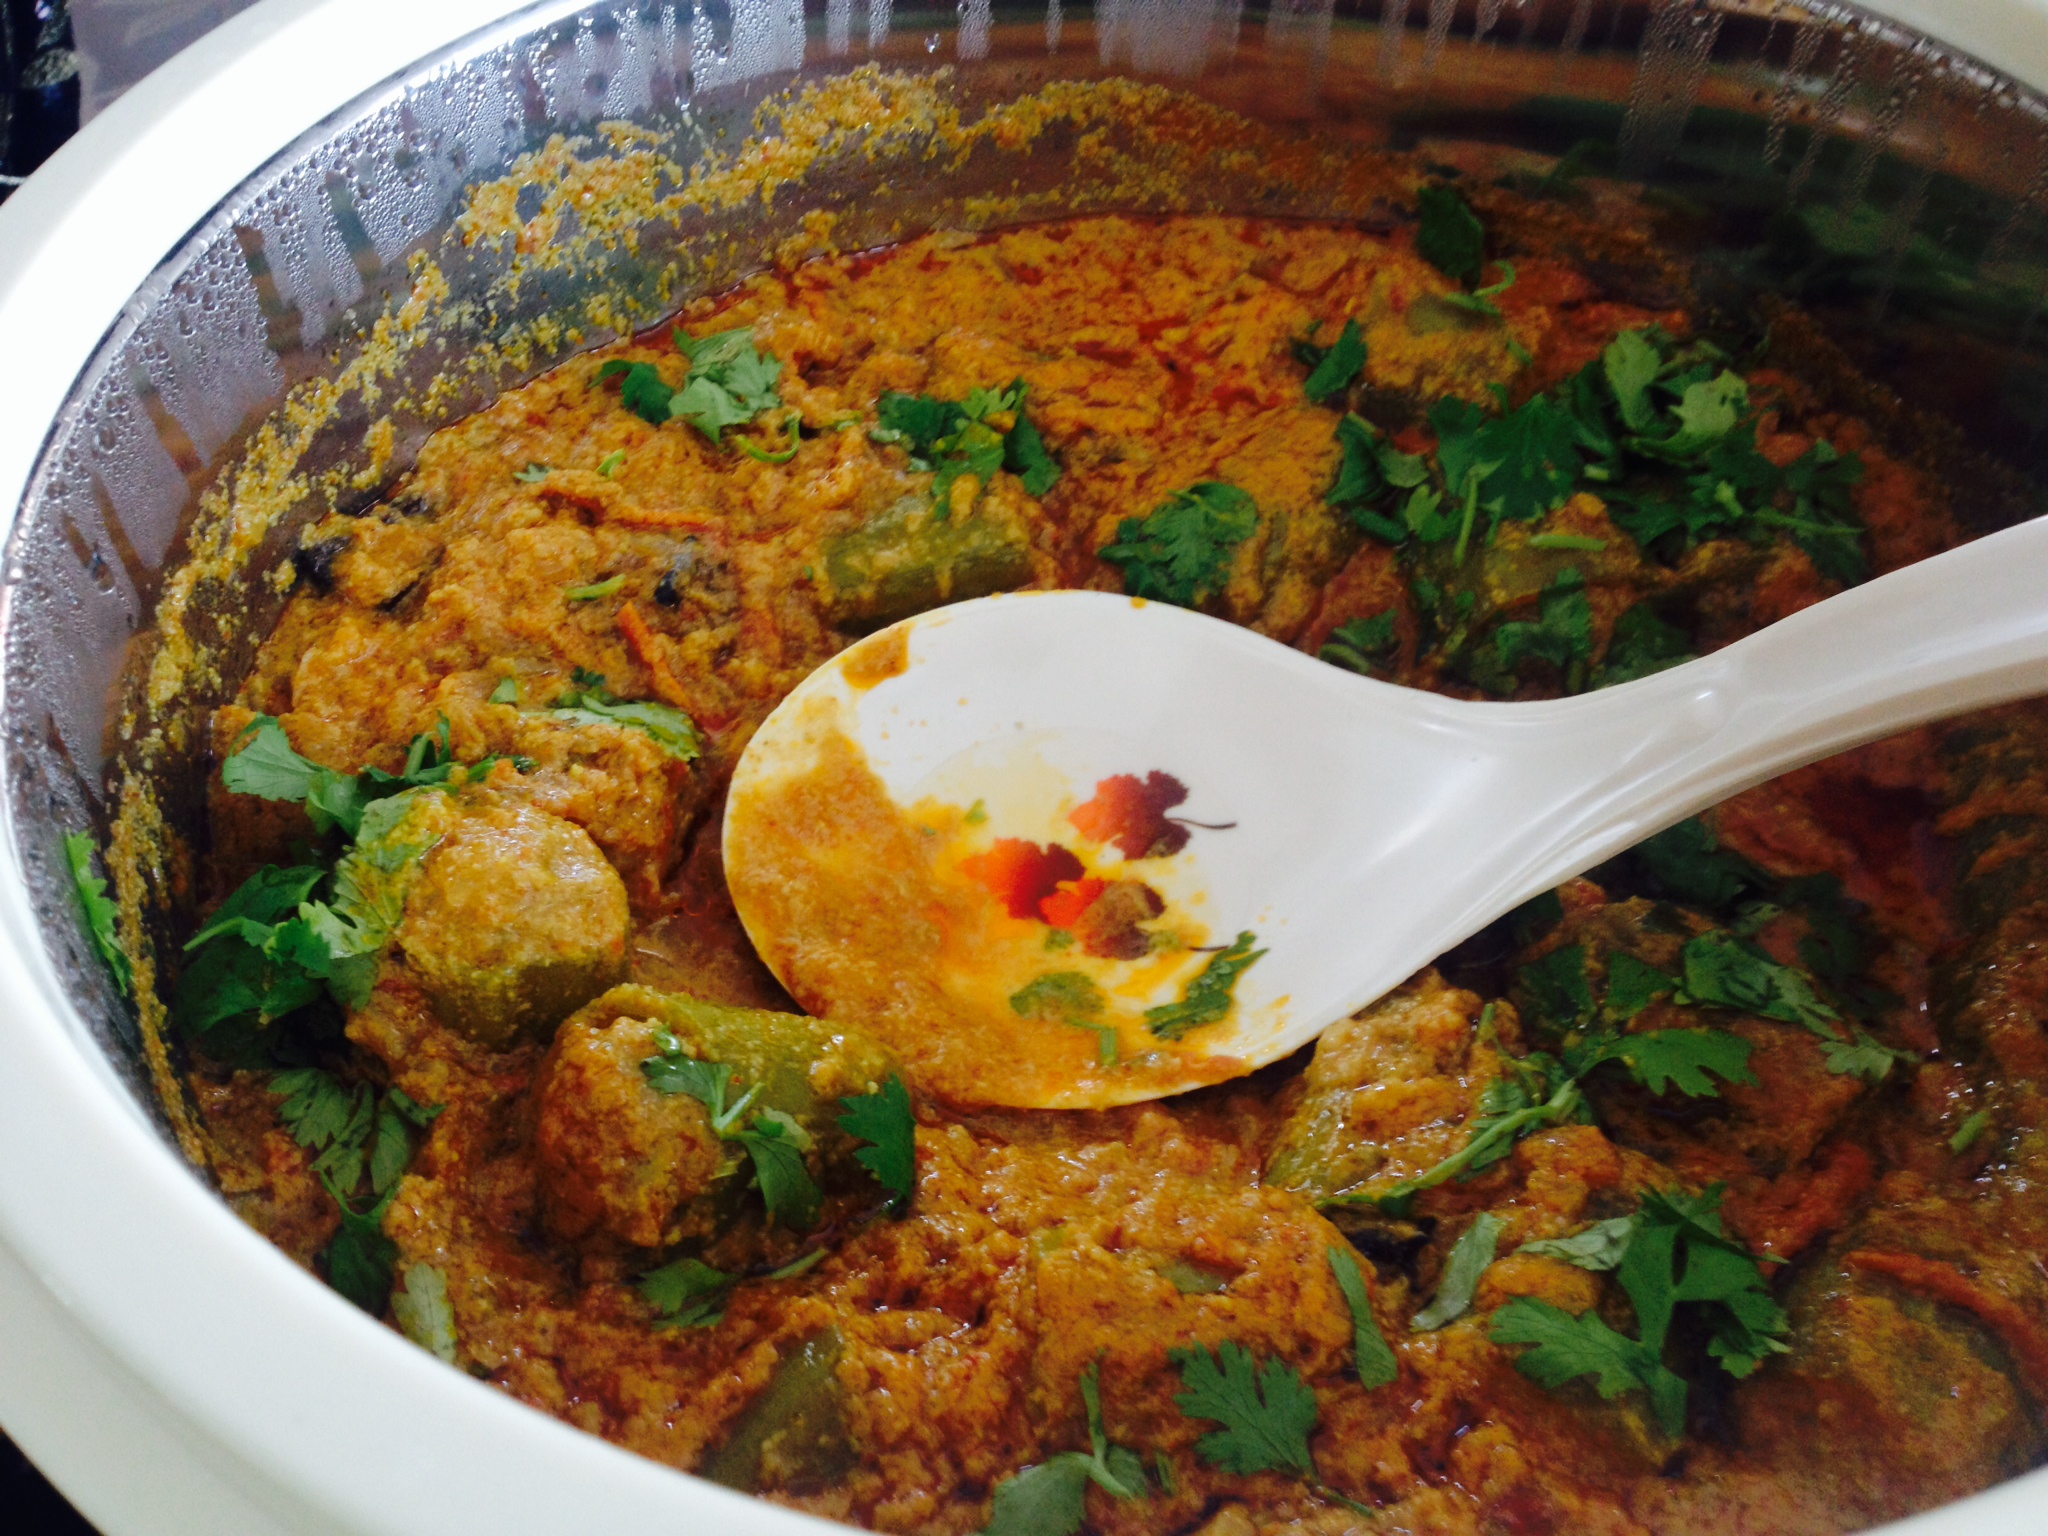
Kaima urundai kozlambhu / meat ball curry
Kaima urundai nonbhu kanji
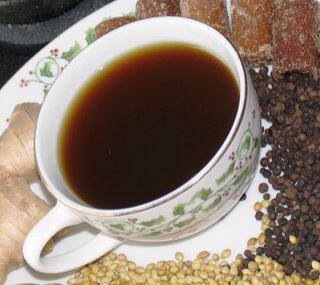
Karupetti kaapi / palm jaggery coffee
Katta metta podi kuli paniyaram's
Kerala Christian Fish Curry
Kethandapatti mambhazla kuzhambu
Kheema kofta stuffed snake guard gravy
Koi po / steamed Malaysian buns
Kolhapuri vegetable masala
kooni-eraal-niracha-kanava-thiyal
Layered tender coconut and pomegranate wave
Left over mixed mini idli
Lemon parfait with strawberry sauce
Lucknowy shahi vegetable korma
Luqaimat- Arabic sweet dumplings
Malaysian black rice pudding with coconut milk
Mangalore green peas masala
Marathi Besan Flour Cakes
Mars cornflakes crackle bites
Masala potatoes stuffed mirchi wada bajji
Mecedonia pineapple salad
Meringue with fresh fruits and musk melon sauce
Microwave banana cake pudding with caramel sauce
Microwave sticky dates pudding with brown sugar sauce
Millet rice balls with avocado aioli dressing
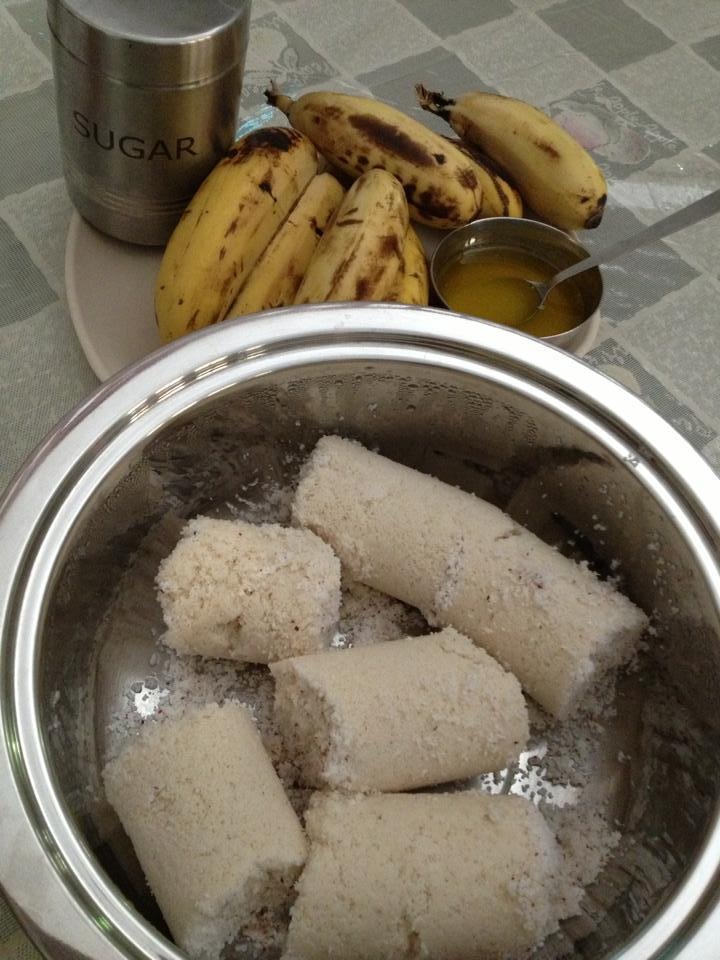
Multigrain healthy mix iddiappam's
Mushroom stuffed fig - kum kum
Mutton keema with spinach
No butter Black Forest cake
No egg cornflakes cookies
Nutella apple cream cheese crapes
Nutella sandwich curl buns
Orange cake with honey glaze
Oreo and peanut butter brownie cakes
Oven Fried Deviled Chicken
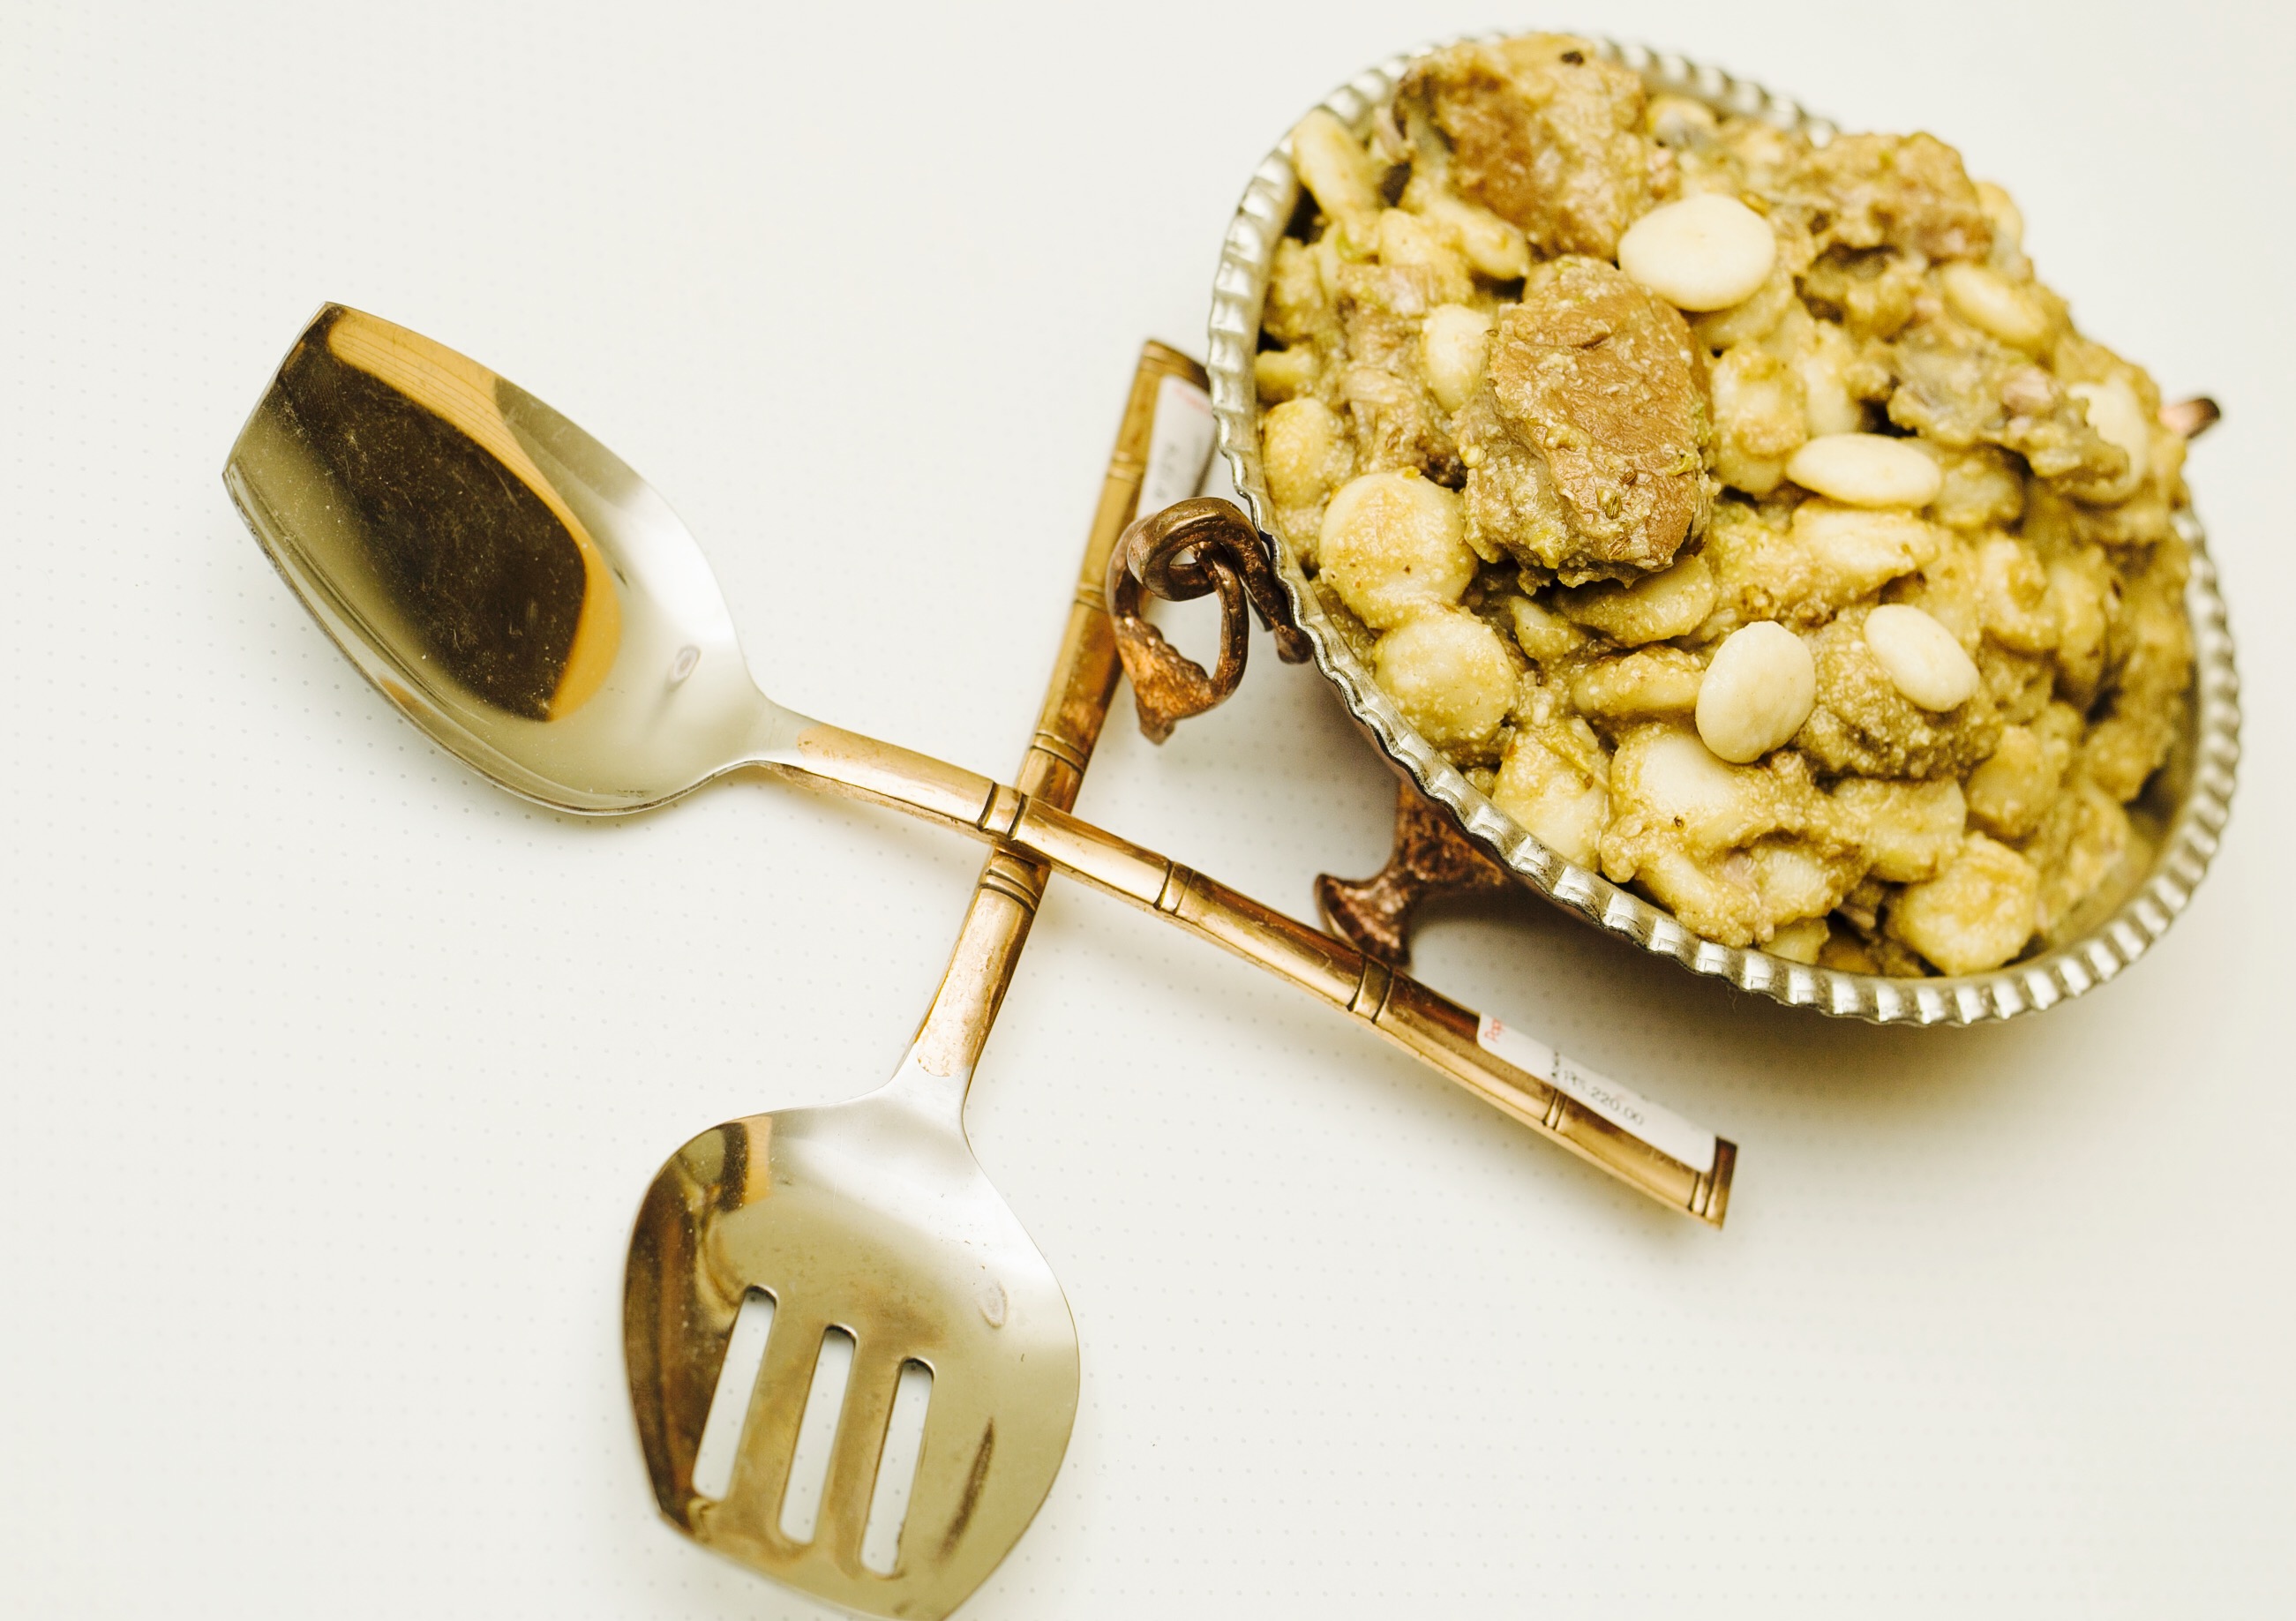
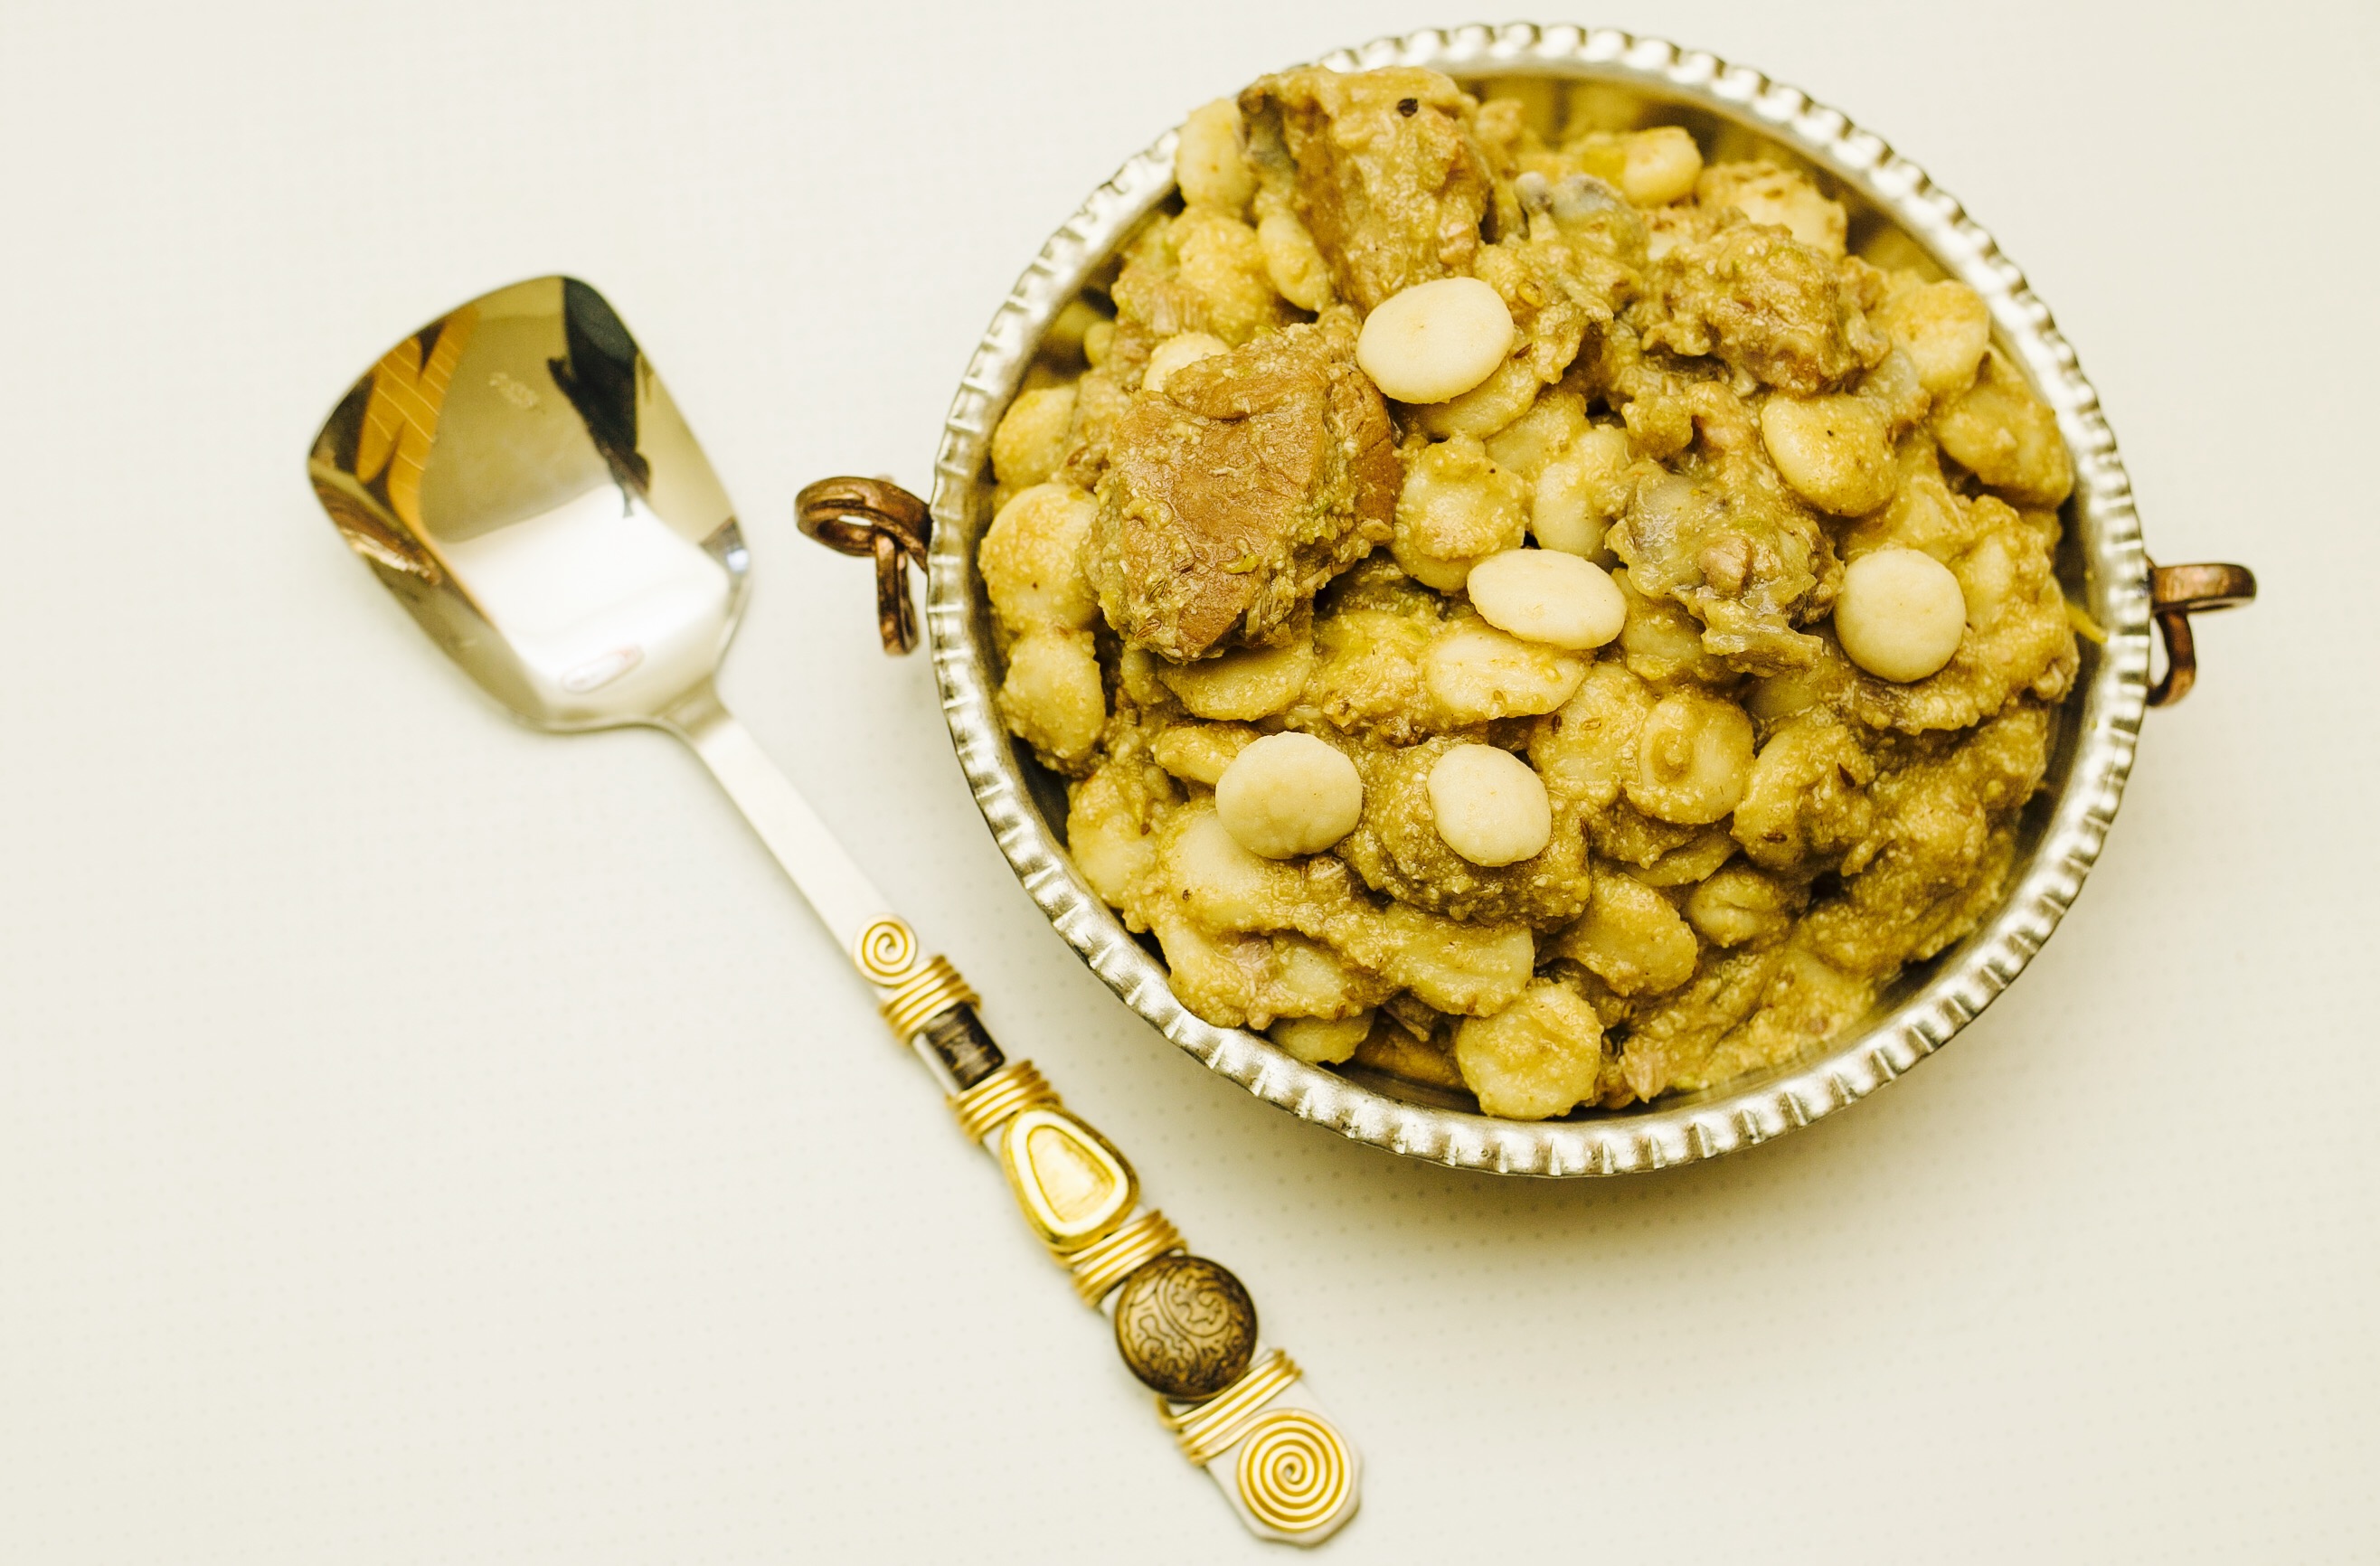
Pachai avaraiyum kaimavum
Panang kilanzgu kara podi
Panner lemon curd pudding
Paruppu urundai kuzhambhu
Peanut butter cup cakes with cherry preserve filling and peanut butter cream
Pear cake flavoured with ginger
Pichupotta Milagu kozli roast
Pineapple caramel pudding
Poached pears in red wine
Pondicherry style chicken gravy
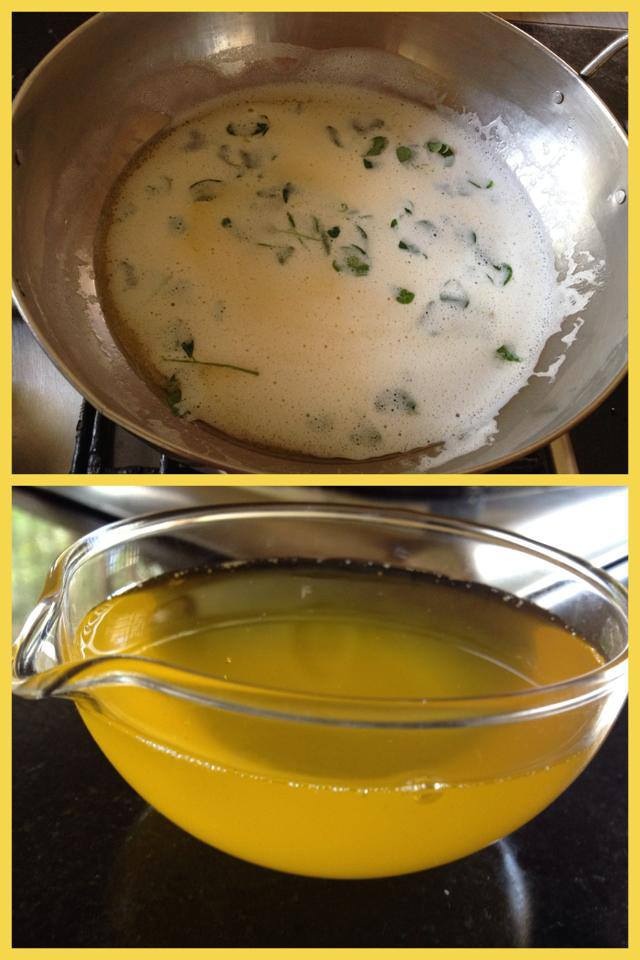
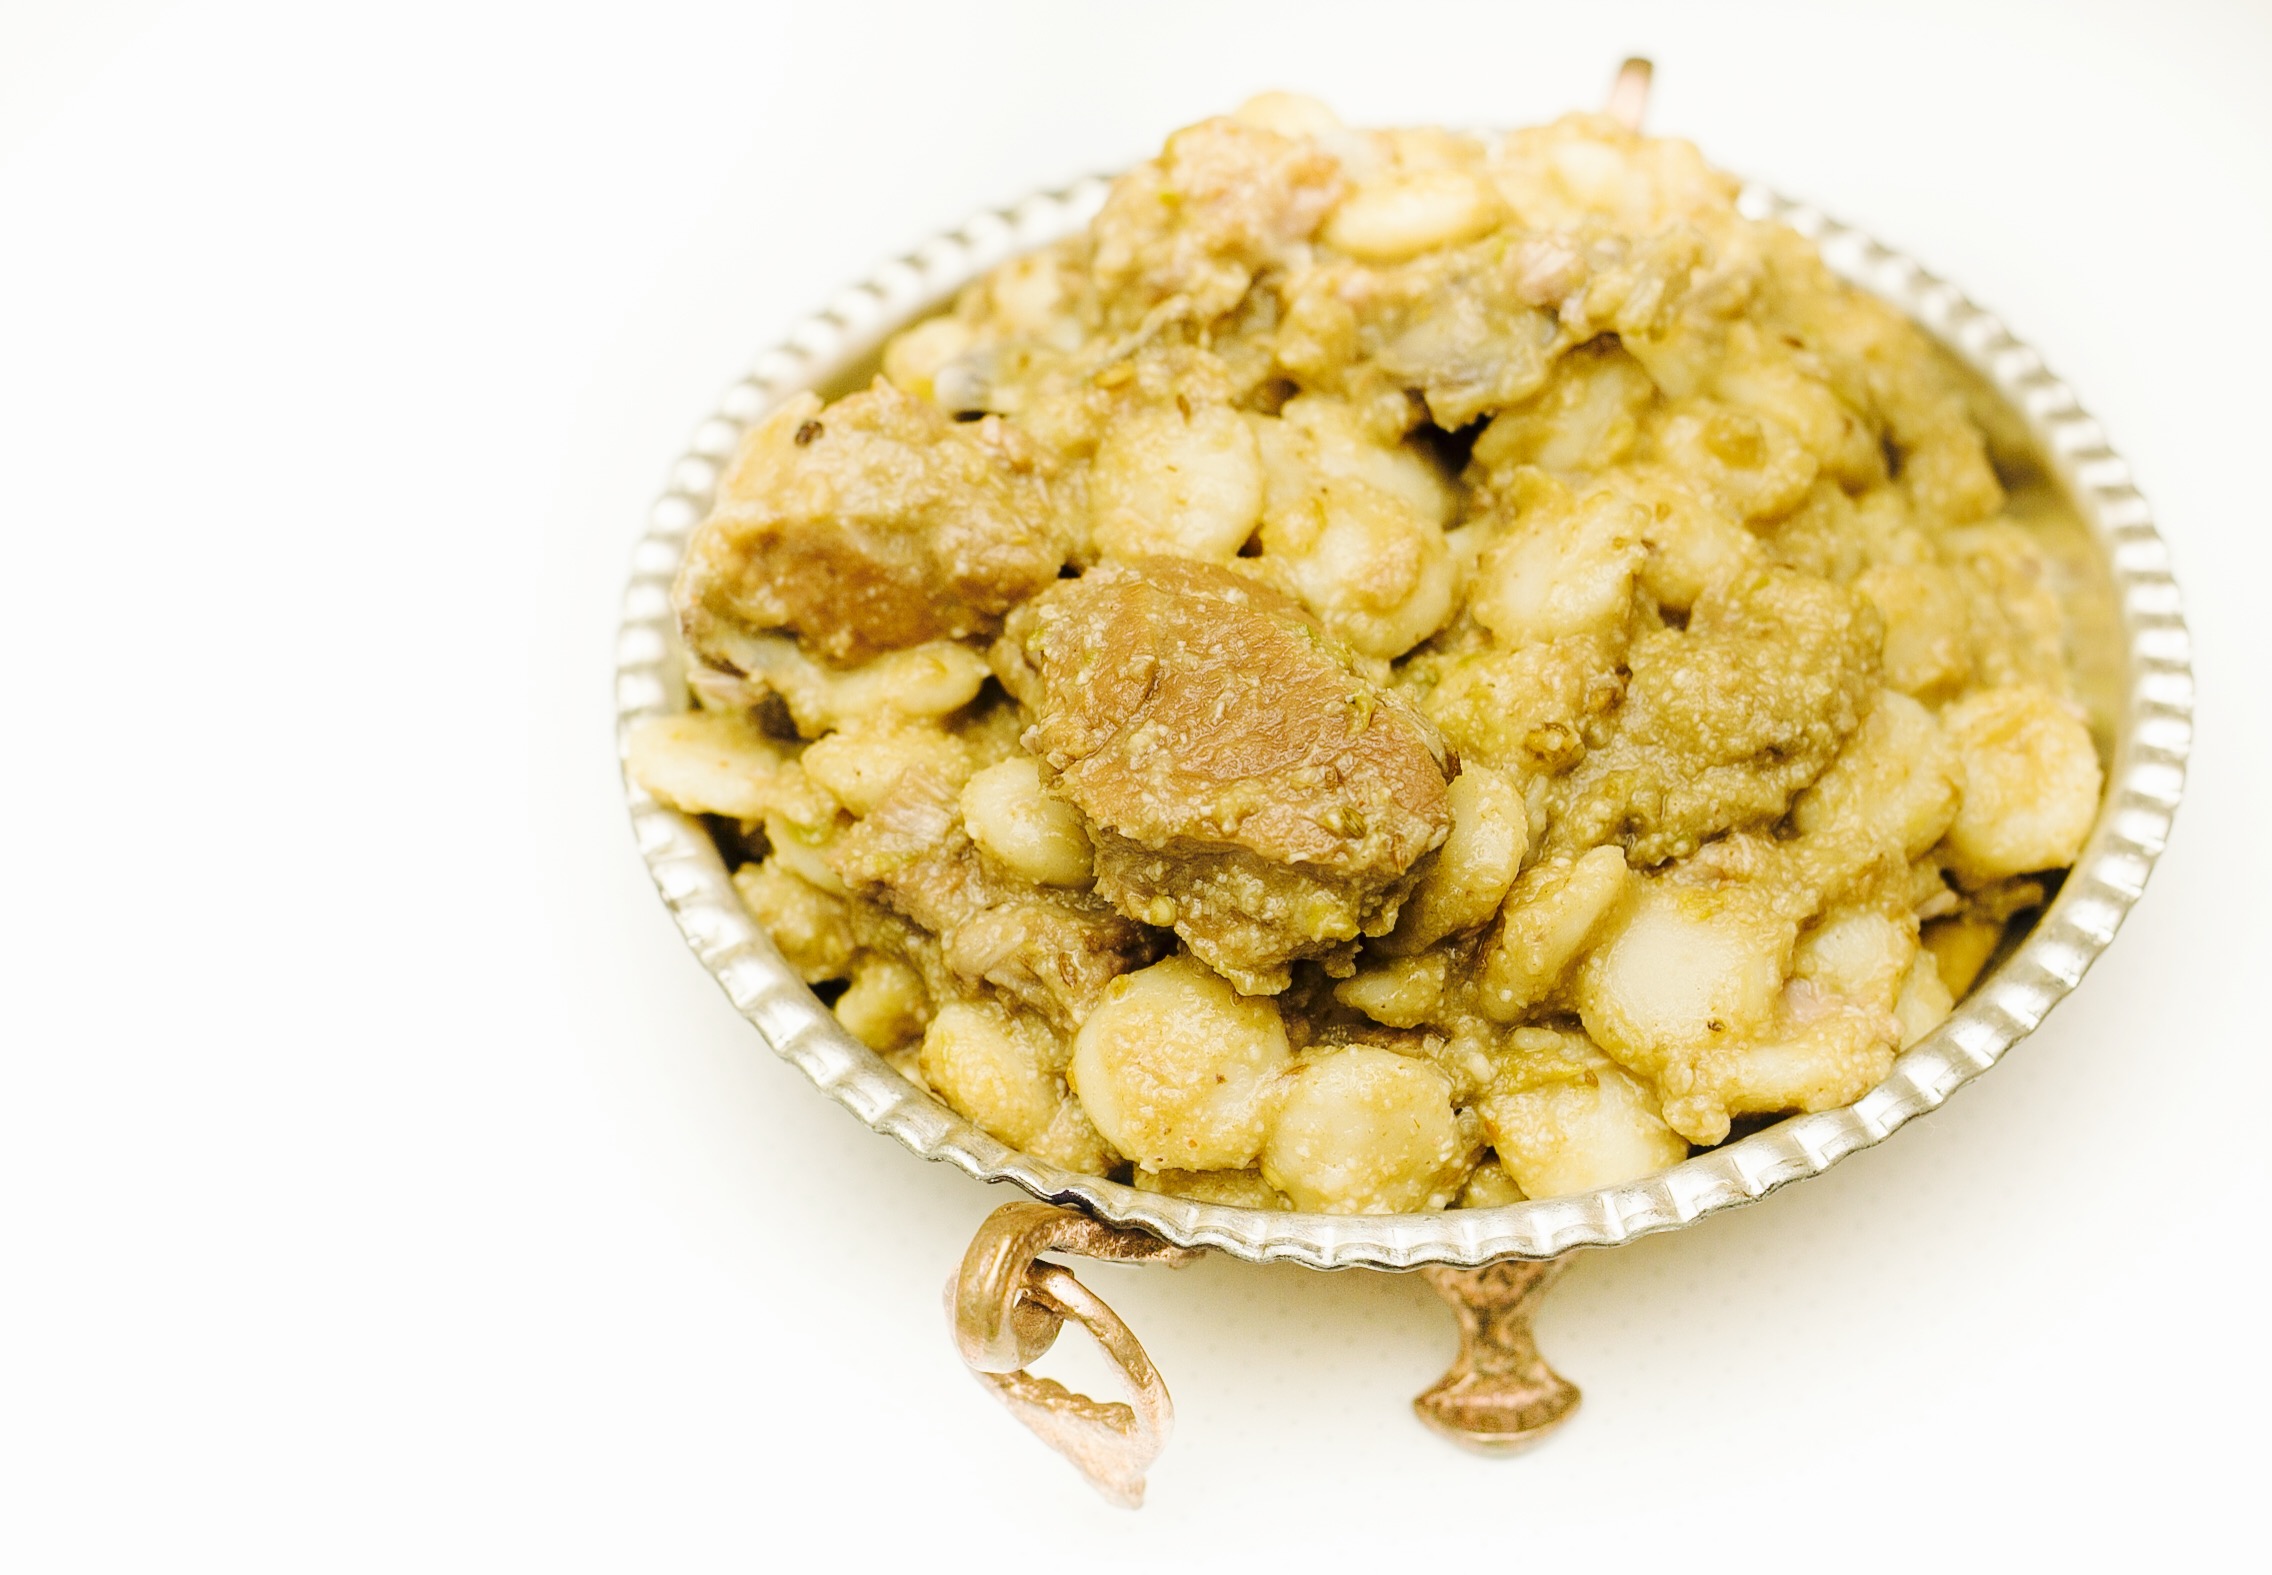
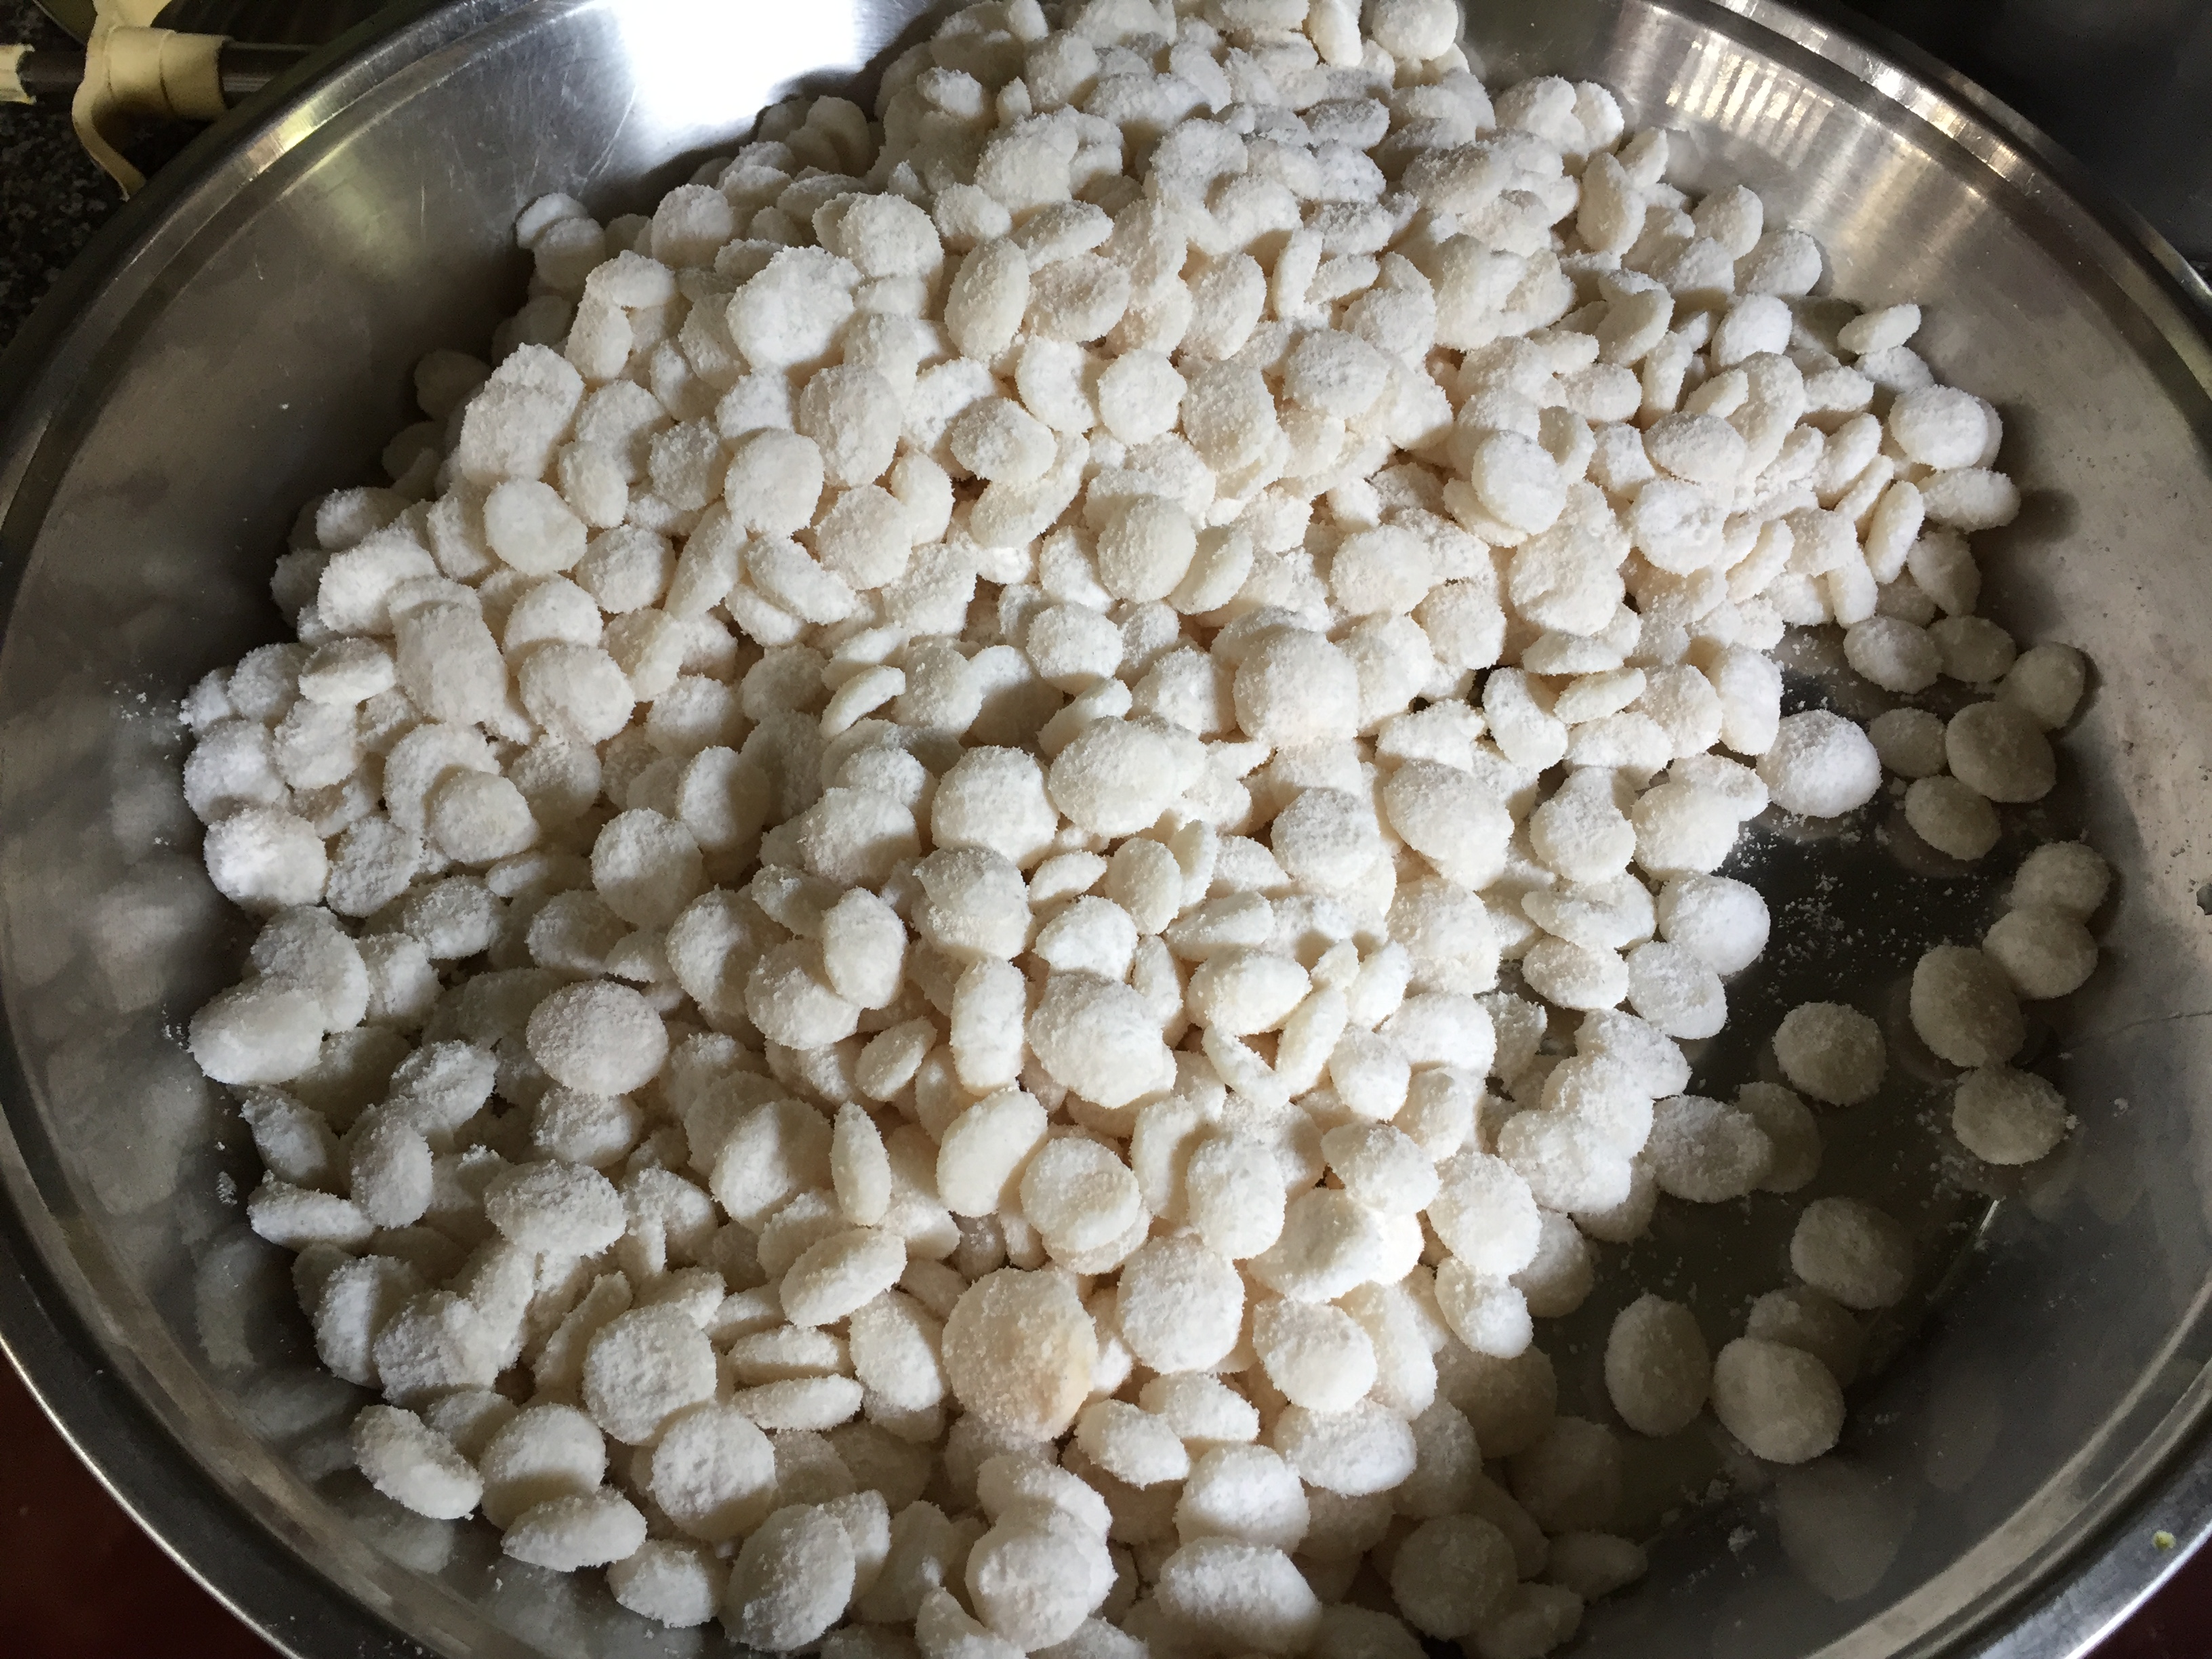
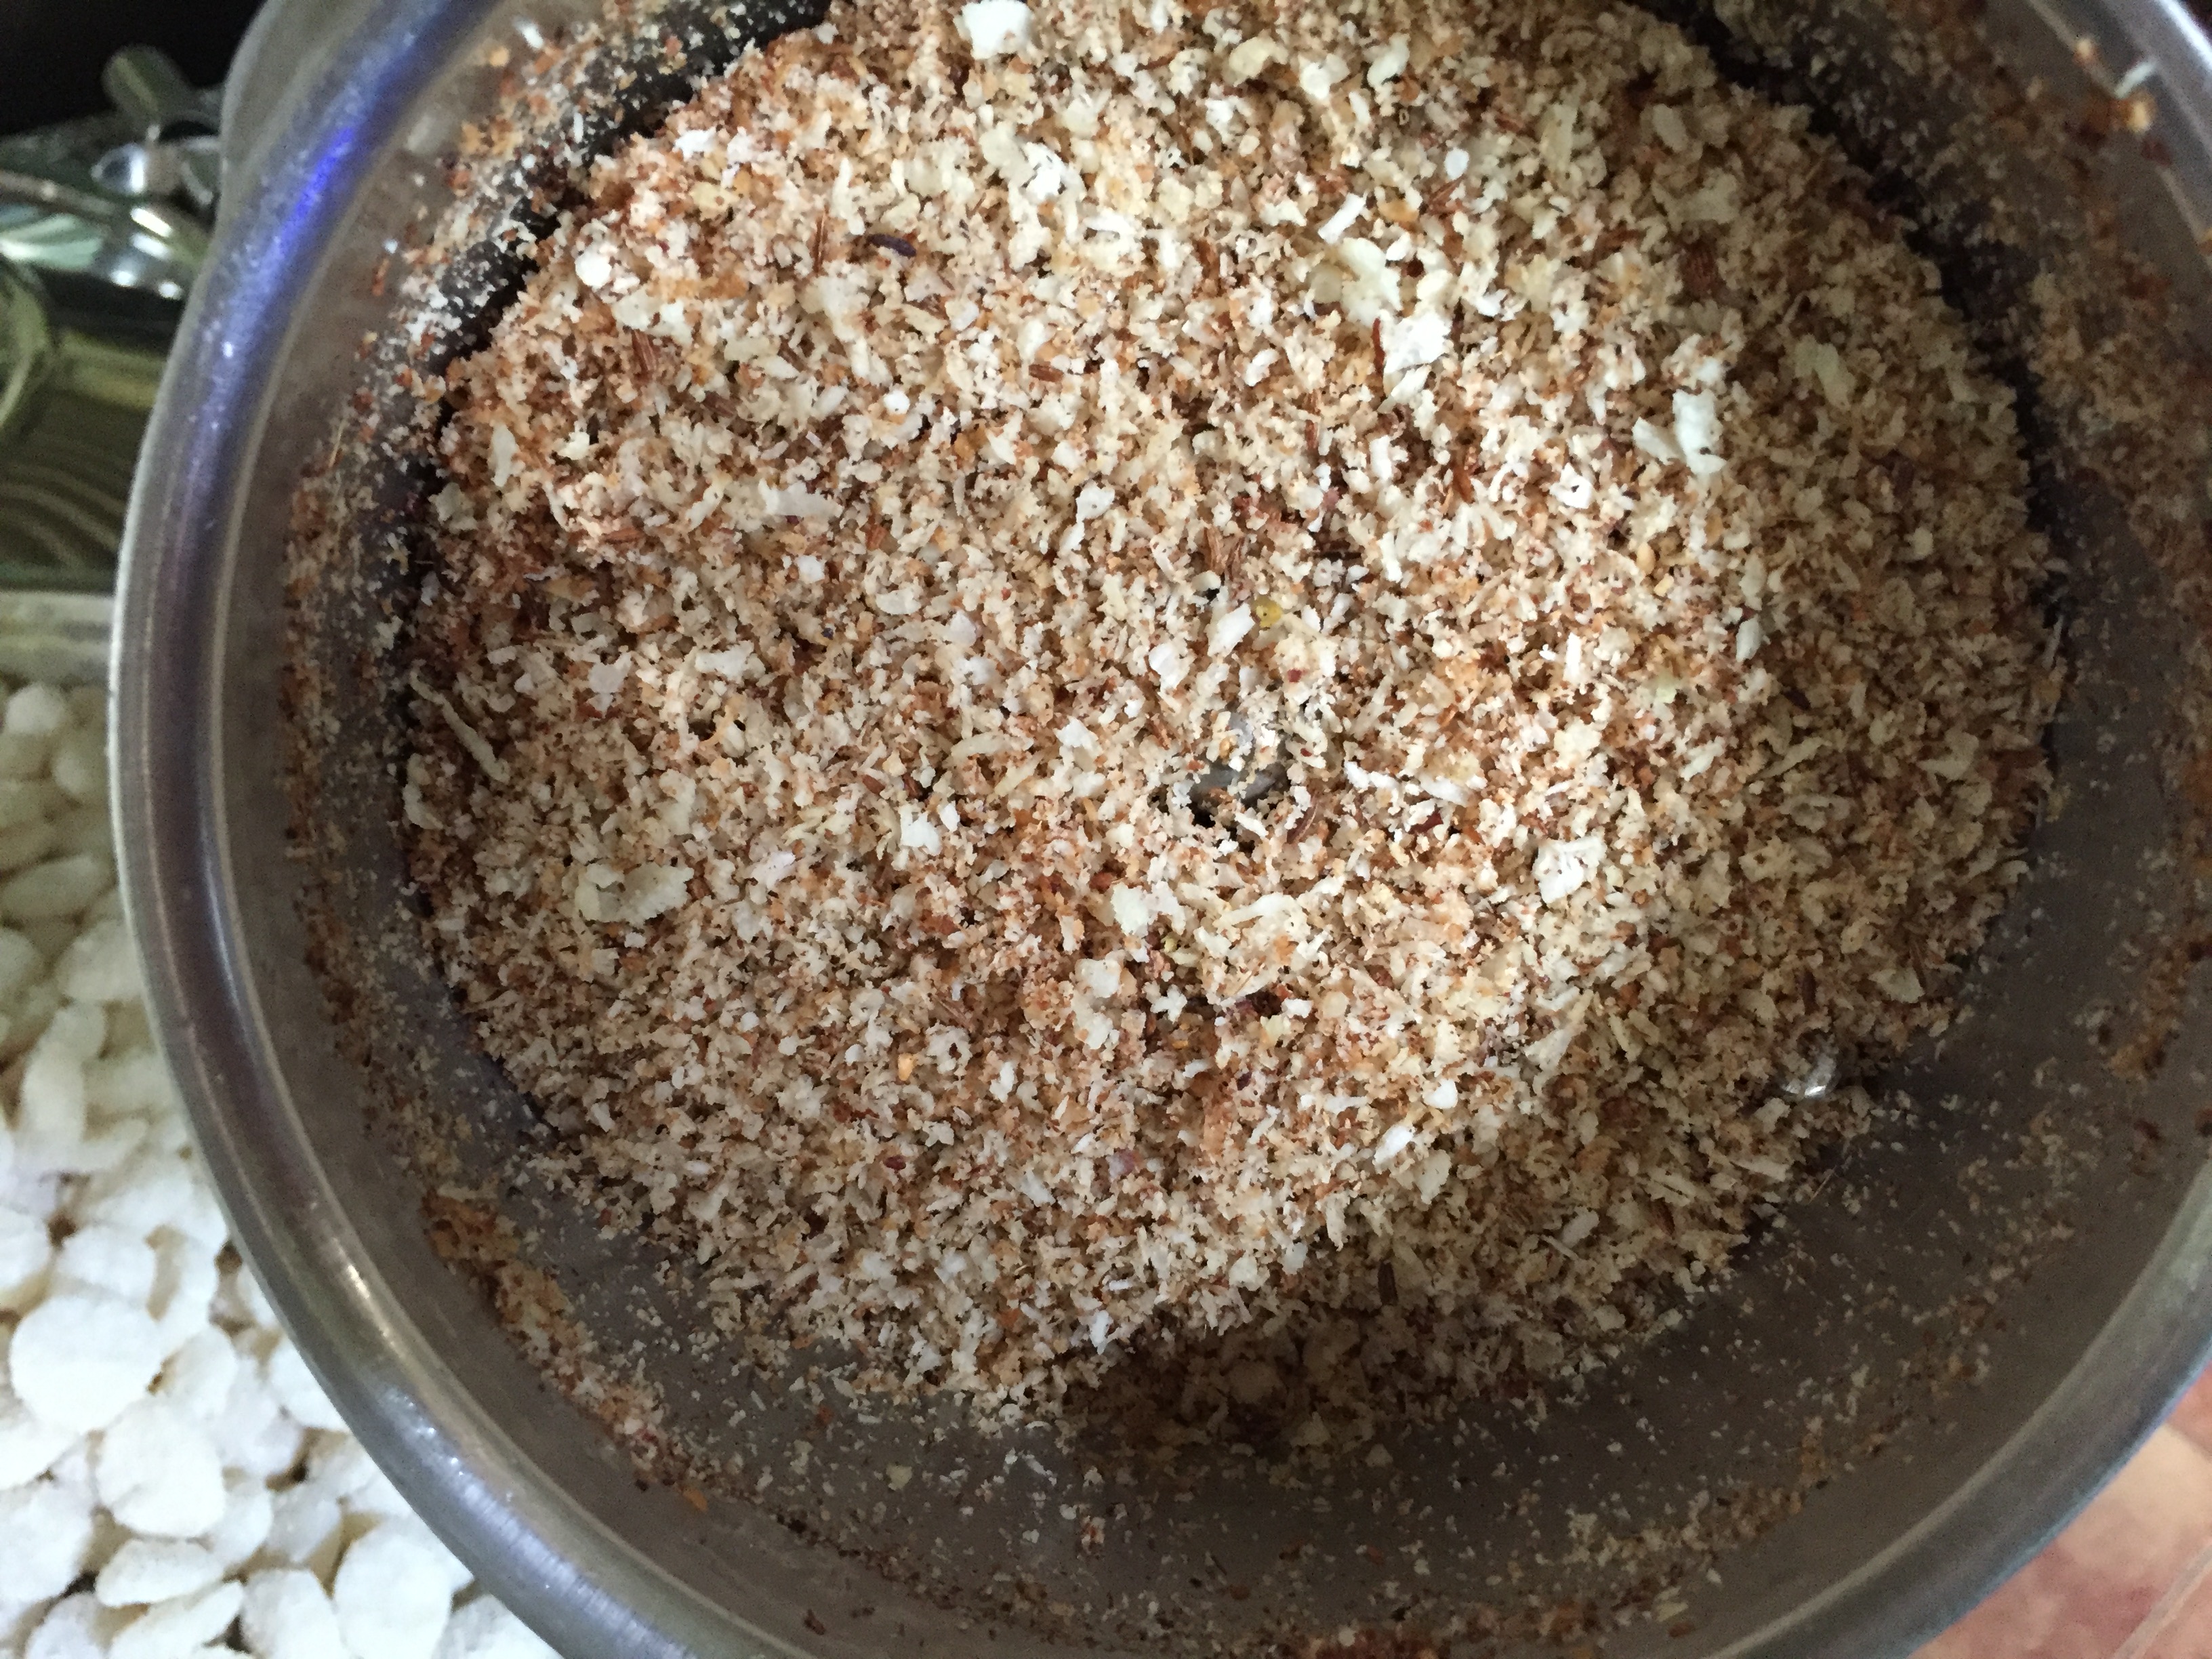
Potato gnocchi with mushroom herby brown butter
Prawn spaghetti in white cheesy sauce
Pressure cooked rasagullas
Pressure cooker dates cake with home made instant caramel sauce
Rasagulla makhani tomato gravy
Raw papaya and vegetable soup
Saffron and lemon panacotta with grape sauce
Samai vegetable kolukattai
Savoury filled potato - rice crisps
Savoury macaroni chicken cake
Sesame cheesy chicken rolls
Sesame masala bread toast
Siriyan Kibbha bin saniya
Snake gourd (Podalangkai ) Fry
South Indian style baby corn stir fry
Spaghetti pricked sausages in Alfredo sauce
Spinach n sweet corn Macaroni and cheese bake
Spinach panner balls in butter gravy
Spring roll sheet baskets
Strawberry rose cream cheese pudding
Stuffed chicken semiya in bread omelet
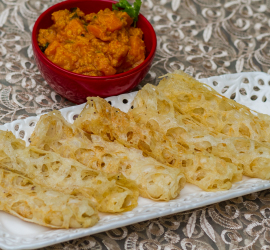
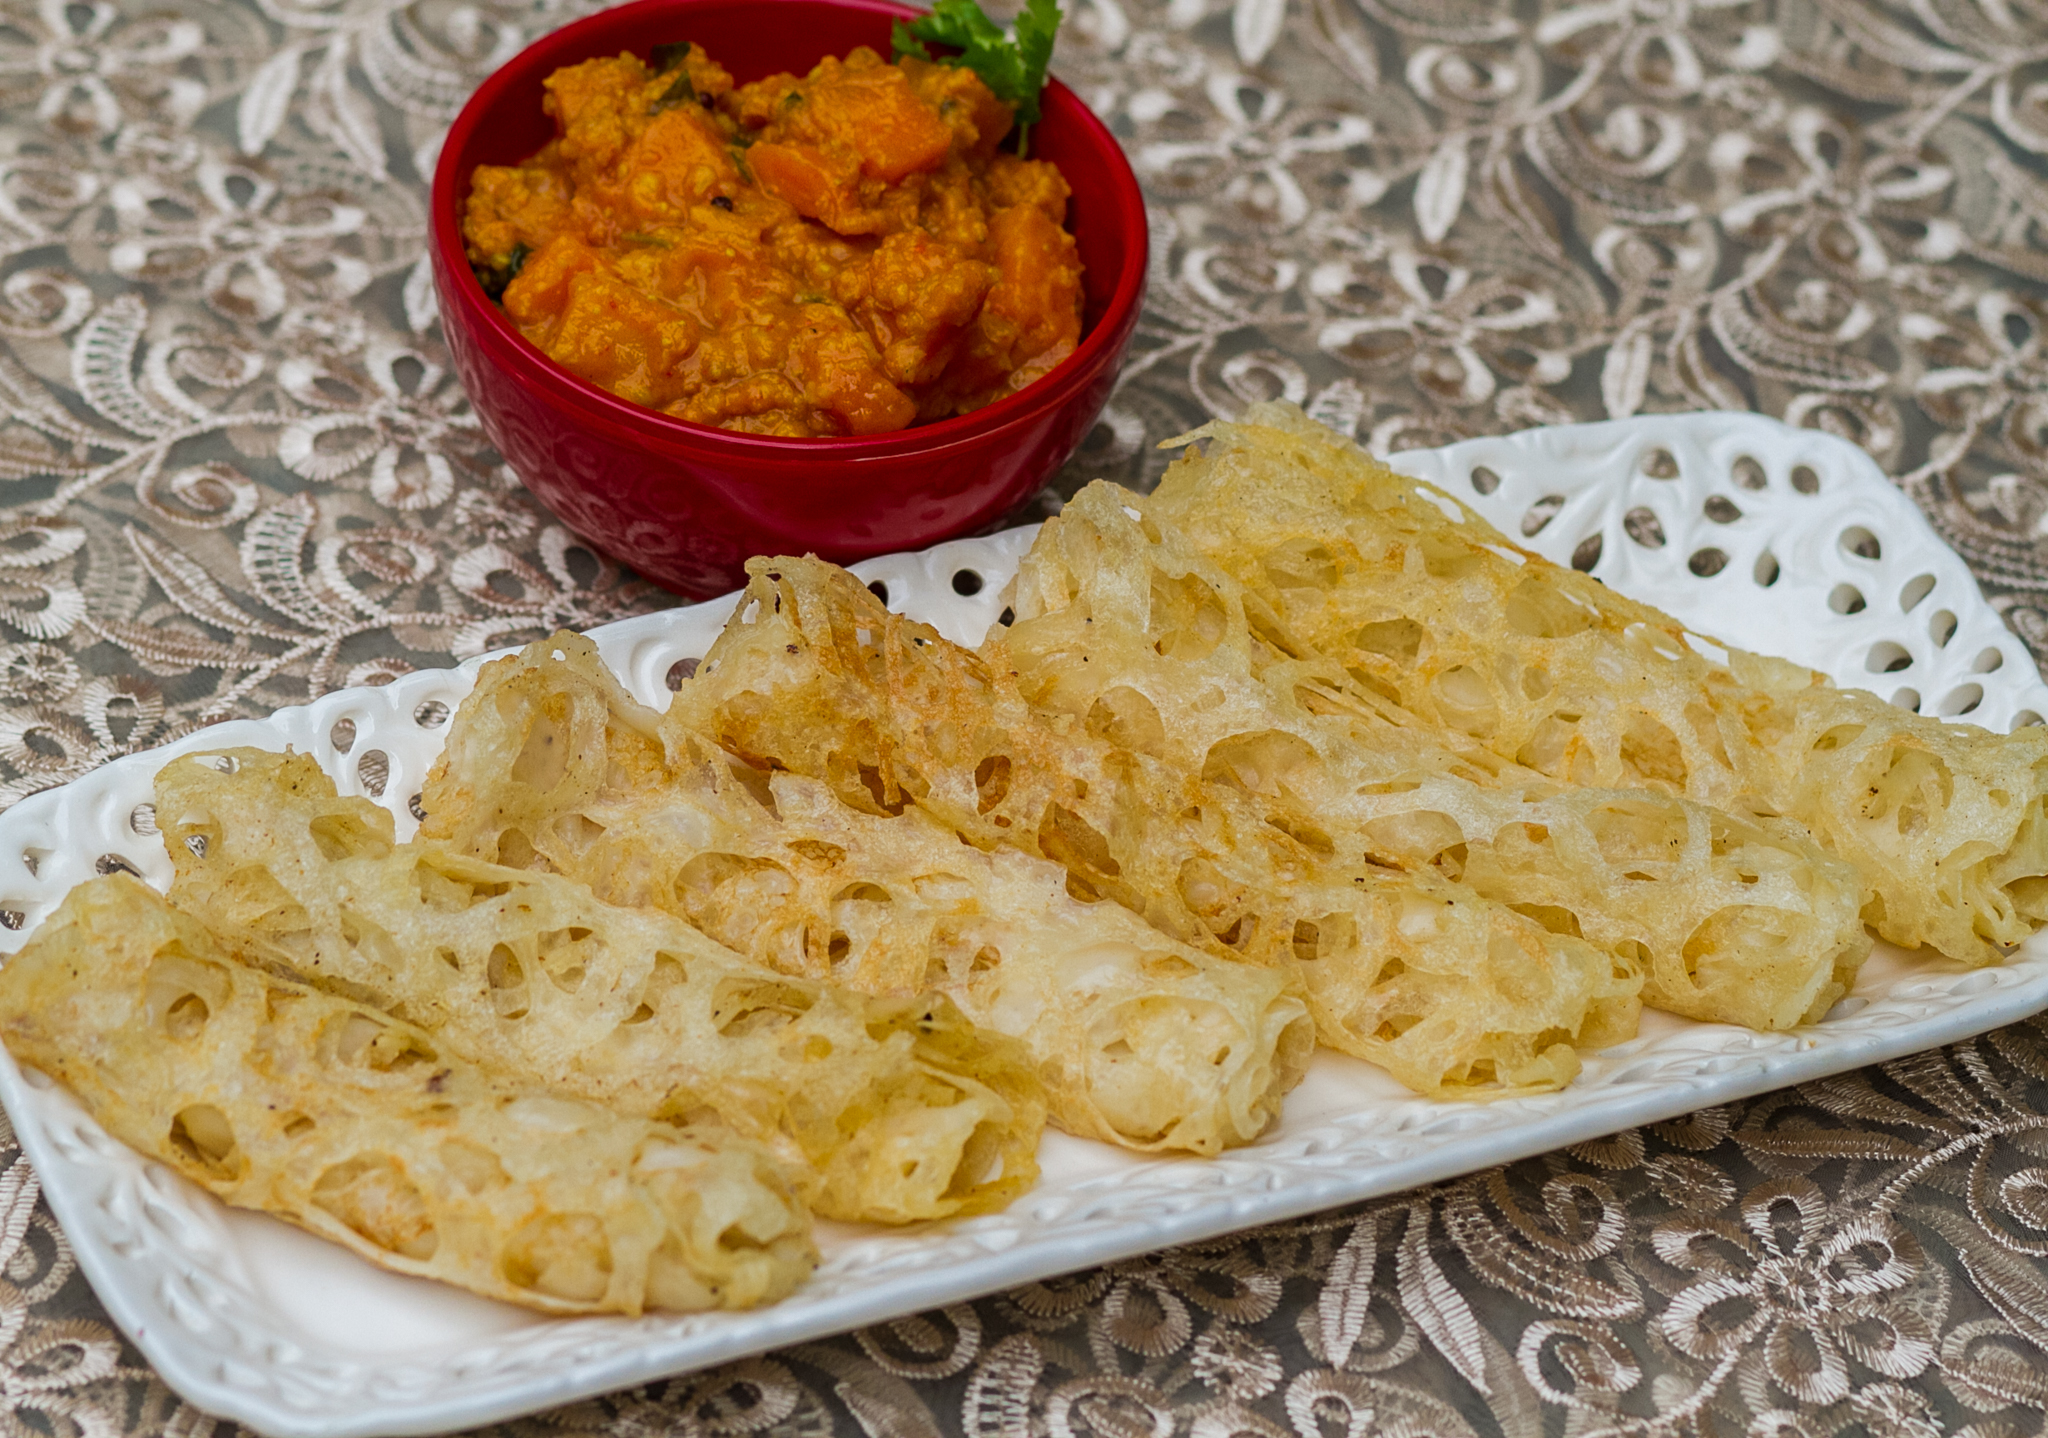
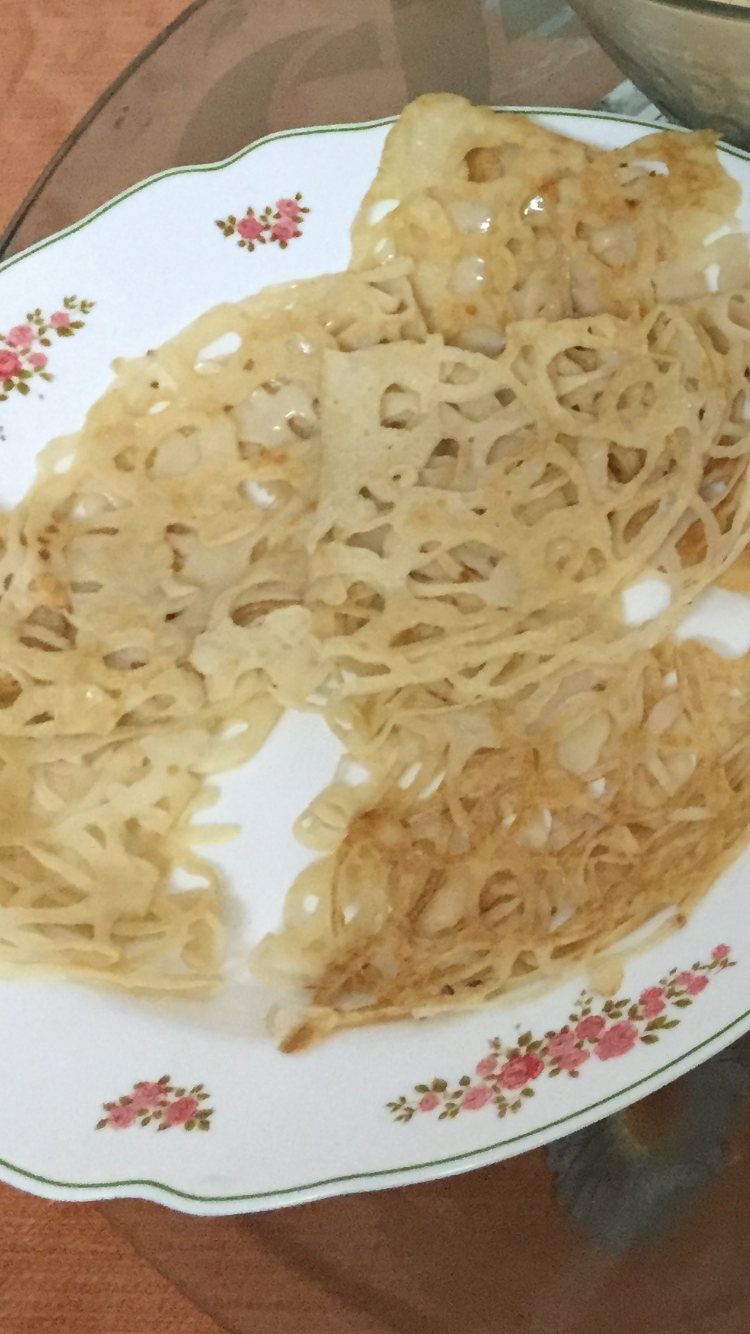
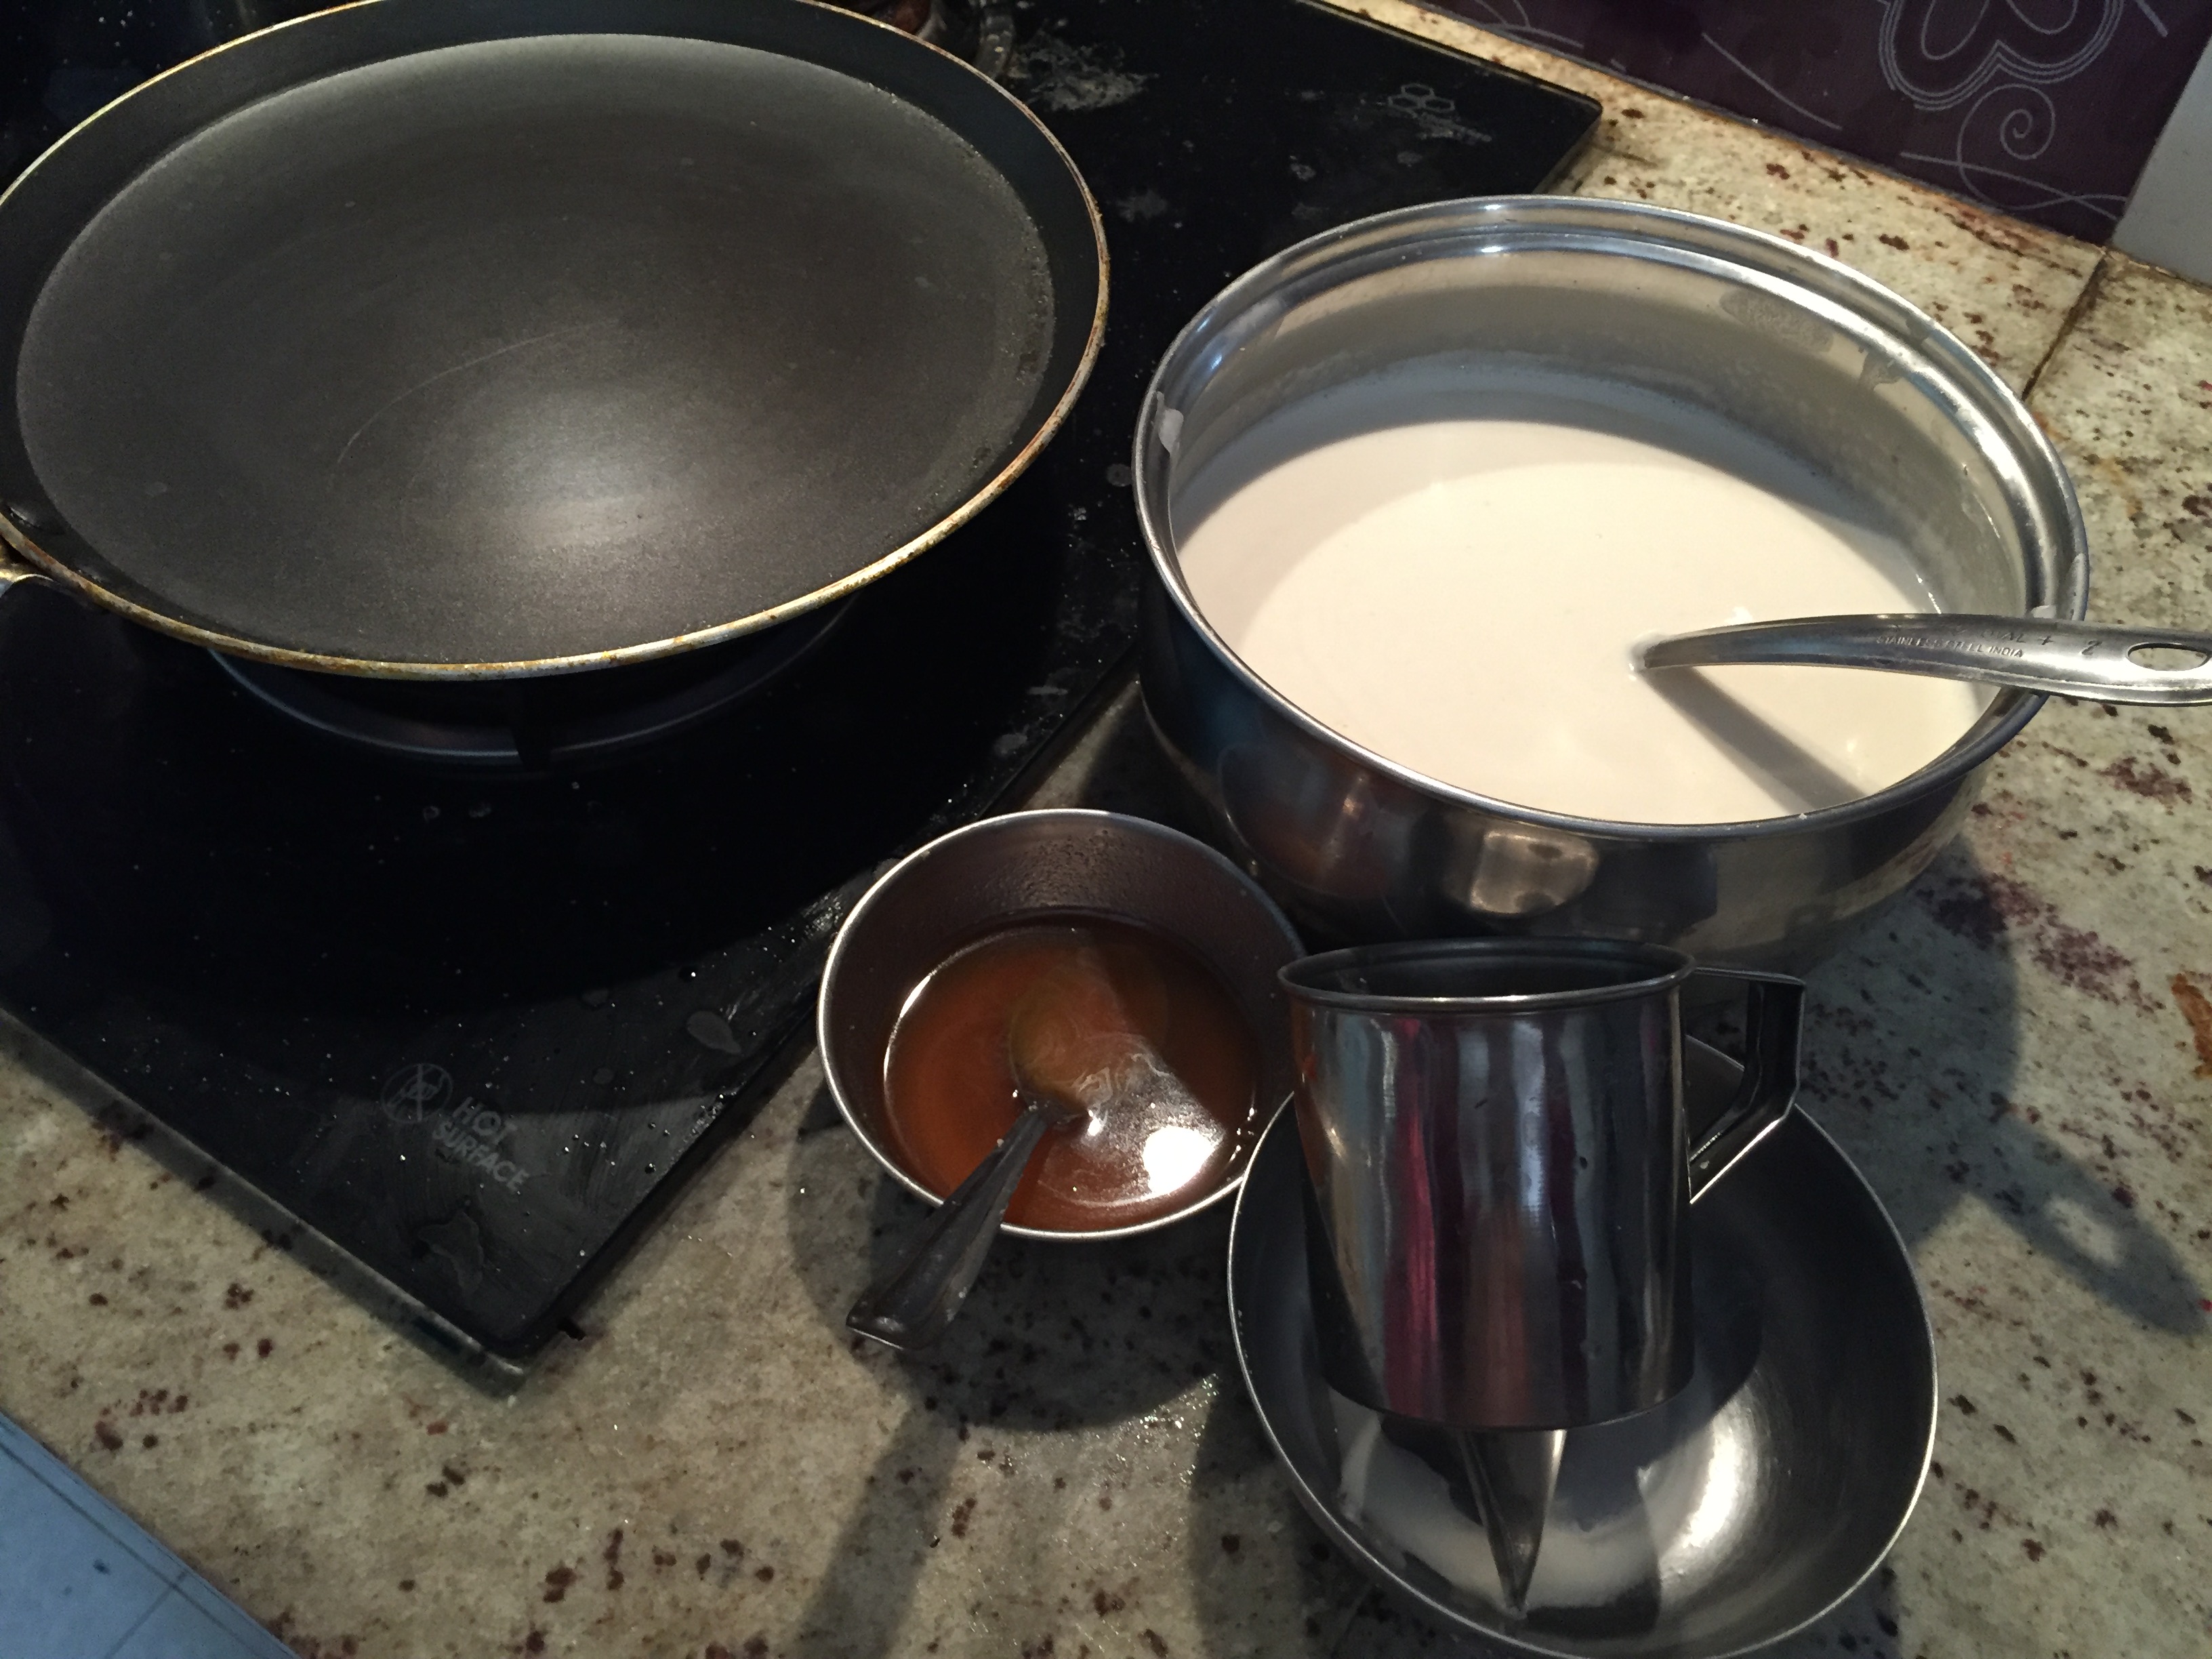
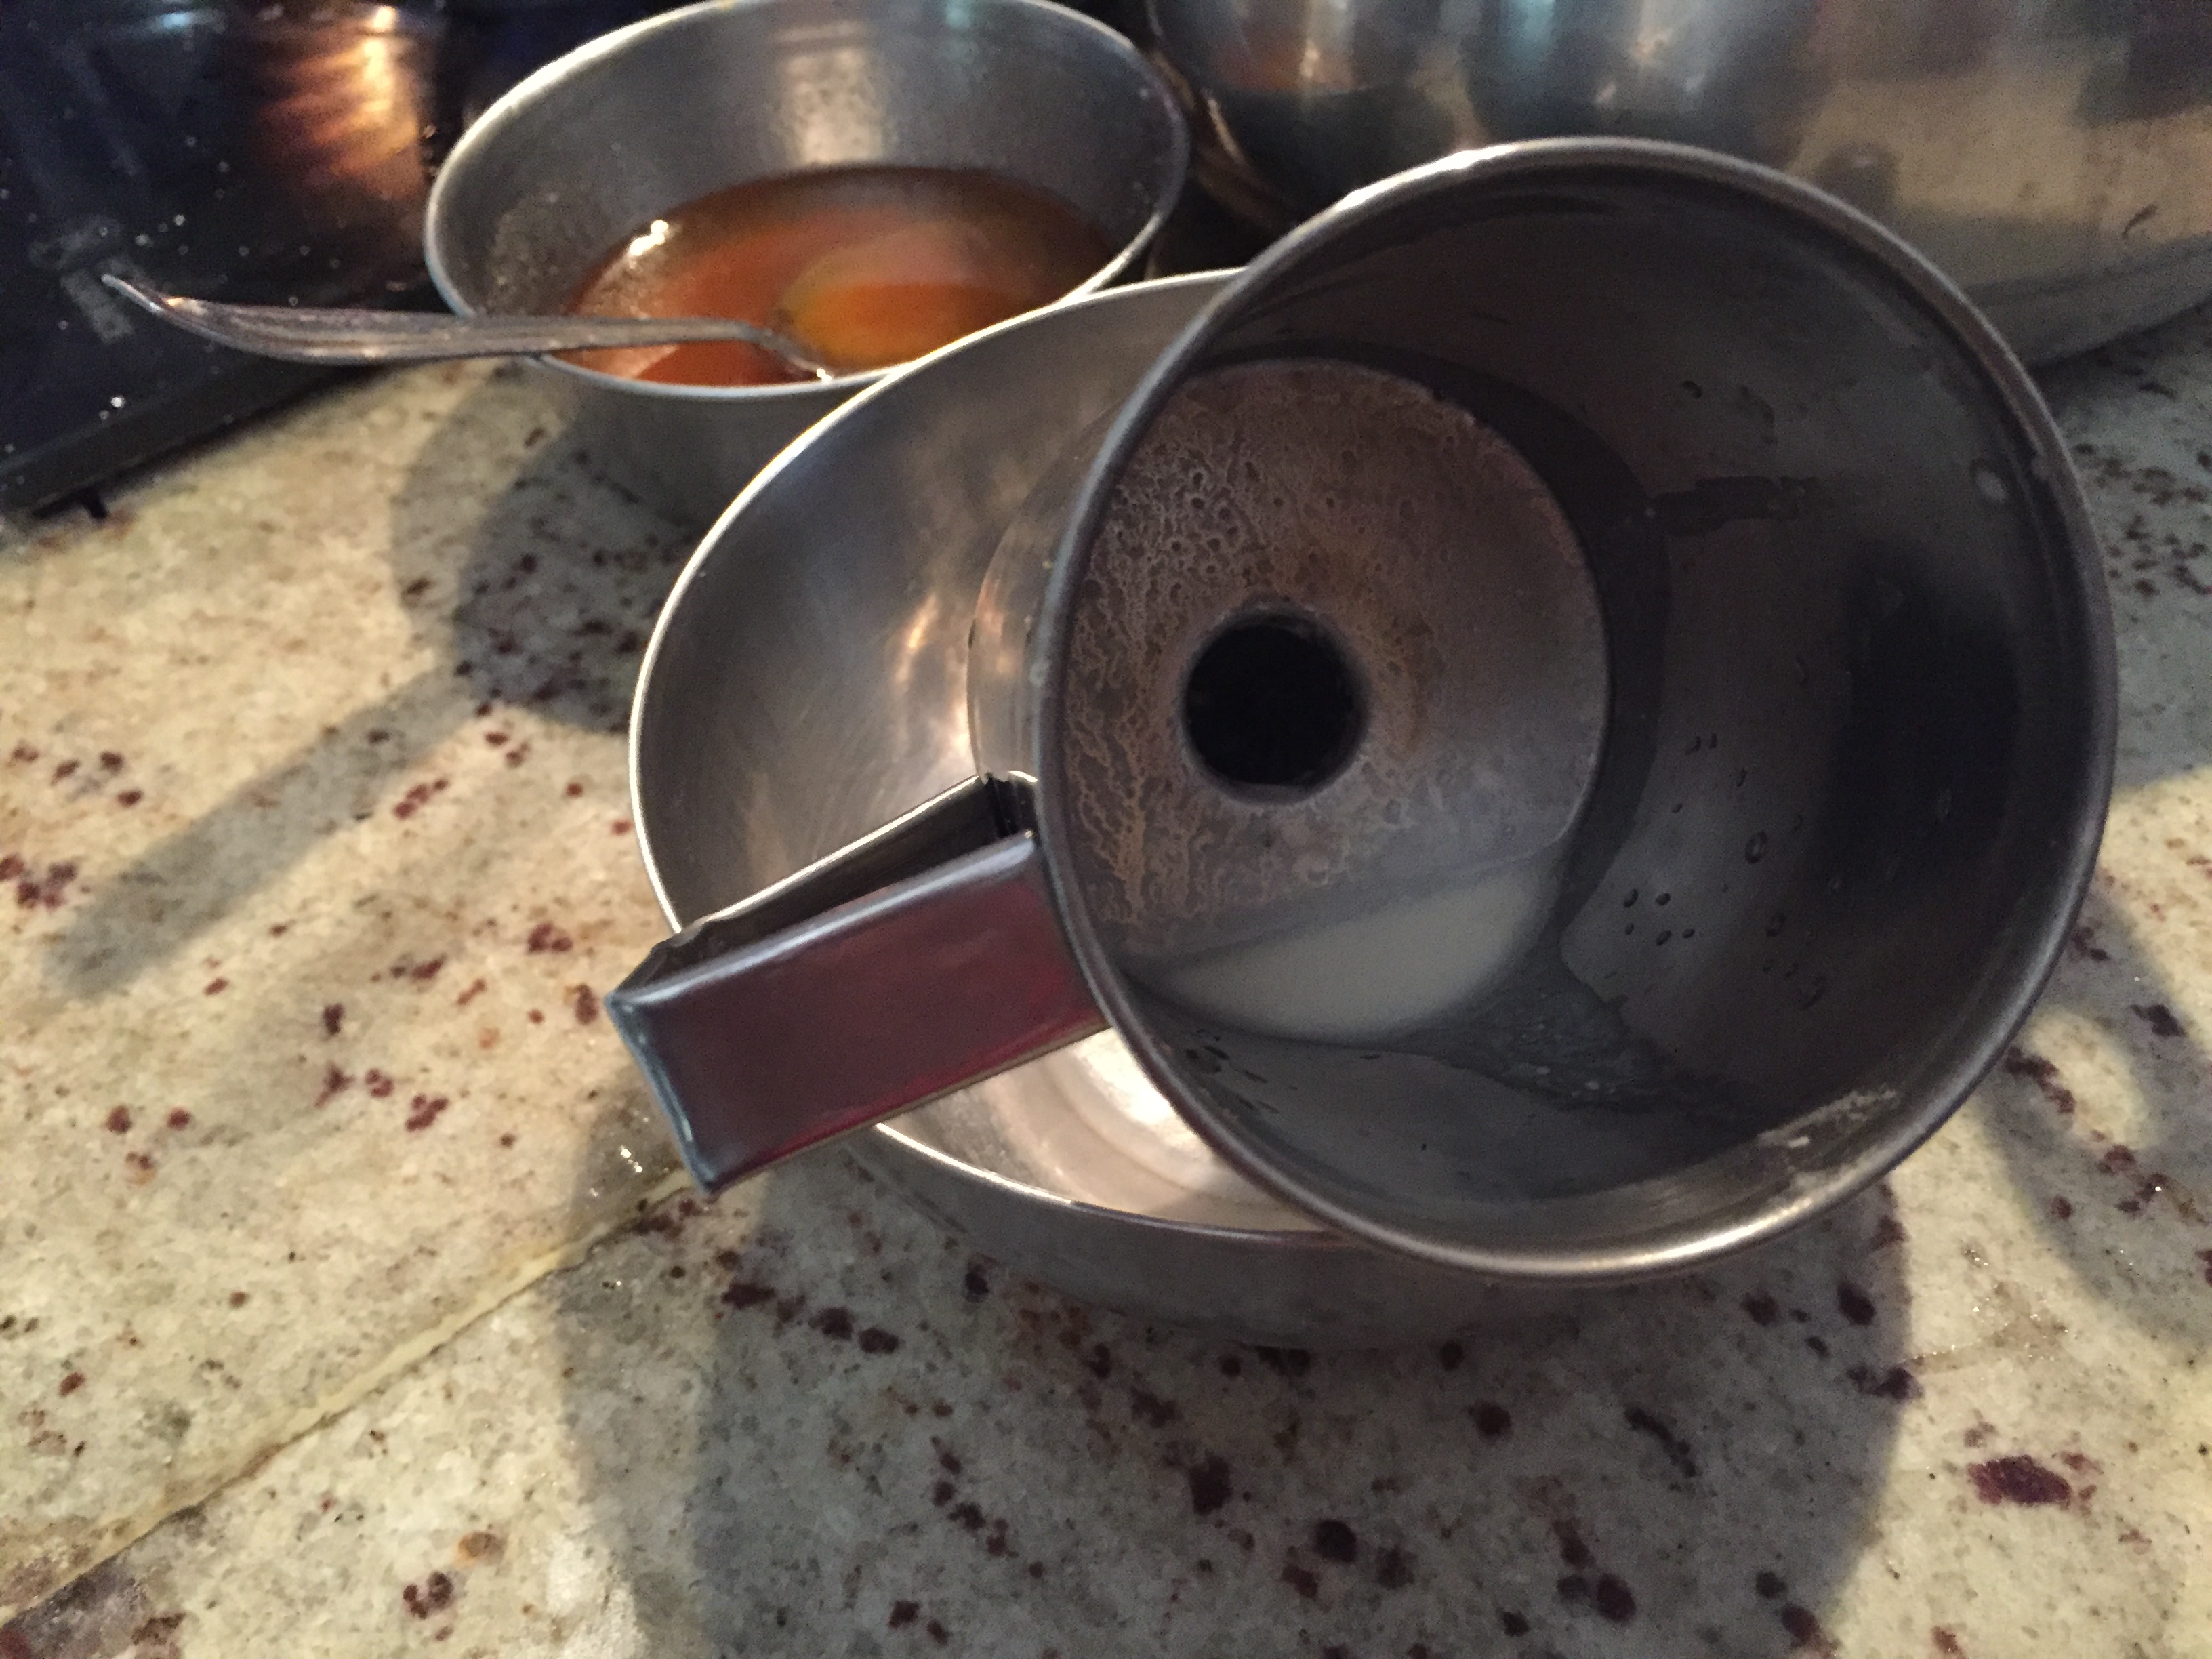
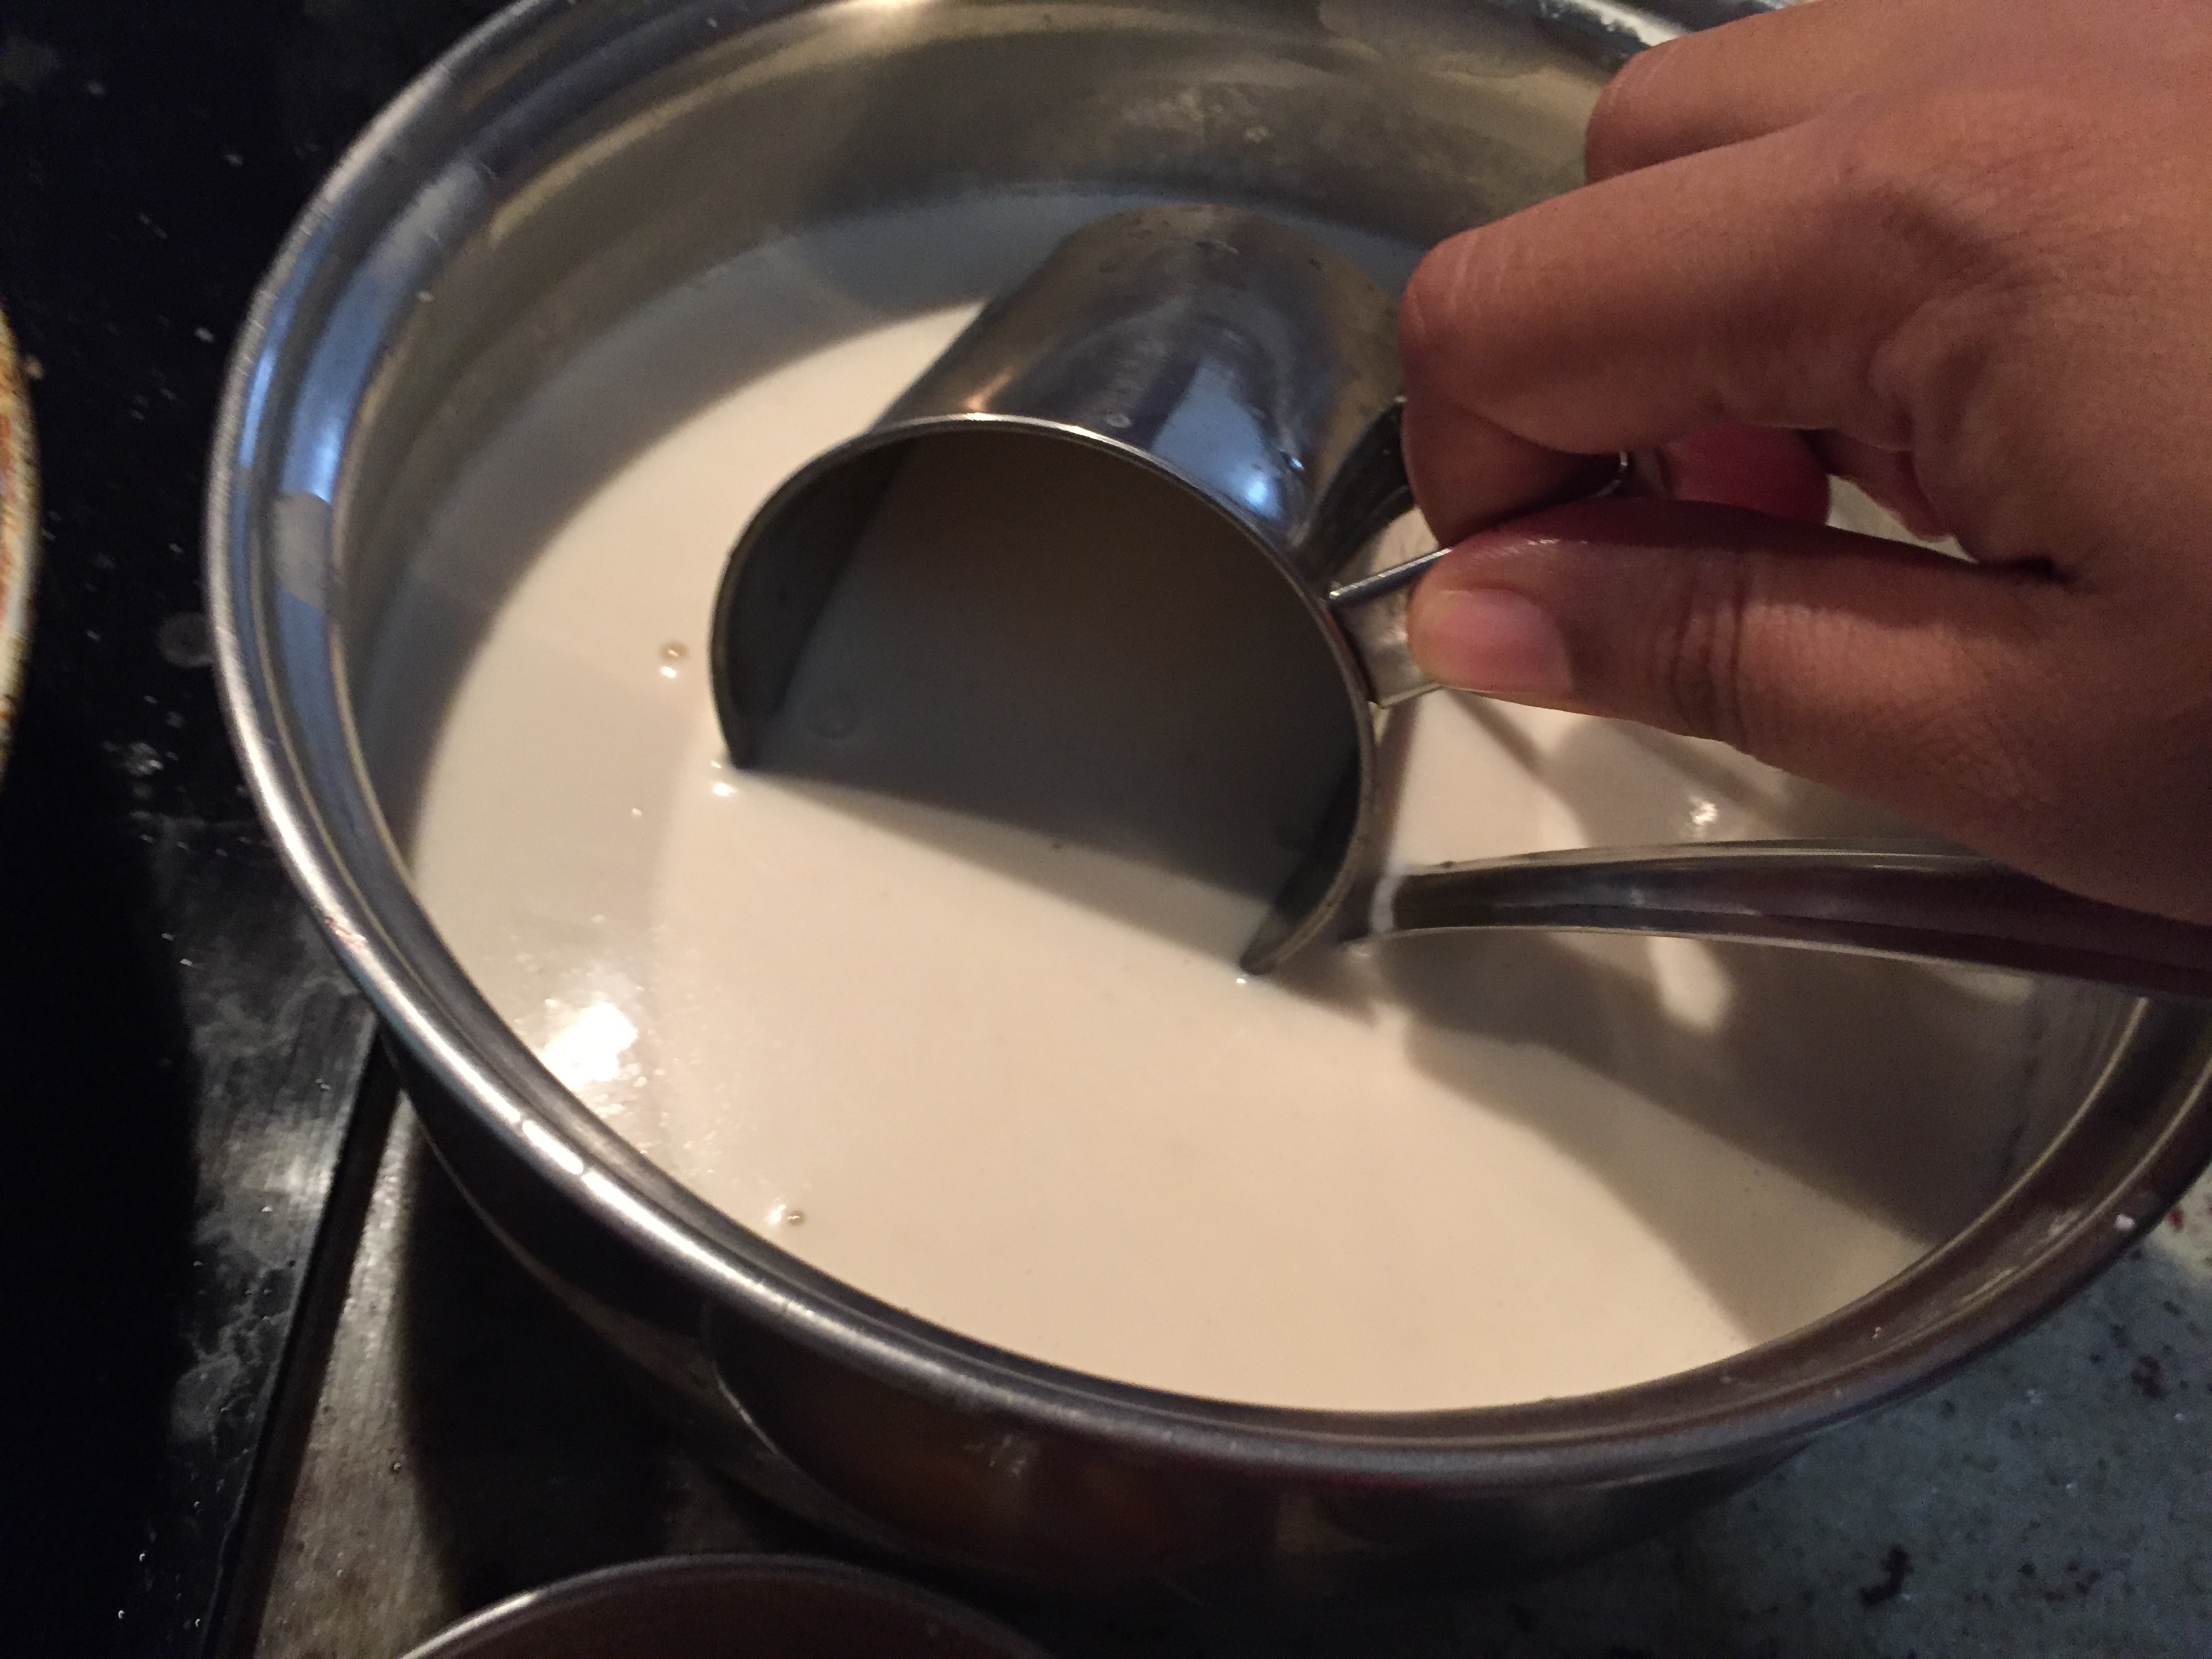
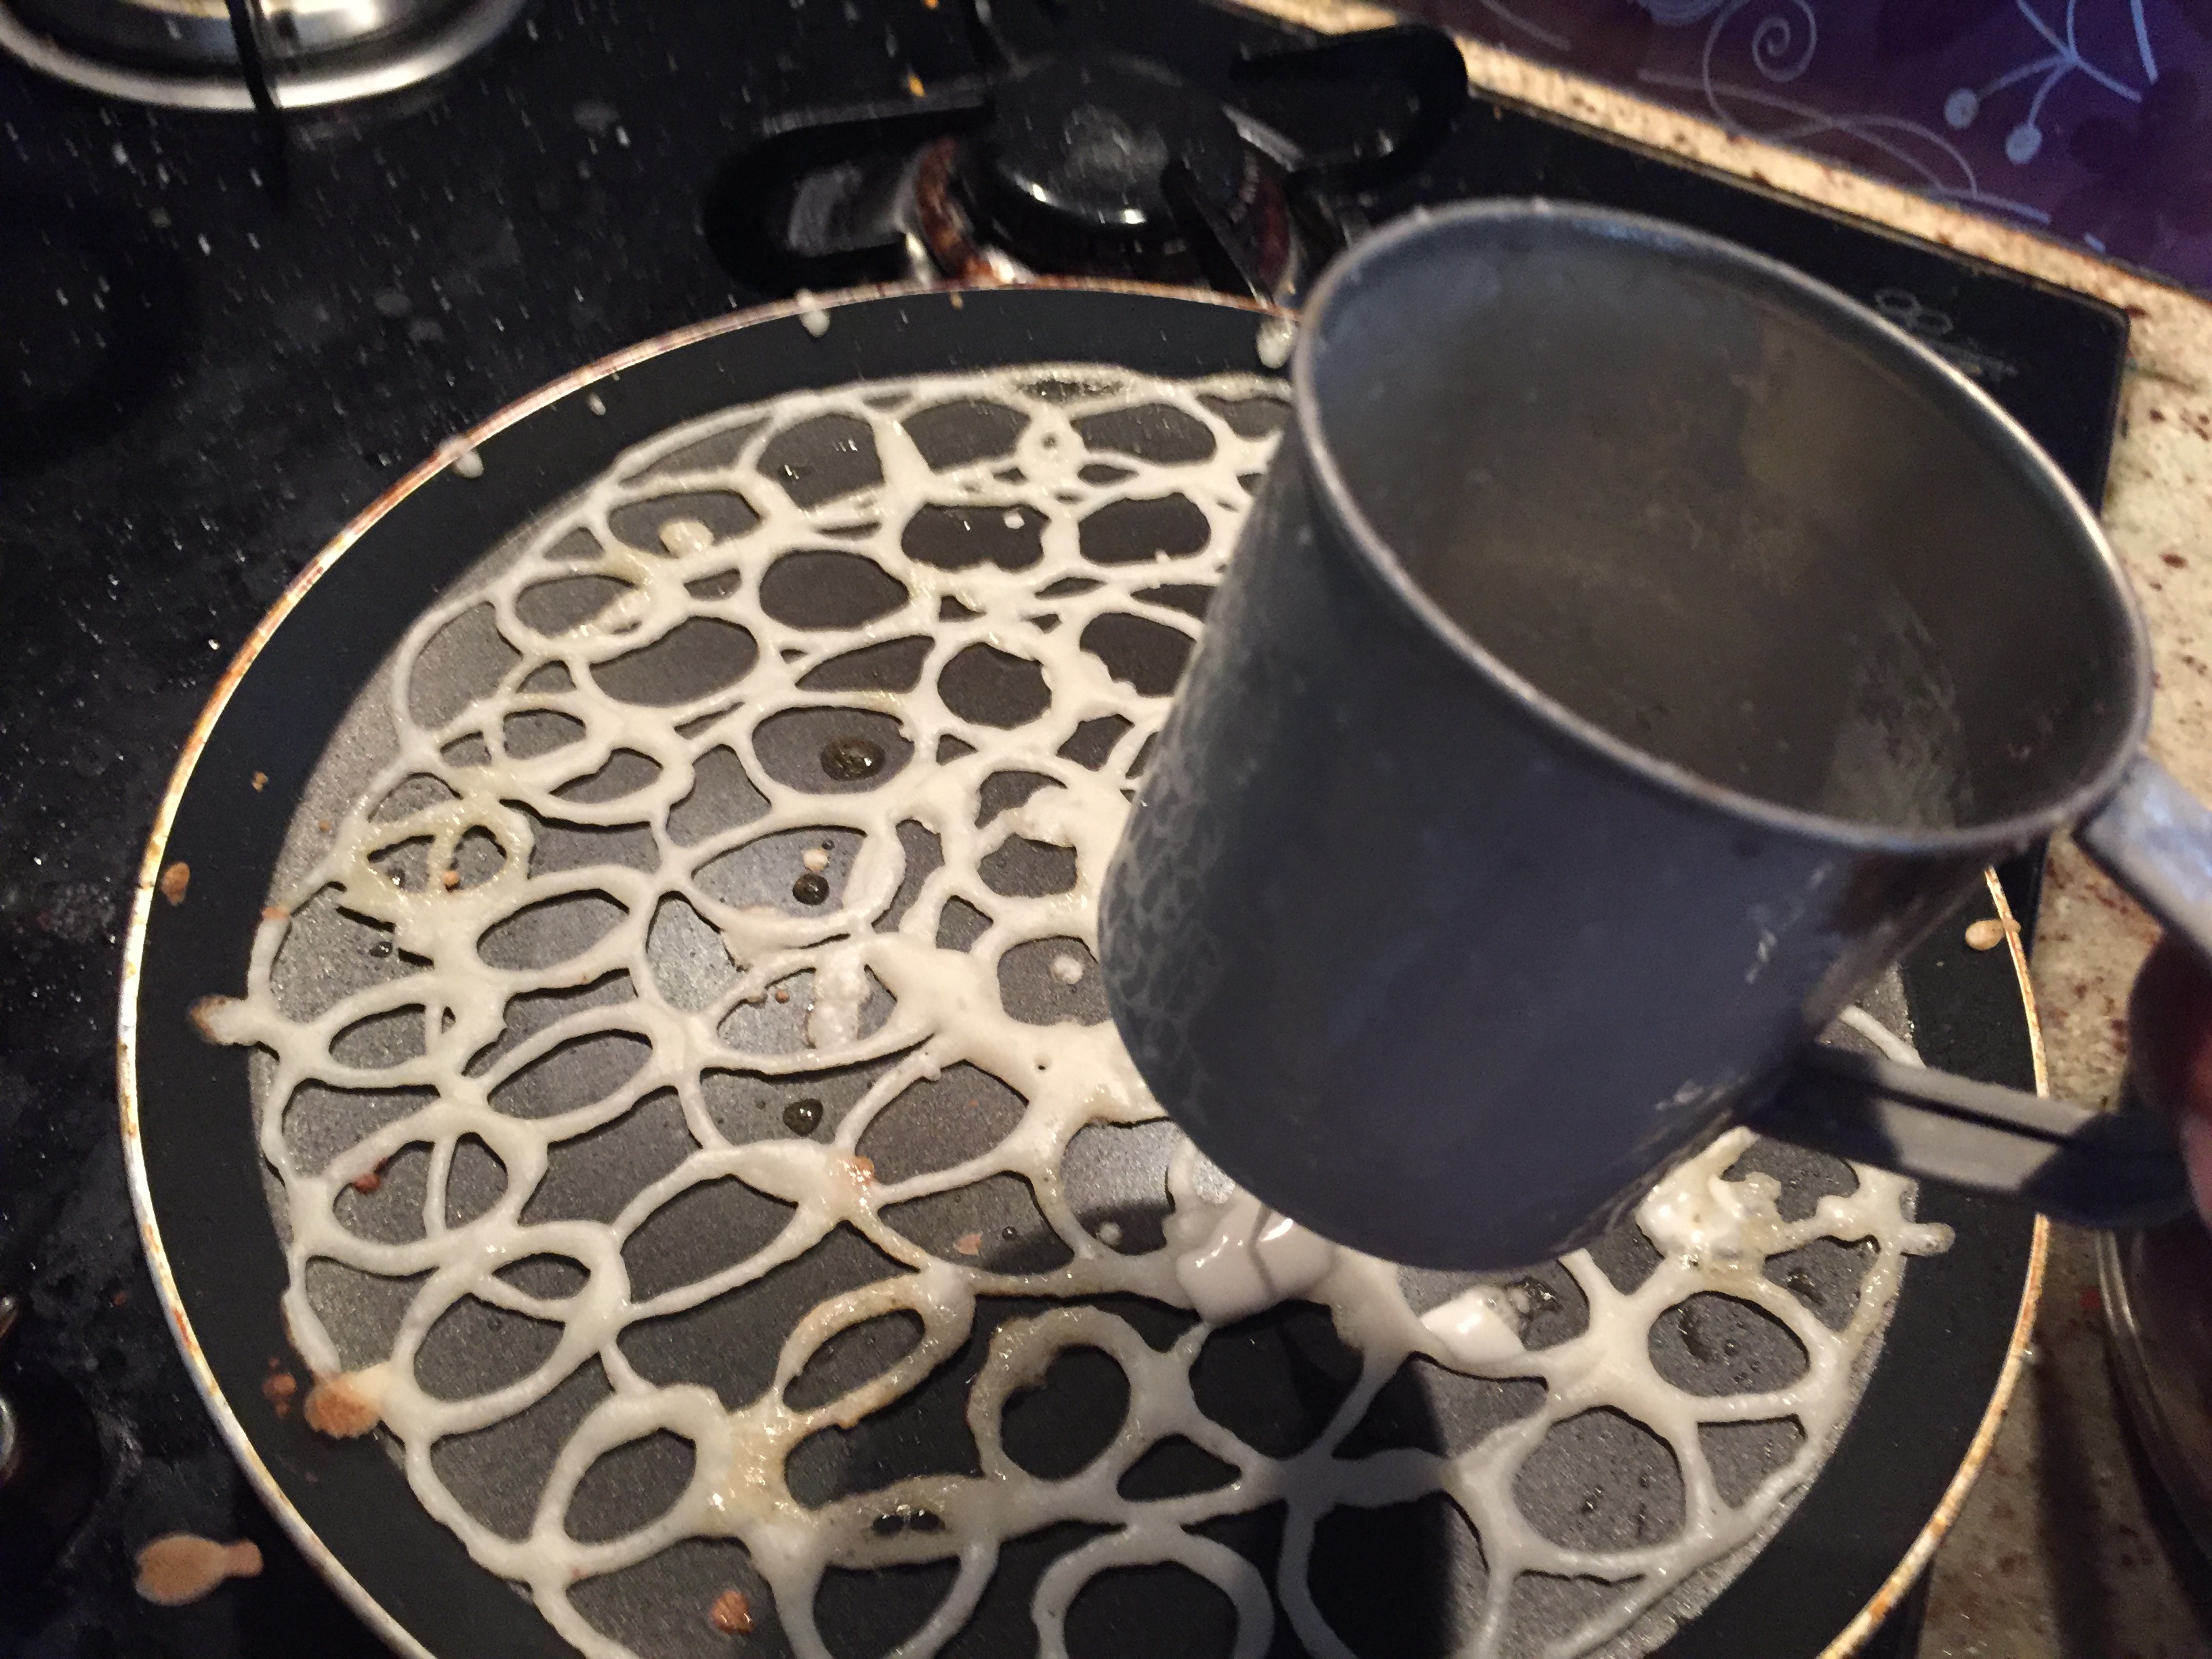
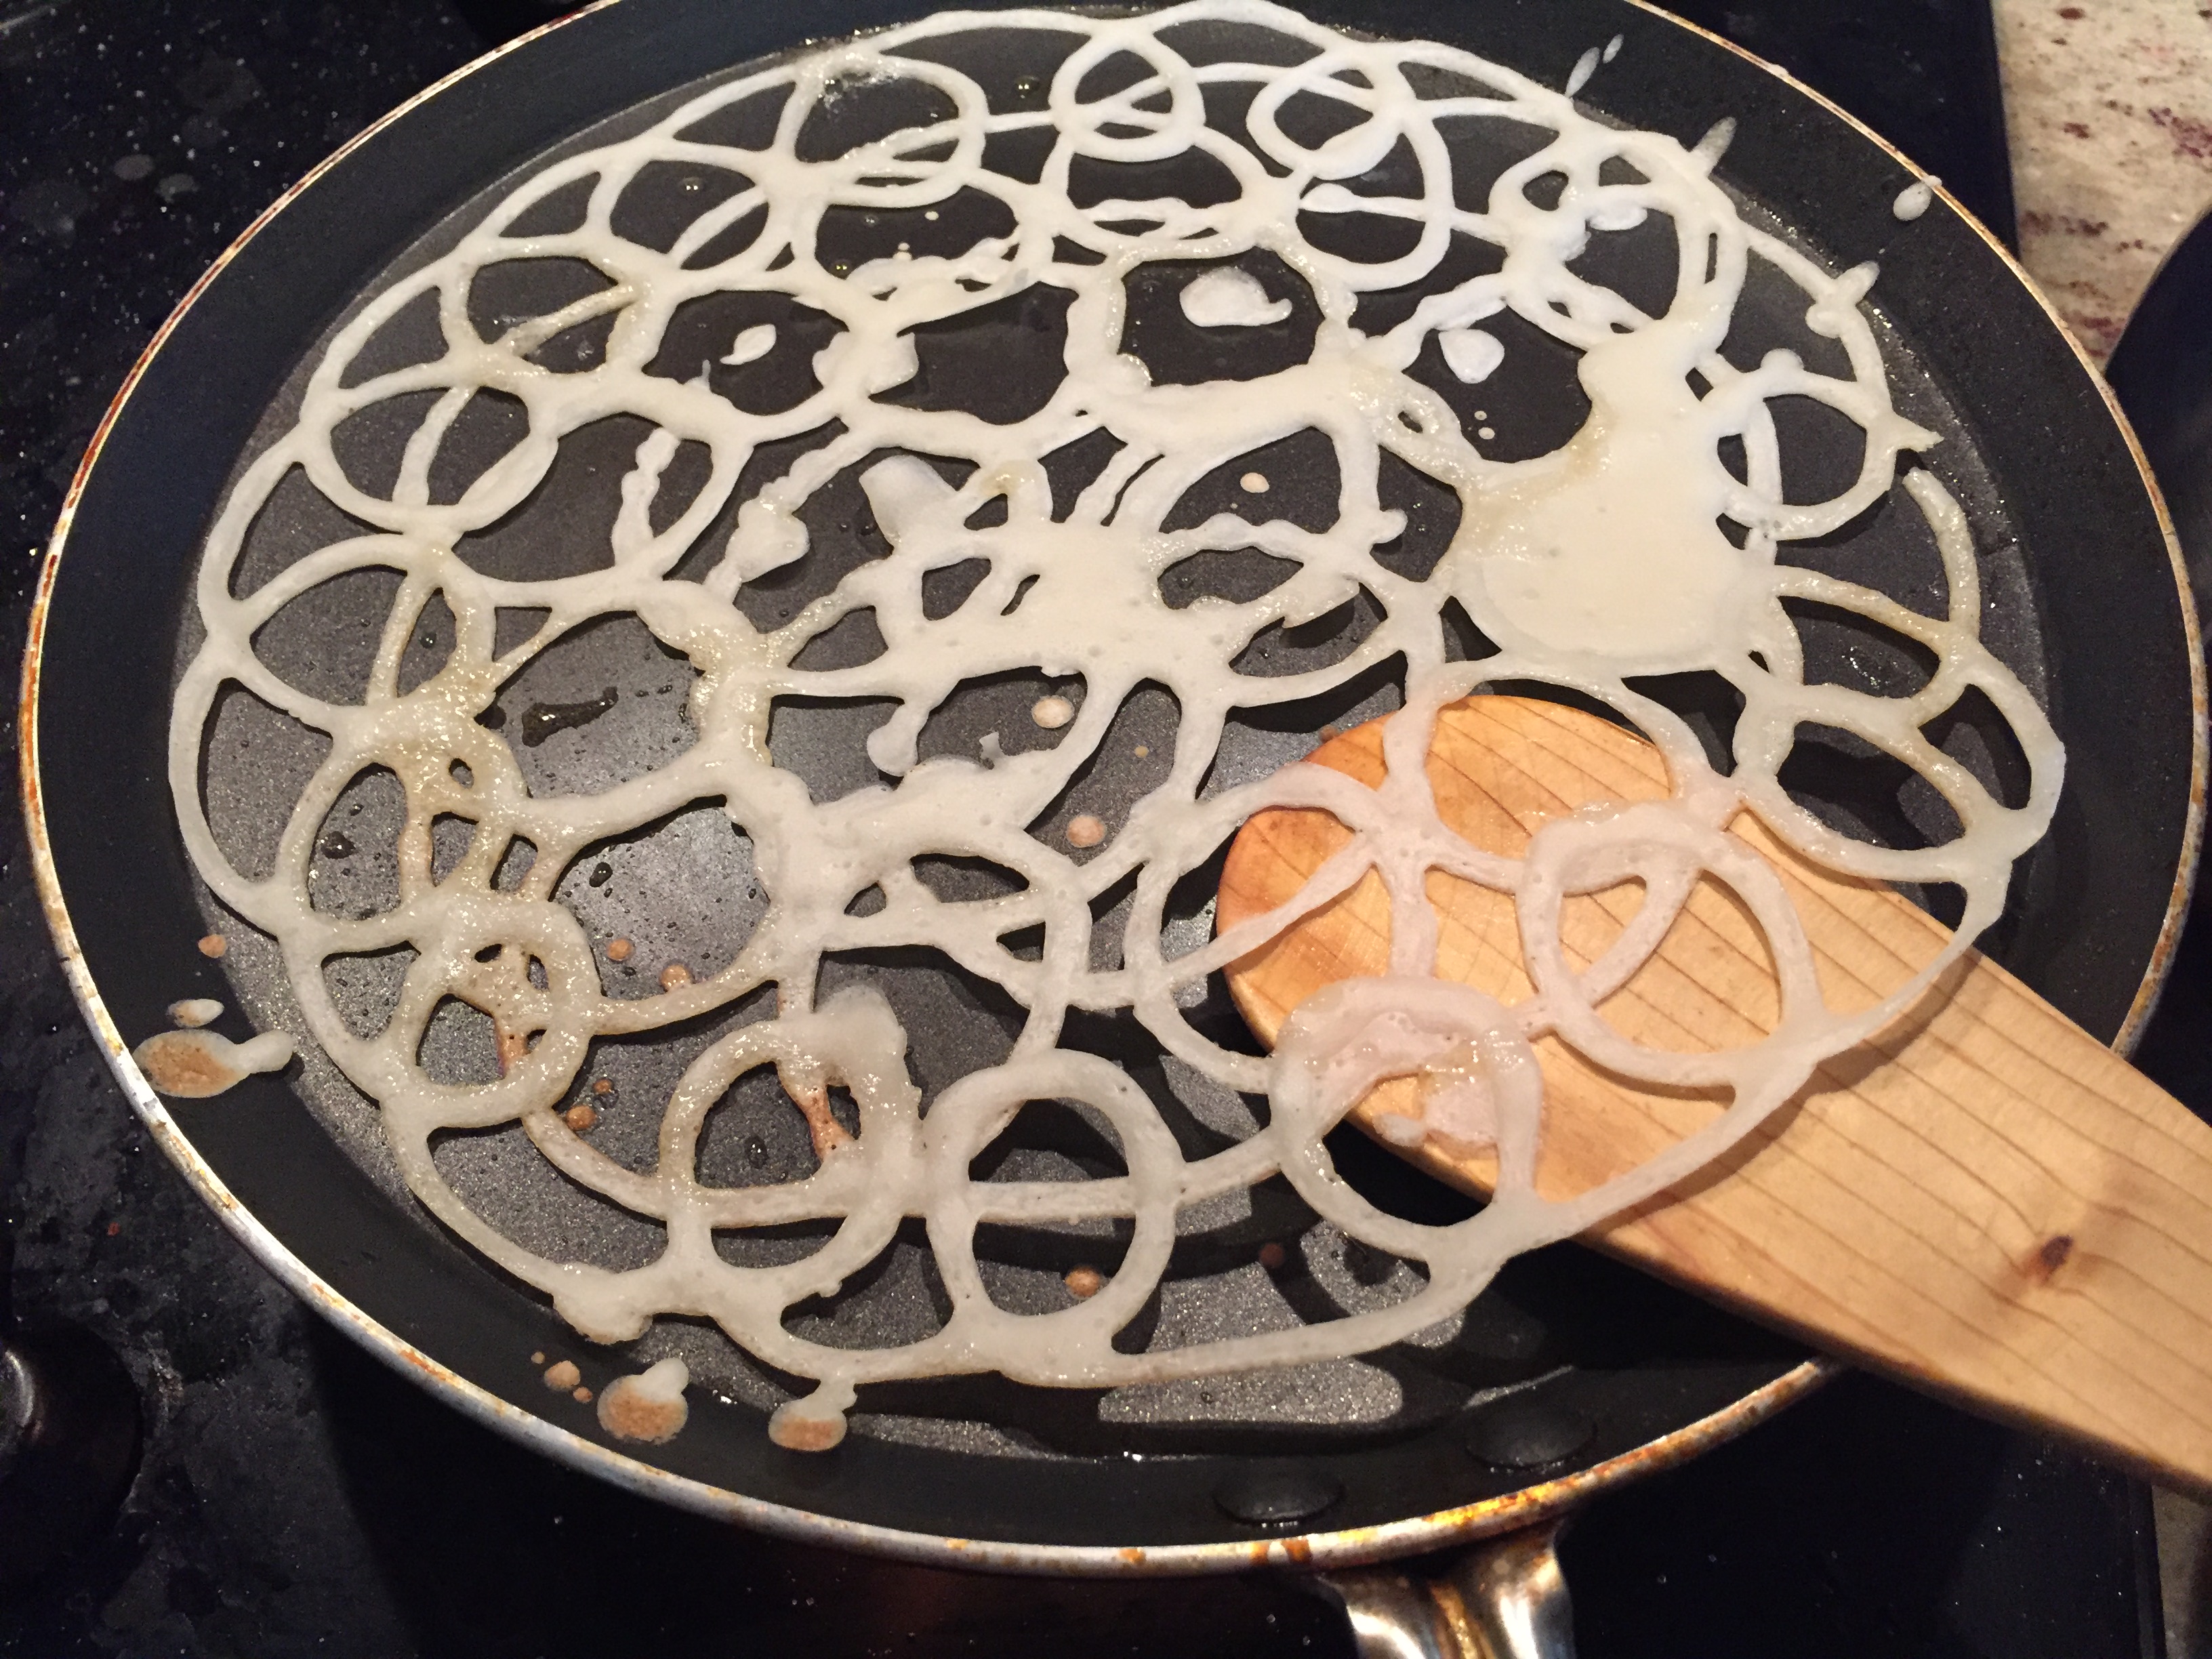
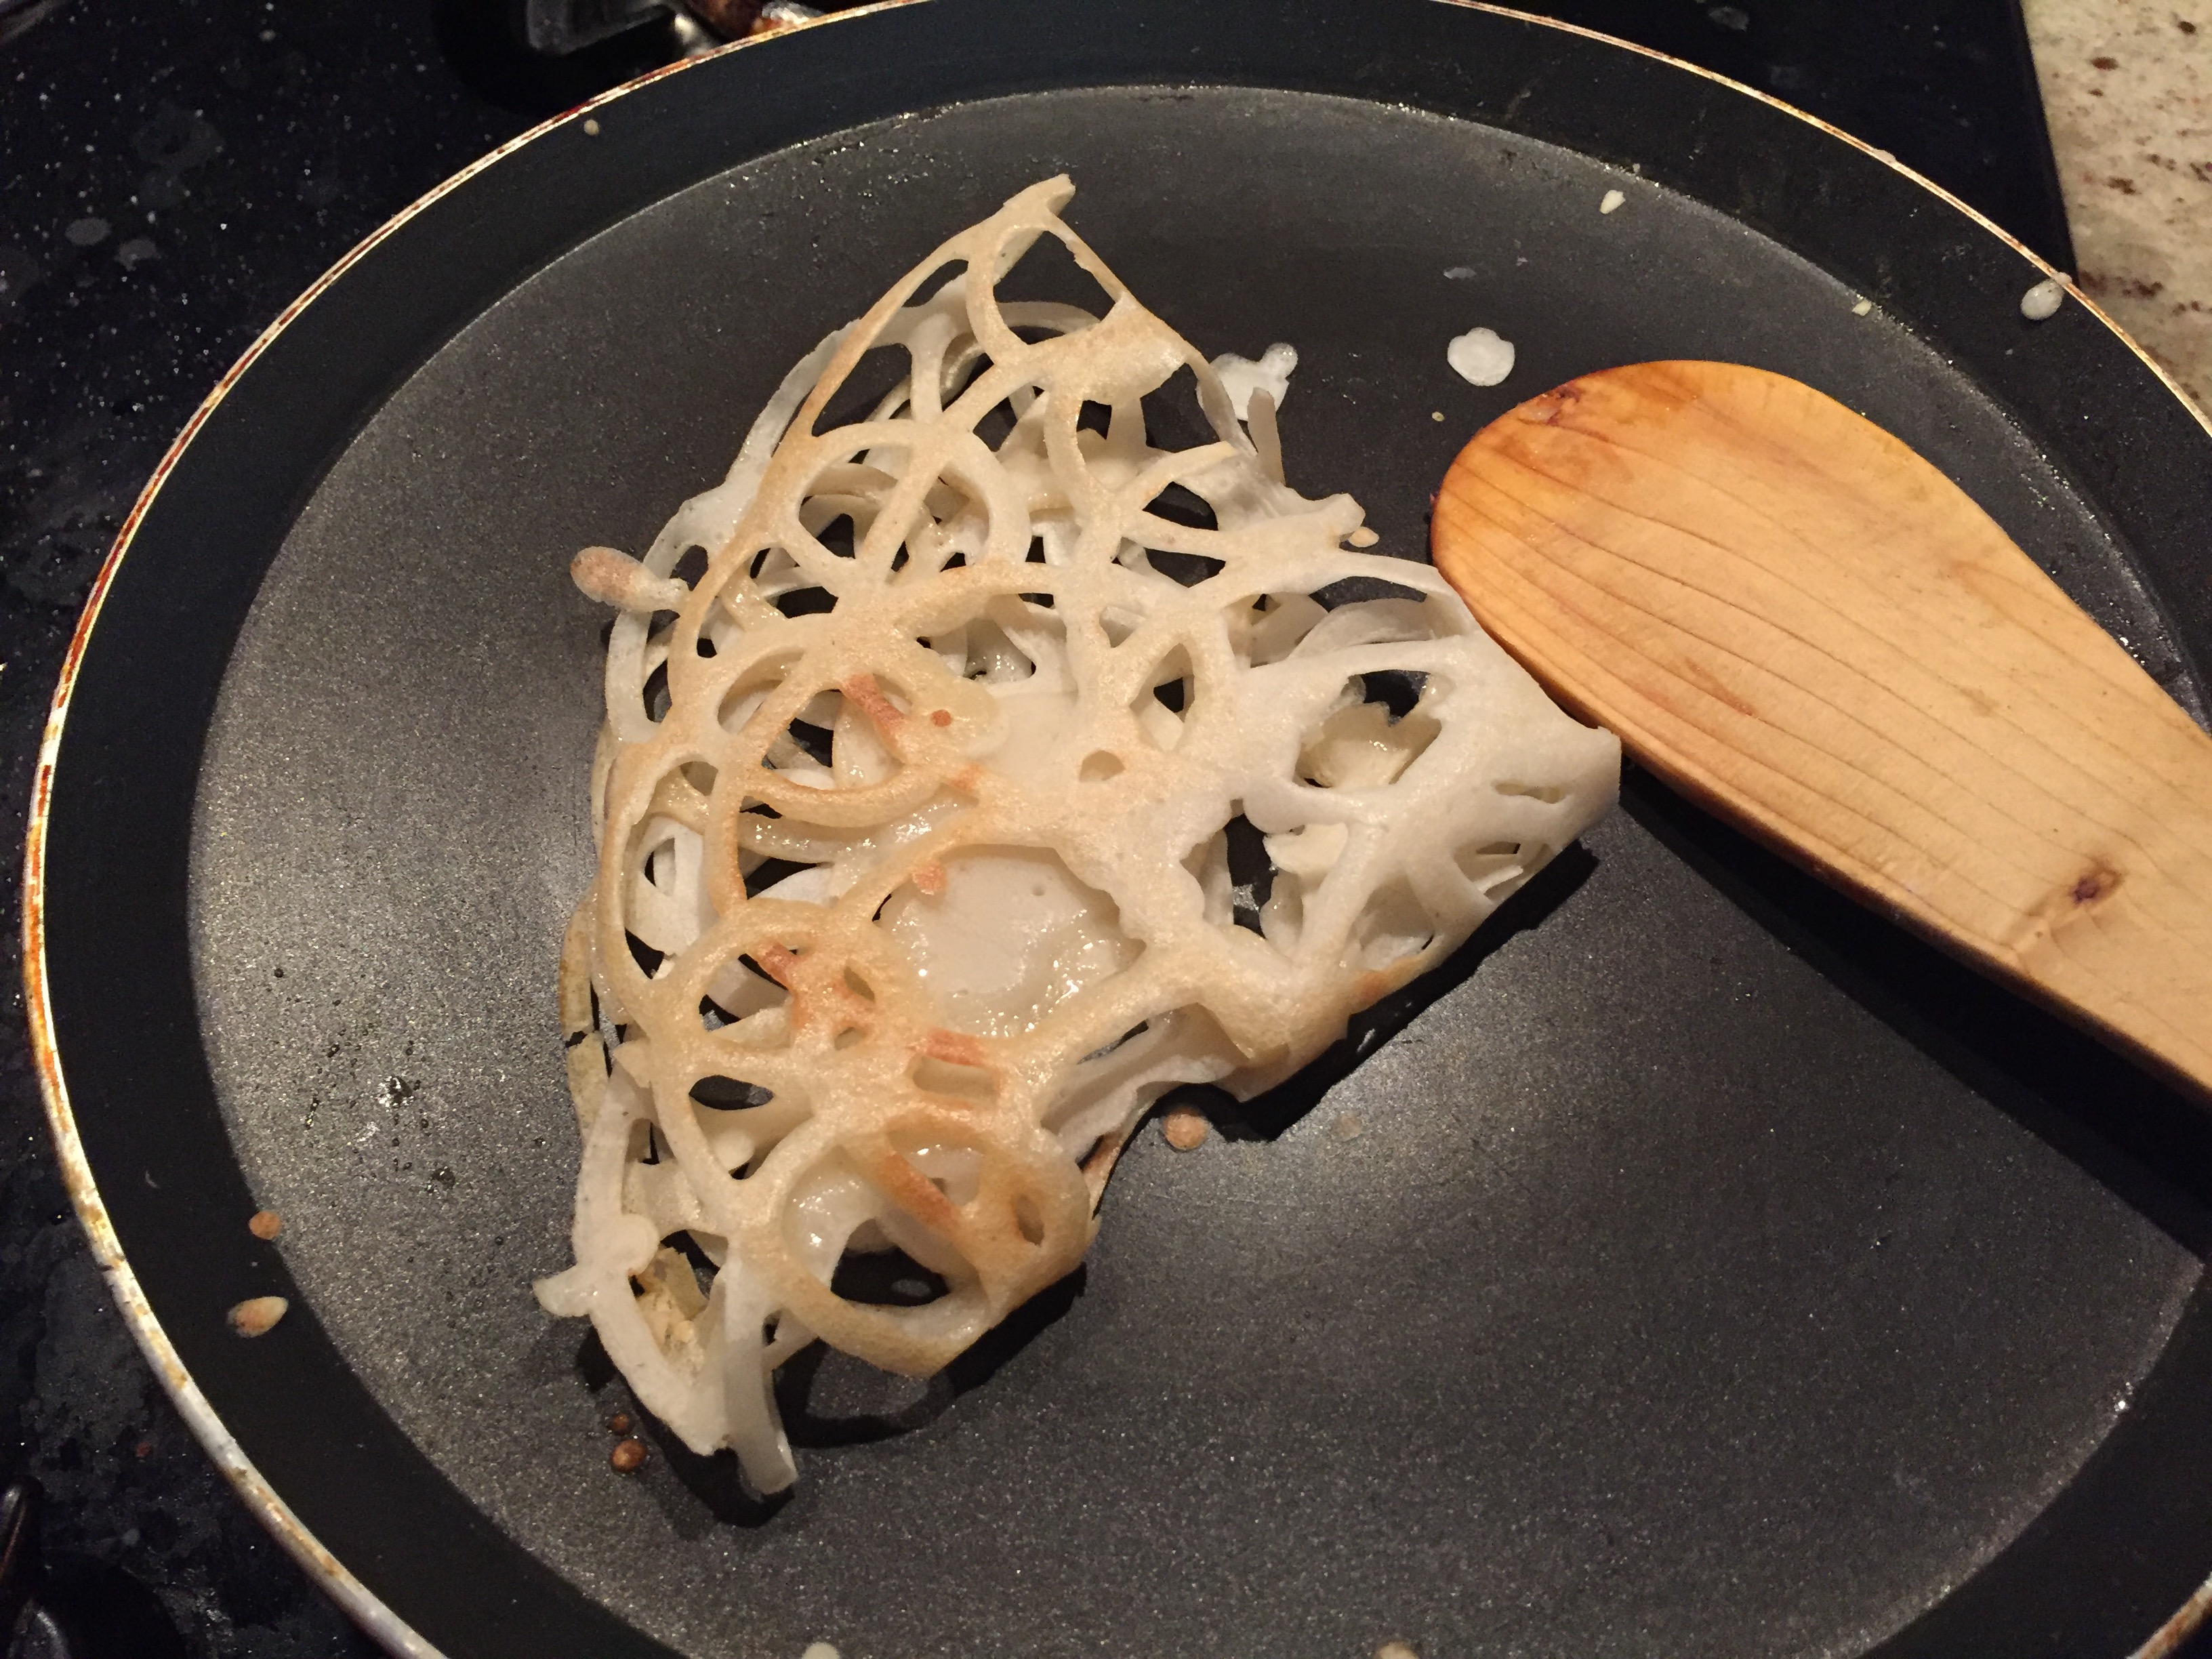
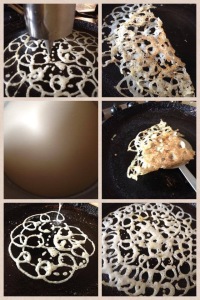
Stuffed Malaysian lace pancakes
Sweet and savoury filled pumpkin's / Erachi nirachathu
Sweet corn savory pudding
Sweet pepper pesto pinwheel
Tapioca with Mutton Curry / Maravalli Kilazngu Thakkadi
Tender coconut and palm fruit country punch
Thai mushroom coconut soup
Thakkali jam / Tomato sweet
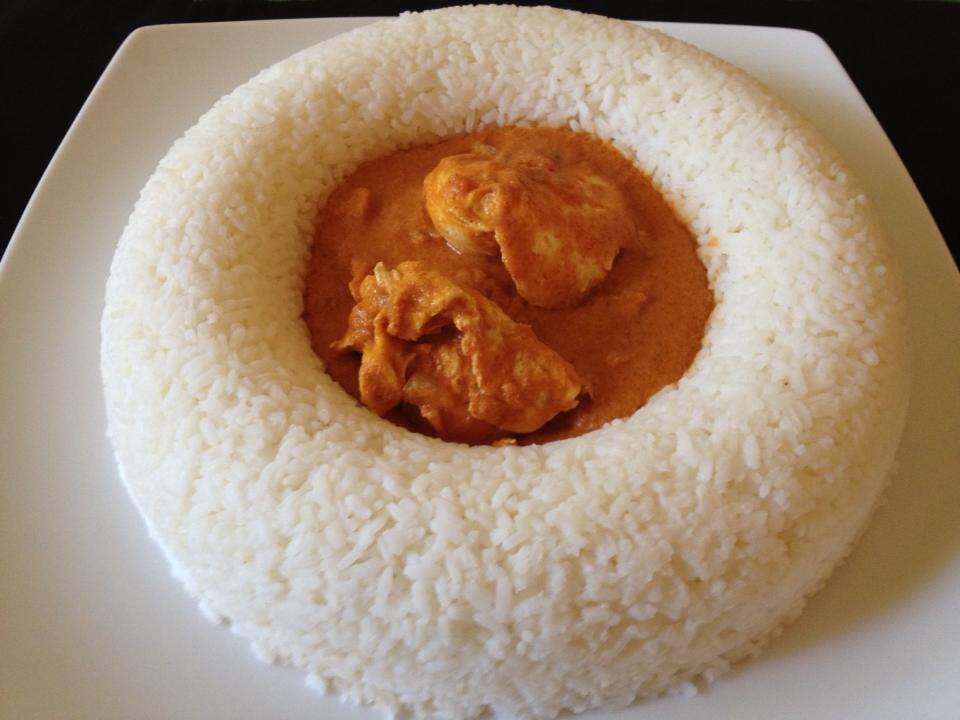
Thenga choru / coconut milk rice
Toad in the hole with onion gravy
Tri - colour Macaroni salad
Tropical glass noodles salad
Tropical summer punch drinks
Upside down pineapple cake
Vadai koftas in red peanut gravy
Vanilla cup cakes with strawberry flavored frosting
Wheat bread diet Sandwhich