Daily Archives: September 2, 2014


Chemeen adukku pathiri

Share Button

image (18)

Preparation Time : 30 minutes

Cooking Time : 40 minutes

Serving : 10 members

Description

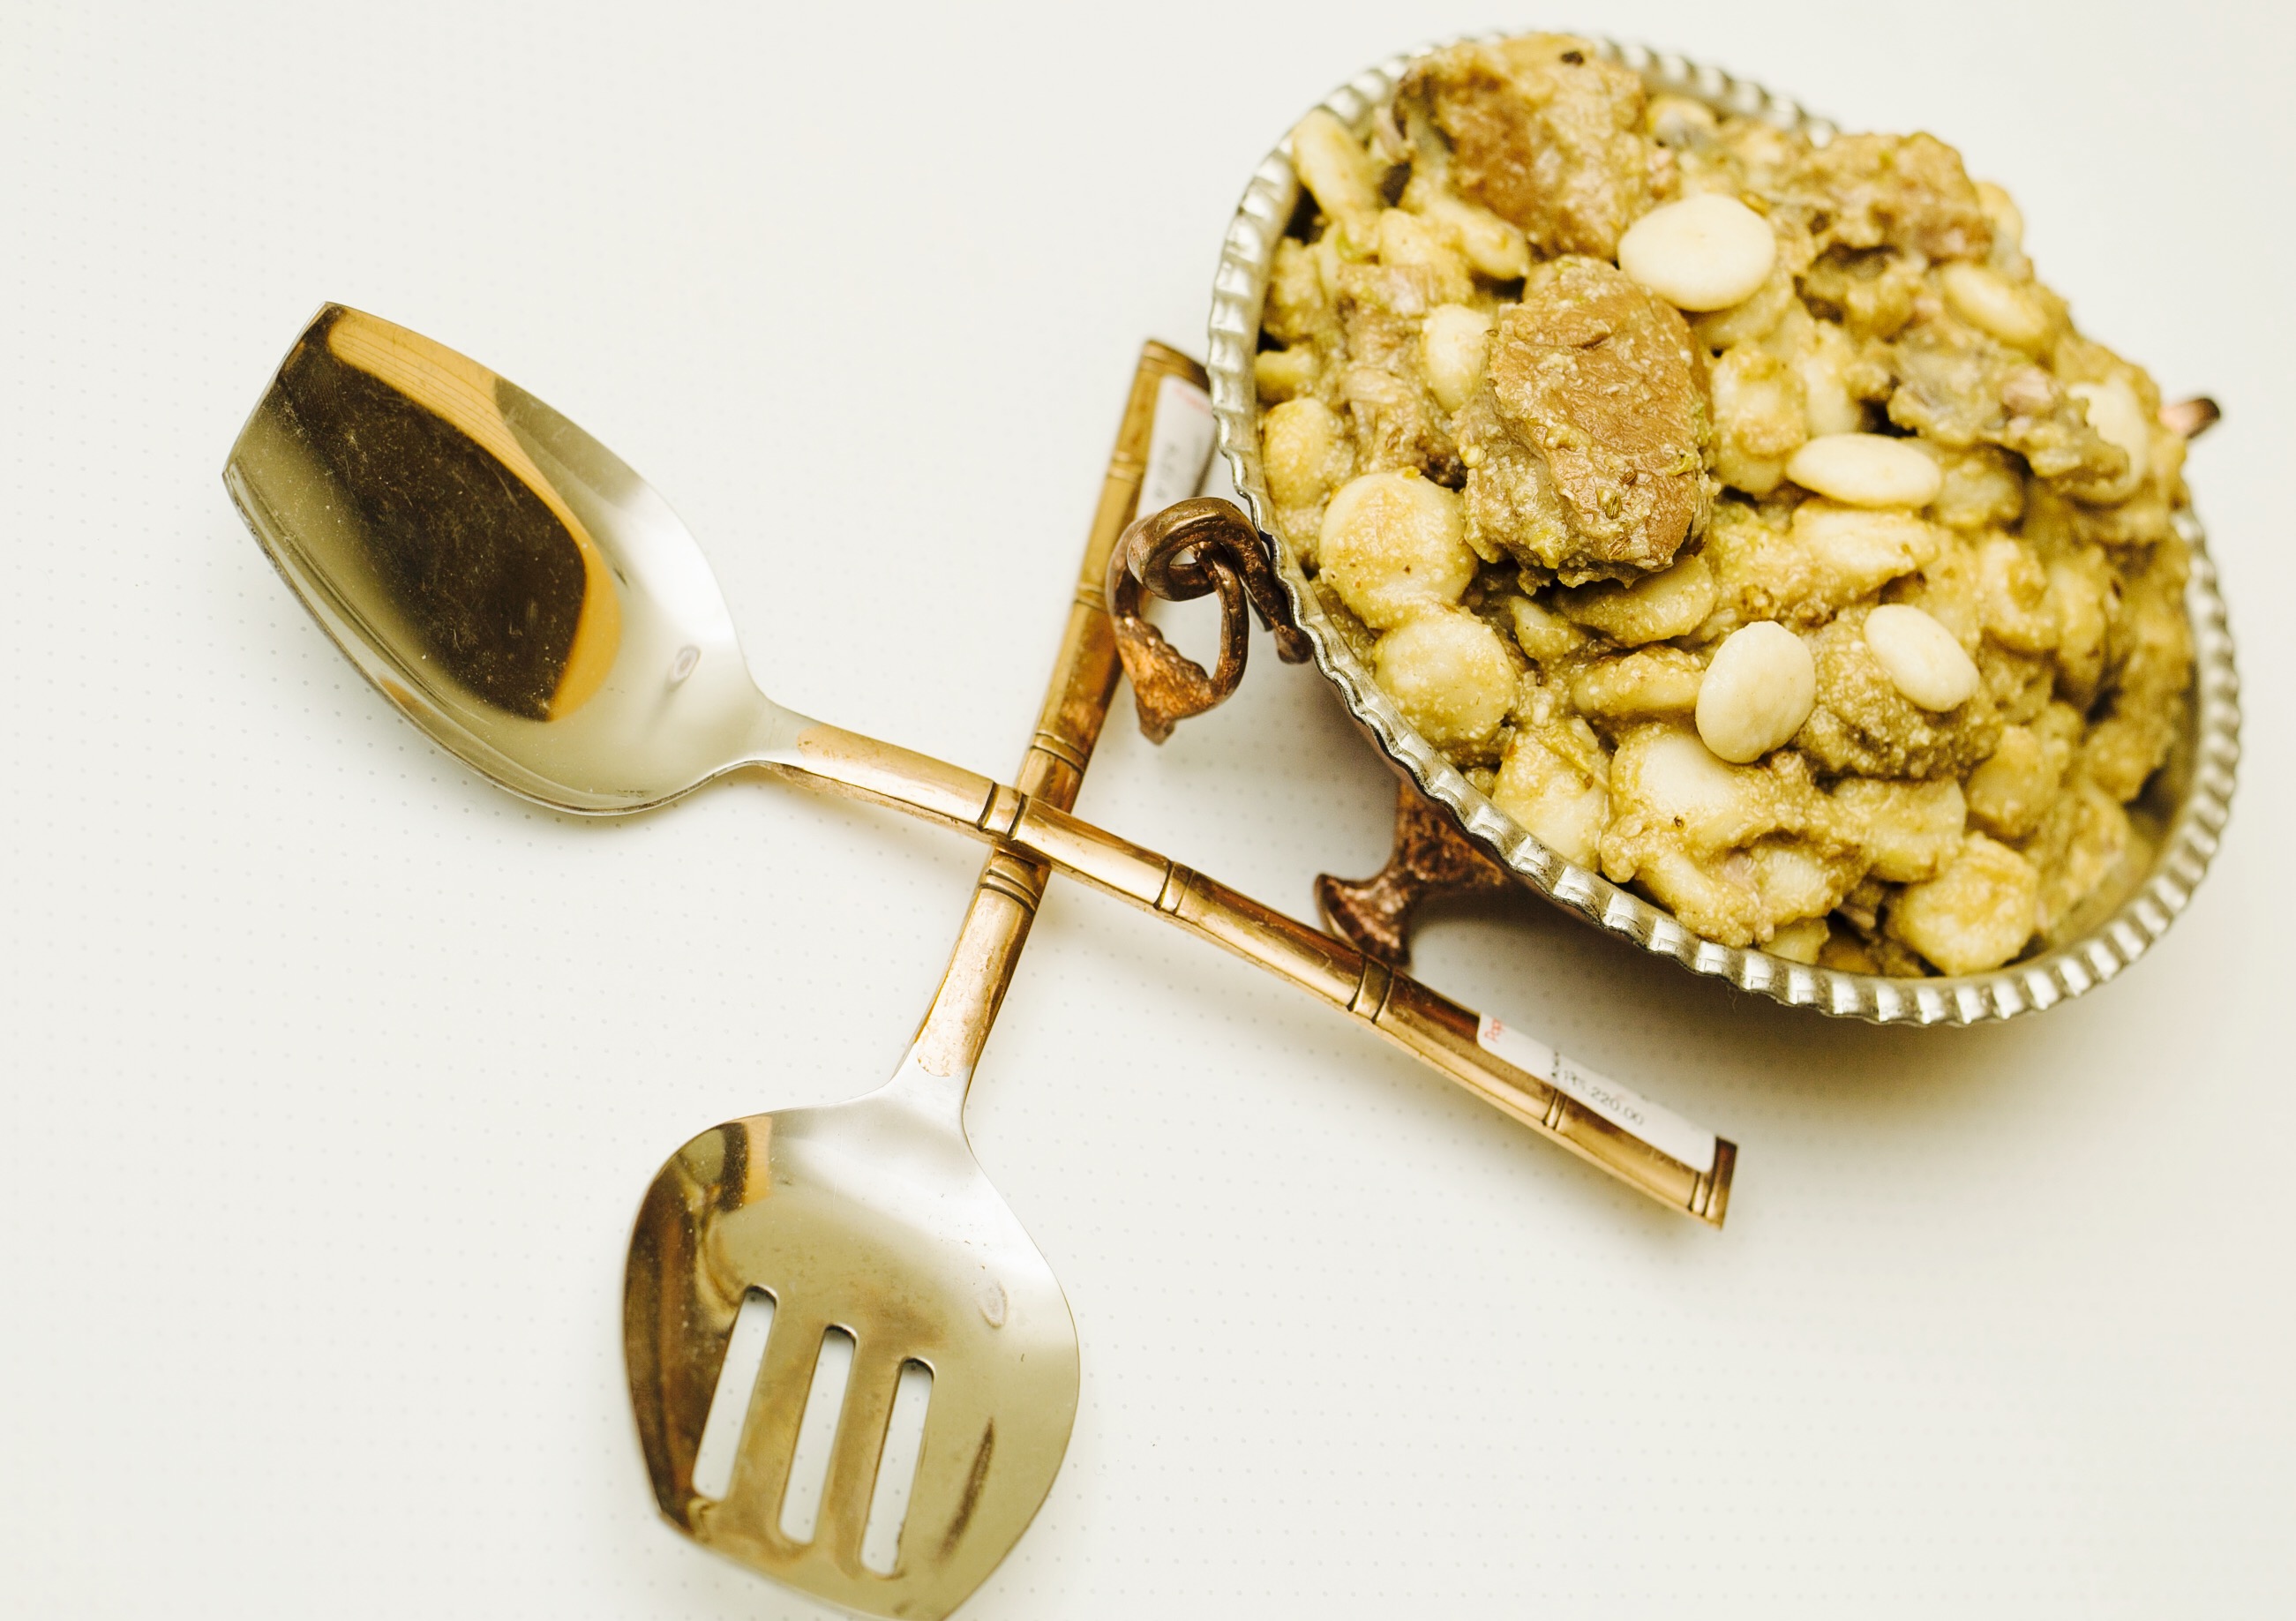
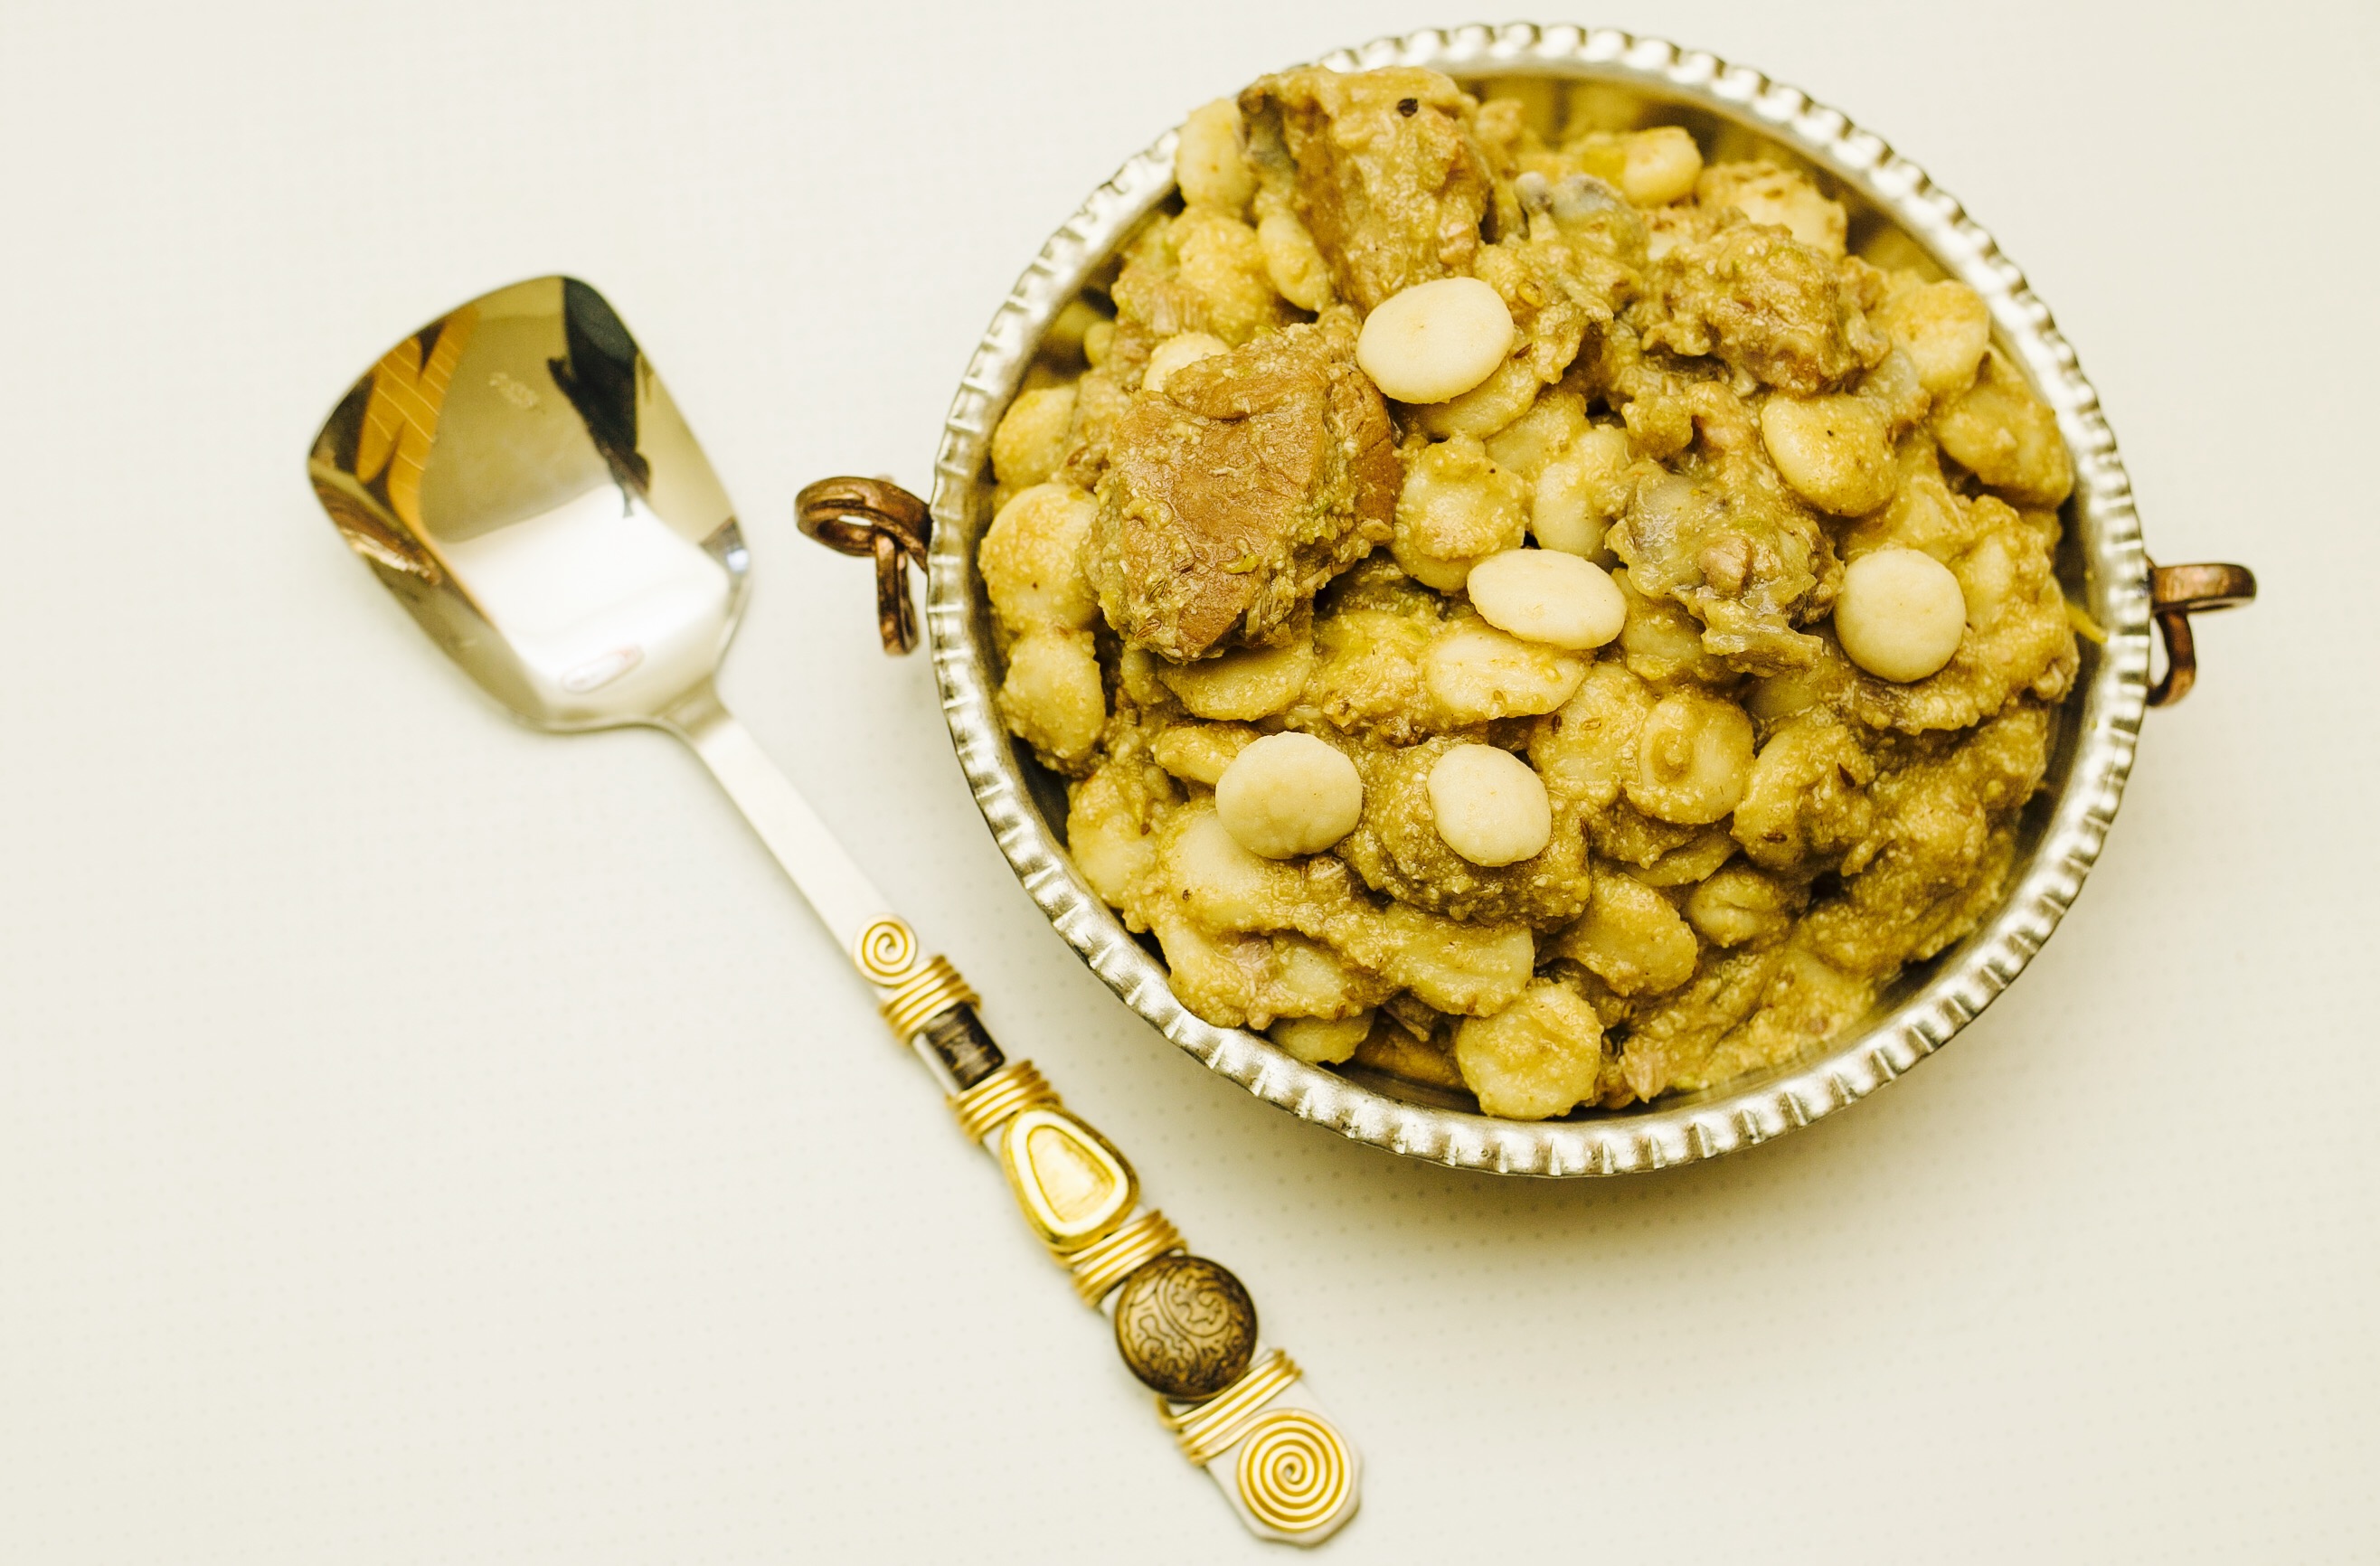
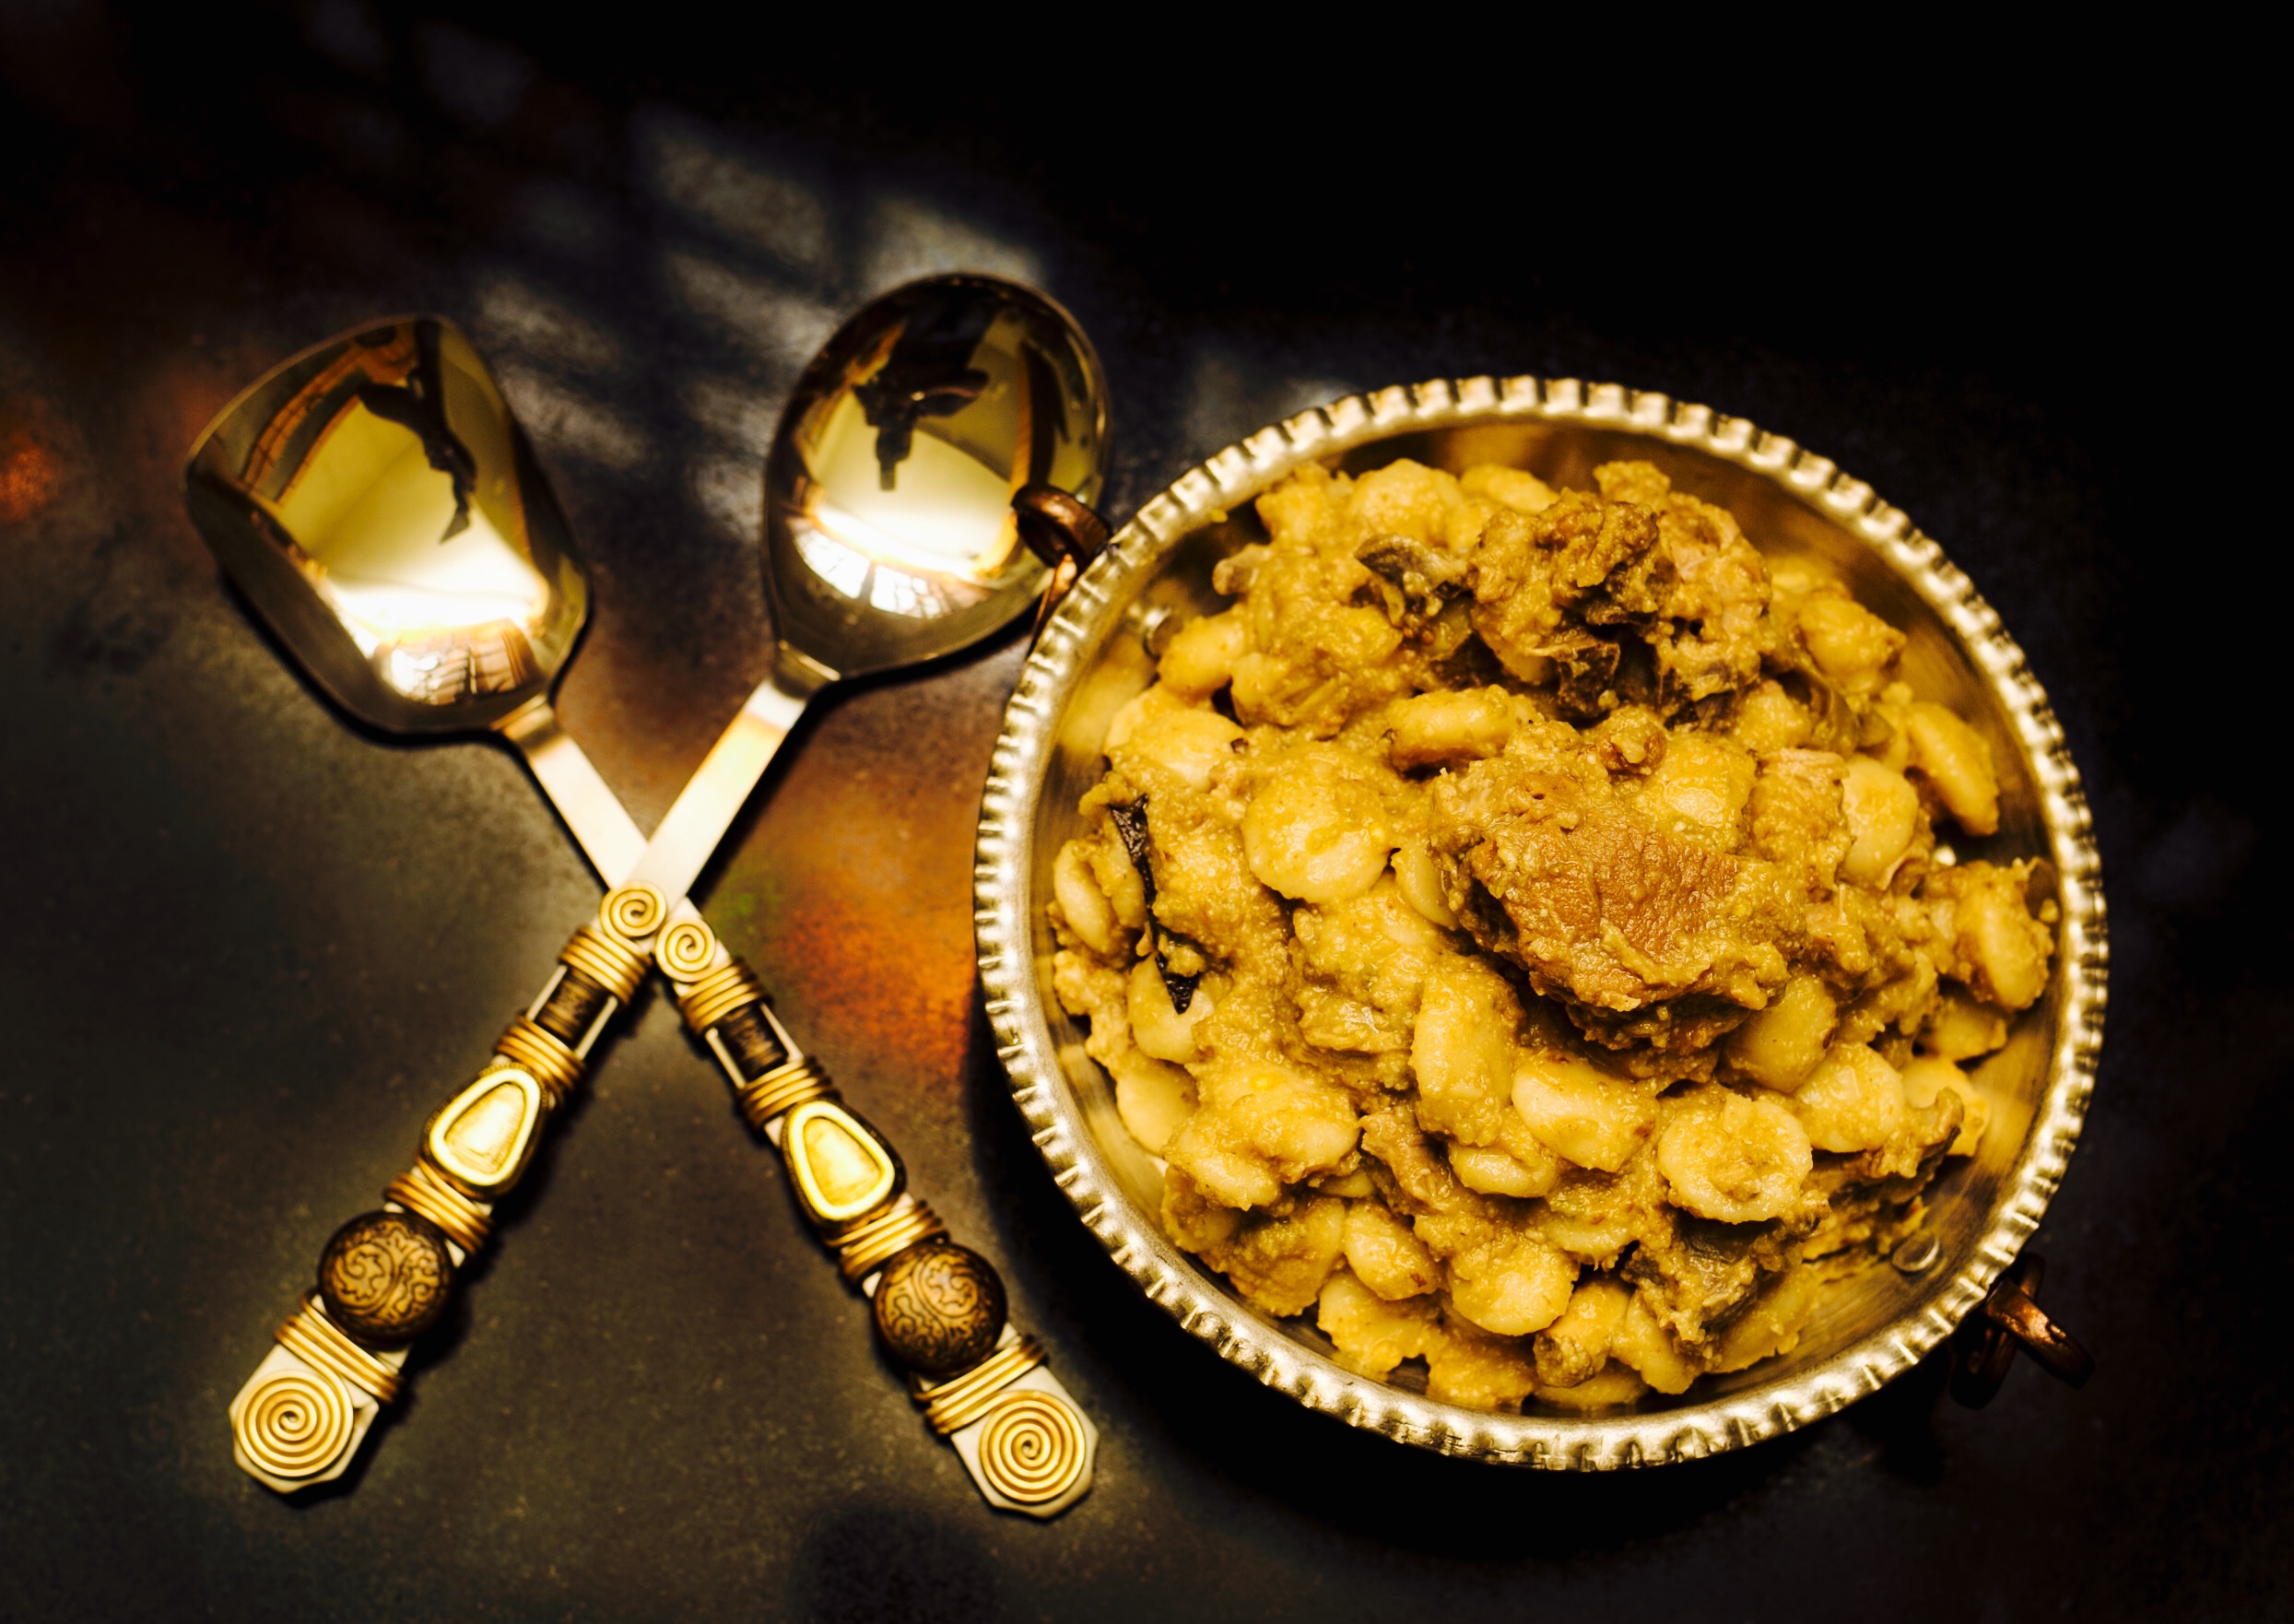
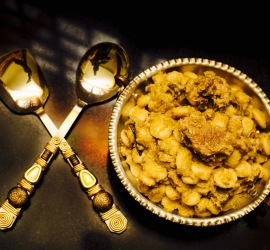
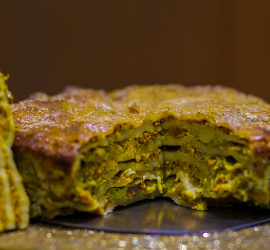
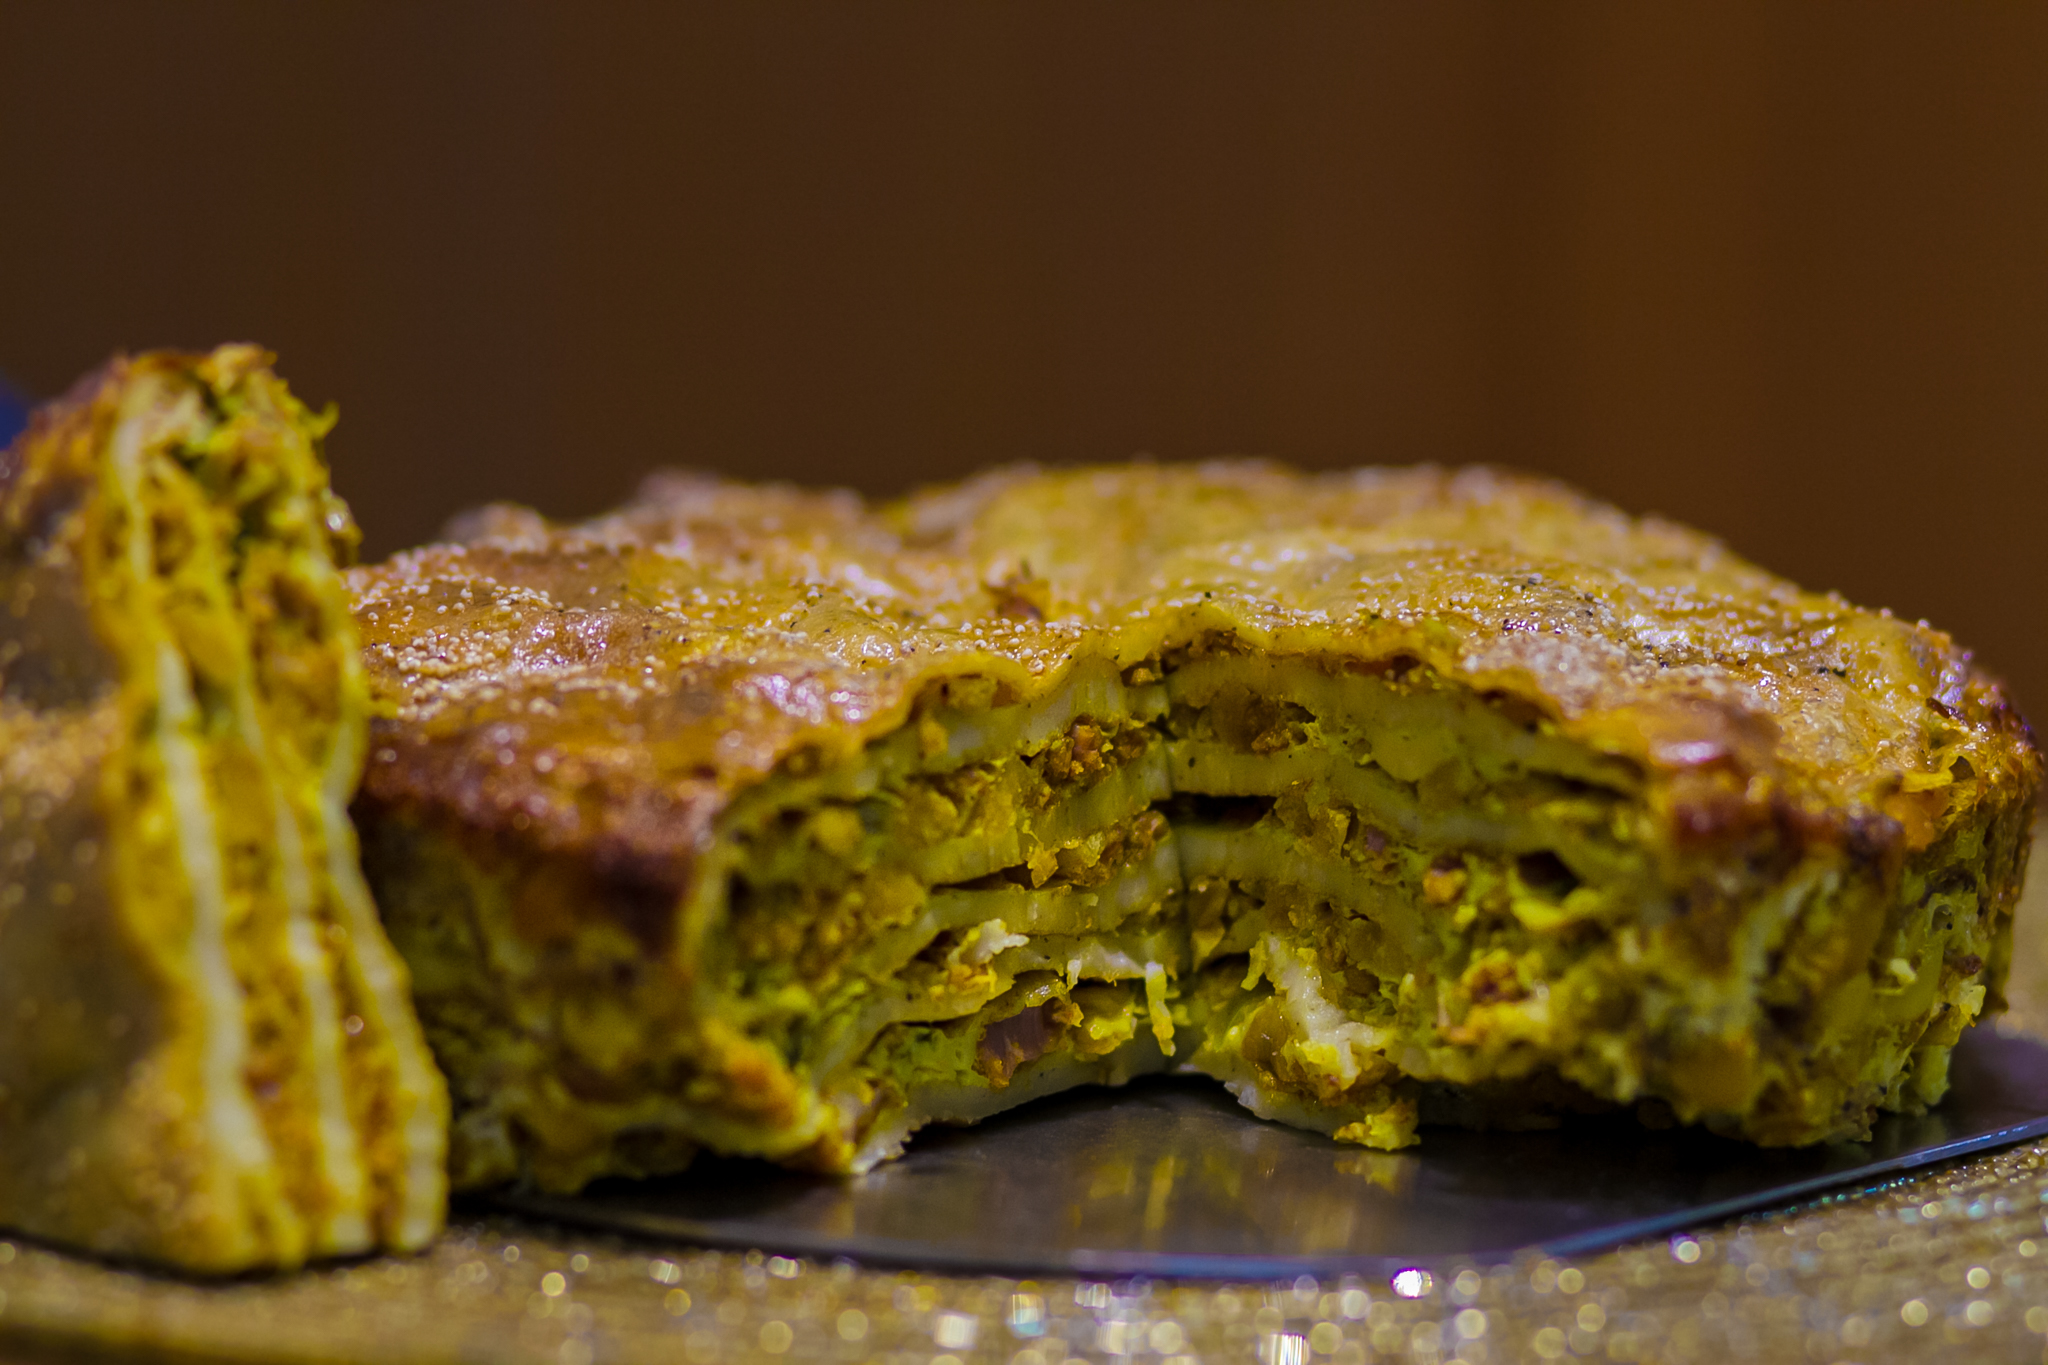
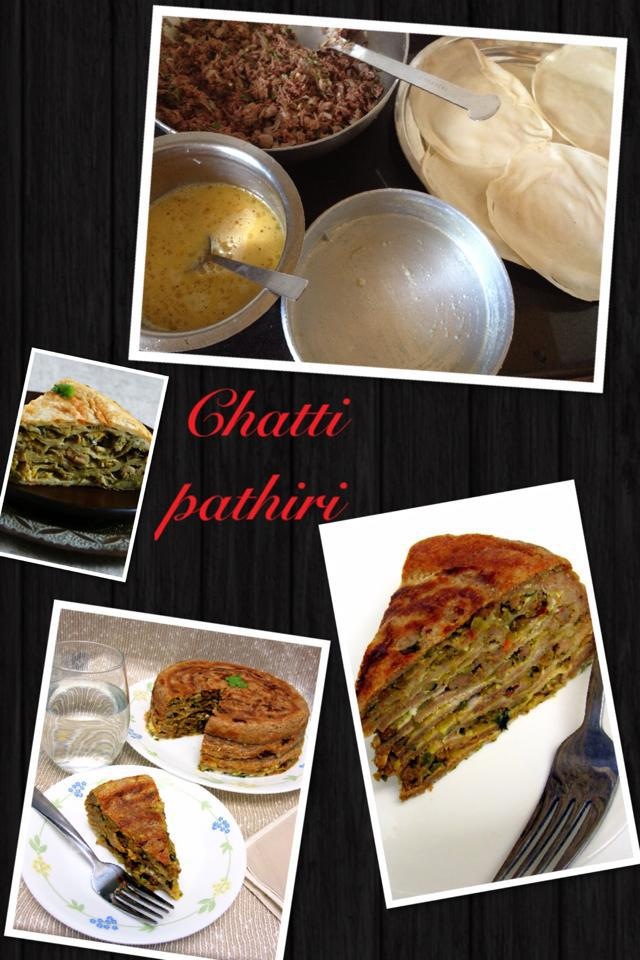
Chemeen adukku patheri . An authentic malabar meal in itself  dish that I tasted at my hubby’s niece alfinas home  in Cochin . Just loved it and did ask her for the recipe . She explained about how it is done but the exact measurement for the rice batter was not told . So just had to think and drool about the dish in my mind for nearly 3 long years . As I mentioned before  I am a real die – hard fan and a religious follower of a food blog ” notes from a Mallu kitchen ” run by Reshma Nooh of Cochin . I was super excited to see her post the recipe of this unpredictable dish with artistic combinations of staple ingredients put together using a new technique . with no delay tried it then and there . Guess what ??? It tasted so yum .. Actually much better than what I had at alfinas place . The rice batter layer was so soft and moist with the prawn roast in between was to die for .thank you Reshma Nooh for sharing this easy to follow yummy recipe .  I made this during Iftar time . It looked plain on the outside but take a bite and the prawn stuffing oozes out a delicious surprise  . A perfect make – ahead dish when entertaining  at home to dazzle your guests .

Ingredients for filling

Ingredients
Quantity

Button onions chopped
1 cup
Ginger garlic paste1 teaspoon
Green chillies(chopped finely)8
Tomato (chopped fine)1/2
Turmeric powder 1/2 teaspoon
Chilli powder1 to 2 teaspoon
Fennel seeds powdered1 teaspoon
Soya sauce 1/4 teaspoon (secret ingredient!!)
Salt taste
Curry leaves(chopped)a stalk
Coconut oilas needed to saute

Method for filling

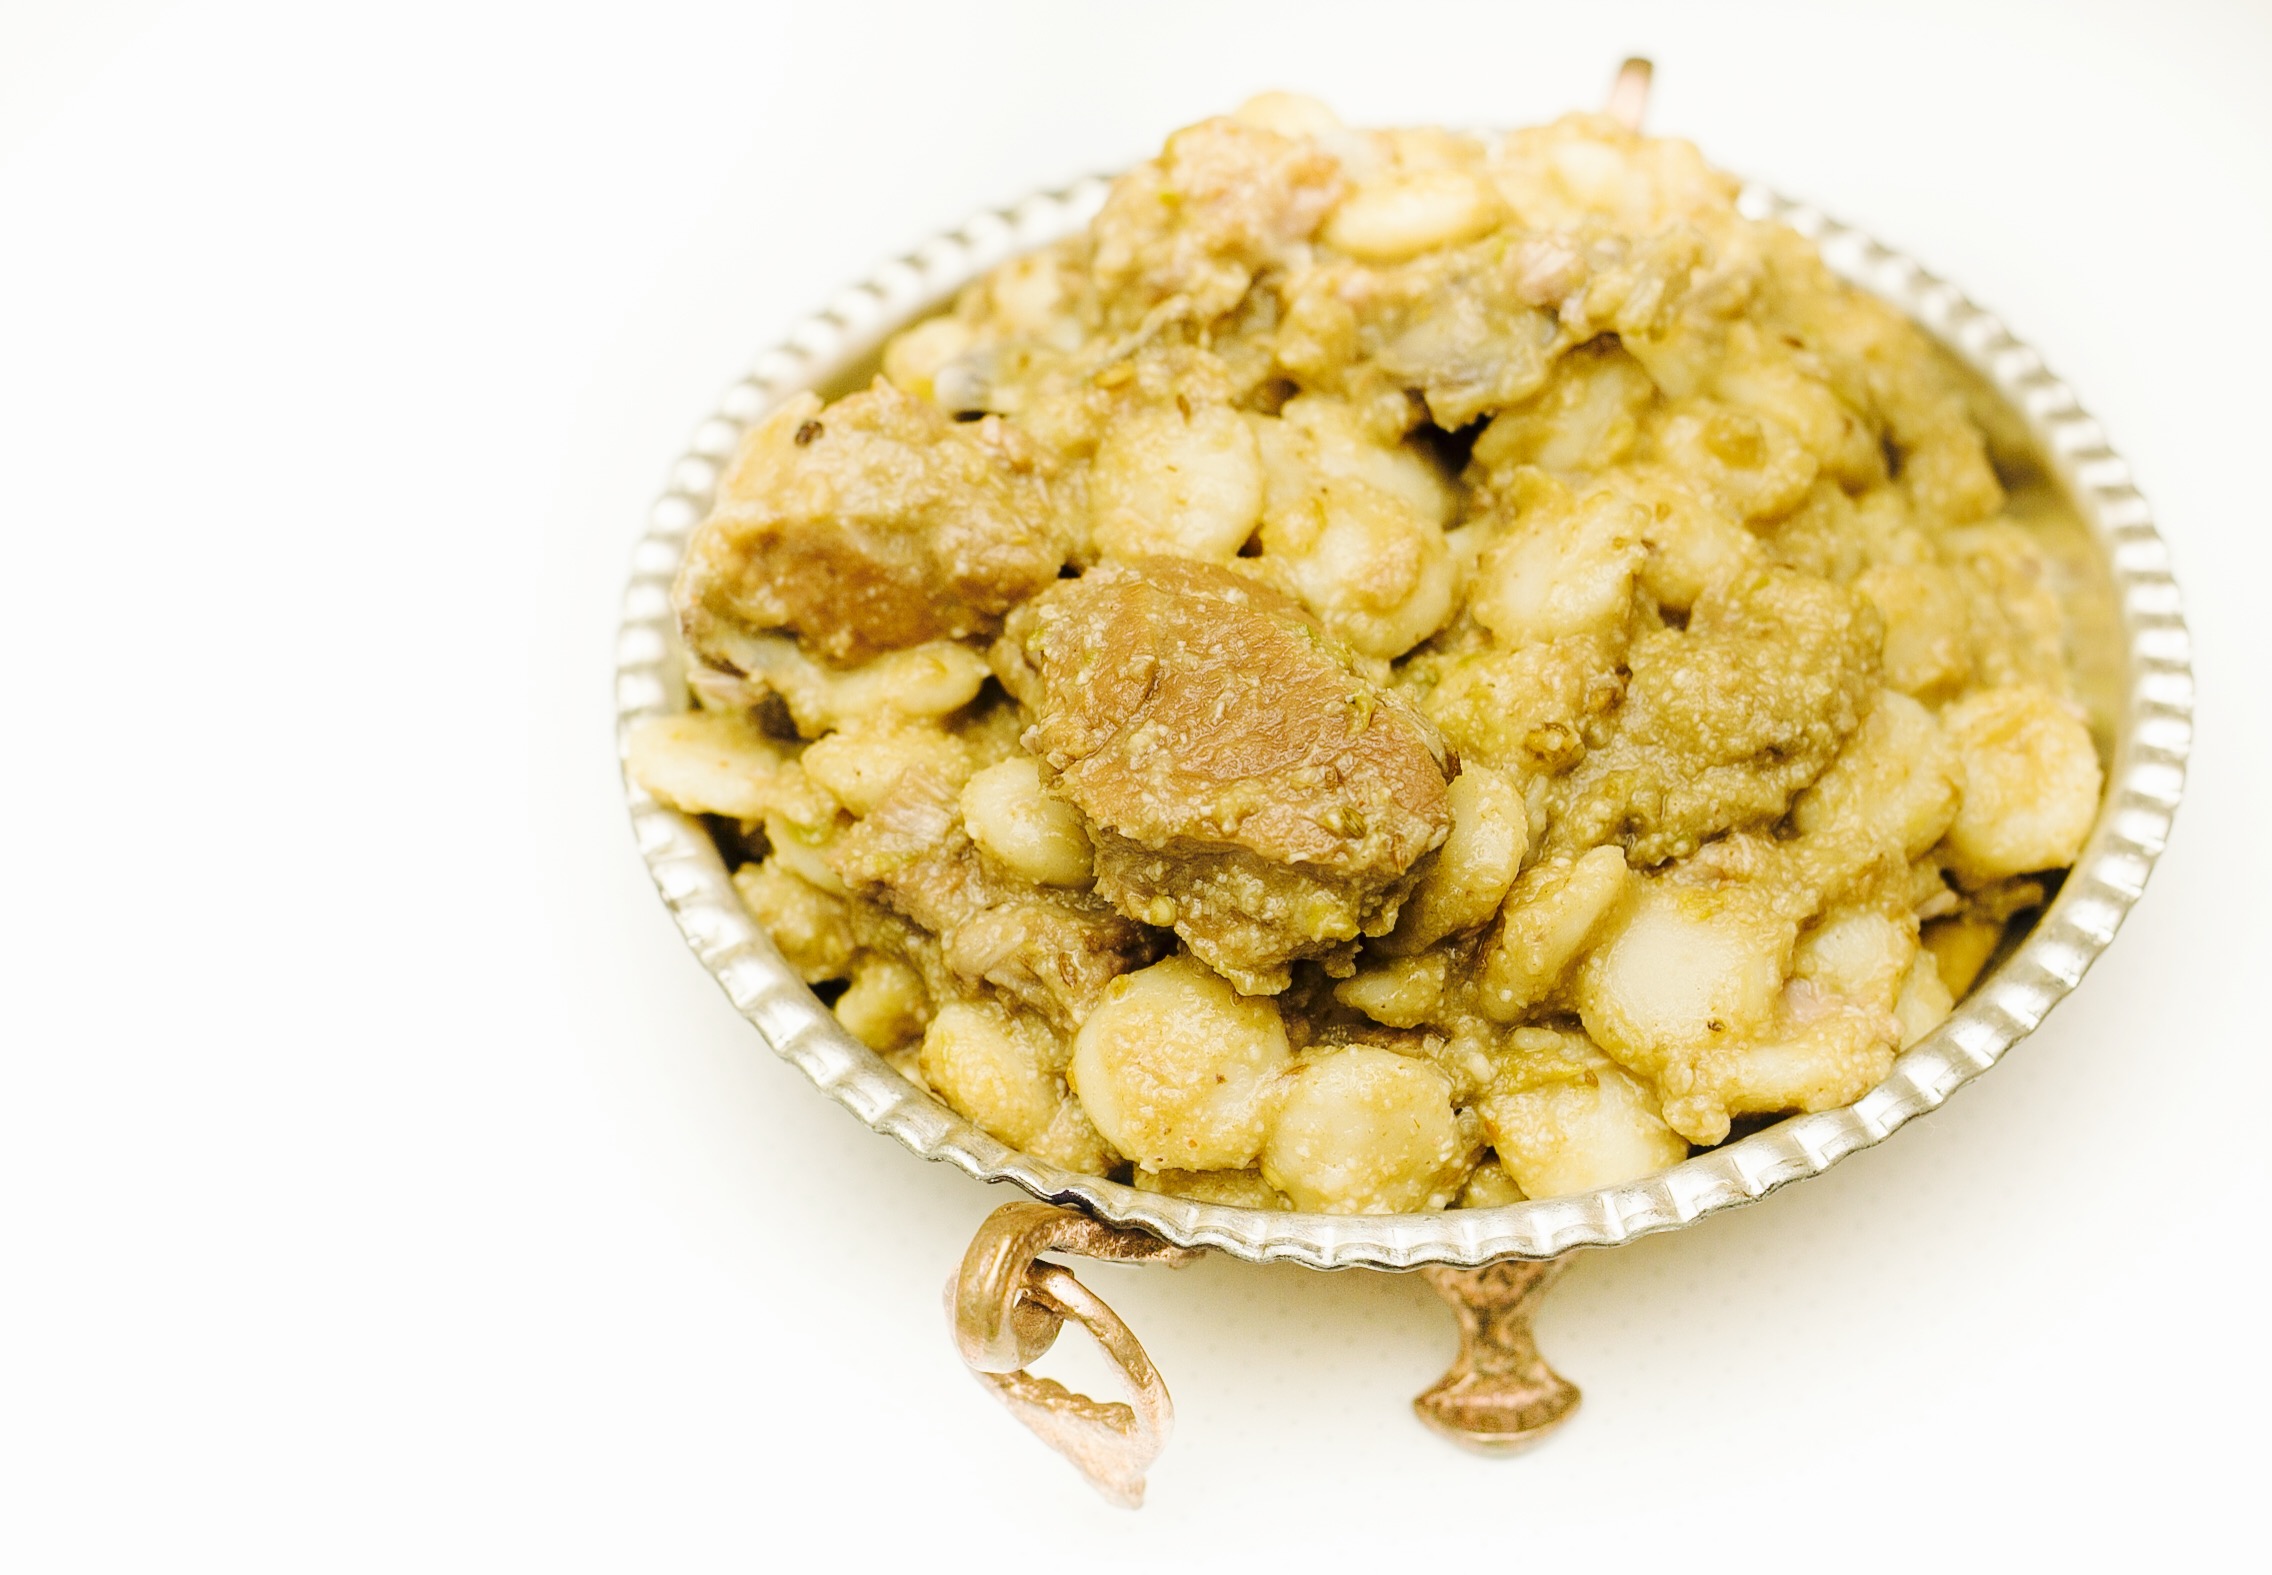
  1. Cook 250 gm shelled and deveined prawns in 1 cup water, a pinch of turmeric and a pinch of salt. Drain.
  2. Saute the above items without it turning dry . Add prawns last. Stirfy till u get a nice thick roast. Keep aside.
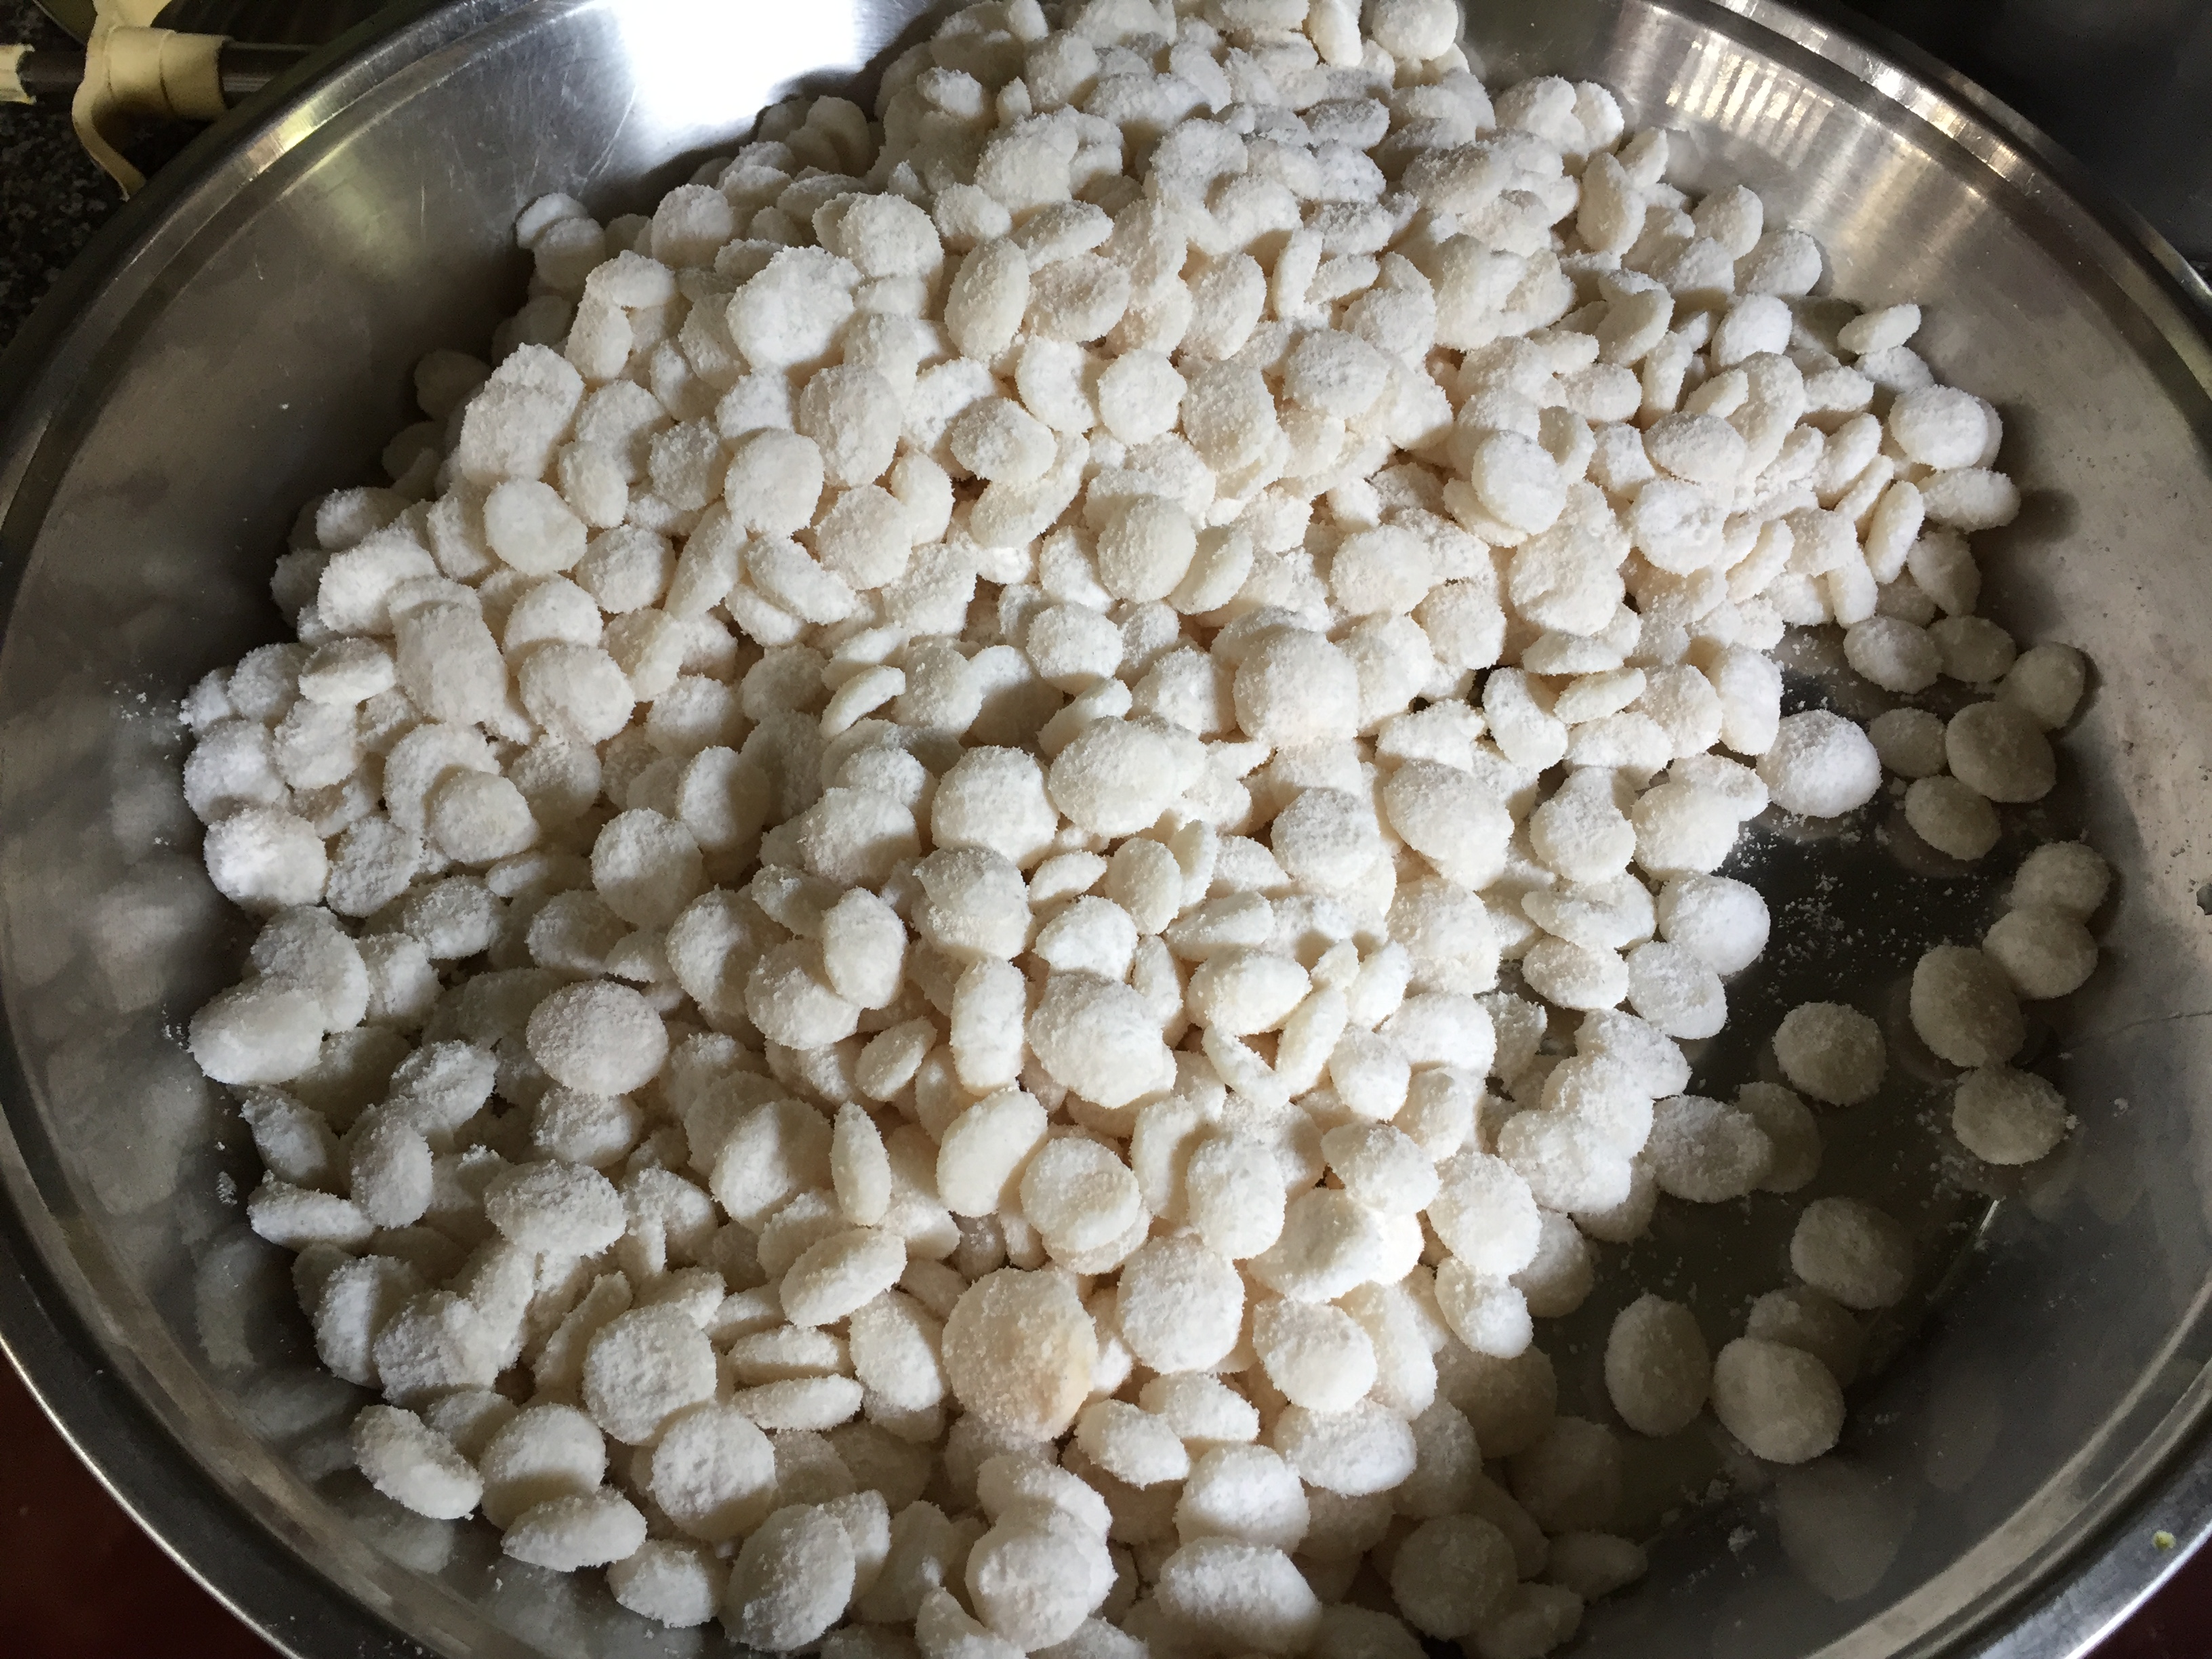
  3. Soak 1 cup raw rice ( pachari) in water for 1-2 hours.drain and use to make batter.

Ingredients to Grind together

Ingredients
Quantity
Raw rice (pacharisi)1 cup (Soaked in water for one hour , drain and use to grind )
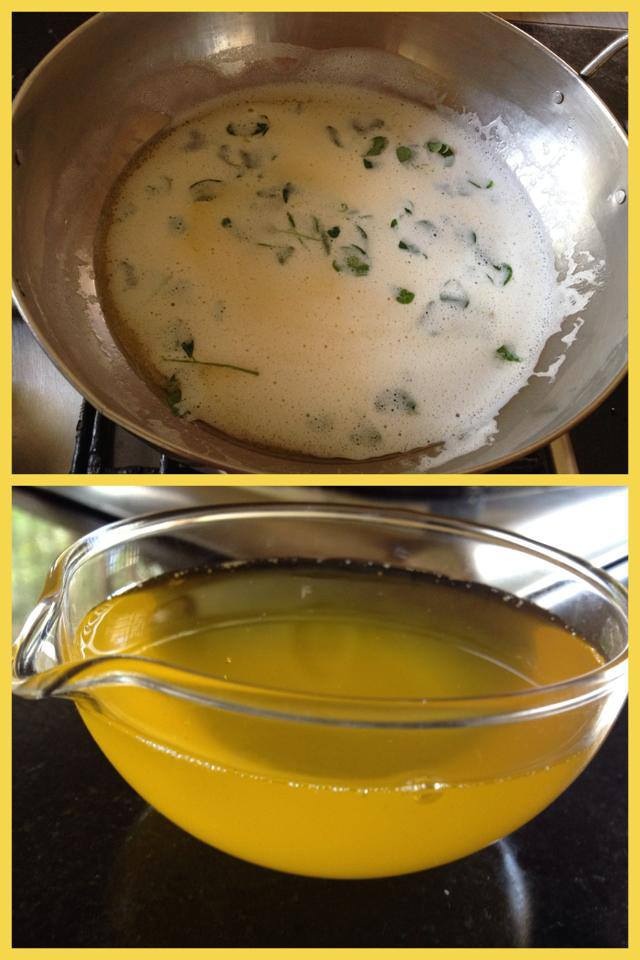
Coconut milk3 cups
Egg 1
Salt1 teaspoon
Cooked rice 1 tablespoon (optional,makes pathiri softer)
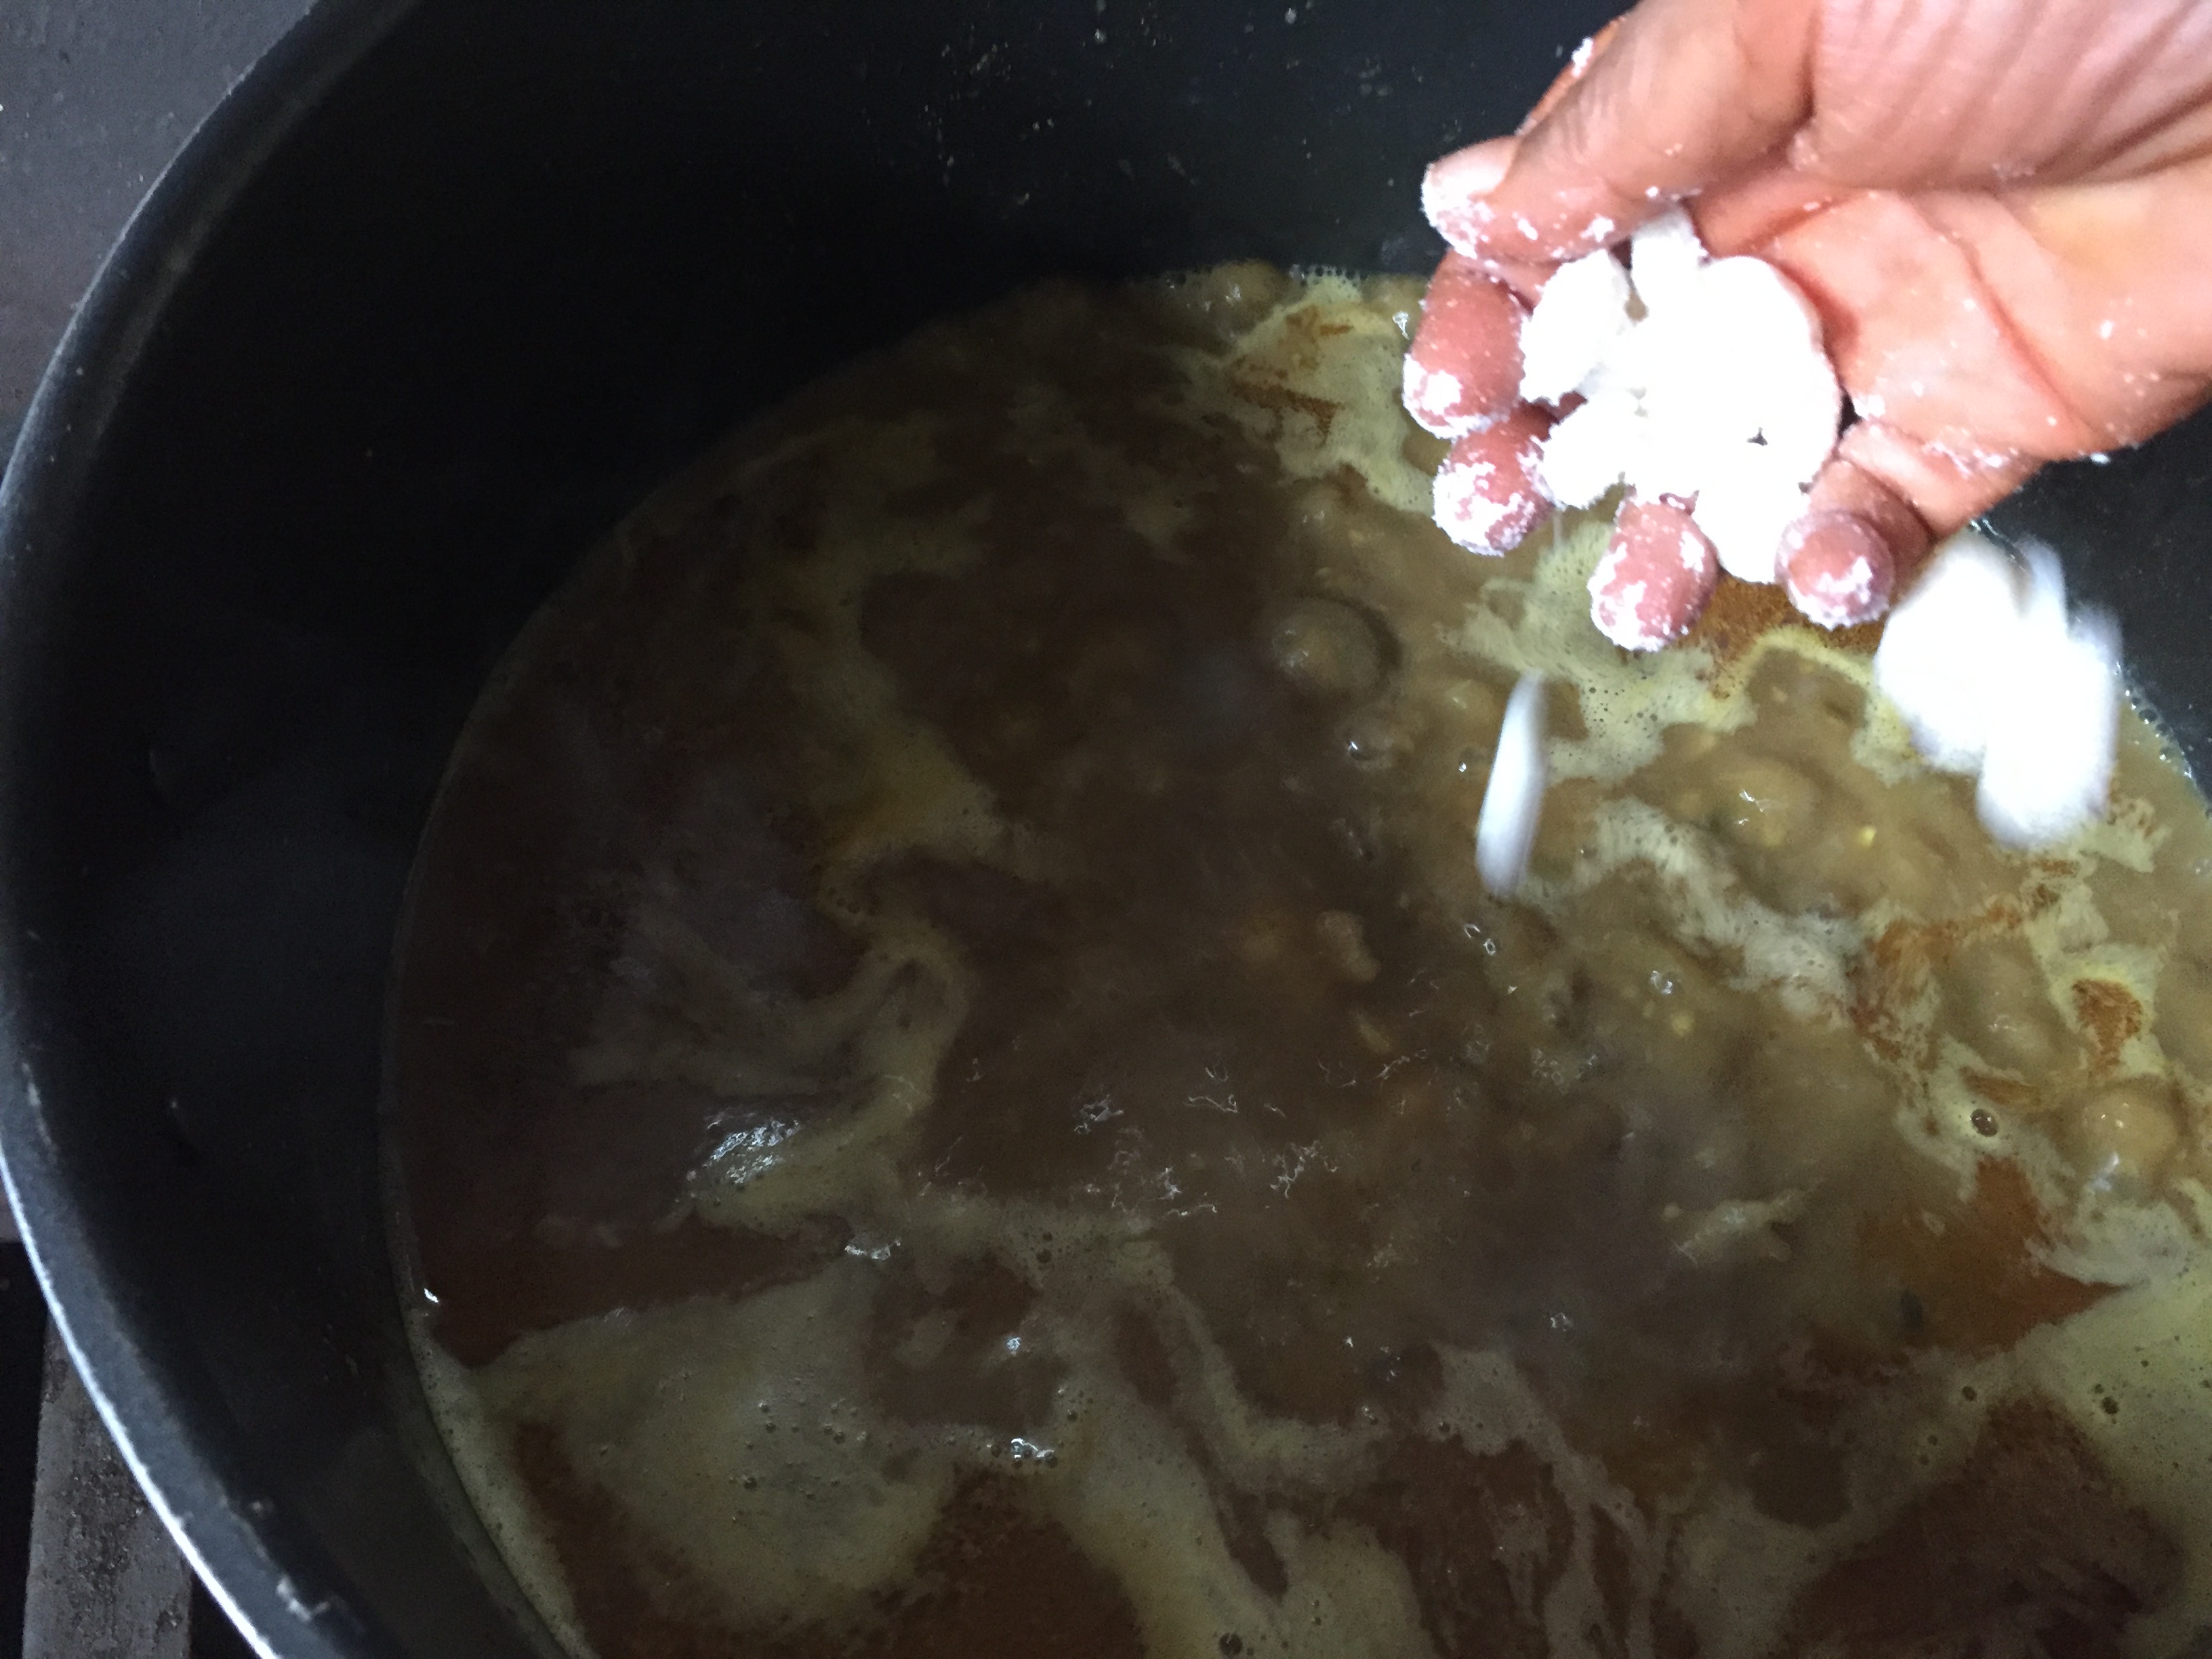
Soda bicarb 1/2 teaspoon
Method to grind
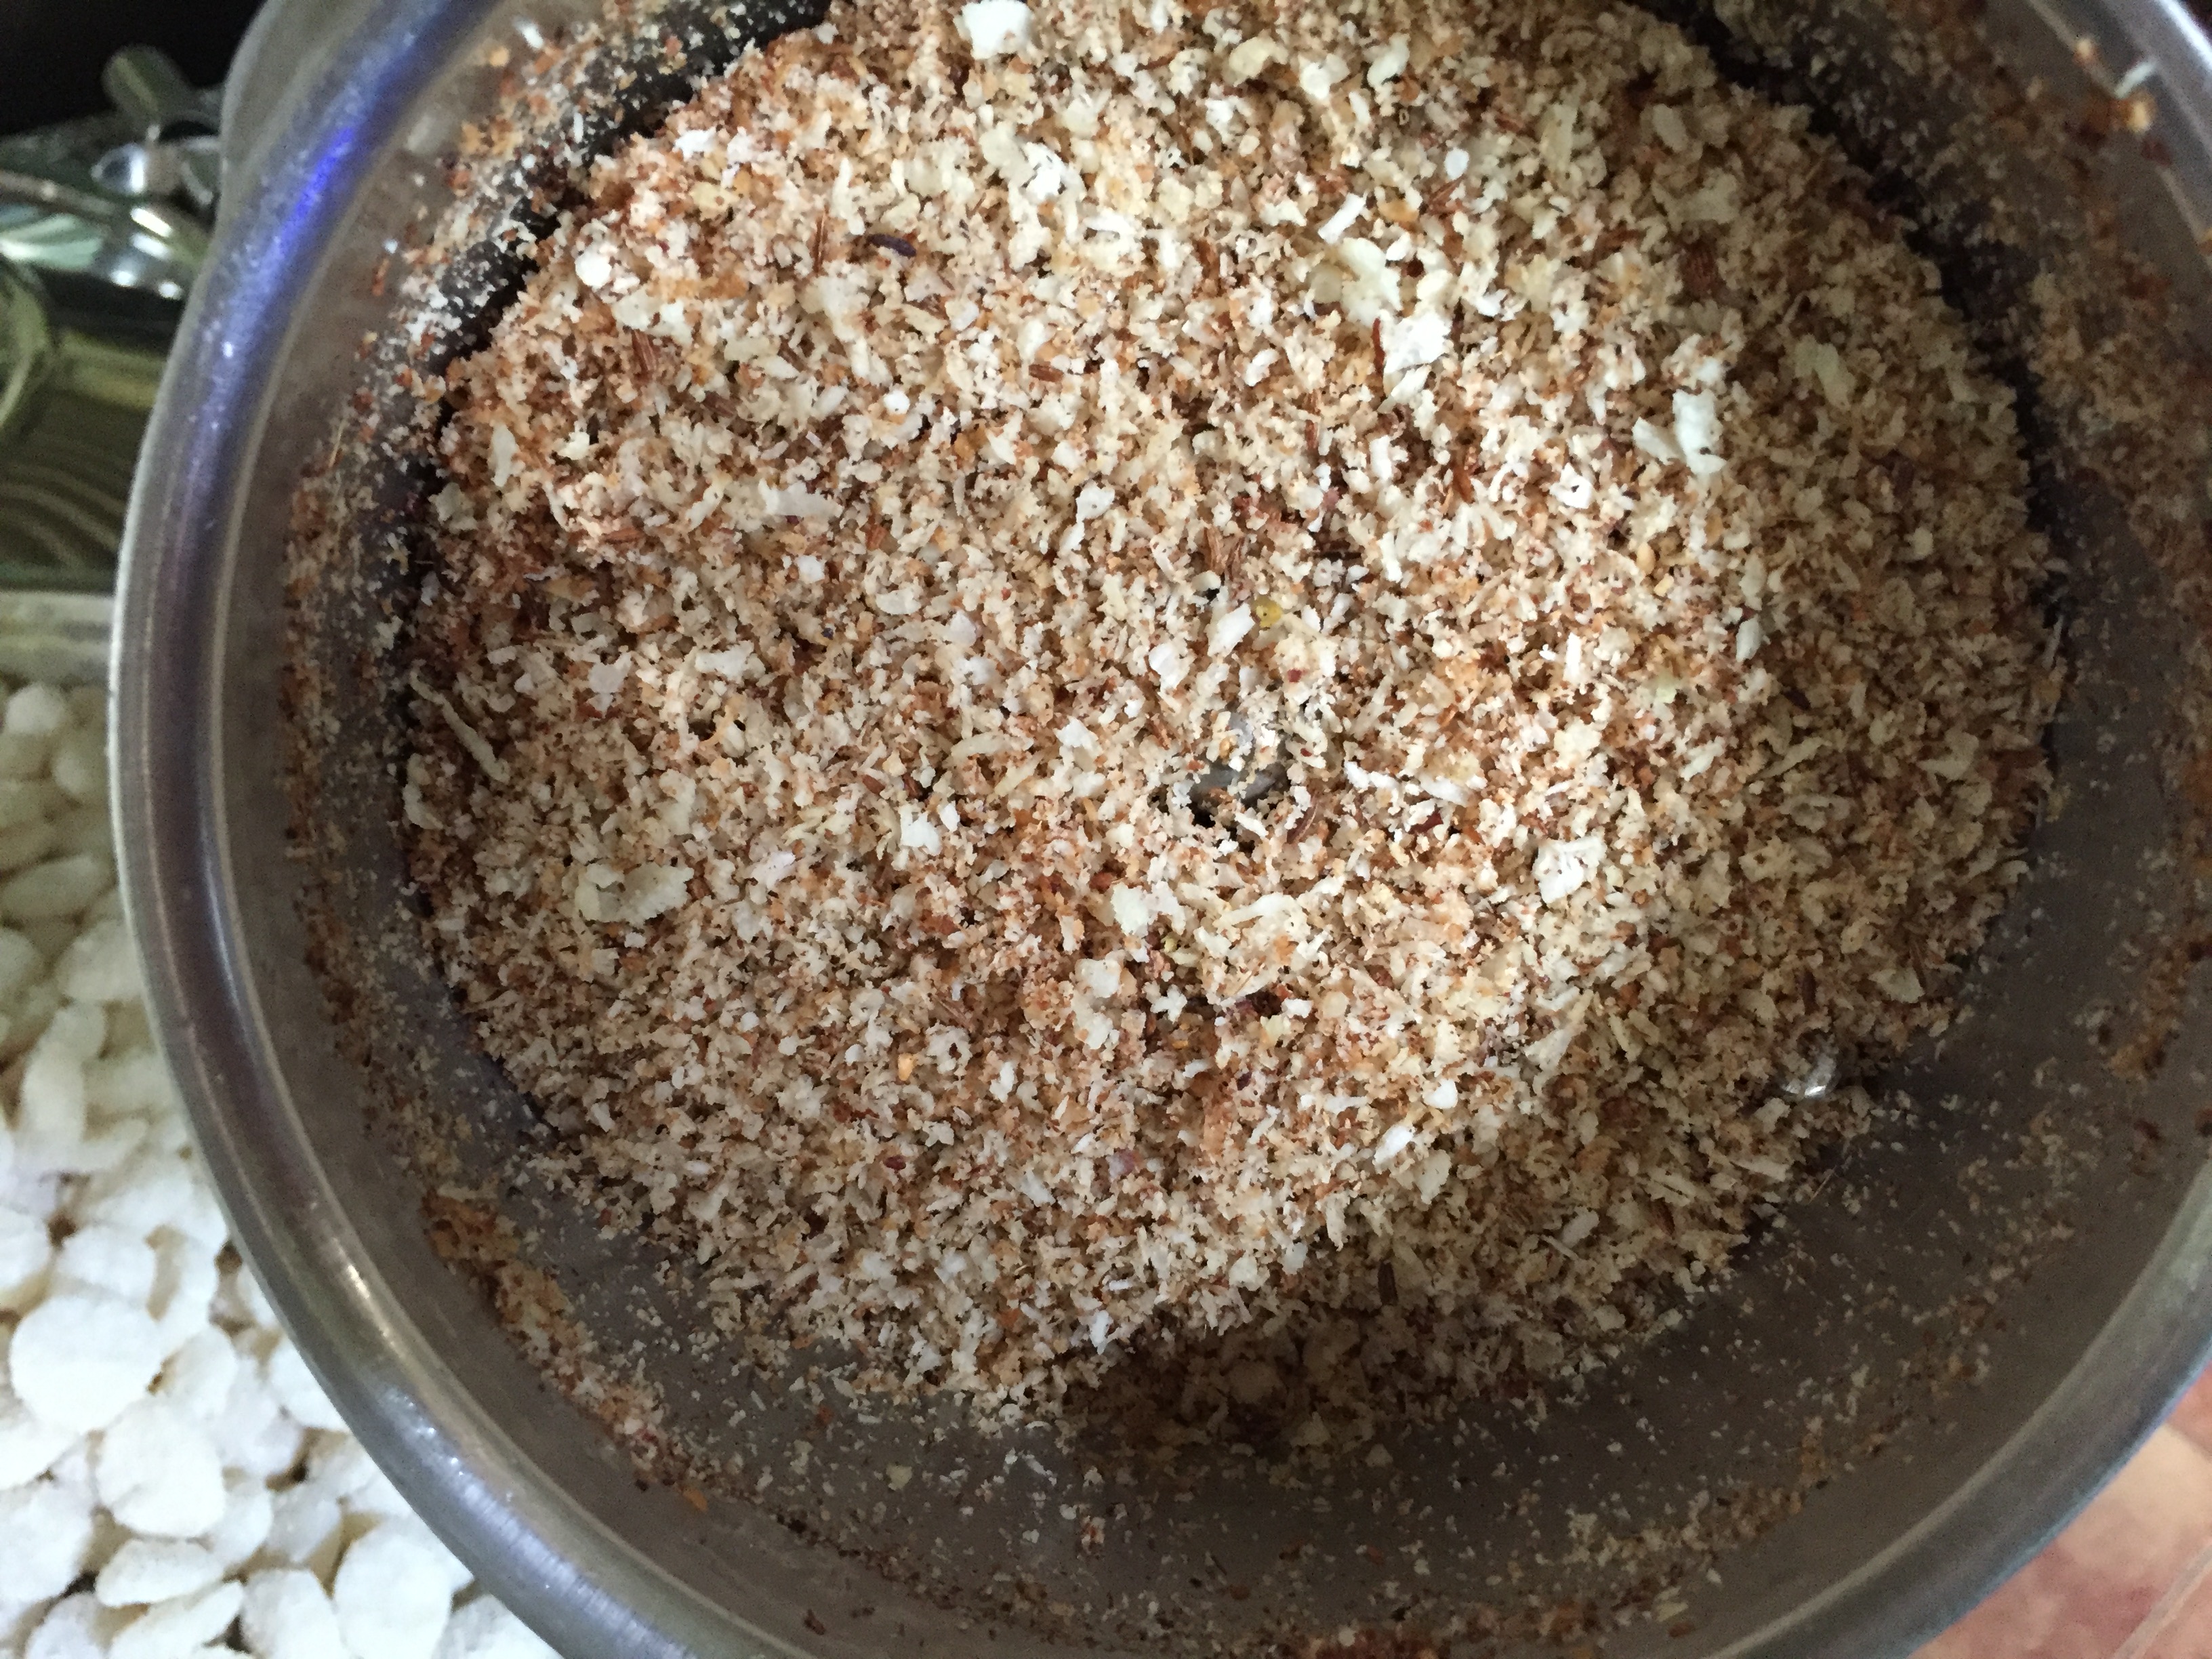
  1. Grind all the ingredients together except for soda bicarbonate for approximately 15 minutes . Strain and add soda bicarbonate and set aside.

How to proceed

  1. Take a steamer, fill with water and keep to boil. Take a deep dish which will fit inside the steamer, accomodate the pathiri and filling too..
  2. Grease well with some ghee/ coconut oil, pour 1/2 of the batter, and steam.After 5 minutes , turn heat to low, and open steamer. Do not take the dish out of the steamer.
  3. Put the prawn filling and spread out as a thin layer. Pour one more tbsp of the batter on top of this and steam on high again.
  4. Open again after 5 minutes of steaming. Pour the remaining batter onto this, Steam again till it is well set (10 mins).
  5. Remove from steamer and leave to cool. Invert this dish onto a plate,Cut into pieces and serve while warm.

Tips

  1. This pathiri can also be made without prawn filling. Just pour 1tsp ghee in between layers each tie, steam and invert onto a plate.
  2. Cut into diamond shapes, serve hot with mutton or beef or chicken gravy. This is what I make for dinner on some days. Adukkupathiri + beef curry.
  3. If you have any chicken curry left over,take the chicken pieces, de bone them, put them back in the curry and stirfry till all the water has dried up, and voila! you get a lovely chicken filling for making chicken adukkupathiri.

Home made ghee

Share Button

image (17)

Preparation Time : 20 minutes

Cooking Time : 25 to 30 minutes

Serving : 10 members or more

Description

Home made ghee . I learnt the art of making home made ghee from my mother – in – law .At moms place it’s more of busy buzz home style cooking as mom is a working woman . My in – laws place it’s  laid back leisure cooking ( I like  it at my in- laws place as cooking and food is my first love .) moms place every thing is store brought and in – laws place every thing is done from starch  that results in better taste what so ever . These facets raise home cooking to a sublime art form . In today’s busy life , the skilful use of subtle cooking would be some what daunting but taste and character to food comes from a treasure trove of home style recipes as such . We had a couple of cows at in – laws place so milk products were ample always . Every 15 days once my mother – in – law would prepare ghee . The entire street would be filled with the aroma of unique earthy ghee .This ghee was used only to make dosas , chappathi’s , on top of iddlis , white rice and iddi podi  for kids and guests mainly . My hubby keeps telling me about an incident that happened to him as a kid . In the lunch table he was offered ghee to have along with boiled white rice . He tilted the ghee bottle ( horlicks glass bottle ) and half of the ghee in the bottle just jumped out into his plate . My mother – in – law was like .. No way you are going to waste it , better eat every bit on the plate . Hubby dear felt heavenly while eating but the after results put him through a lot of un digestion , vomiting sensation and heaviness  in the tummy . Poor fellow till date he has an aversion towards ghee because of this …

Ingredients

Ingredients
Quantity
butter 4 cups ( I use cream that forms on top of the milk every day at home , preserved in a container in the freezer until the container gets full . Takes about 2 months or so . Then blitz the cream with water in a food processor to get butter out and use that butter )
Salt a pinch
Drumstick leaves1 small strand ( optional but adds a good aroma to the ghee )

Method

  1. Place butter , salt and drum stick strand in medium saucepan over medium-high heat. Bring butter to boil.
  2. This takes approximately 2 to 3 minutes. Once boiling, reduce heat to medium. The butter will form a foam which will disappear.
  3. Ghee is done when a second foam forms on top of butter, and the butter turns golden.
  4. Approximately 7 to 8 minutes. Brown milk solids will be in bottom of pan along with crisp drumstick strand .
  5. Gently pour into heatproof container through fine mesh strainer or cheesecloth. Store in airtight container being sure to keep free from moisture.
  6. Ghee does not need refrigeration and will keep in airtight container for up to 1 month or more .

Thikkadi

Share Button

FullSizeRender (3)

IMG_5611

IMG_5612

IMG_5609

IMG_5607

IMG_5617

FullSizeRender (2)

FullSizeRender (1)

FullSizeRender (8)

Preparation Time : 45 minutes

Cooking Time : 40 minutes

Serving : 10 members

Description

Thikkadi . An authentic one pot dish very own to the ravuthar community of the northern districts of Tamil Nadu . The southern districts make a similar dish called takkadi but the flour used is different and the texture and taste also differs . At home there is always a big  debate about which of theses two dishes tastes better .  This was one among the first dishes as a kid , I remember helping my grand mother to cook . All the kids were given each a ball of dough and asked to make thikkadis out of it . We cousins used to sit in circle with a huge plate ( thala ) placed in the Center and have a competition on who finishes first on rolling the thikkadis . My grand mother ( dads mom balkees perima ) used to make it in a huge vessel in a fire wood stove top mainly to be sent over to her married daughter’s homes . i wish you all could smell the fragrant Thikkadi simmering away with the smokiness of the fire wood . I love old school cooking . This dish may require a little effort but that makes the dish all the more worth while . I am on a mission to share lesser known family classic dishes to keep ravuthar cuisine alive . The real test of ravuthar food lies in how sleepy it makes you after you have it . The sleepier you feel , the better the dish . So happy eating and sleeping to all .

Ingredients

Ingredients
Quantity
Rice flour ( the rice flour that we use to make iddiappam 's )1 cup
Salt taste
Water 1 1/4 cup

Method

  1. Boil Water and salt . When it is bubbling hot add rice flour . Place a wooden ladle in the Center of the rice flour and water . Cover it with a lid and Let it stand for 2 minutes in low flame .
  2. Mix well, using the wooden ladle to combine the rice flour with the salted water making sure no lumps are formed . Remove from heat .
  3. Use your hands to knead it to a dough like we do for idiyappam. The dough will be boiling hot , dip your hands in to a bowl of cold water to avoid the heat felt on your hands while kneading once in a while .
  4. Make small balls out of the dough and flatten them like gems chocolate .rub your hands with rice flour powder once in a while to avoid the dough sticking on to your palms .
  5. Usually I follow till this step , sprinkle some rice flour to the Thikkadi / dumplings and store them in a plastic cover kept in an air tight container and keep it in the refrigerator .
  6. ( I do this the previous day as at home every one likes to have Thikkadi for breakfast ) .

Ingredients for mutton gravy 

Ingredients
Quantity
Mutton 1/2 kg
Small onion chopped1 hand full
Green chillies slit 10 or to taste
Cinnamon1 inch piece
Cloves2
Cumin seeds1 teaspoon
Fenugreek seeds1/2 teaspoon
Coriander powder3 tablespoons
Oil3 tablespoons
Salttaste

Ingredients To fry and grind

Ingredients
Quantity
Coconut grated1 cup
Cumin seeds1 tablespoon
Coconut oil 2 tablespoons

Method

  1. Heat the coconut oil and fry the cumin seeds and grated coconut to a golden brown colour until you get a nice aroma of the fried coconut .
  2. Cool and grind to a corse powder with out using water and  Set aside .

Method for mutton gravy

  1. Heat oil in a pressure cooker . Add cinnamon , cloves , fenugreek seeds and cumin seeds .
  2. Once the fenugreek seeds crackle , top with small onions and fry to brown .
  3. Add the mutton , green chillies , coriander powder and salt to taste . Toss well and sauté for 5 minutes until the colour of the meat changes .
  4. Pour 6 cups of water to cook the meat and pressure cook for 3 whistles or until the meat is cooked through .taste and adjust the mutton gravy .

How to proceed

  1. Bring the cooked meat watery gravy to boil . ( Make sure you have enough gravy to cook the thikkadi / dumplings , add more water in case you need more gravy .then season the gravy ) Add 10 Thikkadi / dumplings at a time to the mutton gravy .
  2. In 5-8 minutes the Thikkadi / dumplings will float on top .
  3. Do the same until all the Thikkadi / dumplings are over . Once all the Thikkadi / dumplings are cooked and floats on top add the ground coconut coarse powder and mix well . Taste
  4. And adjust . Serve hot .

Athishaya pathiri

Share Button

IMG_4835-1

image (15)

Preparation Time : 30 minutes

Cooking Time : 55 minutes

Serving : 8 to 10 members

Description

Athishaya  pathiri . An authentic malabar dish . Also known as the malabar lasagna as this dish is also layered like the lasagna . There is sweet version to the athishaya  pathiri which tastes equally good . Shall post the sweet version recipe soon . I first got to know about this dish on my visit to a grooms ( my hubbys cousin brothers daughter is married of to cochin ) place in Cochin . Was wonder stuck with the variety of food that was spread on the table . I made it a point to taste a tiny bit of every thing . All the dishes were mouth watering . the unique flavours took me to an era when food was not just a meal , but an elaborate feast . My  favourite was athishaya pathiri and another dish which was like a stuffed pie with rice flour steamed and sandwiched with prawn filling . Till date no idea what it’s called but tasted yum . Did ask people concerned for both the recipes but till date have not got it . Well some people don’t have the habit of sharing . Sharing a recipe is a friendship build , thats my motto . how do I get a recipe when I don’t know what it is called ? Some how managed and called my beloved malabar buddy sulu ( my saviour ) and explained to her about the dish . She was the one who let me know that it’s name is athishaya pathiri . The recipe that I am posting is also hers . Thank you sulu . finally made it and it was spot on the first time With full flavoured indulgence . the following week visited my moms place and was surprised to see athishaya pathiri on the table . Mom had got the recipe from a malabar friend of hers . I liked her ashishaya  pathiri better . As the food cooked by others , specially moms taste the best . Now the humble mighty athishaya pathiri is a part of our staple diet at home .

Ingredients for the crapes

Ingredients
Quantity
flour1 cup
egg1 ( I don't use egg as there is lot of egg in the dish already )
Milk1 cup
Sugar1/4 teaspoon
Saltto taste.

Method for crapes

  1. Mix everything together and gradually add milk until it forms a smooth loose batter. Add more water if required .
  2. Heat a non – stick pan and pour a ladle of batter and make thin crapes and set aside .

Ingredients for Chicken Filling

Ingredients
Quantity
medium onions4 chopped
shredded chicken (cooked)2 cups
Garlic paste1 teaspoon
ginger paste1 teaspoon
coriander leaves2 tablespoons chopped
Green chillies2 chopped
turmeric powder1/4 teaspoon
chilli powder1/2 teaspoon
gharam masala1/4 teaspoon
Oil3 tablespoons

Method

  1. The authentic filling has cashew nuts , raisins and boiled gram dal .
  2. Can add these ingredients as well to the filling .
  3. Can make it with mutton keema filling also .

Method for filling

  1. Saute the onions in hot oil until they become soft.
  2. Add the spices and then stir in the chicken and other ingredients until it becomes well mixed on medium heat for five minutes .
  3. Set aside and cool .

How To  proceed

Ingredients
Quantity
Eggs6
Milk1 cup
Salt to taste
Pepper powderto taste
Sugar little ( 1 1/2 teaspoons )
Ghee or coconut oil to grease to pour over the layers
Poppy seedsto garnish

Method

  1. Mix all the above ingredients together except for ghee or oil and poppy seeds , till the sugar dissolves well . And set aside . Pre heat an oven to 180 degree Celsius .
  2. Grease a baking pan about the same diameter as your crapes with ghee . Place a crape , top with filling , then pour the milk egg mixture over to cover the chicken filling . Pour 1/4 teaspoon of oil or ghee over .
  3. Repeat the same way until all the crapes , chicken filling and egg – milk mixture is over , making sure the crape is the final top layer . Pour the egg – milk mixture over the final crape . Topping with oil or ghee .
  4. Sprinkle with poppy seeds . Bake for 40 to 45 minutes in a pre heated oven until cooked through . Check by inserting a skewer into the middle of the chatti pathiri , if the skewer comes out clean .It’s cooked through .
  5. Remove . Cool completely . Run a knife all around . Turn over into a plate . Cut and serve hot .can use coconut milk instead of regular milk to add more taste and calories.
  6. Can be made over a hot tawa with sand , keeping the chatti pathiri layered vessel over the hot sand covered with a huge domed lid ( I use my iddli maker lid ), over a stove top on medium heat for 20 – 30 minutes or until cooked through )

Puttu

Share Button

image (14)

Preparation Time : 15 minutes

Cooking  Time : 10 – 12 minutes

Serving : 4 members

Description

 Puttu , a Staple at home which I was fed and pampered With A lot. Being mother’s Day today wanted to dedicate my post to my beloved mother . So wanted to post a recipe which she makes often and is a staple at home . Puttu has been served to us steamed in a coconut shell , to puttu maker . First the coconut shells , then shifted to the puttu maker with five long puttu makers attached to it in aluminium , then to a puttu maker with one stick and finally we have settled with just the stick alone , that we stick to a pressure cooker without the mighty puttu is followed with the same authentic recipe . At my in-laws place they use another coarse rice flour powder that is fried with coconut which is called as thengaatta maavu . The colour of the puttu is also light brown in colour and they steam it piled up in an iddiappam plate . Finally it looks like coarse sand and is much more rough that the regular puttu . My choice is always the authentic kerala puttu. Every alternative days (actully every day) the puttu is there in the table . I just used to love it when my mom and grand ma mixes the puttu with the right amount of bananas , sugar and ghee. Mostly it’s done in a huge amount as all our cousins sit in a circle waiting for our share to be fed one after other . Oops this puttu is just taking me away from today’s dedication being my mom . Mom is a sophisticated , out spoken , loud, smart , business minded , always the center of attraction even till date sort of a person . My brother and myself are just the opposite to her like my dad . Soft spoken , shy and mostly like to be quite . There are people in this world who spend every day making important decisions , trouble shooting refereeing fights , nursing egos , doing damage control and multi tasking , They are called mothers- LINDA POINDEXTER . My mom is all that is mentioned above . The most apt phrase to explain my mother . Love you mom for what ever you are and being beside me through out from the time god infused me into you .

Needed

Puttu maker or Coconut shells ( thenga cherattai with holes in the bottom ) .

 Ingredients

Ingredients
Quantity
Rice Flour2 cups
Grated Coconut1 cup
Water 1 1/4 cup
Saltto taste

To serve

  1. Ripe bananas
  2. Sugar
  3. Melted ghee
  4. Grated Coconut Or Kerala pappadam
  5. Boiled green moong gram ( paccha payaru , siru payaru ) Or Kadala curry ( sundal kolambhu ) Or Hot ghee
  6. Powdered jaggery

Method

  1. In a large bowl, place the puttu powder. Add salt to taste to 1 1/4 cup of water and slowly add about 2 tbsps at a time to the puttu powder and mix it. Do not add all the water at once. It should be a bread crumb consistency and not form a dough.
  2. Normally 1 cup of water is sufficient to wet 2 cups of puttu powder so save the 1/4 aside and use it if needed .
  3. The right consistency of puttu powder is achieved when you take the prepared flour in your fist and close it to form shape. Leave aside this prepared rice mixture for an hour or two at room temperature.
  4. When the mixture sits, water is absorbed. After sitting time of 1 or 2 hours, if you find that the mixture is slightly dry, add a little more water and mix.sift this mix in a sieve , so that you get a crumb free , sand like puttu . An important tip I learnt from my grandmother .
  5. Add 2 cups water to the bottom vessel of the puttu maker or pressure cooker and allow to simmer till hot.Wet the puttu mould and lightly grease it. Place the round perforated disc with holes inside the puttu mould such that it fits well at the bottom of the mould.
  6. Place 2 tbsps of grated coconut at the bottom of the puttu mould. Carefully and slowly pour about 6 tbsps of the puttu powder from a height followed by another layer of 2 tbsps of grated coconut.
  7. Again layer with 6 tbsps of puttu powder and finish off with 2 tbps of grated coconut on the top. Place the lid over the puttu mould annd place the mould over the water vessel.
  8. Steam on high medium flame for 5-6 mts and 4 mts on low flame. Turn off heat and wait for 2 to 3 mts before removing the puttu from the mould with the help of a wooden ladle or skewer.
  9. Hold the puttu mould parallel to the serving plate and with the help of a long ladle gently push the bottom disc such that the puttu slides onto the plate. Serve hot with required accomplishments .

Note

  1. Can layer the puttu with dry mutton or beef roast along with the grated coconut , its yum .Make sure to sift the puttu mix before steaming , it’s gives a good soft texture to the puttu.