Preparation Time : 30 minutes
Cooking Time : one hour
Serving : 4-5 members
Description
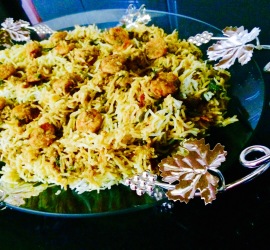
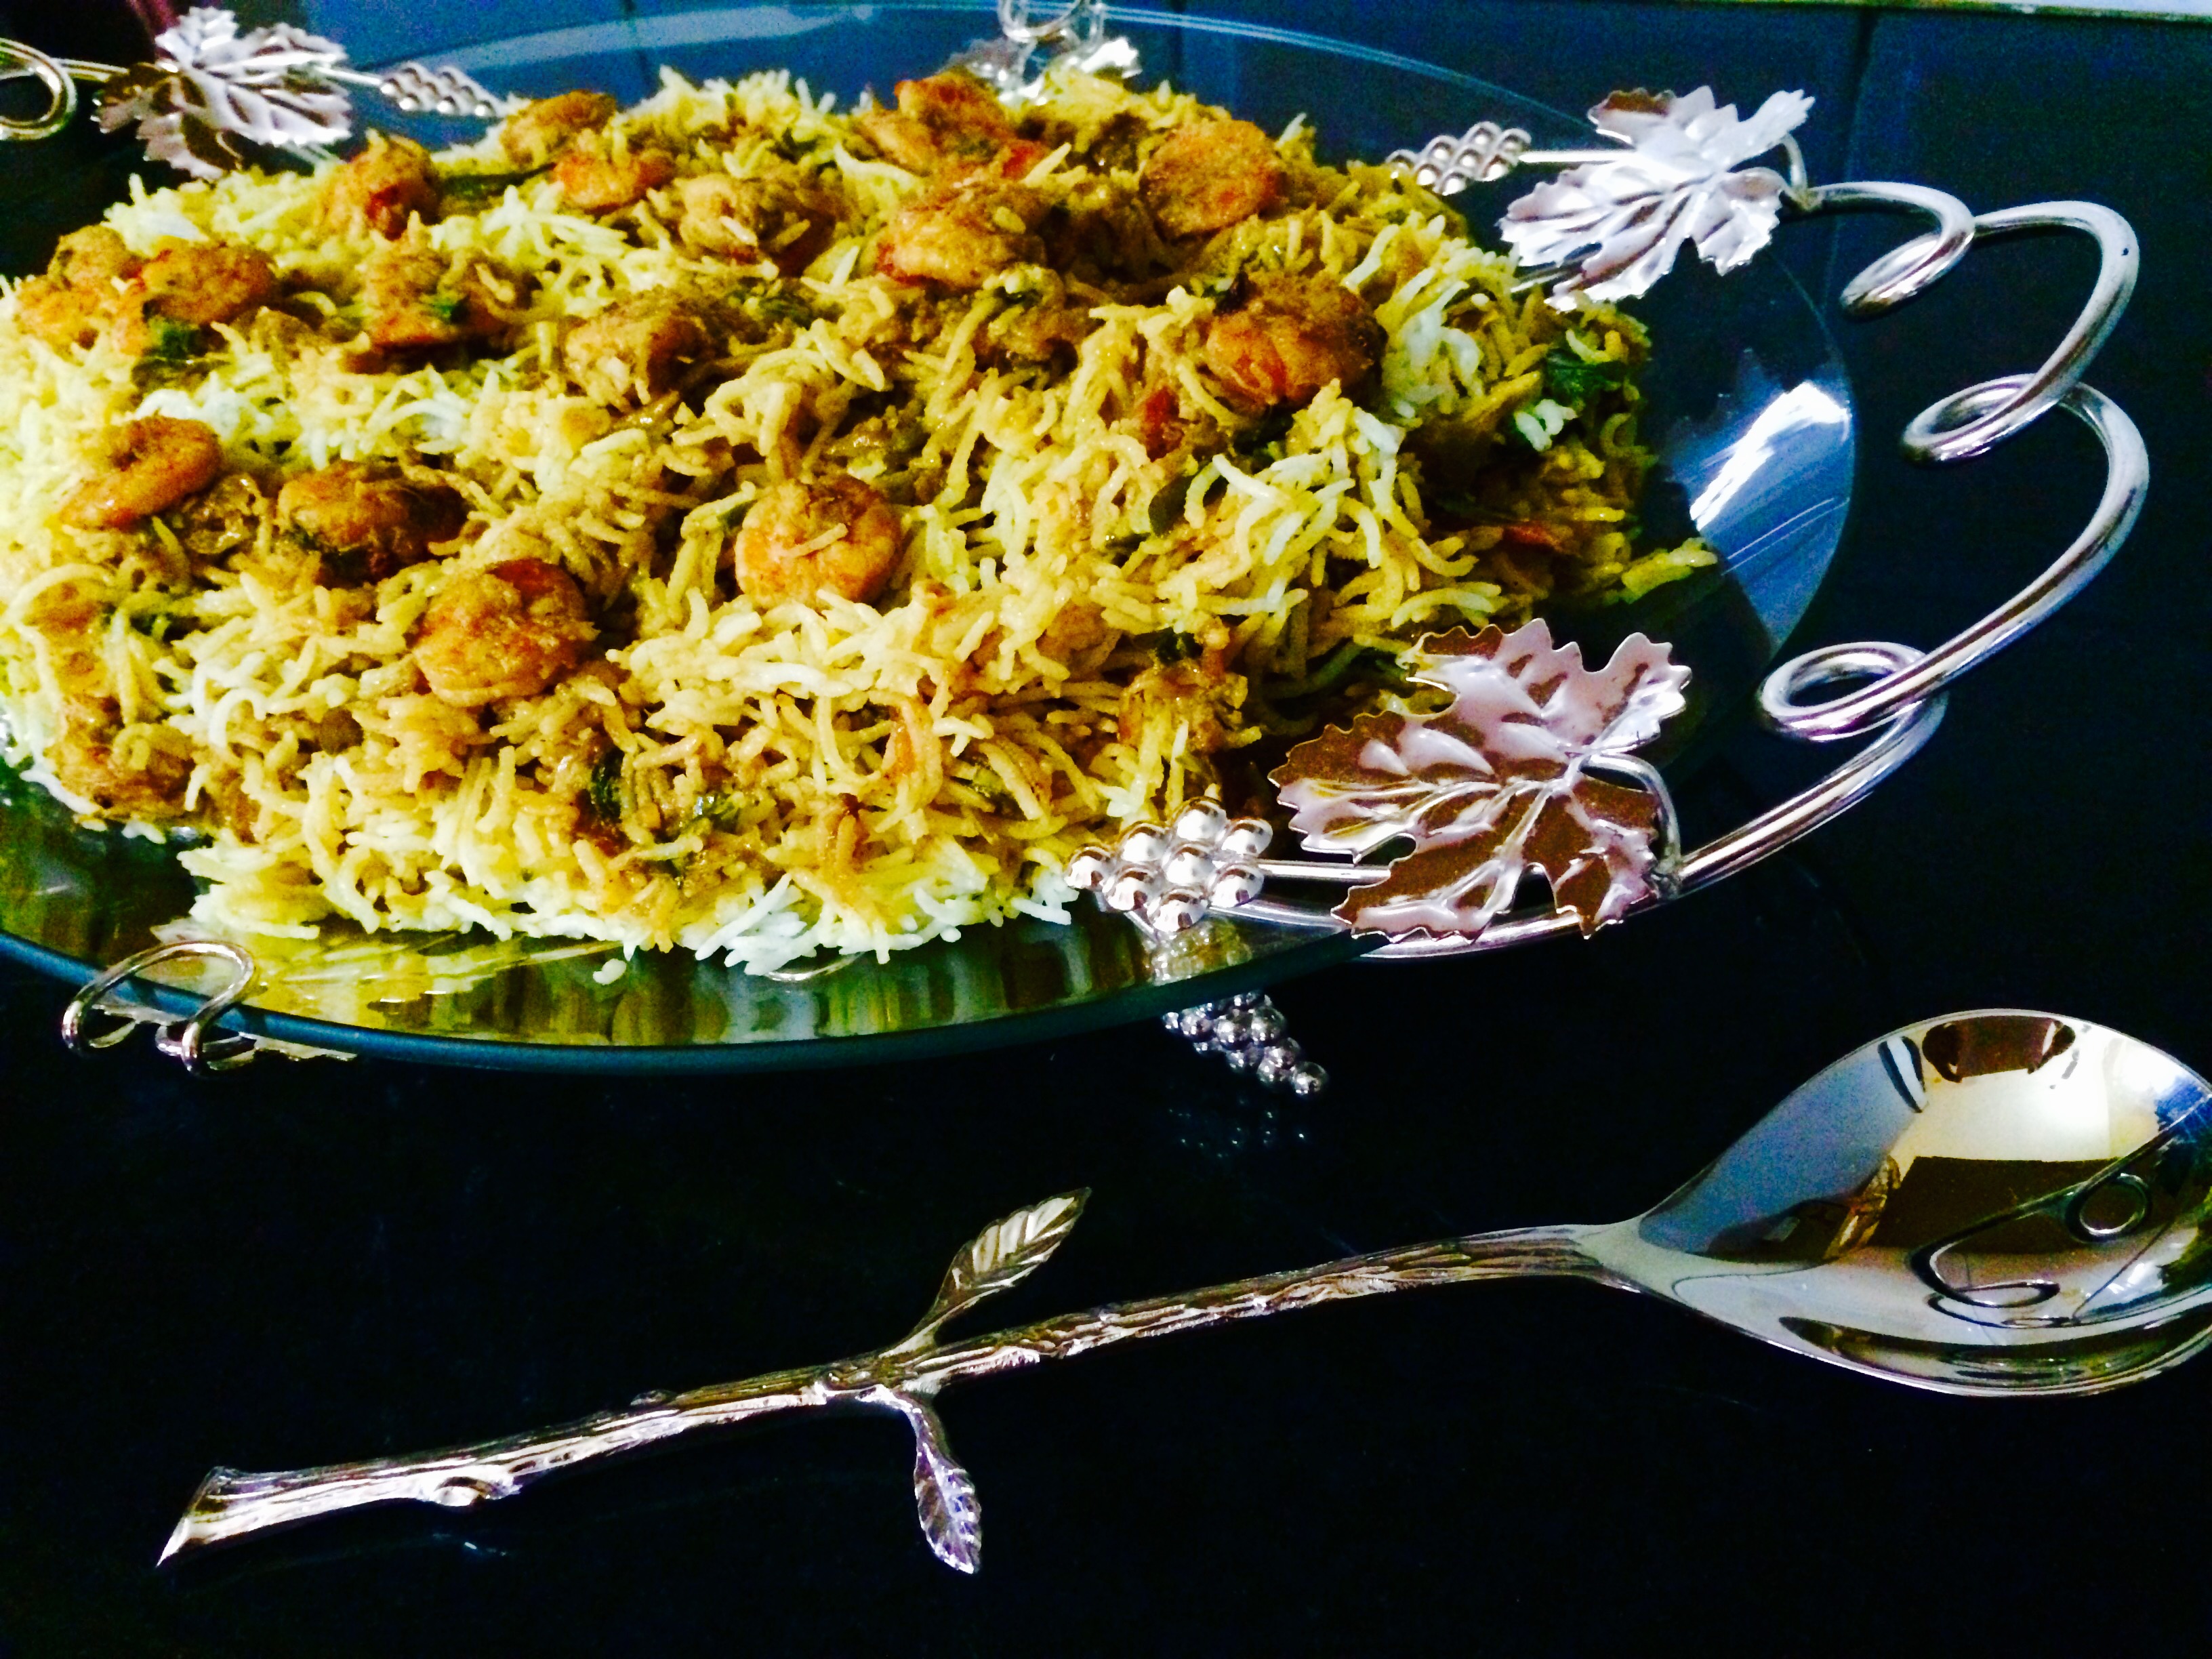
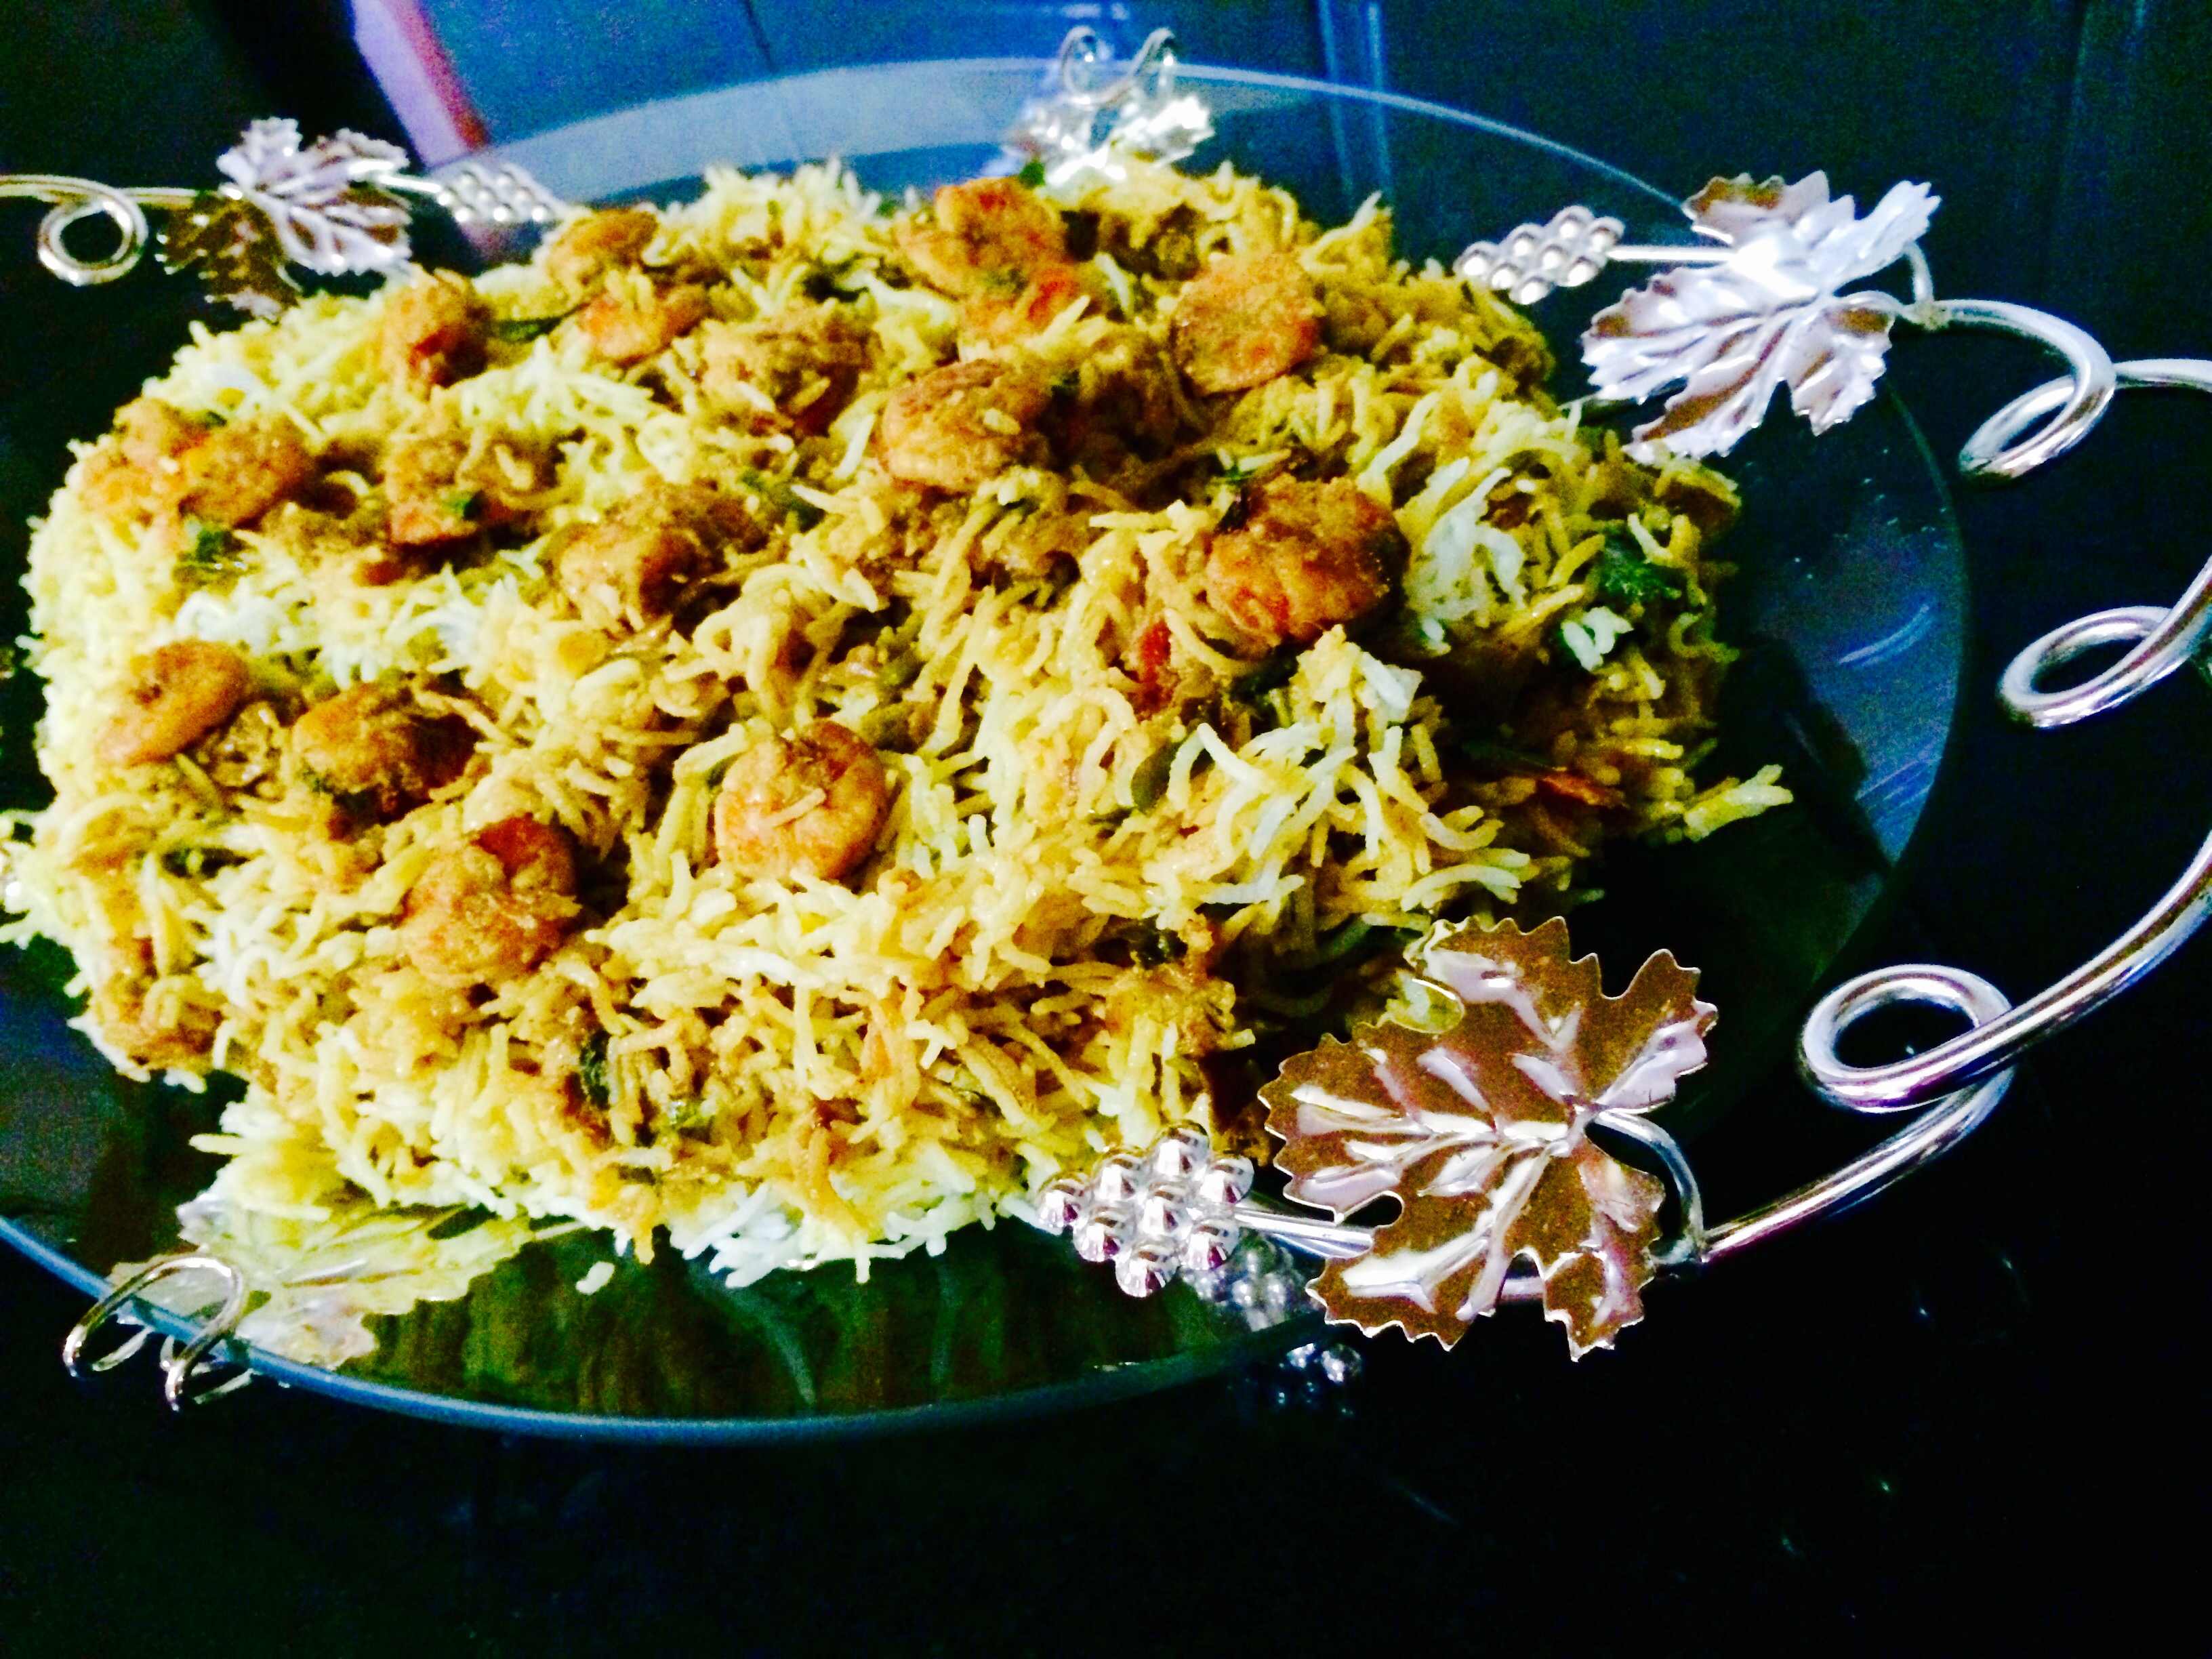
I am always taken aback with the flavour’s, taste, pairing of ingredients and recipes of the malabar cuisine. This biriyani was on my try list for quite some time. The curry leaves used in the biriyani put me off as my grand mother always told curry leaves are only for chutney’s. But this biriyani did prove me wrong as the curry leaves along with the home made garam masala elevated the dish to another level. Well now this Malayali connection is taking to me an interesting incident that happened a few days back. Our sauté, fry n bake family member kavitha Vivek messaged me asking me for a sweet potato recipe. I did send her the links of a few dishes. She replied saying” Akka I remember the story of a live in maid bringing sweet potatoes for you and you trying some new recipe… I can’t find the story in any of the above recipes.. Which is that one Akka”. I felt out of the world as my little story got a place in her heart and she related to the dish with my foodie memory. I did let her know how I felt and she replied saying” yes Akka, your stories are so true, practical, down to earth like Malayalam movies that it steels our hearts!! No show off, no dreams, no exaggerations. It’s so real.. I can visualise it sitting here. I was flattered with this one of a kind compliment for sure as one among my dreams as a kid was to do journalism and I strongly feel I am satisfying myself with the freedom to pen down my food related memories here which has got a place in all your hearts to live and visualise it adding more drama to my humble home made preparations. letting way of an opportunity to learn and share with one another.
Ingredients for the gravy
Ingredients | Quantity |
|---|---|
| Prawns | 1 kg cleaned |
| Basmati rice | 2 cups |
| Big onion | 6 sliced |
| Small onion | 1 hand full chopped |
| Curd | 1 cup |
| Green chilies | 20 slit |
| Tomato | 4 big chopped |
| Ginger paste | 1 1/4 tablespoons |
| Lime juice | of 1 lime |
| Coriander leaves | 1 cup chopped |
| Curry leaves | 8 leaves |
| Ghee | 1 cup |
| Turmeric powder | 1/4 teaspoon |
| Coriander powder | 2 teaspoon |
| Salt | to taste |
Garam masala powder ingredients
ingredients | Quantity |
|---|---|
| Cinnamon | 2 inch piece |
| Fennel seeds | 1/2 teaspoon |
| Cardamom | 3 |
| Cloves | 3 |
| Pepper corns | 1/4 teaspoon |
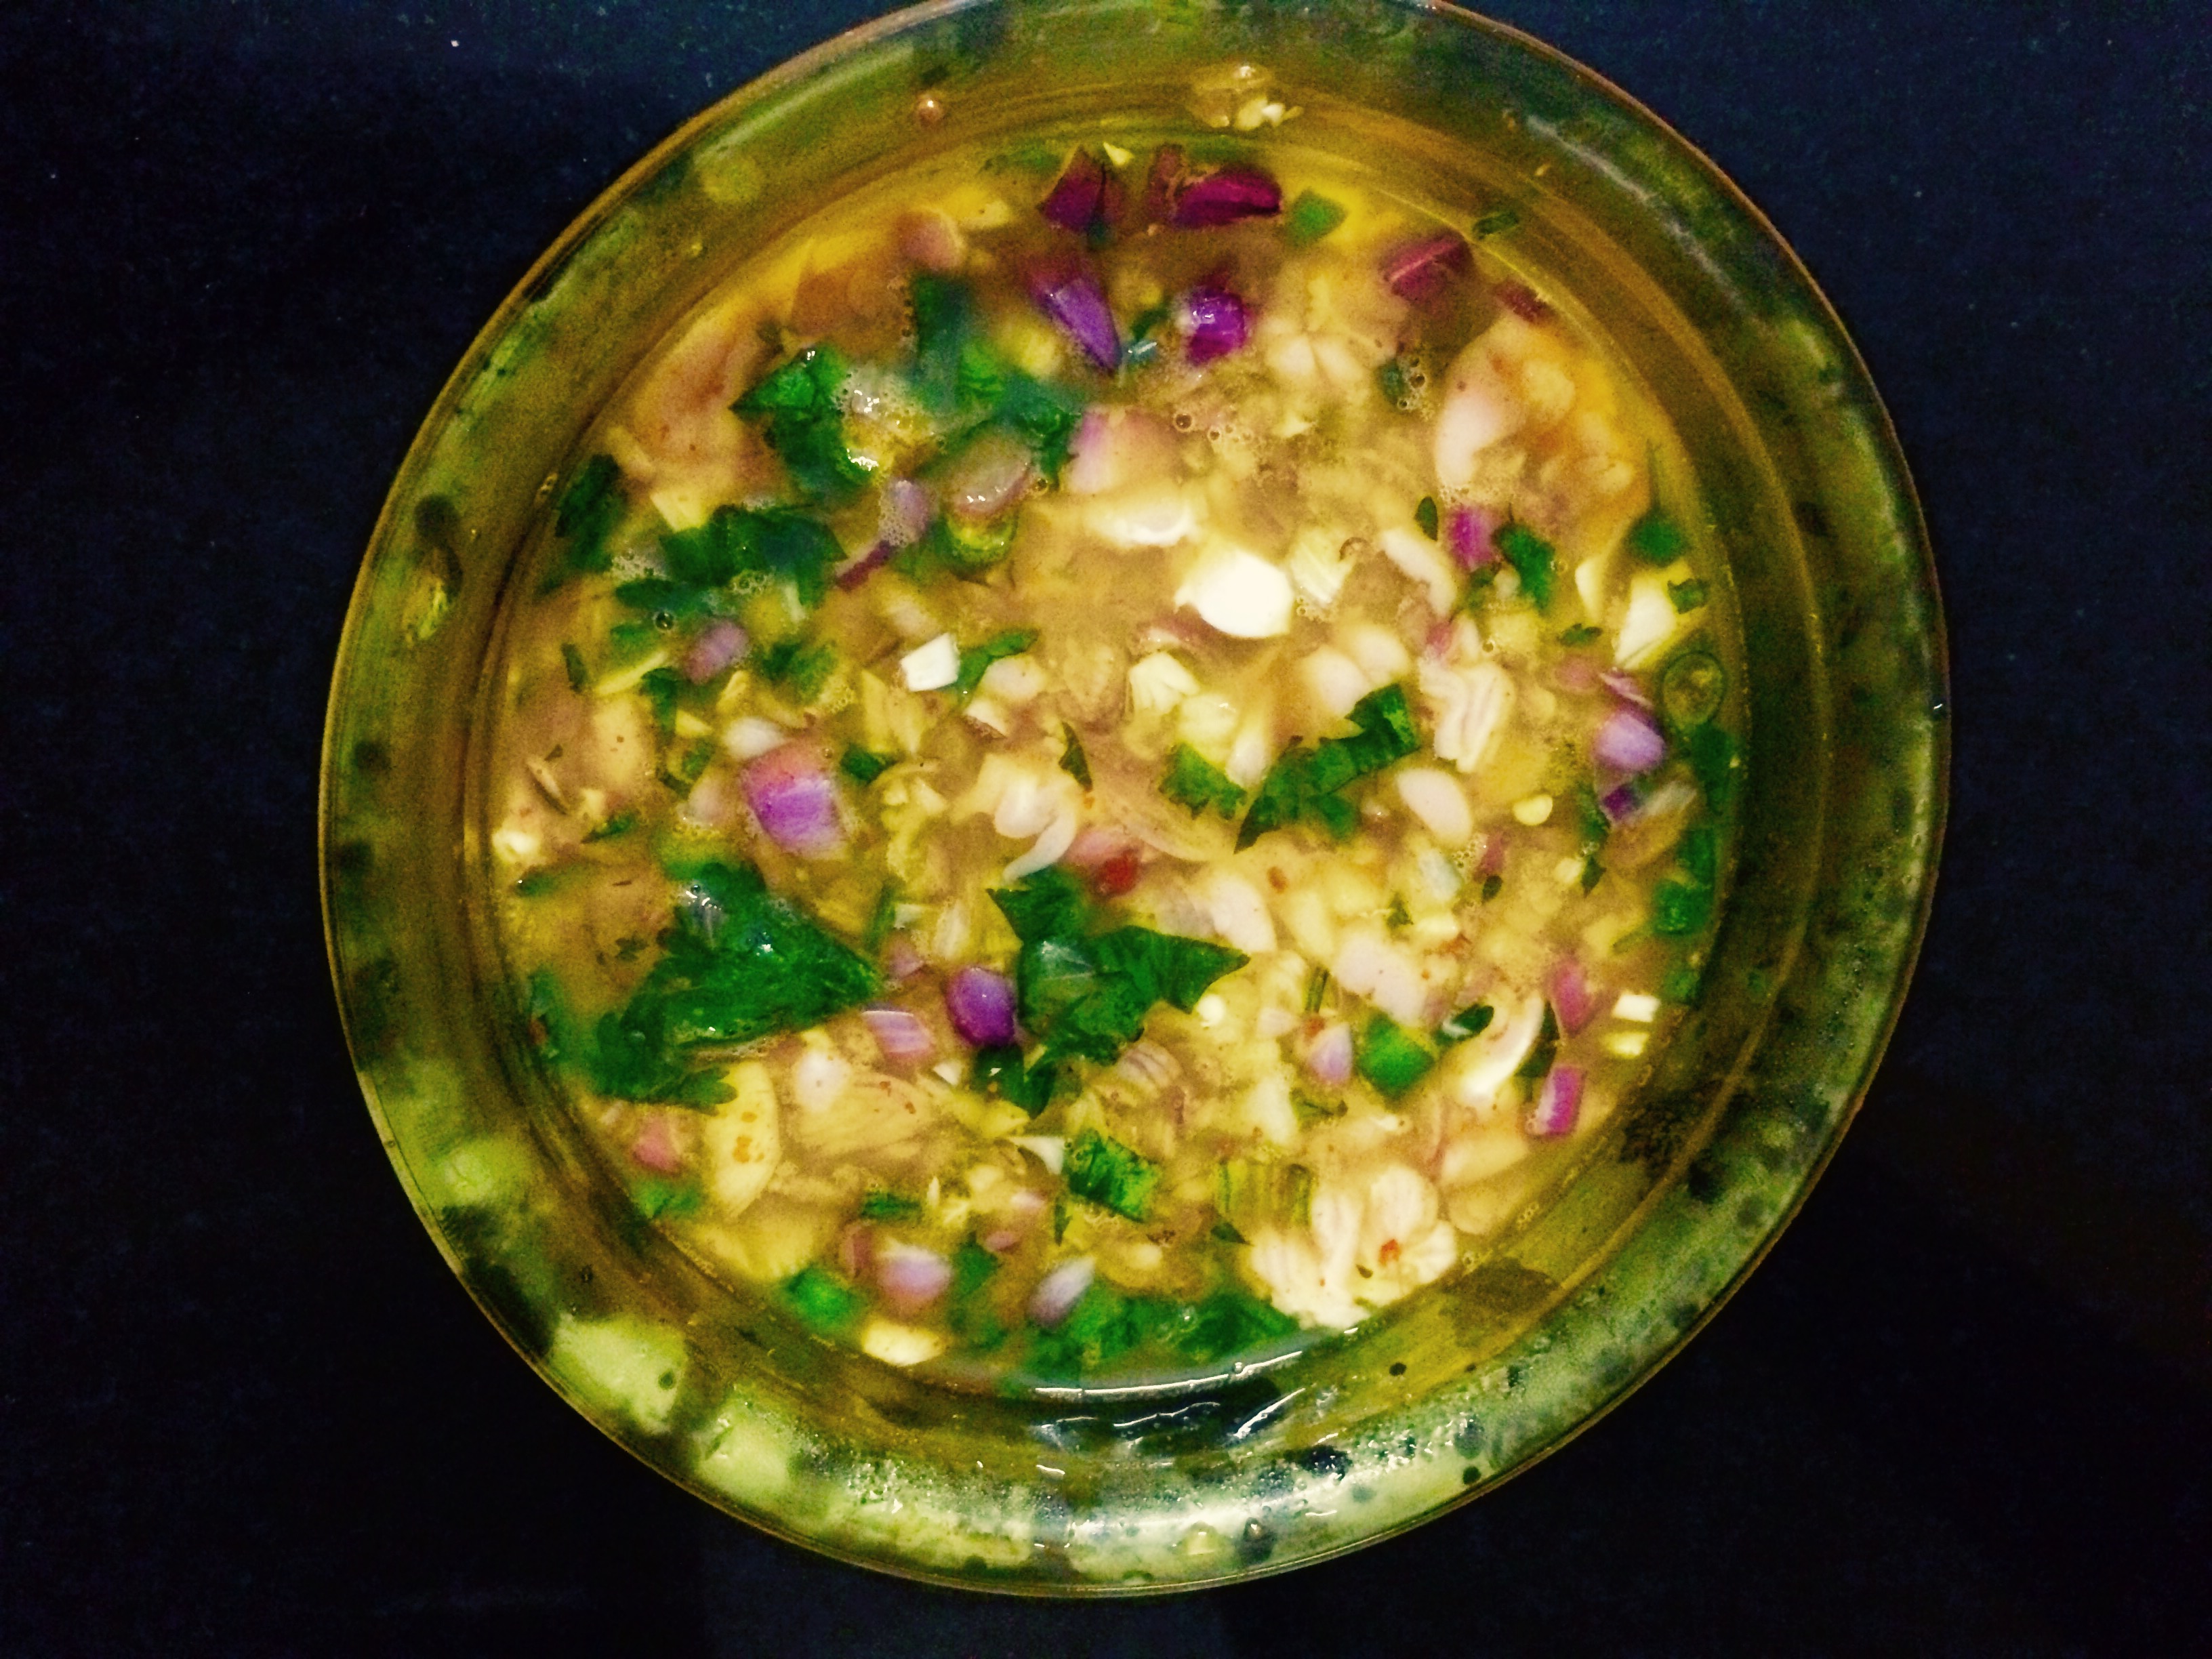
Method for the gravy
- Heat ghee add sliced big onions and small chopped onions. Fry to brown.
- Top with green chillies, ginger paste and curry leaves. Fry to crisp. Add turmeric powder, coriander powder, tomatoes, curd, prawn and salt.
- Sauté until mushy and oil separates. Cook to half done adding little water. Top with coriander chopped, lime juice and powdered garam masala powder. Simmer until ghee floats on top.
- Remove From heat and cool completely.
Ingredients to garnish
Ingredients | Quantity |
|---|---|
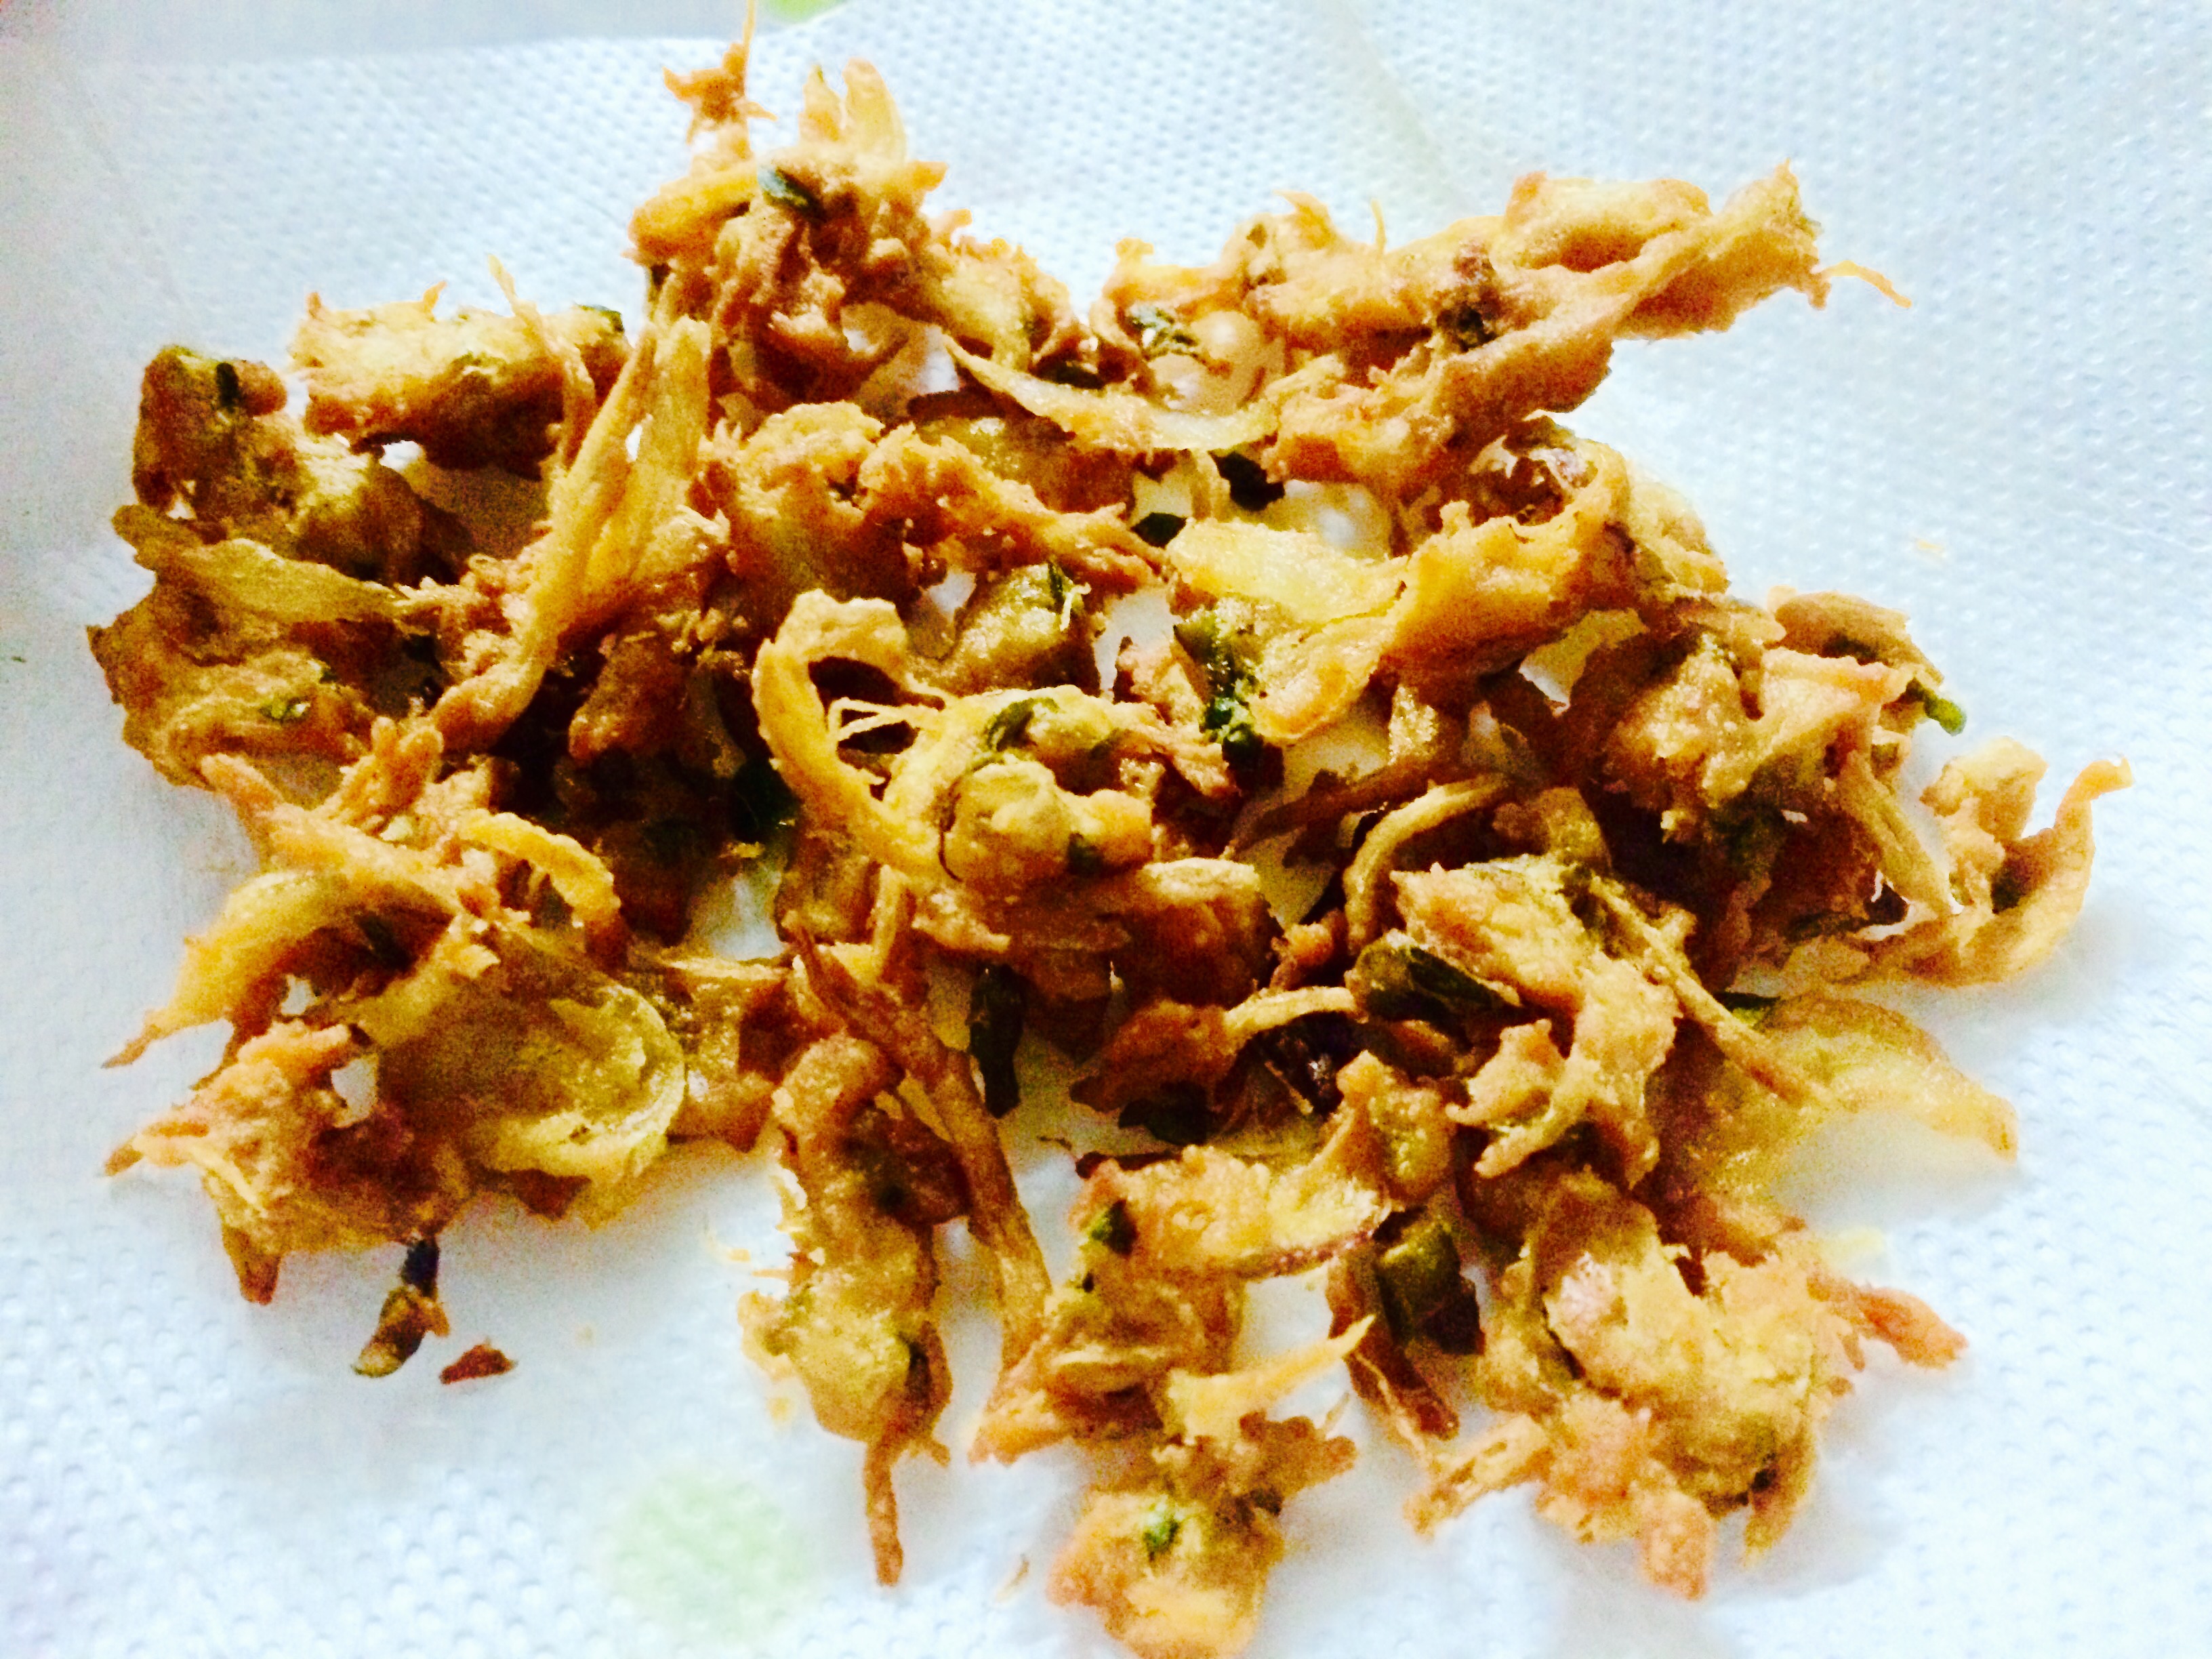
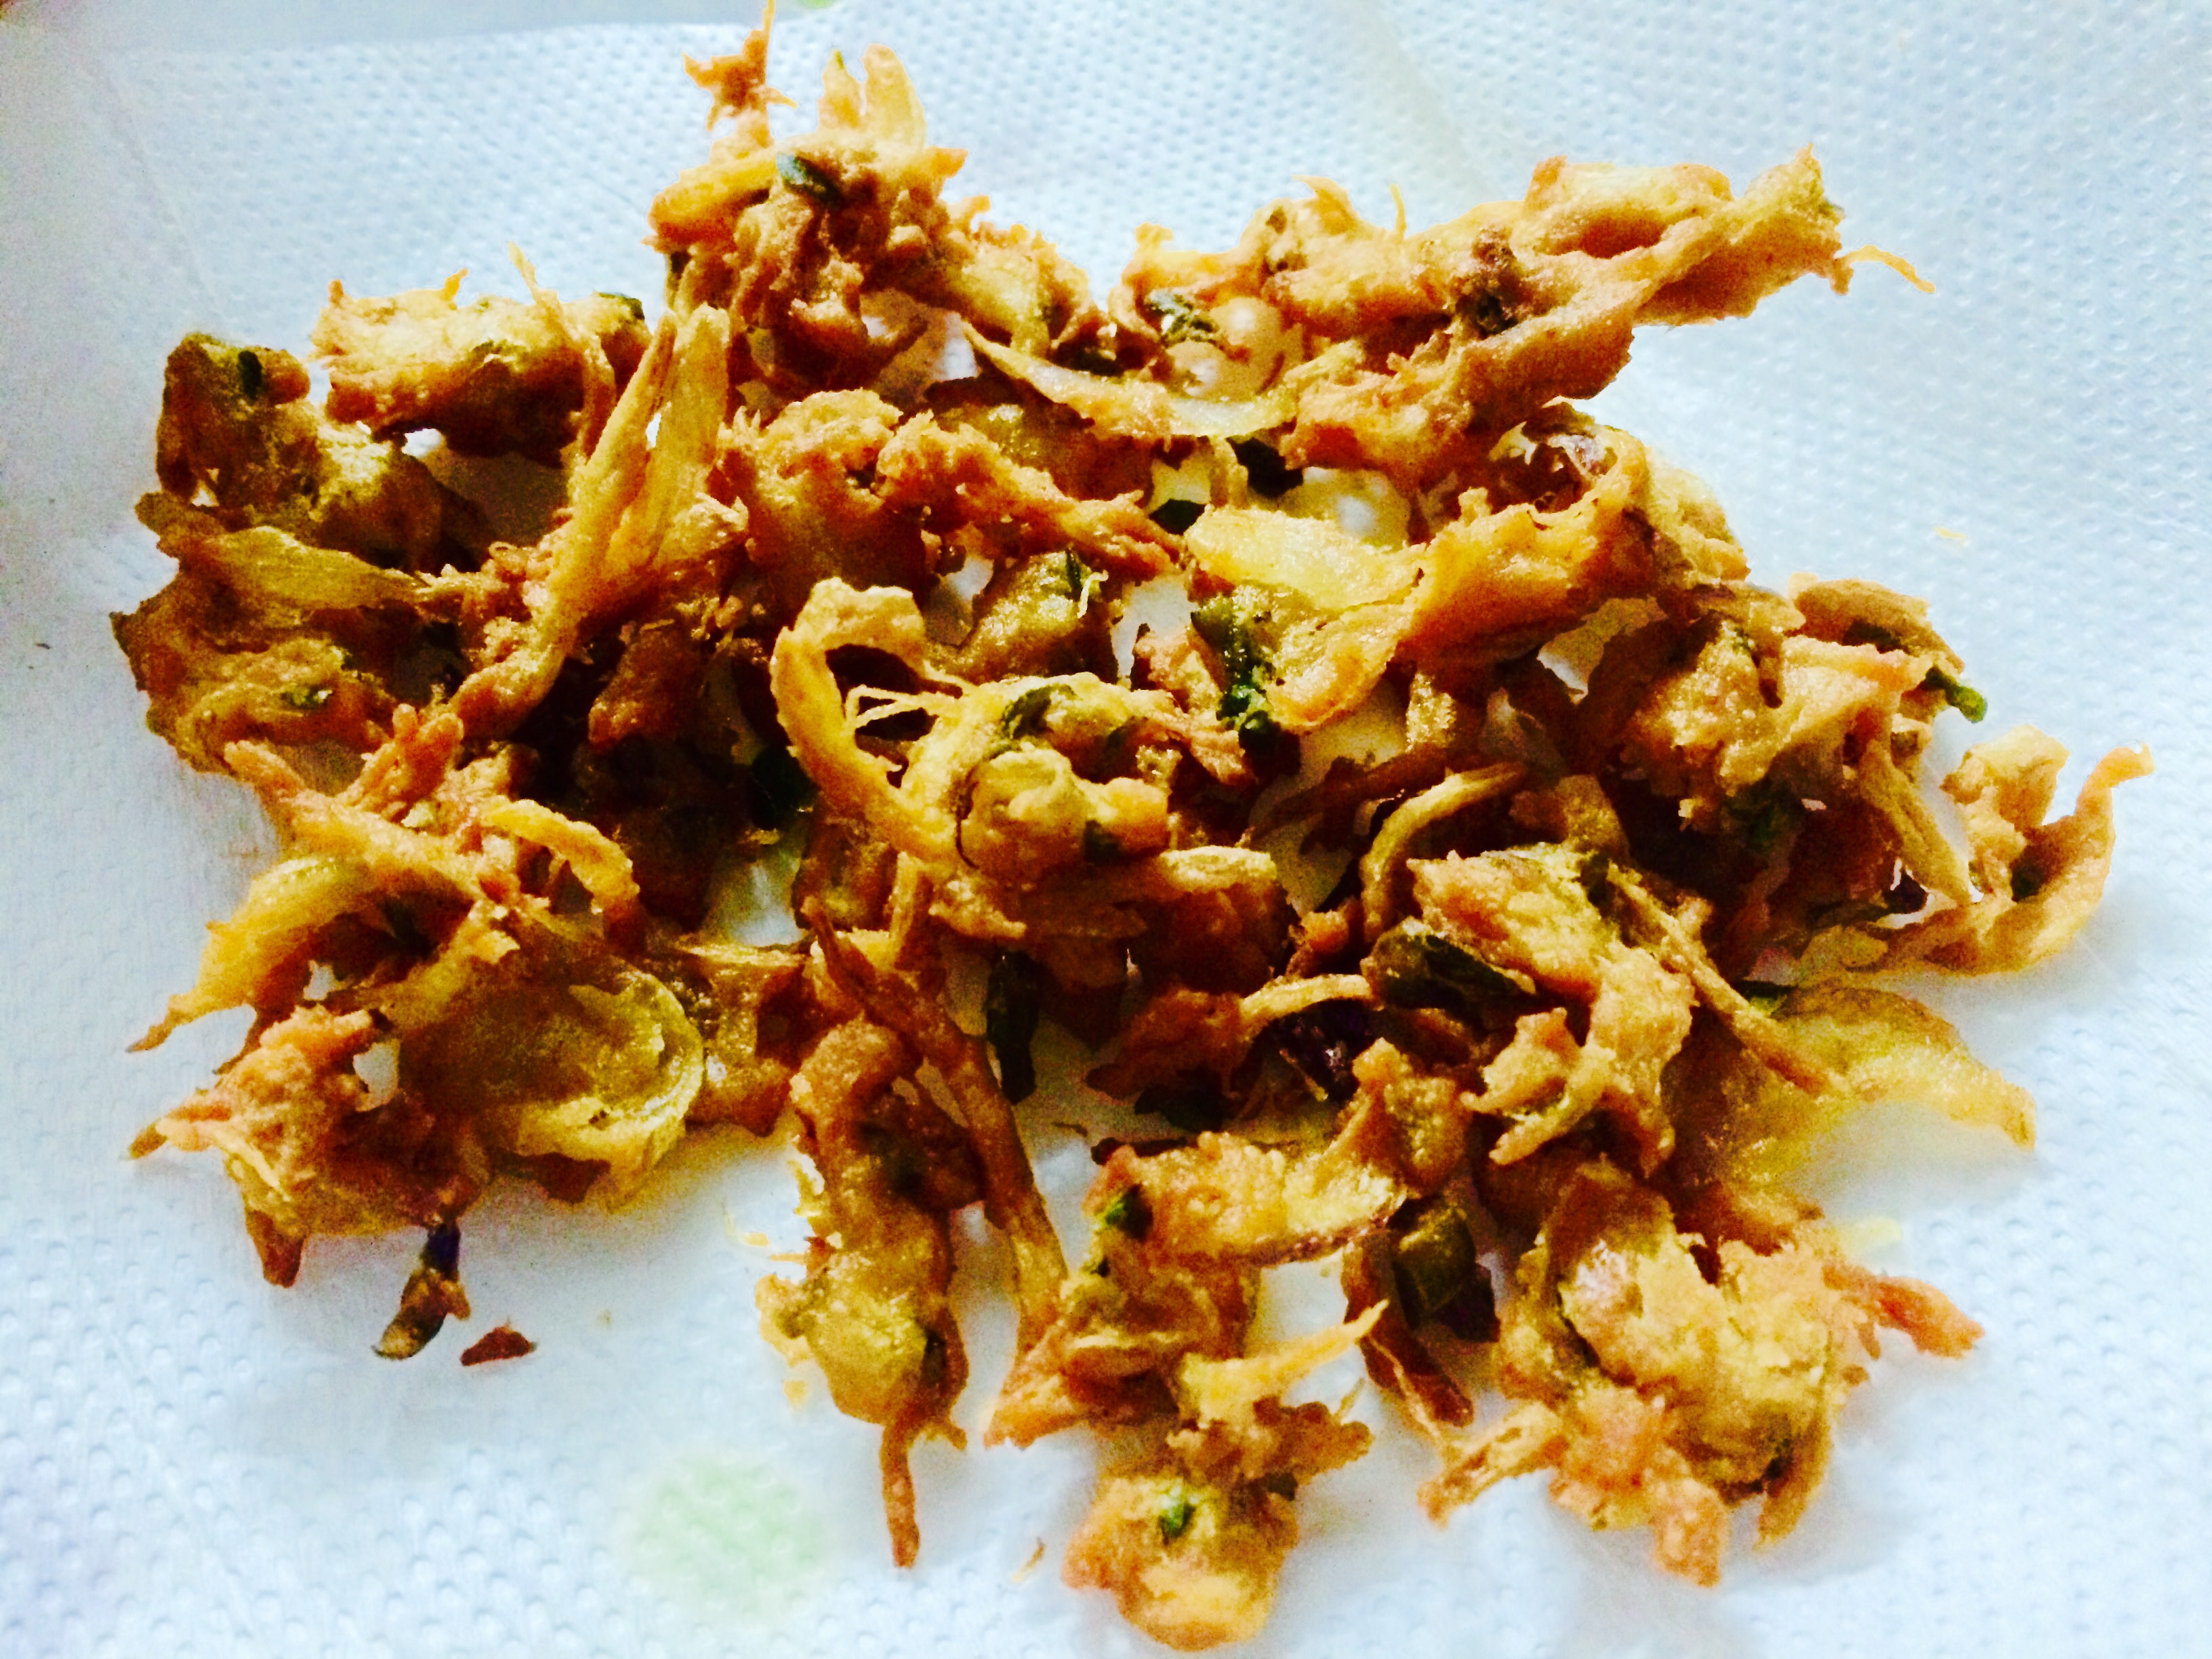
| Curry leaves | one hand deep fried to crisp and drained |
| Cashew nuts | 2 teaspoons fried to golden in ghee |
| Raisins | 2 teaspoons fried in ghee to golden |
Ingredients for rice
Ingredients | Quantity |
|---|---|
| Basmati rice | 2 cups |
| Cardamom | 6 |
| Pepper corns | 10 |
| Cinnamon | 1 inch piece four |
| Turmeric powder | 1/4 teaspoon |
| Salt | to taste |
Fry roast all the ingredients for garam masala separately until a nice aroma arises with out burning the spices. Cool and powder the spices
Method for rice
Soak washed rice in water for 15 minutes. Boil 8 cups of water with all the above mentioned Ingredients except for curry leaves. Add soaked and drained rice . Cook the rice to 3/4 done. Drain.
How to proceed
- Take a heavy bottomed vessel. Spread two ladles of rice, top with one ladle of prawn gravy, sprinkle with chopped coriander leaves, few fried cashew nuts, fried raisins and crisp curry leaves.
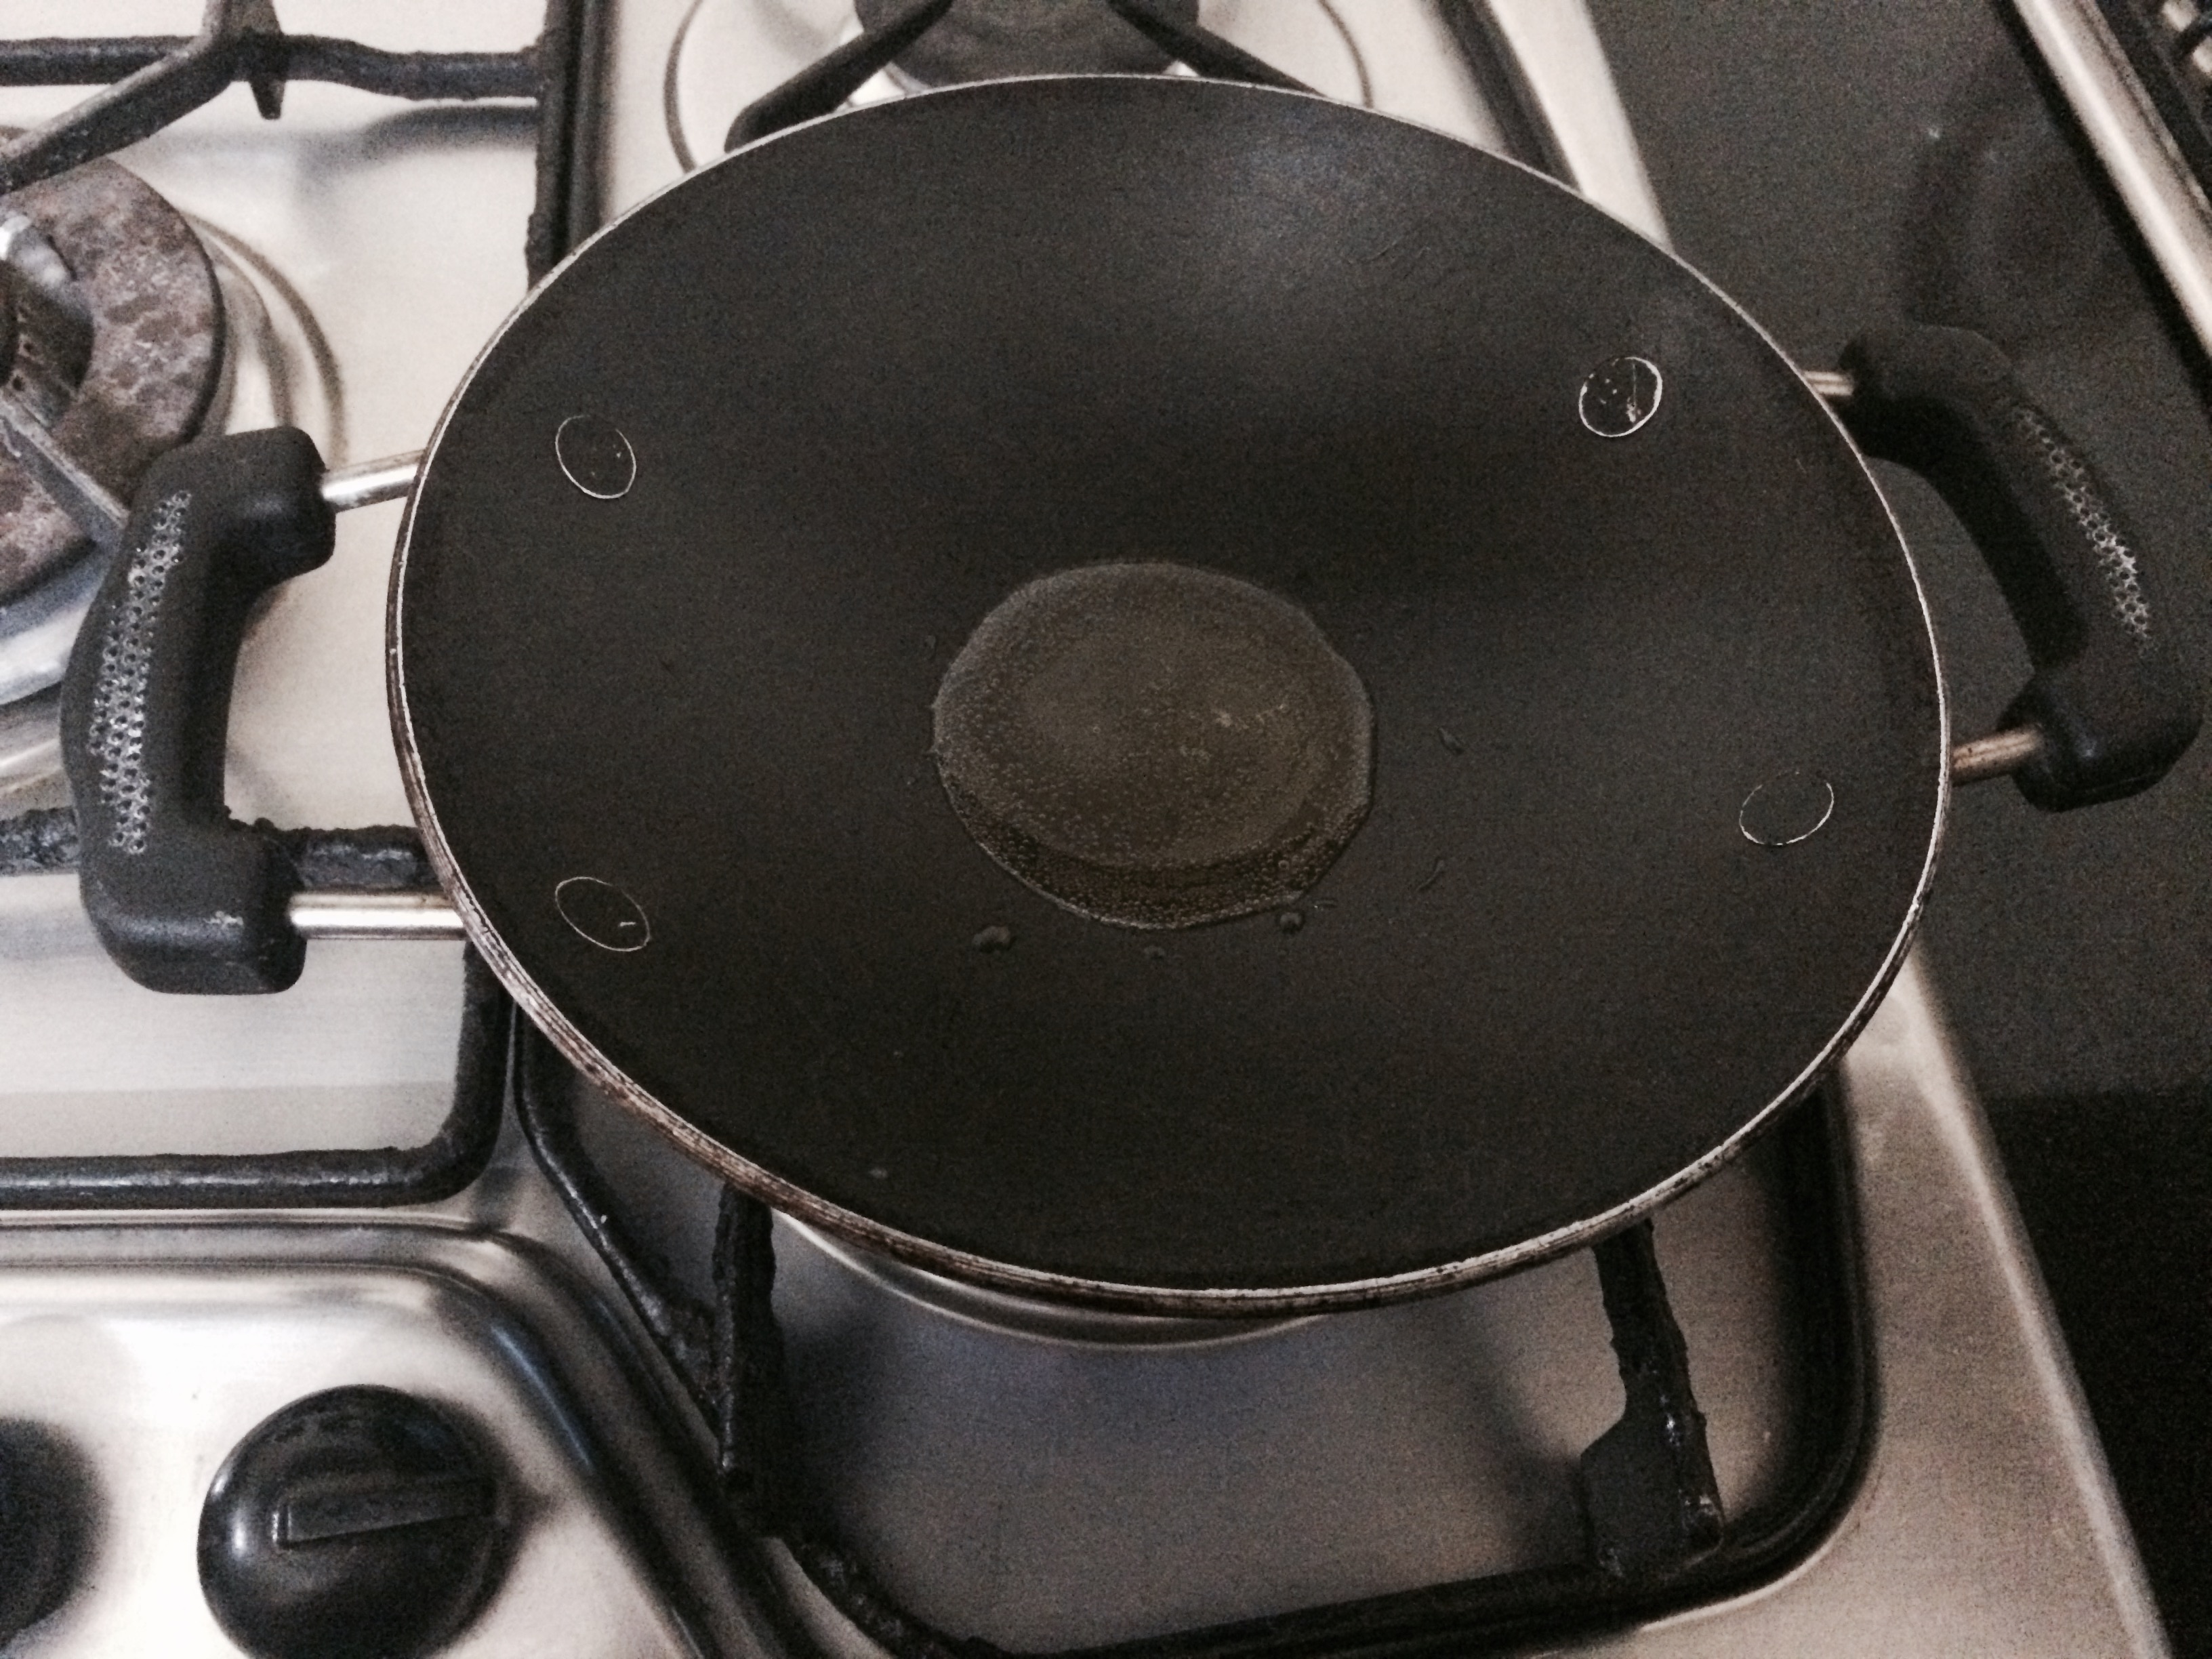
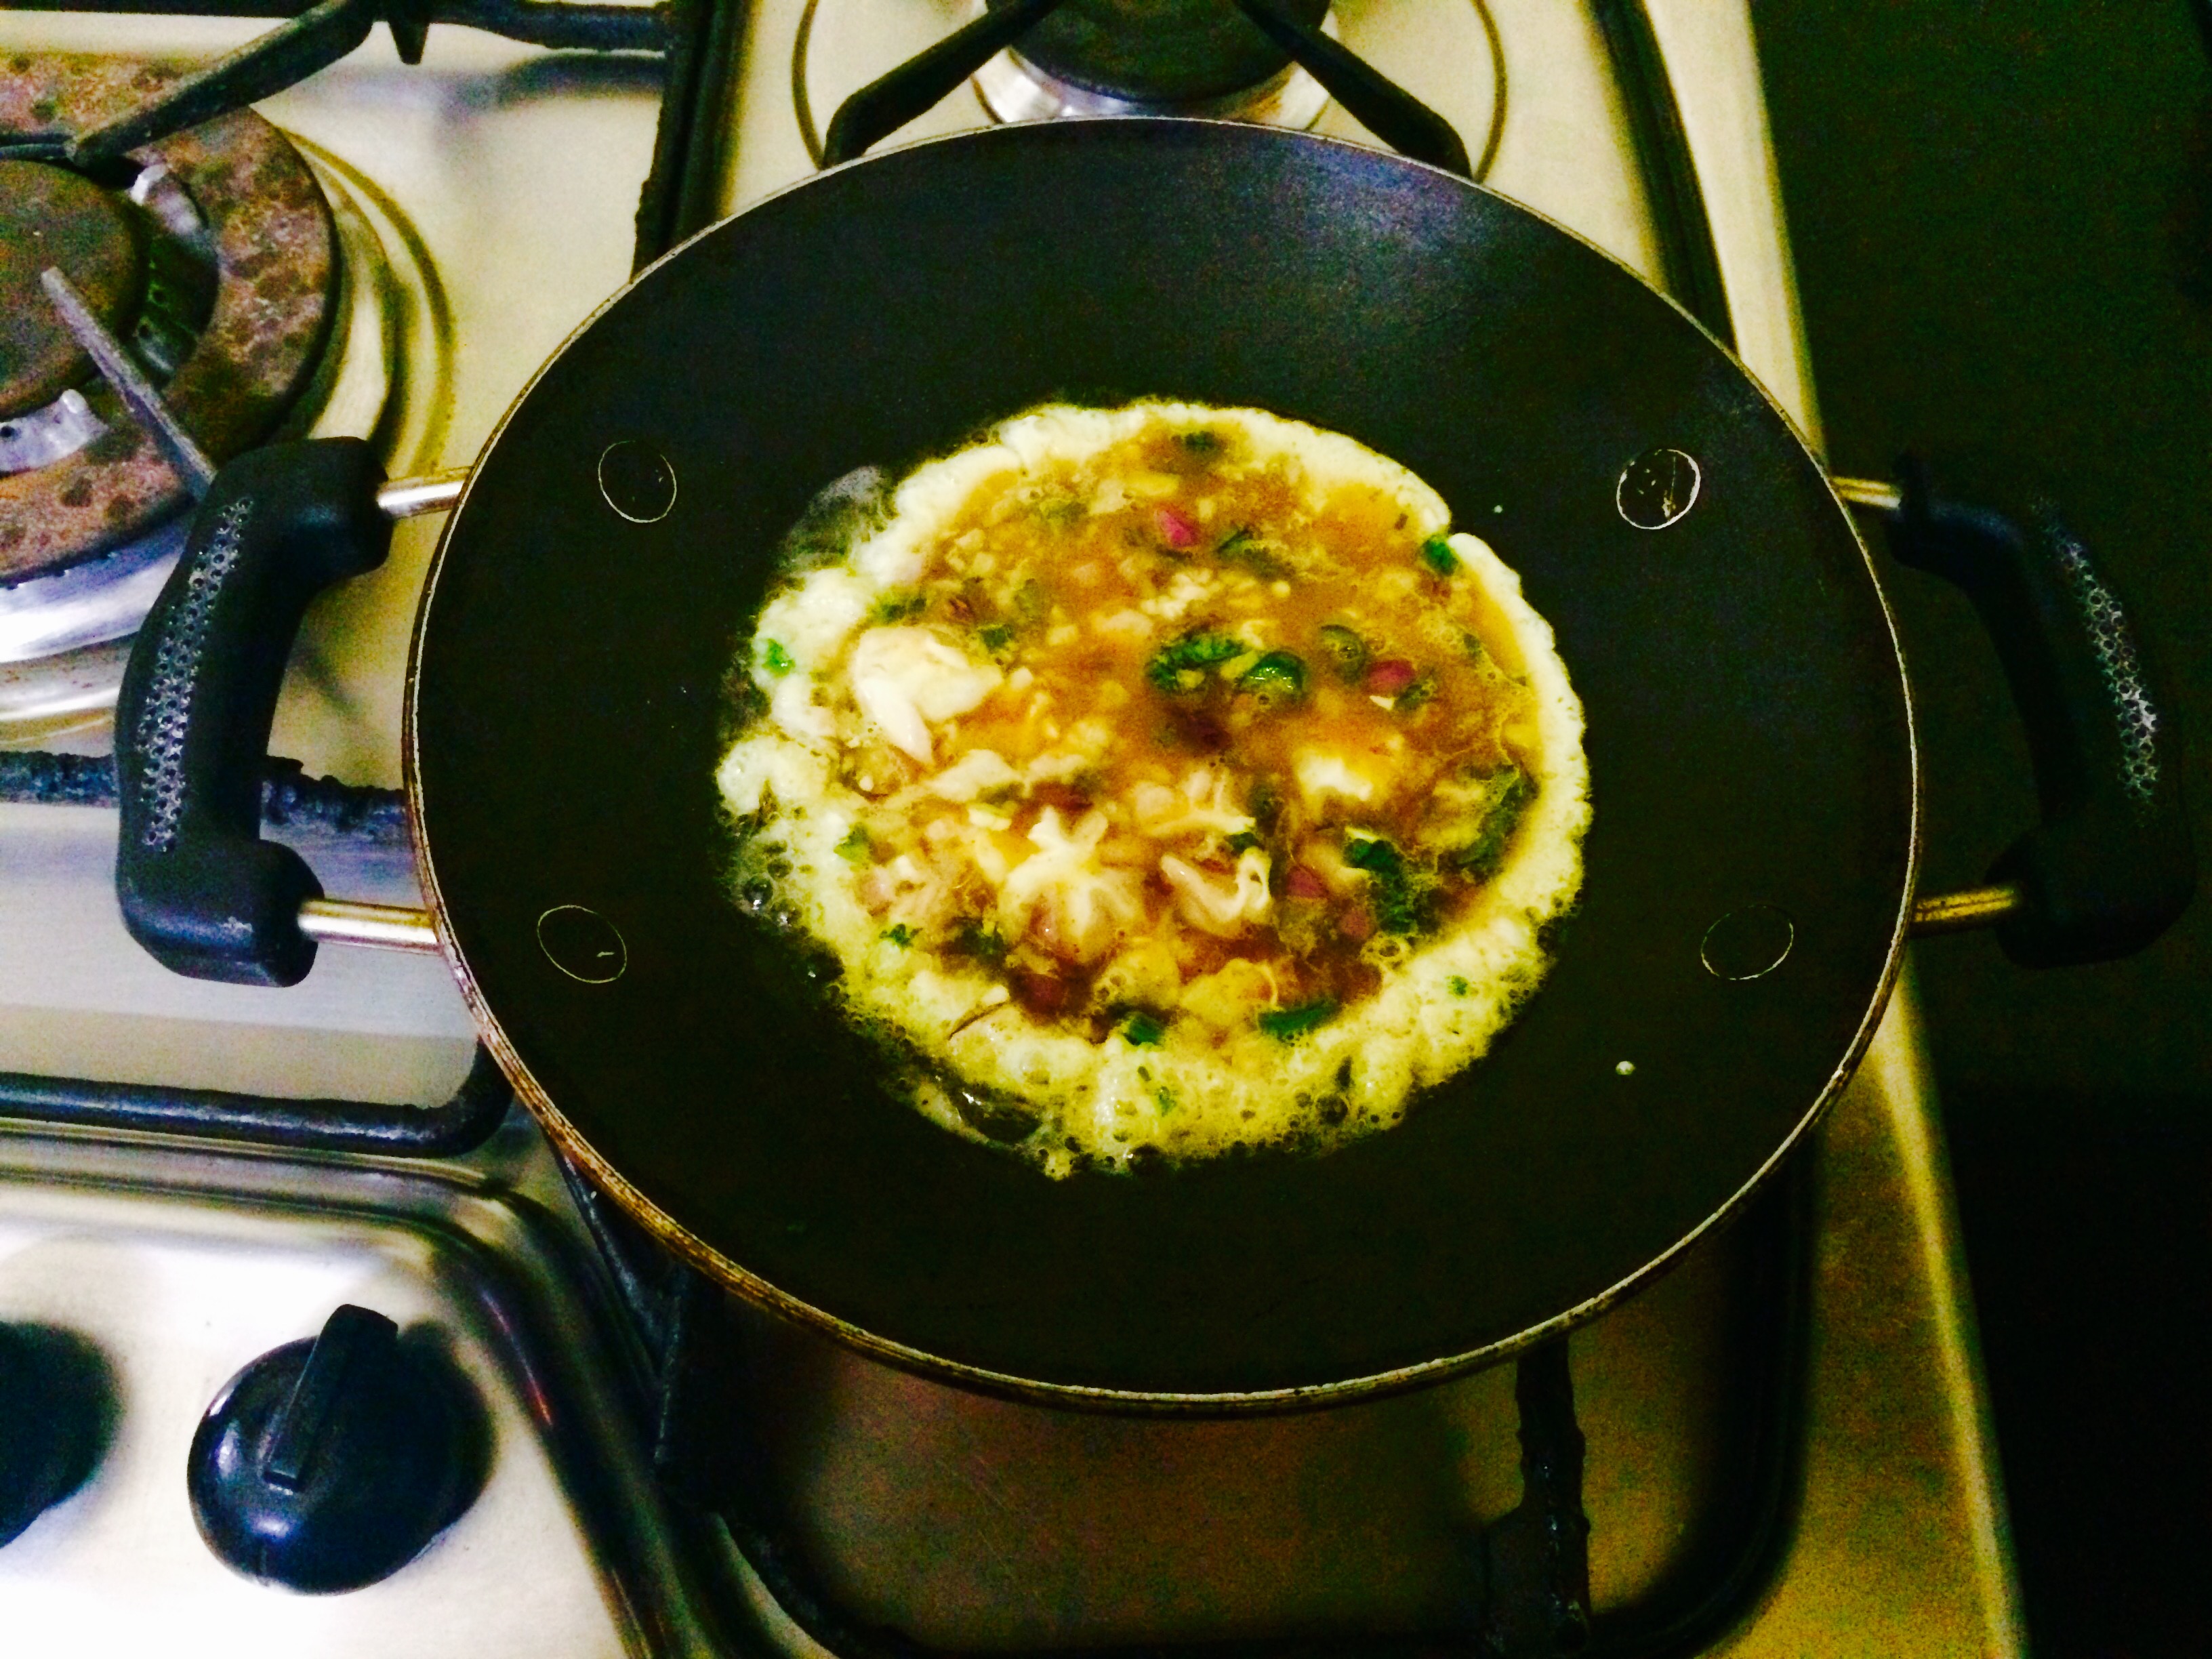
- Keep layering until all the rice and prawn gravy is over. Heat a griddle on high heat, place the layered biriyani vessel over and close with a lid tightly.
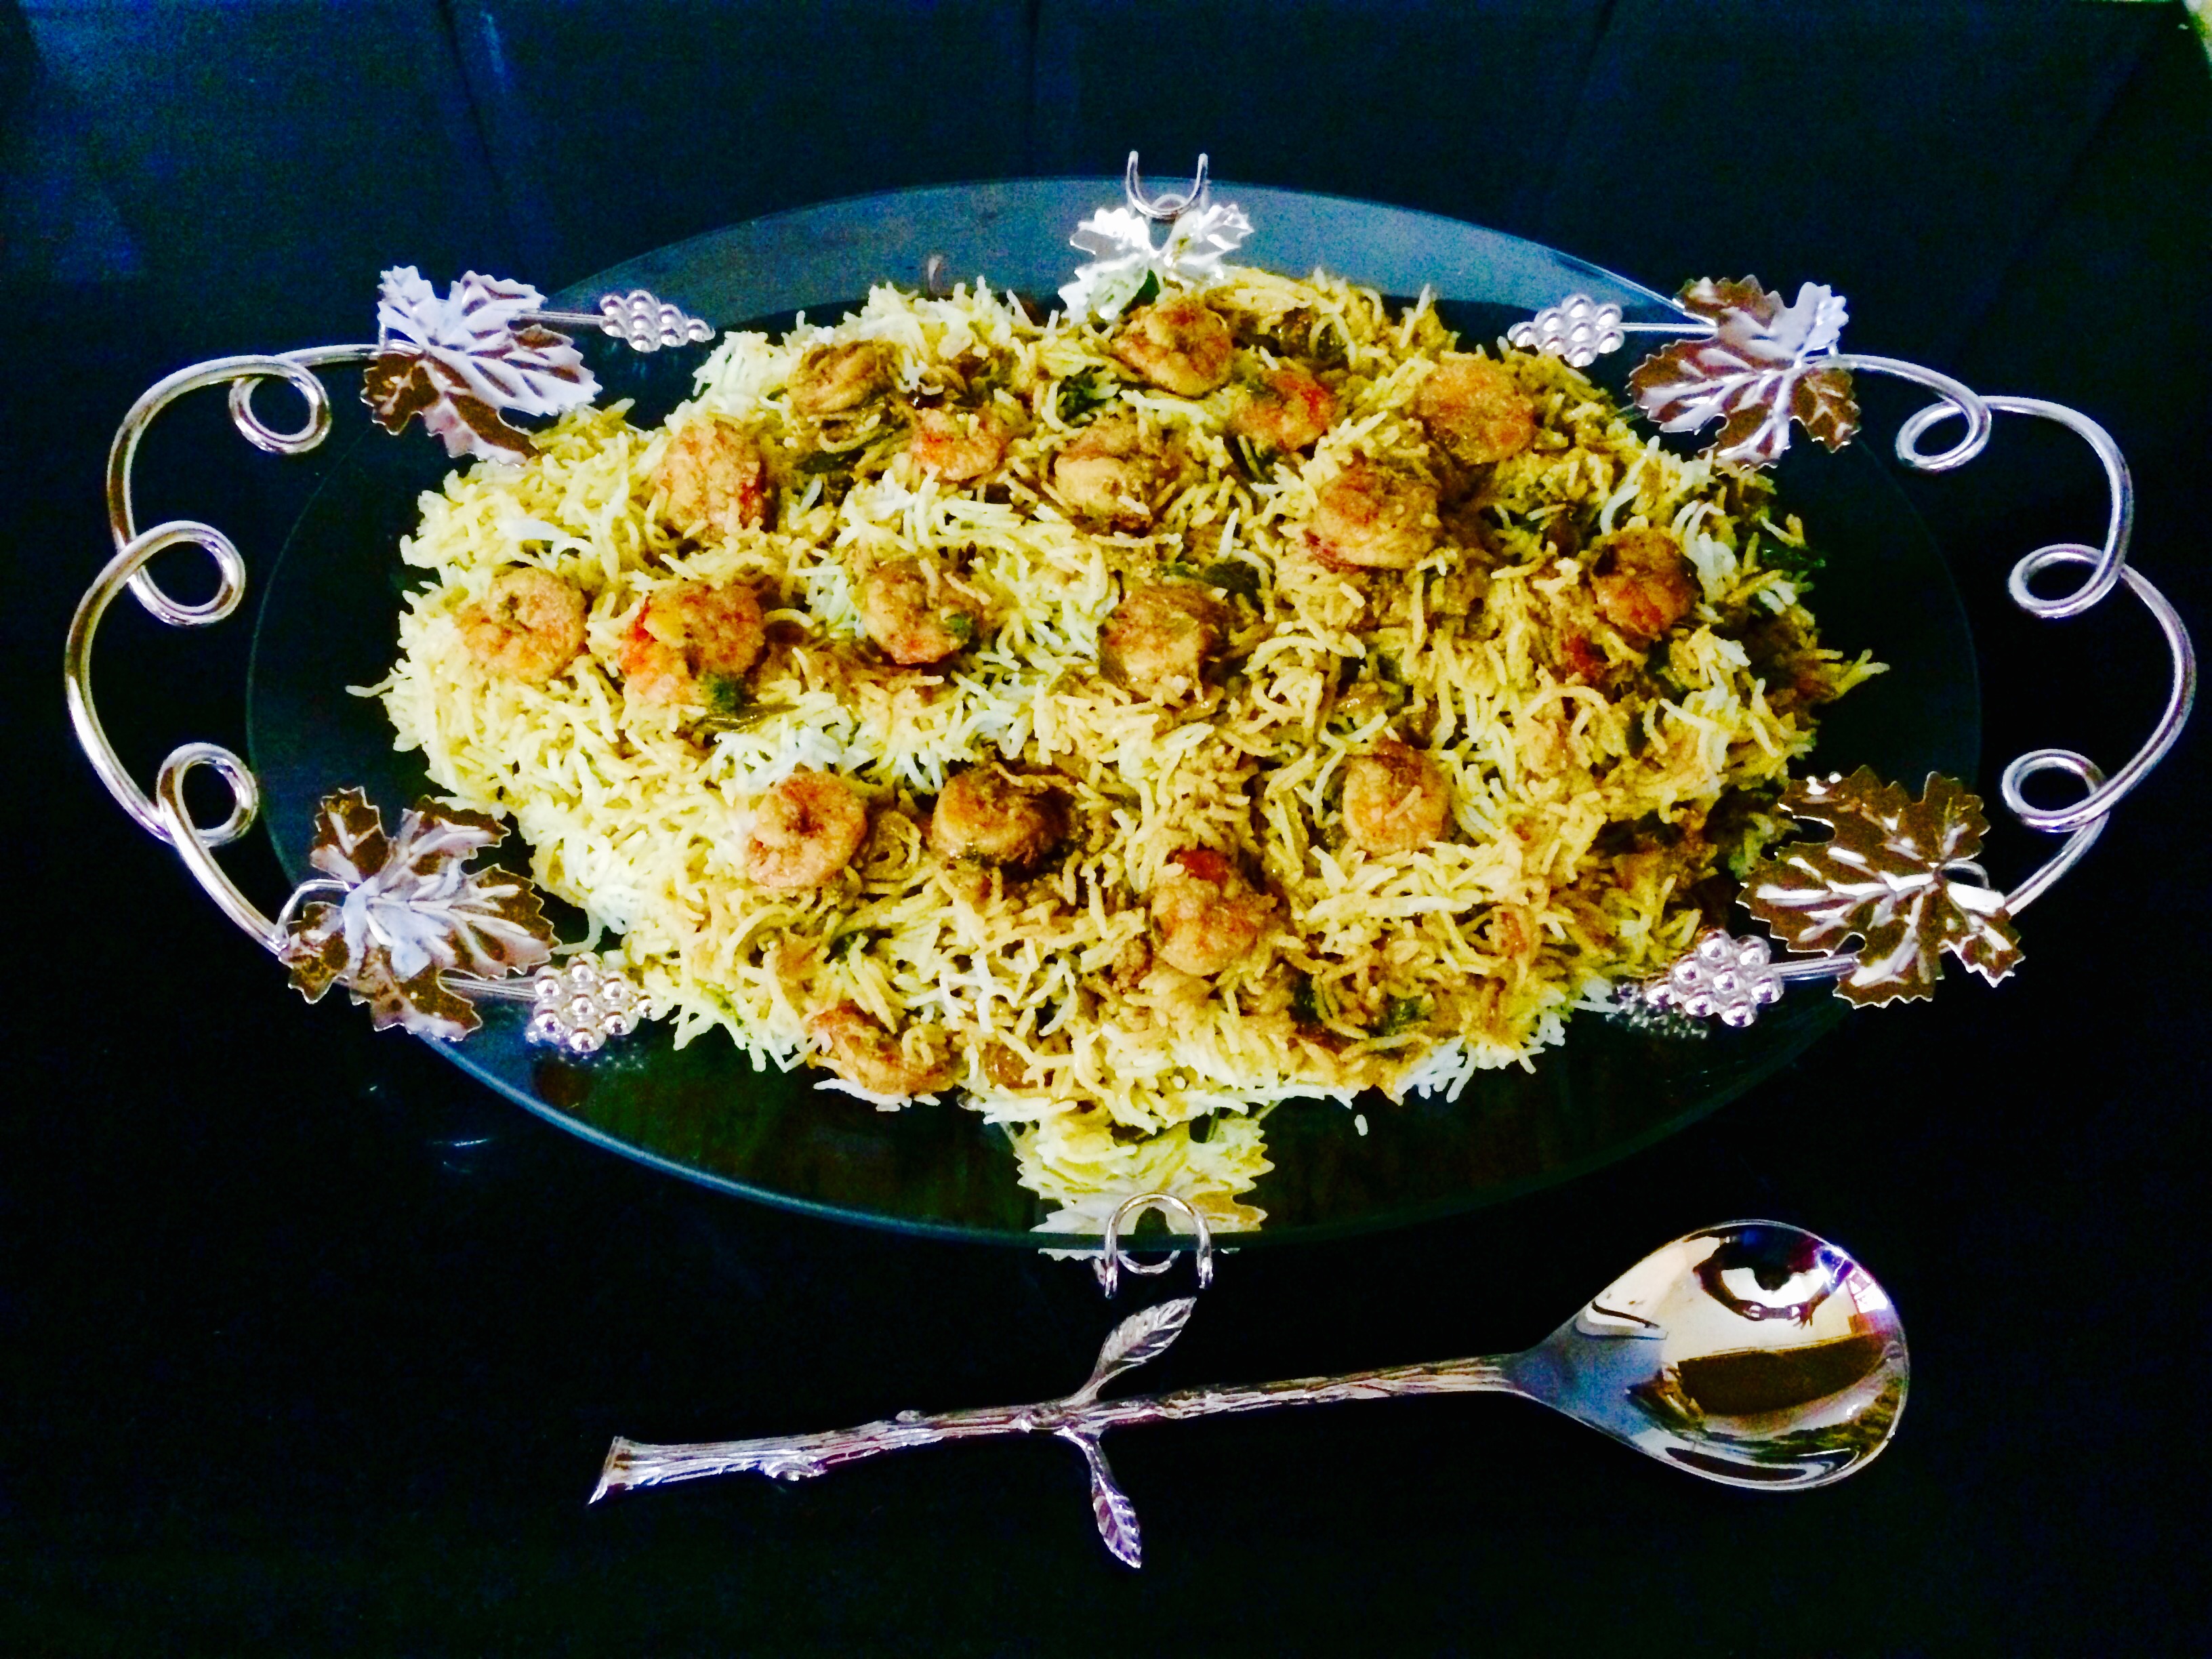
- Cook for fifteen minutes in medium flame in dum. Serve hot with dates pickle and pappadam.
Notes
- Make sure the prawn gravy is hot, sour and salty more than required as when layered with rice it tastes perfect.
- You can do the same with chicken, mutton, beef or fish.
- Vegetarians can opt for mushrooms, cauliflower, channa, panner or mixed vegetables instead of prawn.
- Once you drain the rice, you need to work fast or else the rice gets grainy.
- Can do the layering and dum process of the biriyani in an electric rice cooker and cook to done. ( I do this as its hassle free and once done it stays warm also in keep warm mode )