

Preparation time : 50 minutes + marination time
Cooking time : 1 hour
Serves : 4 members
Description
Fusion food is the thing now a days. So fed up with the regular mutton, chicken, fish, prawn and vegetable biriyani’s I make at home, made sure to try a new fusion recipe instead to entertain my daughter and son in law on their recent visit. My daughter and myself discussing about what fusion to do with hubby dear beside. He was like no way a fusion biriyani, make mutton biriyani as that is the king of all biriyani’s ( being his real self sticking on to what he likes to eat and make others eat as well. My girl was like no we are going to try some thing new today. Hubby dear with a naive smile told us.. No problem, my friend is sending over some good madras style biriyani so I will not touch the so called fusion or confusion what ever it is going to be. I felt so in peace as I there is no need to cook another dish for hubby dear as his friends madras style biriyani will do justice for him. We settled down on chicken – 65 biriyani . Now how to start was the next question. I started with the chicken 65 part which was the easiest out of the entire recipe. Then with the biriyani gravy and then the rice. With the three components ready, I layered them and cooked in dum style for the final product. Tasted a tiny bit first and I loved it. Now at the lunch table, with no sign of hubby dears madras biriyani arriving.. We start our lunch. First helping done and as the second helping was to start.. I ask hubby dear if he wants white boiled rice? He’s like ” NO, NO.. I WILL HAVE THE FUSION BIRIYANI, IT TASTES NICE ” .. We all burst out laughing. Hubby dear pretending as if he didn’t hear or see anything was busy indulging himself with more biriyani. Happy me as I proved him wrong and my assessment of combining three authentic recipes of chicken -65 + biriyani gravy + ghee rice together doing the magic was epic. I wish this magic spreads at all your homes too through this fusion but not confusion recipe
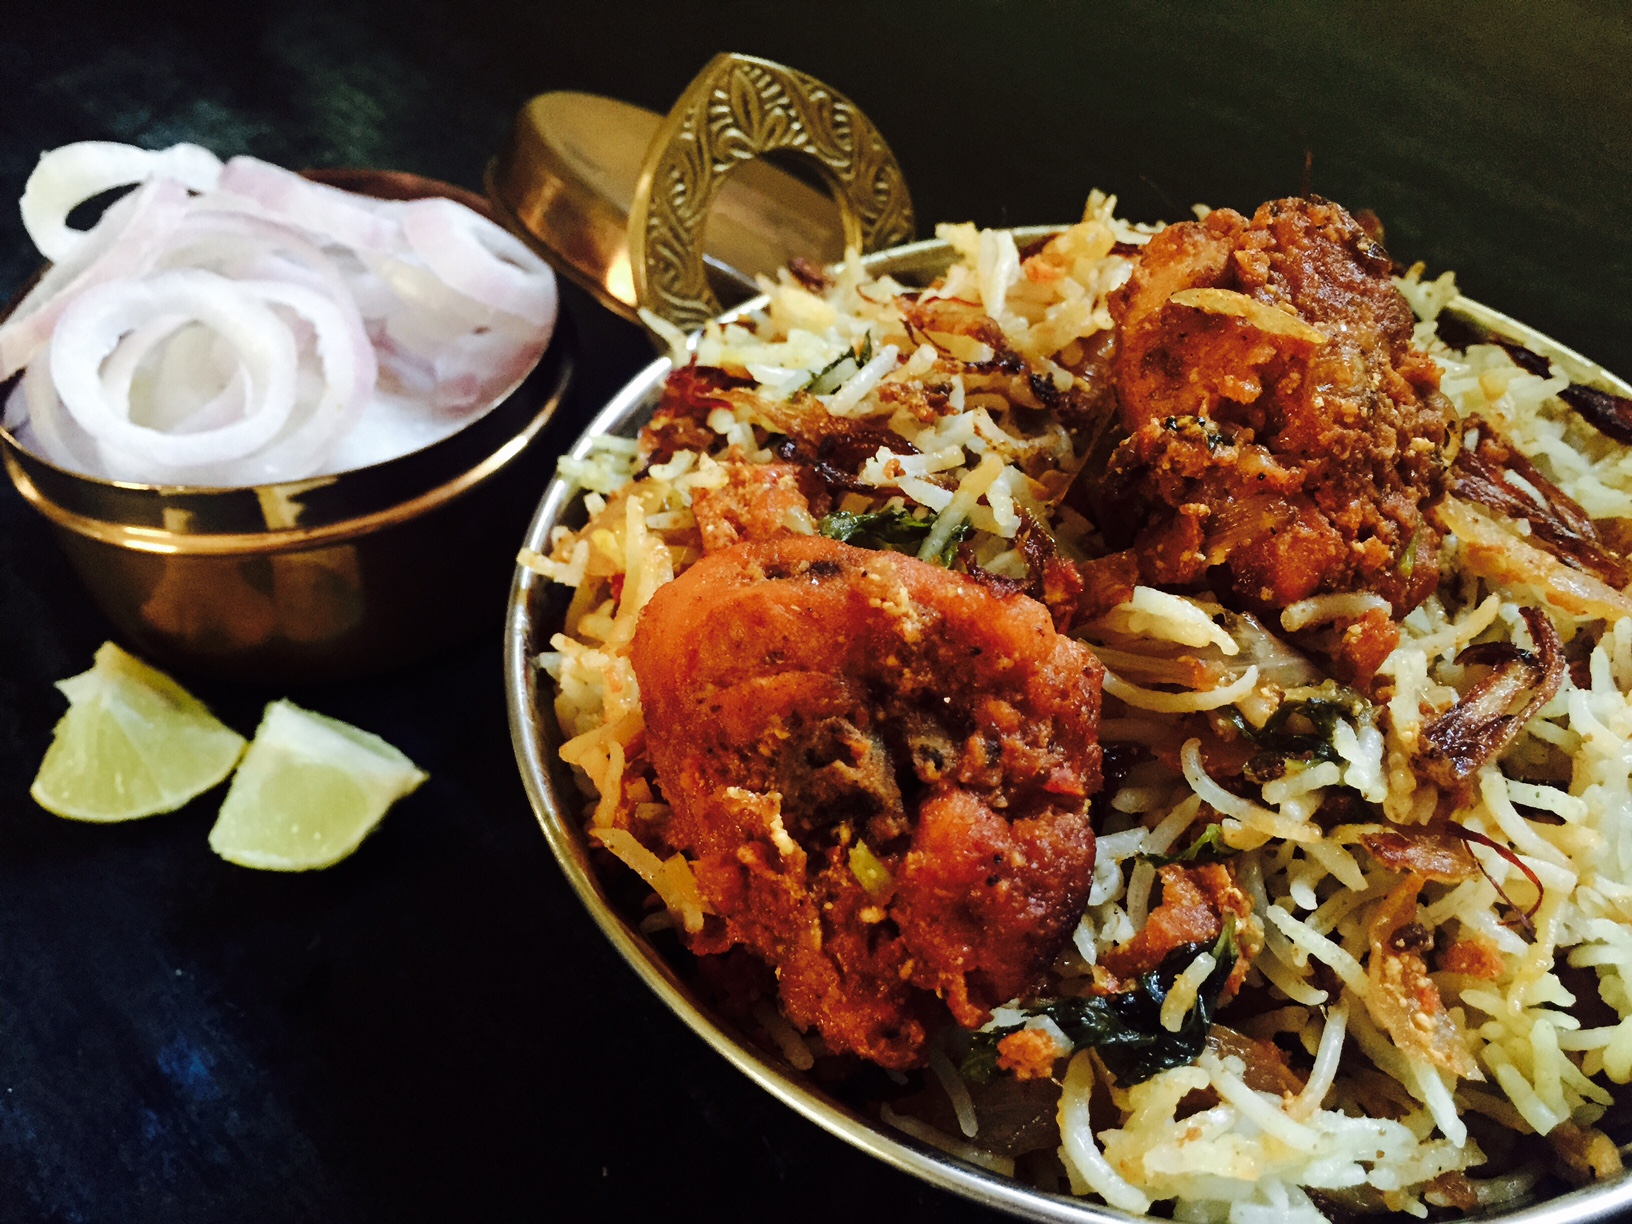
Chicken 65 biriyani
Step -1
Ingredients for chicken 65
Ingredients | Quantity |
|---|---|
| Cleaned chicken | 1/2 kg ( cut into bite size pieces ) |
| Ginger garlic paste | 1 teaspoon each |
| Chilli powder | 1 tablespoon |
| Turmeric powder | 1/4 teaspoon |
| Curd | 1/4 cup |
| Cinnamon | 1 inch piece |
| Cloves | 2 |
| Cardamom | 1 |
| Pepper powder | 1/4 teaspoon |
| Cumin powder | 1/4 teaspoon |
| Lime juice | 1/2 lime |
| Vinegar | 1 teaspoon |
| Salt | to taste |
| Orange Red food colour | a pinch |
| Corn flour | 1 tablespoon |
| Flour / Maida | 1 tablespoon |
| Egg | 1 |
| Oil | to deep fry |
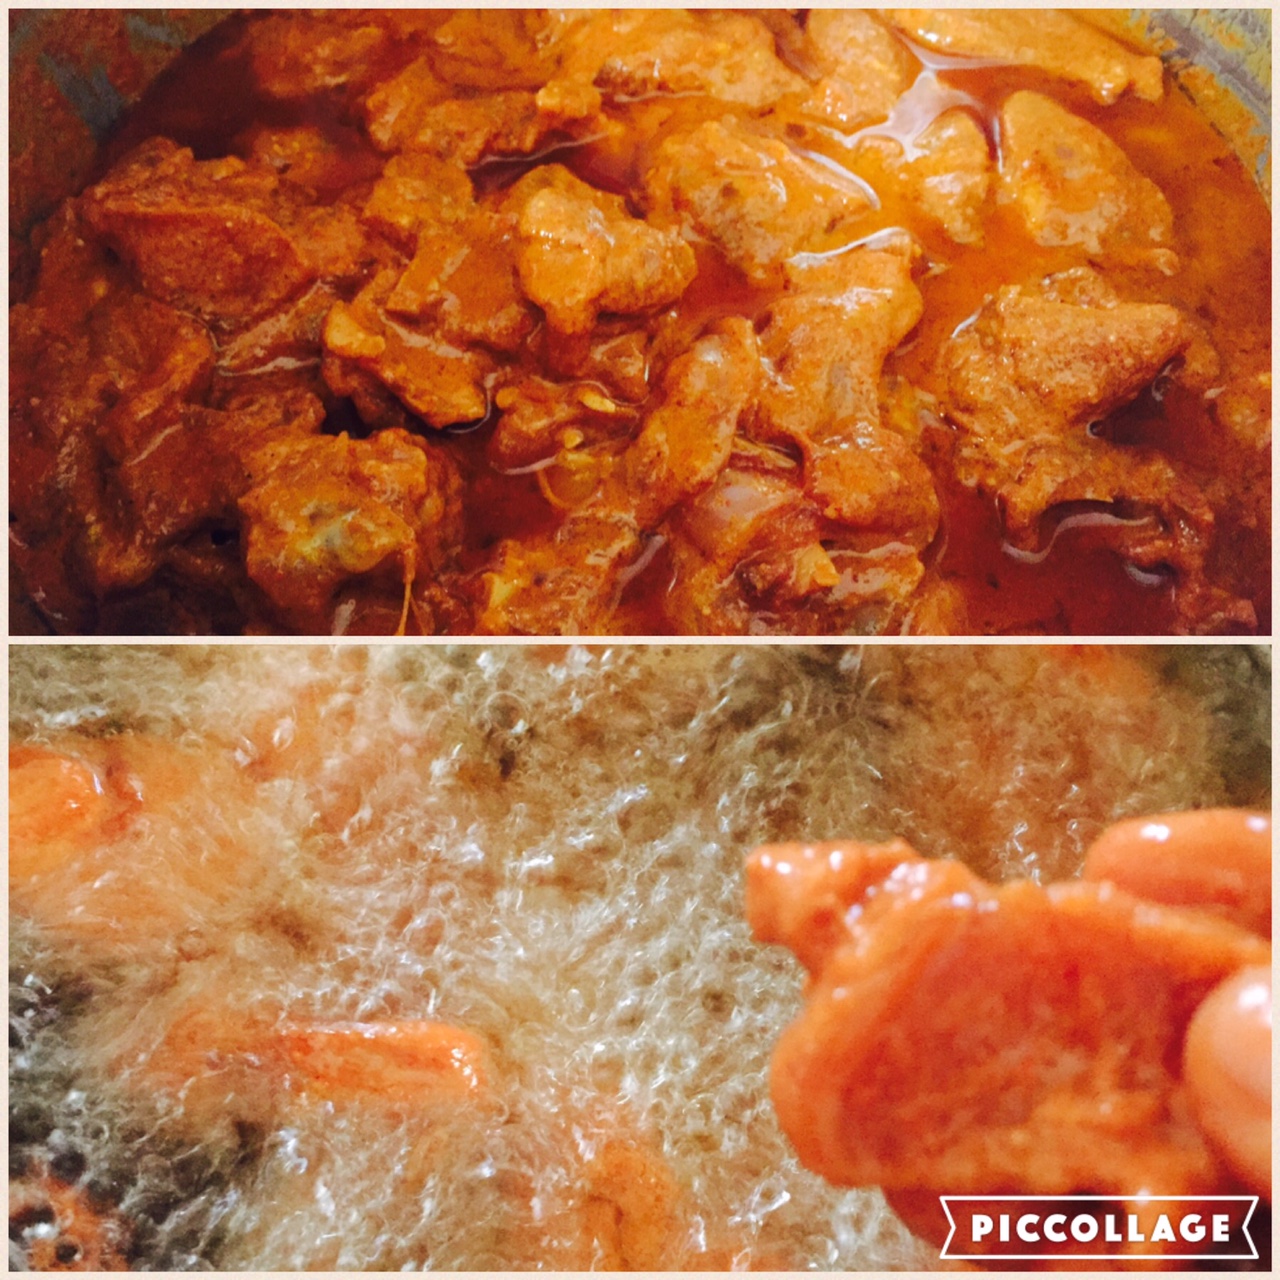
Method for chicken 65
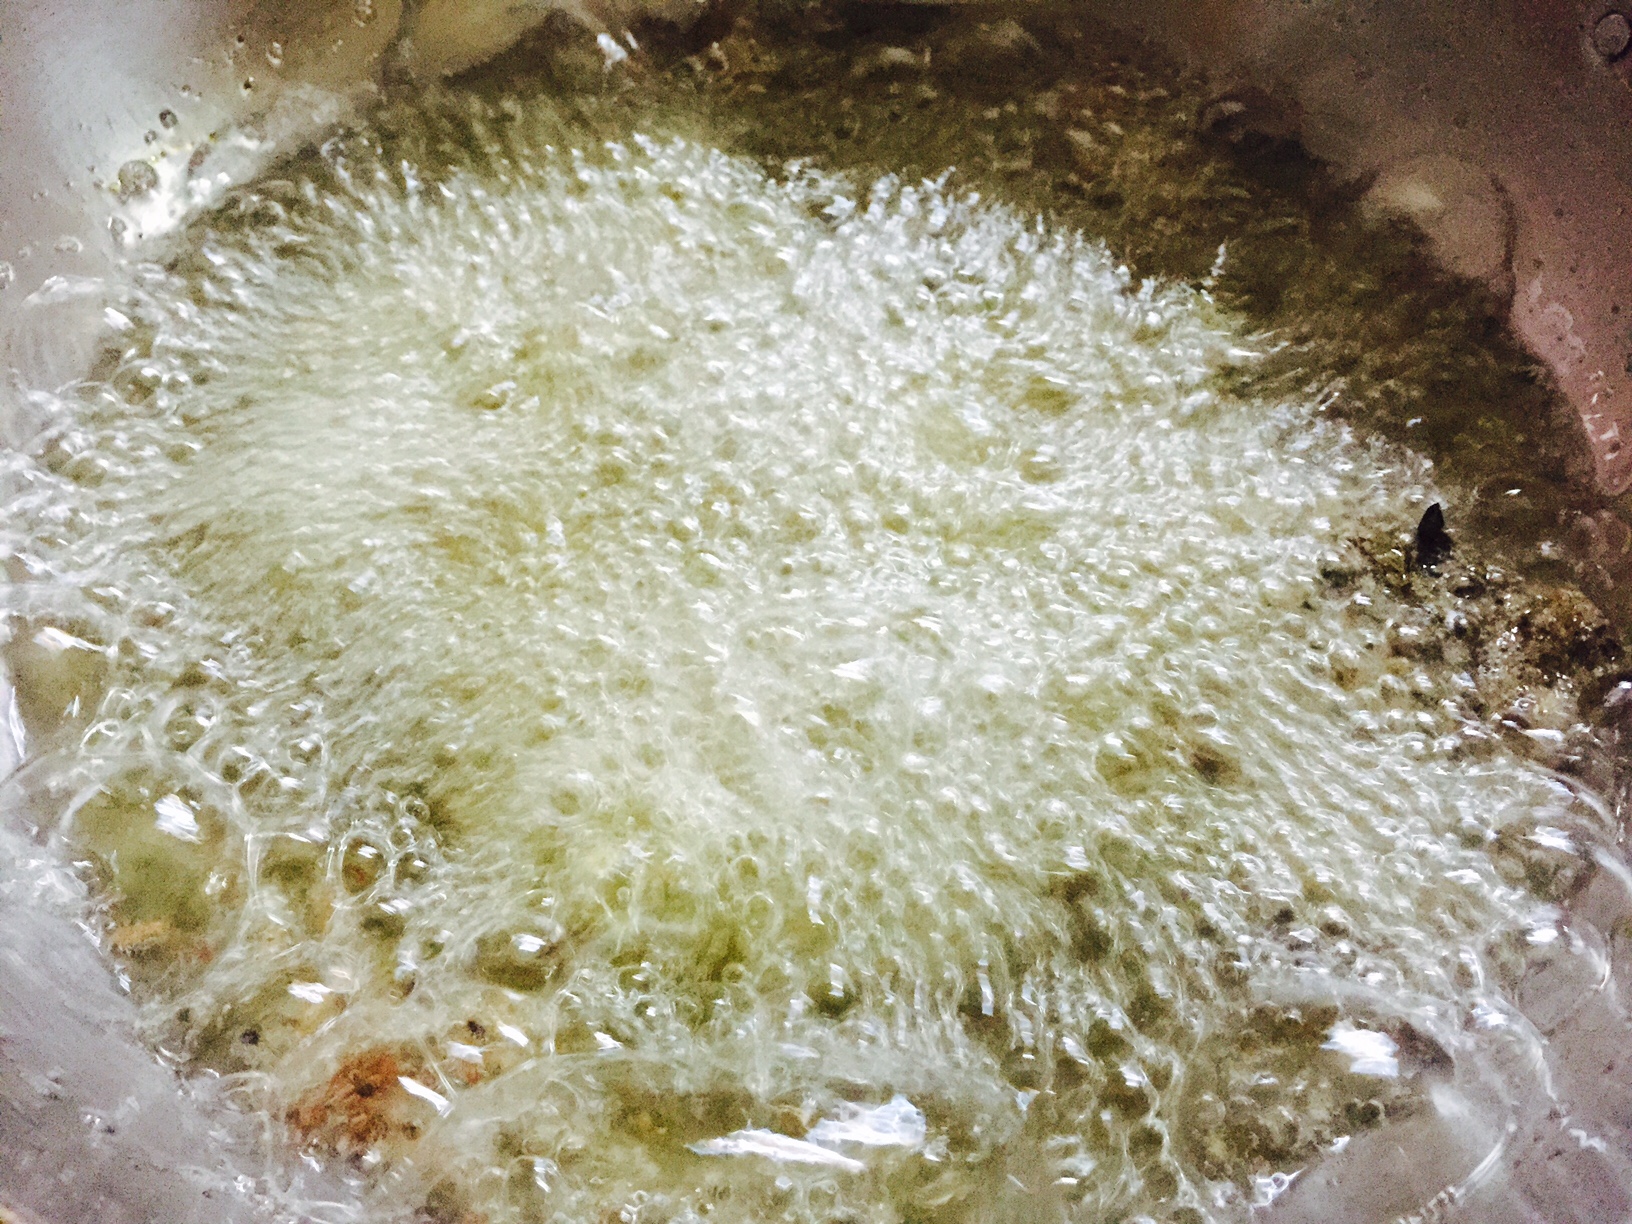
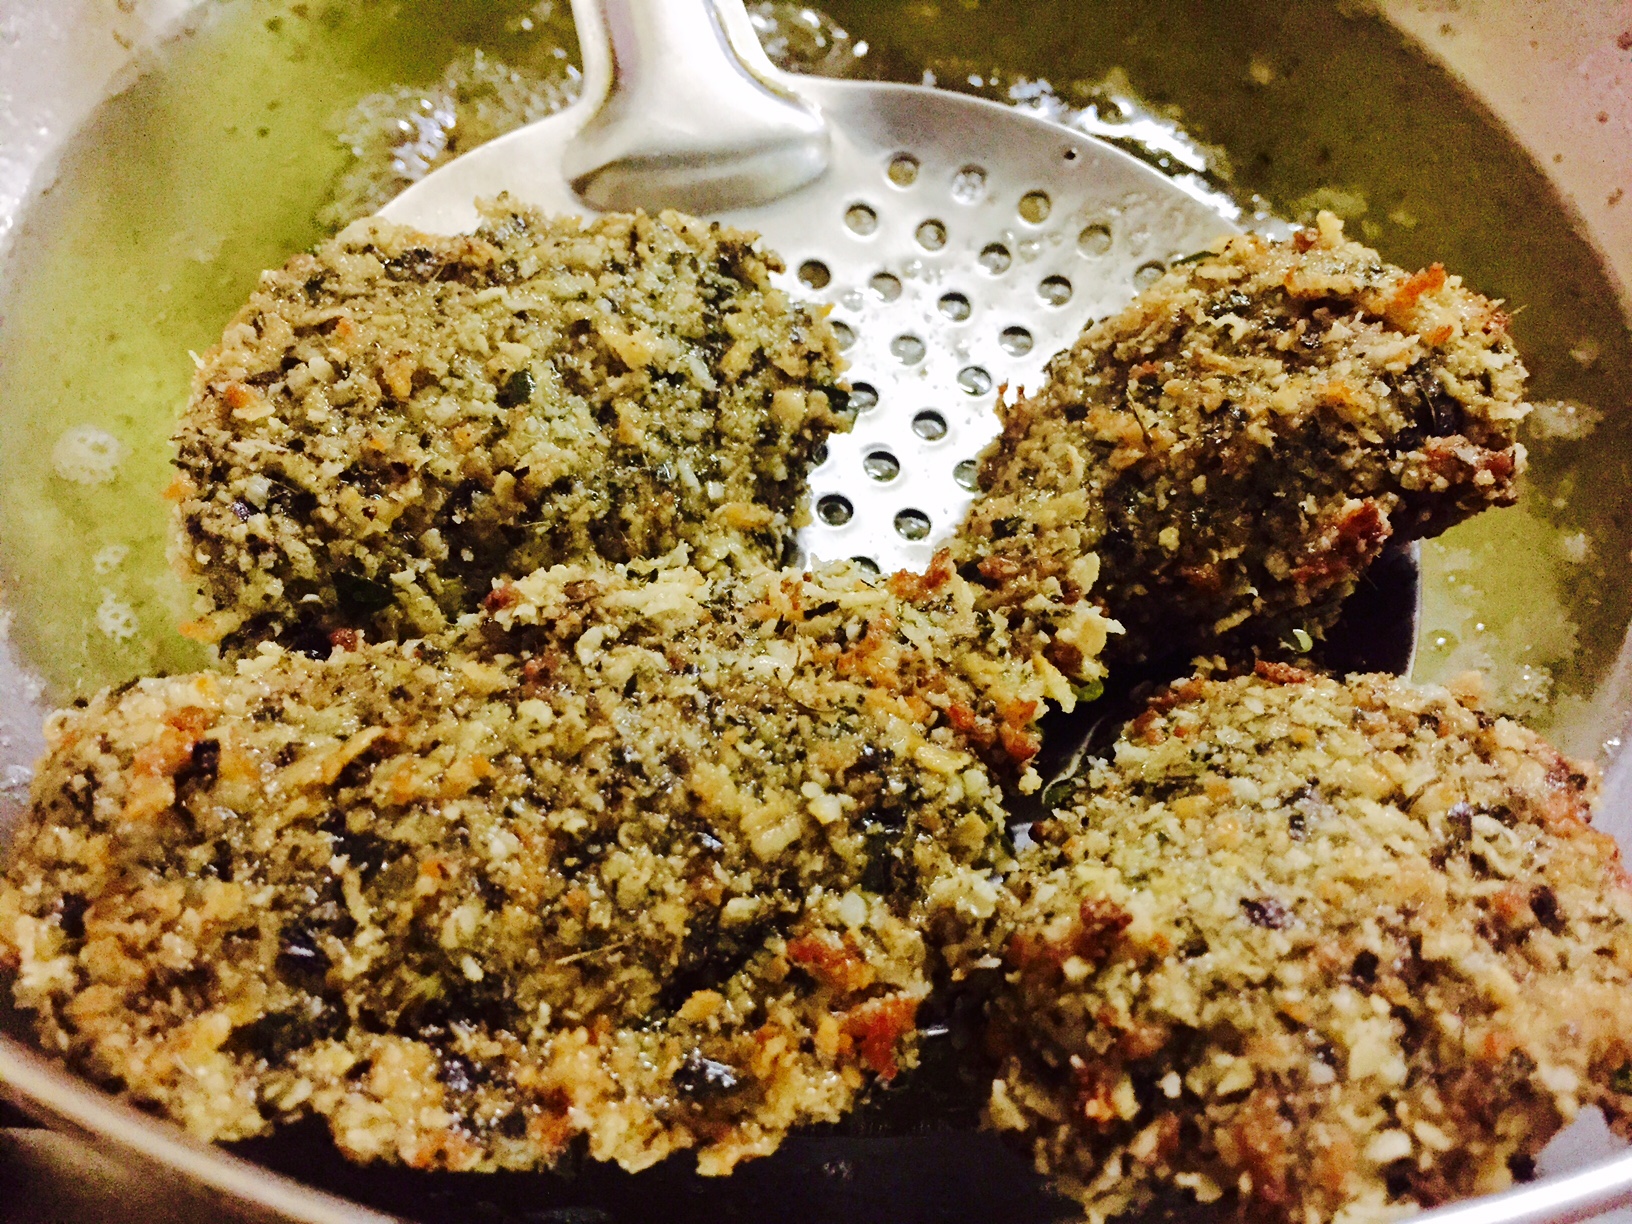
- Heat oil to deep fry in a heavy bottomed pan. Fry chicken pieces in batches 6 to 8 pieces at a time for 8 -10 minutes.
- First 2 minutes on high heat and then on medium heat for 5 minutes and another 2 minutes on high again.
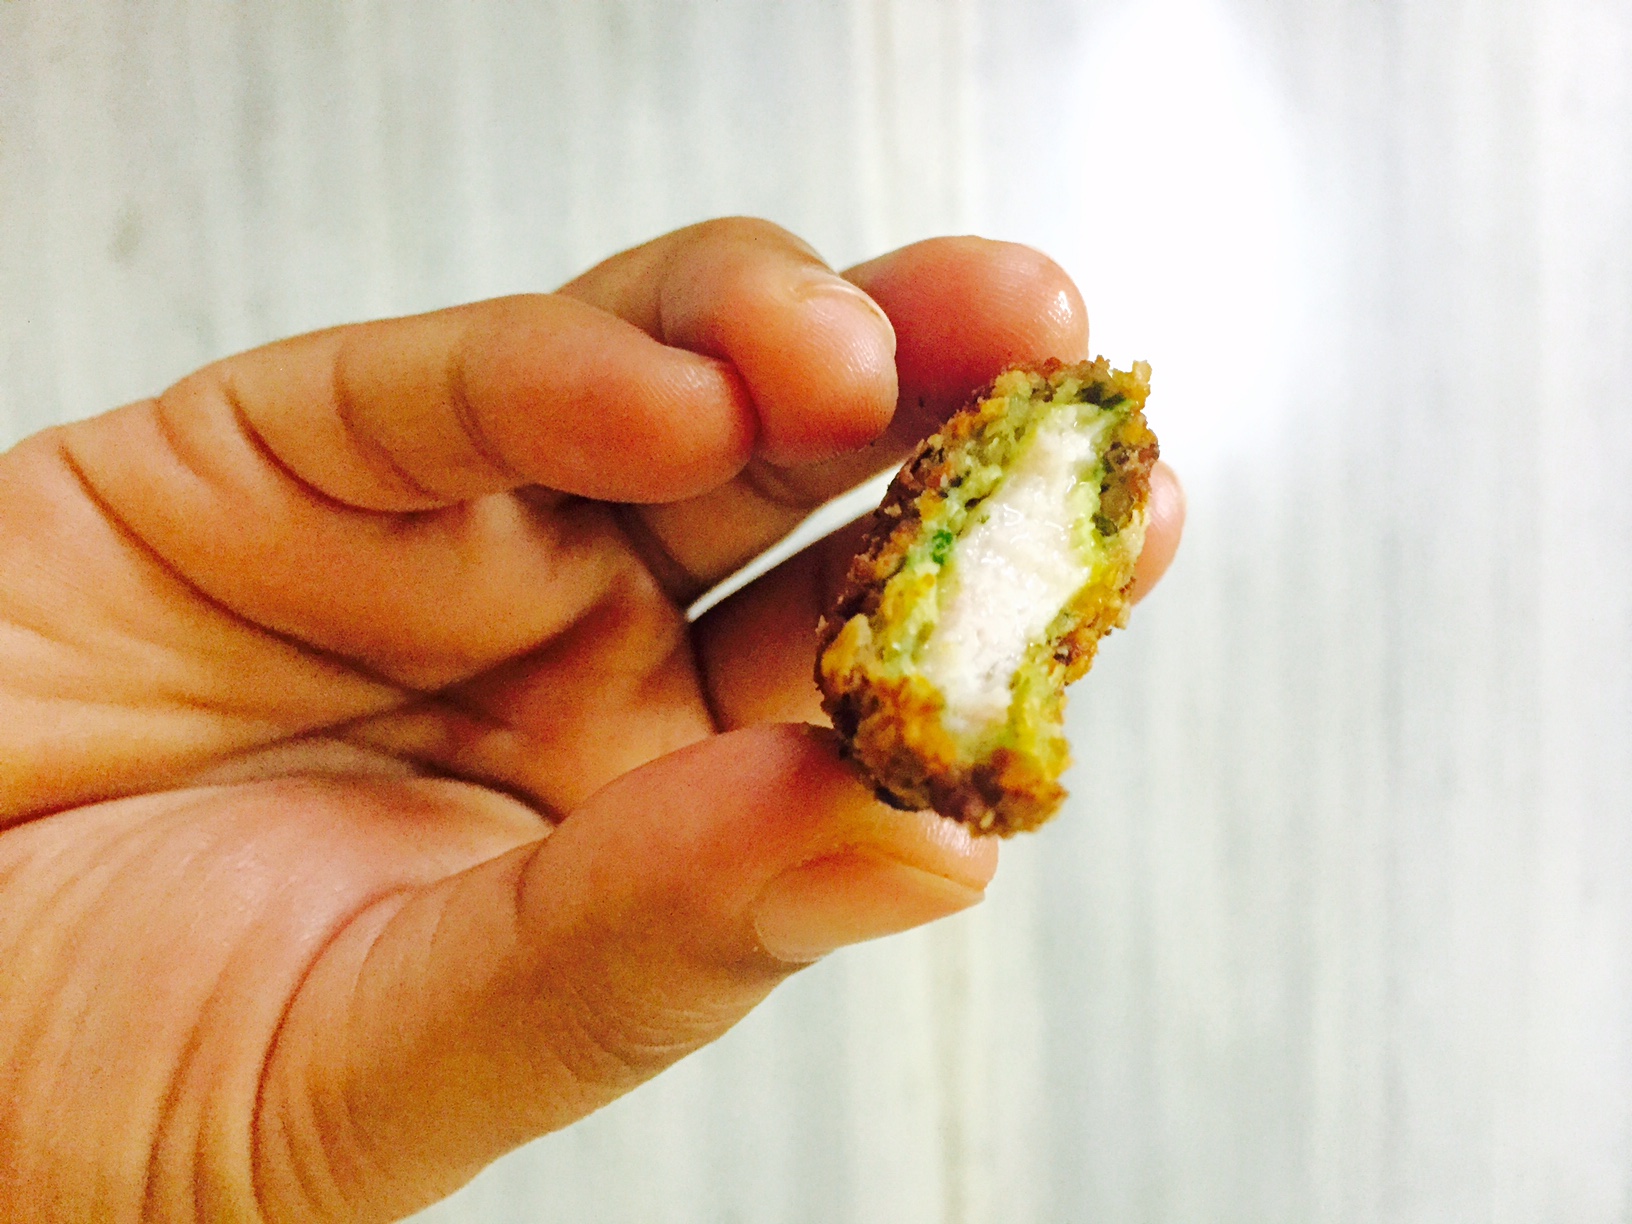
- This way you get a crisp out side and a soft, moist cooked flesh inside.
Step -2
Ingredients for the gravy
Ingredients | Quantity |
|---|---|
| onion | 6 sliced |
| tomato | 4 chopped |
| green chillies | 10 slit |
| coriander leaves | 1/4 cup chopped |
| mint leaves | 1/4 cup |
| lime juice | 1 lime |
| ginger garlic paste | 2 tea spoon each |
| curd | 1 cup |
| ghee | 100 gm |
| cinnamon | 3 pieces |
| cloves | 4 |
| cardamom | 4 |
| turmeric powder | 1/2 teaspoon |
| chilli powder | 1/2 teaspoon |
| salt | to taste |
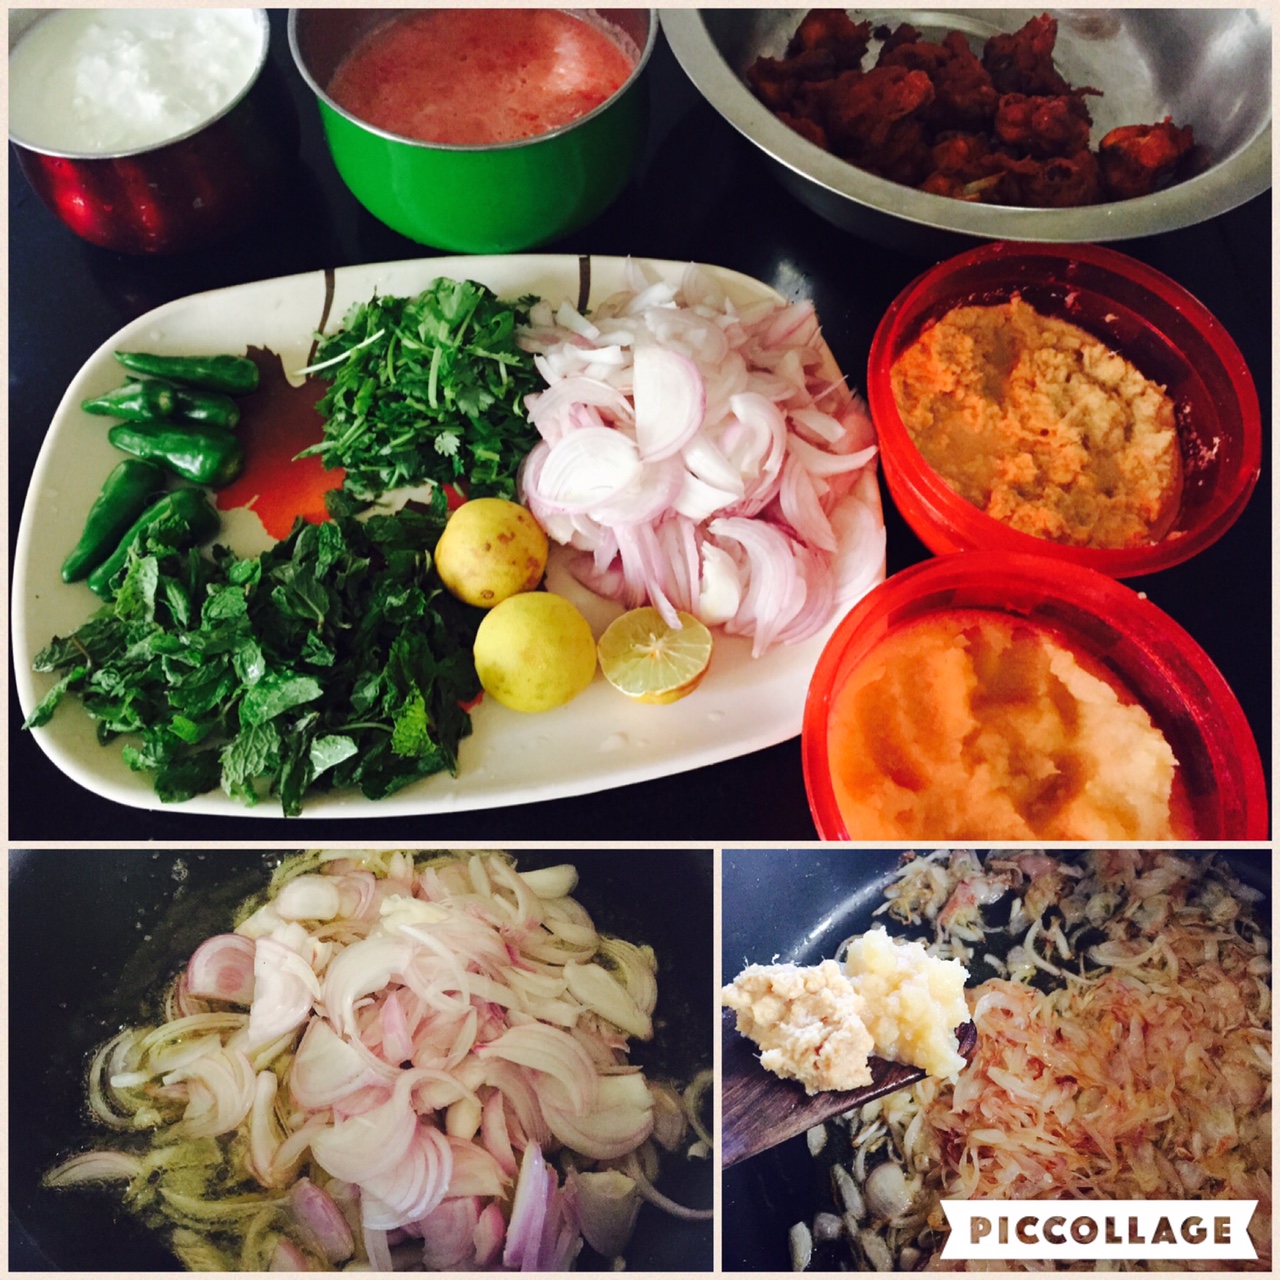
Method for gravy
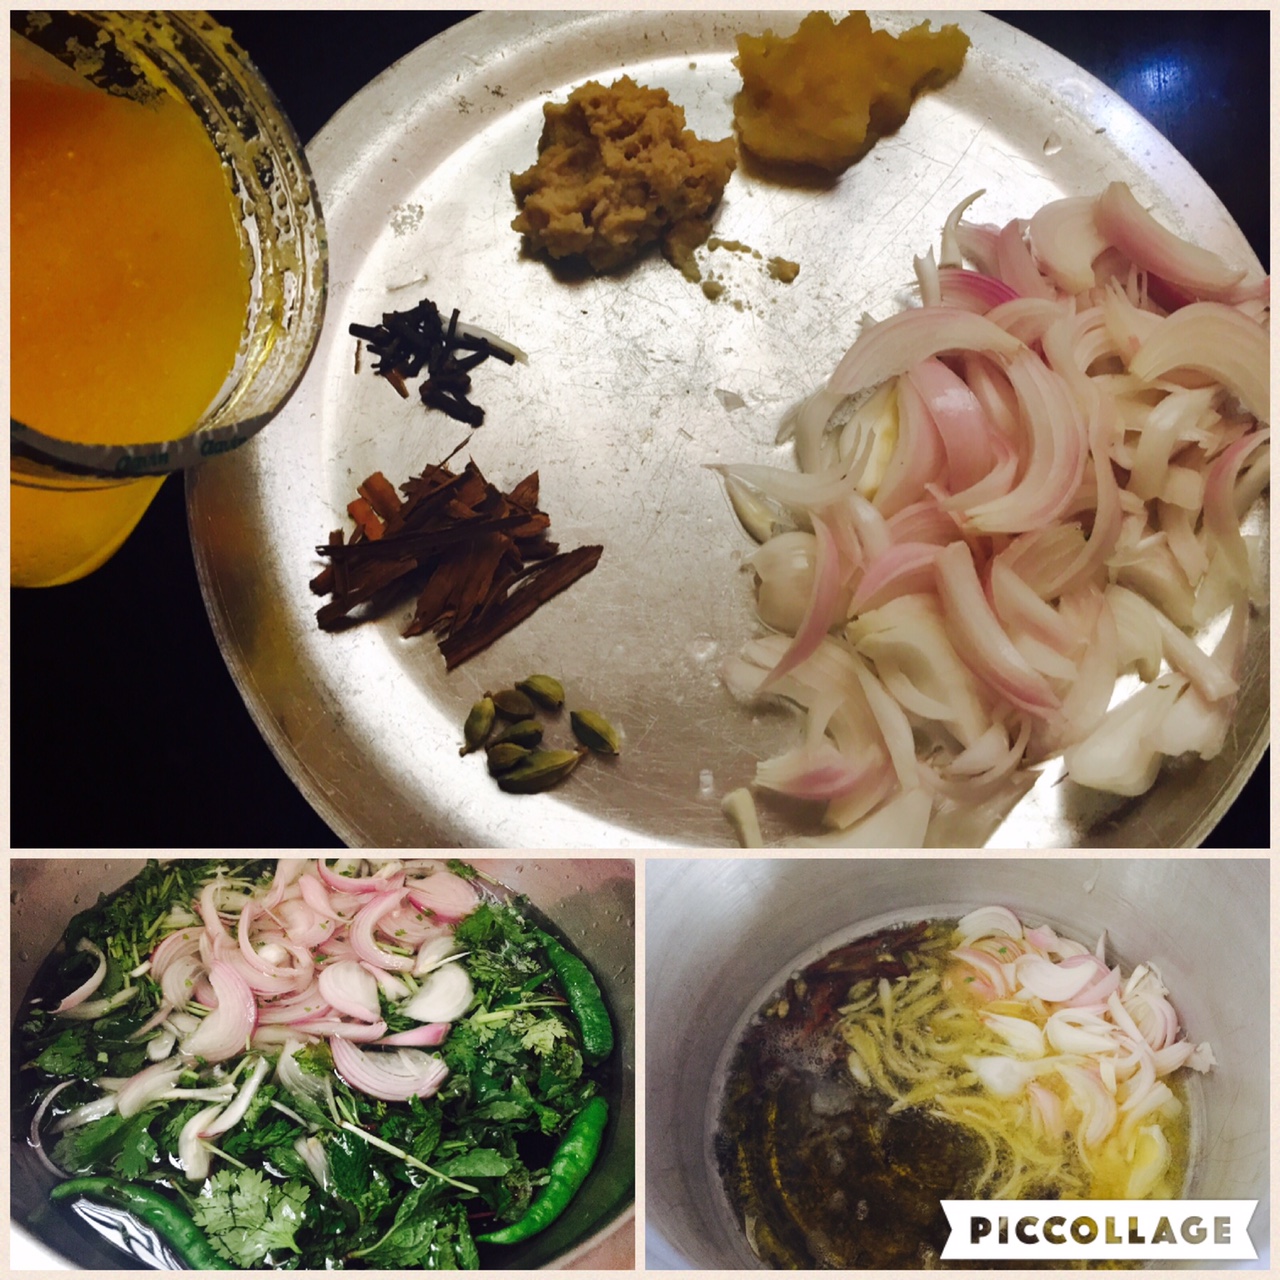
- Heat ghee in a vessel, add cinnamon, cloves and cardamom. Top with sliced onions and fry till brown in colour for 10 minutes.
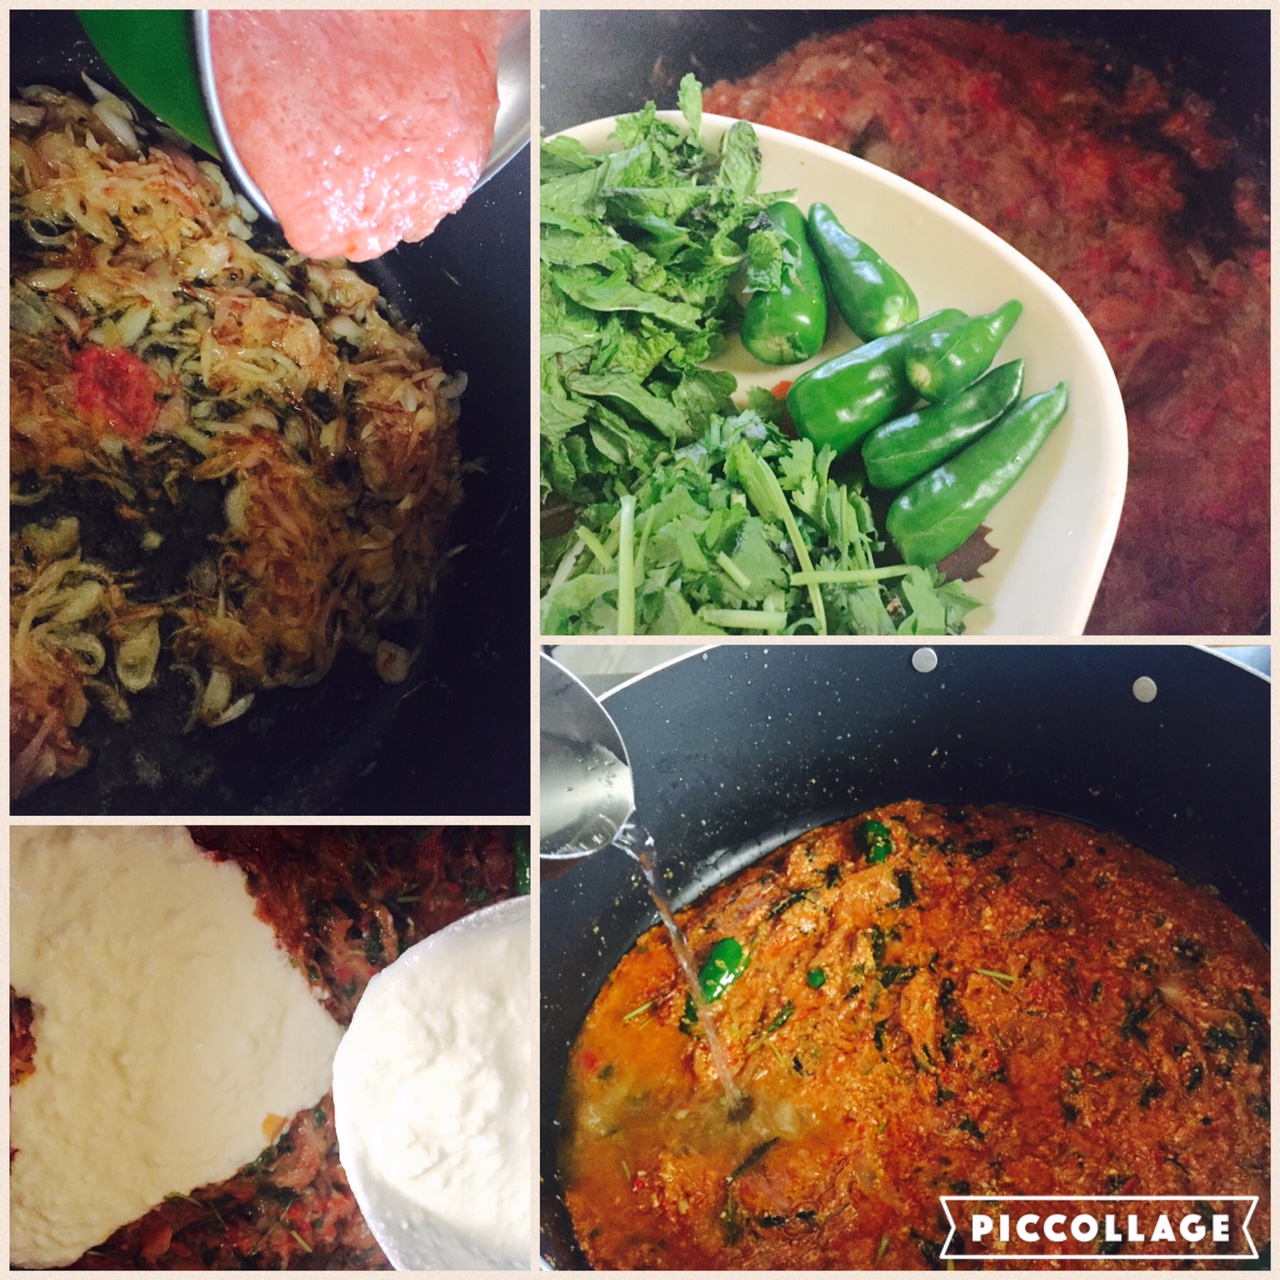
- Add ginger garlic paste and fry to crisp. Top with tomato, green chillies, mint leaves, coriander leaves, curd, turmeric powder, chilli powder and salt to taste.
- Mix well and sauté for another 10 minutes till all the juices are oozed out.
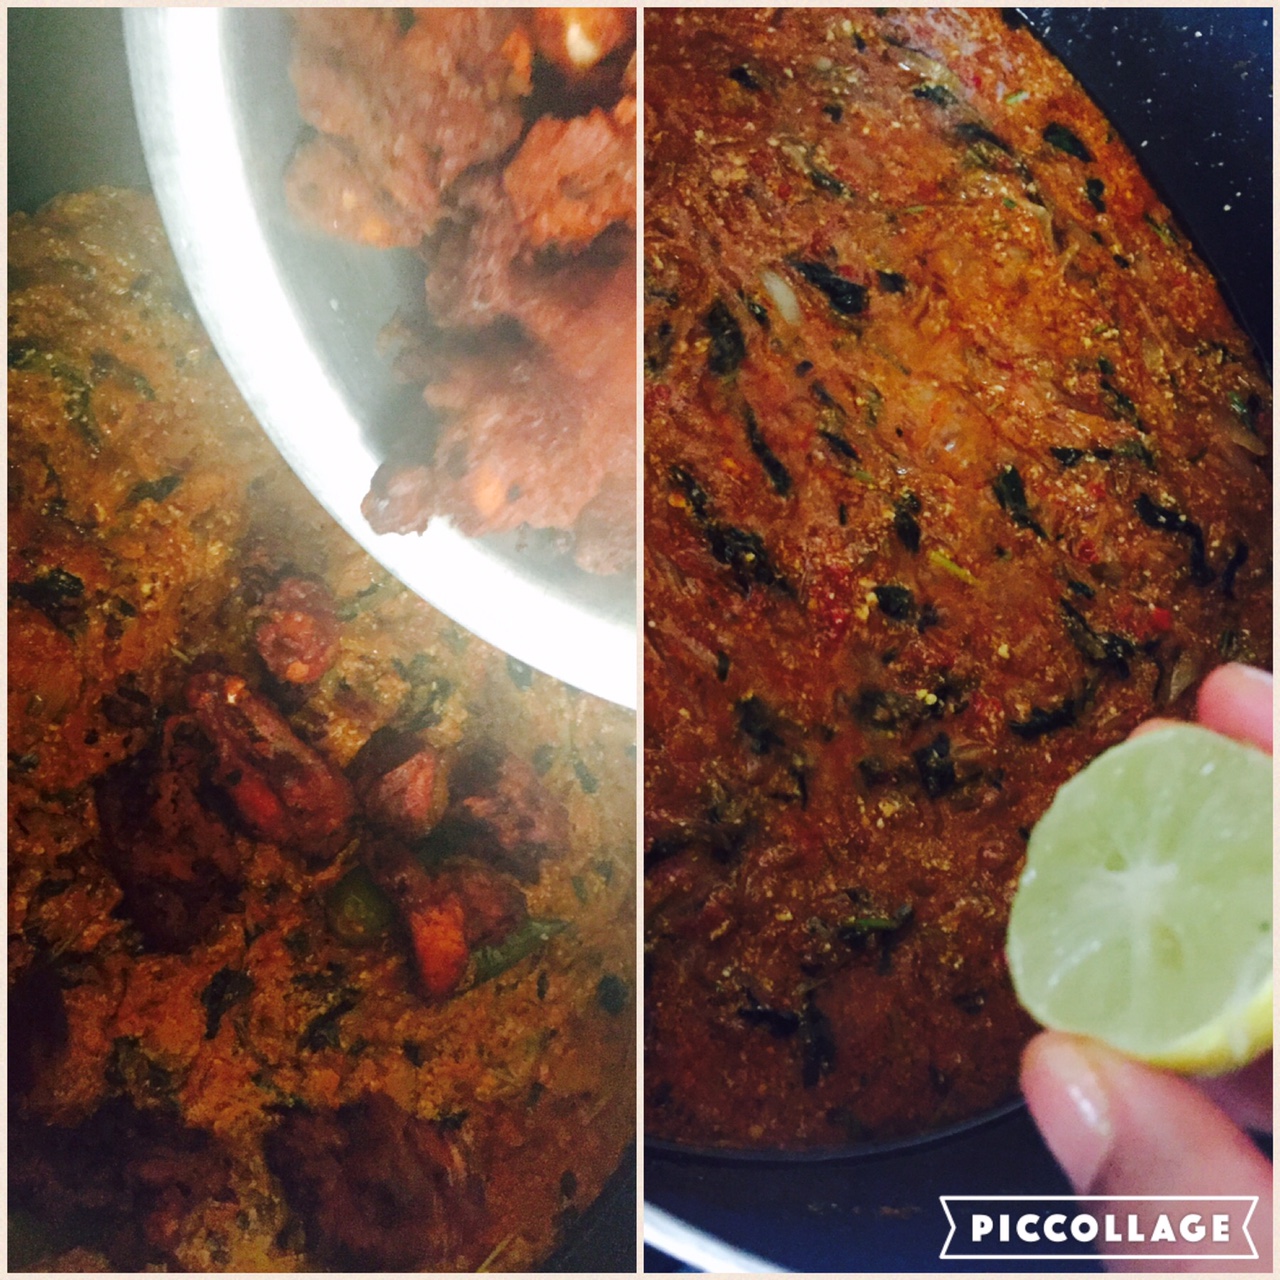
- Add 1 cup of water, mix well. cook until oil separates and the green chilies are cooked. add lime juice. Taste and adjust. The salt, sourness and hotness should be more than what you want, so that when mixed with rice it tastes right.
- Mix in the deep fried chicken 65 and mix well. Keep in low flame for 2 minutes till all the flavours infuse together. Remove from heat.
Step -3
Ingredients for the rice
Ingredients | Quantity |
|---|---|
| basmati rice | 1/2 kg ( 3 cups ) |
| ghee | 1/4 cup |
| coriander leaves | 2 tablespoons chopped |
| ginger garlic paste | 1 tablespoon |
| cloves | 4 |
| cinnamon | 4 |
| cardamom | 4 |
| green chillies | 2 slit |
| onions | 2 sliced |
| curd | 1 tablespoon |
| sugar | 1/4 teaspoon |
| salt | to taste |
| whole cashew nuts | 1 tablespoon |
| rose essence | 1 drop |
| water | 3 cups |
Method for rice
- Wash and soak the rice in water.
- Heat ghee in a pressure cooker, add cinnamon, cloves, cardamom, sliced onion one. Fry to translucent.
- Top with ginger garlic paste and fry to crisp.
- Mix the water along with curd, salt, sugar, coriander leaves, green chillies, sliced onion one, cashew nuts, rose essence and bring to boil.
- Add washed rice and toss well and pressure cook for 1 whistle and remove from heat.
Step -4
Other ingredients
ingredients | Quantity |
|---|---|
| Onions | 3 sliced |
| Oil | to deep fry |
| Garam masala powder | 1 tablespoon |
How to proceed
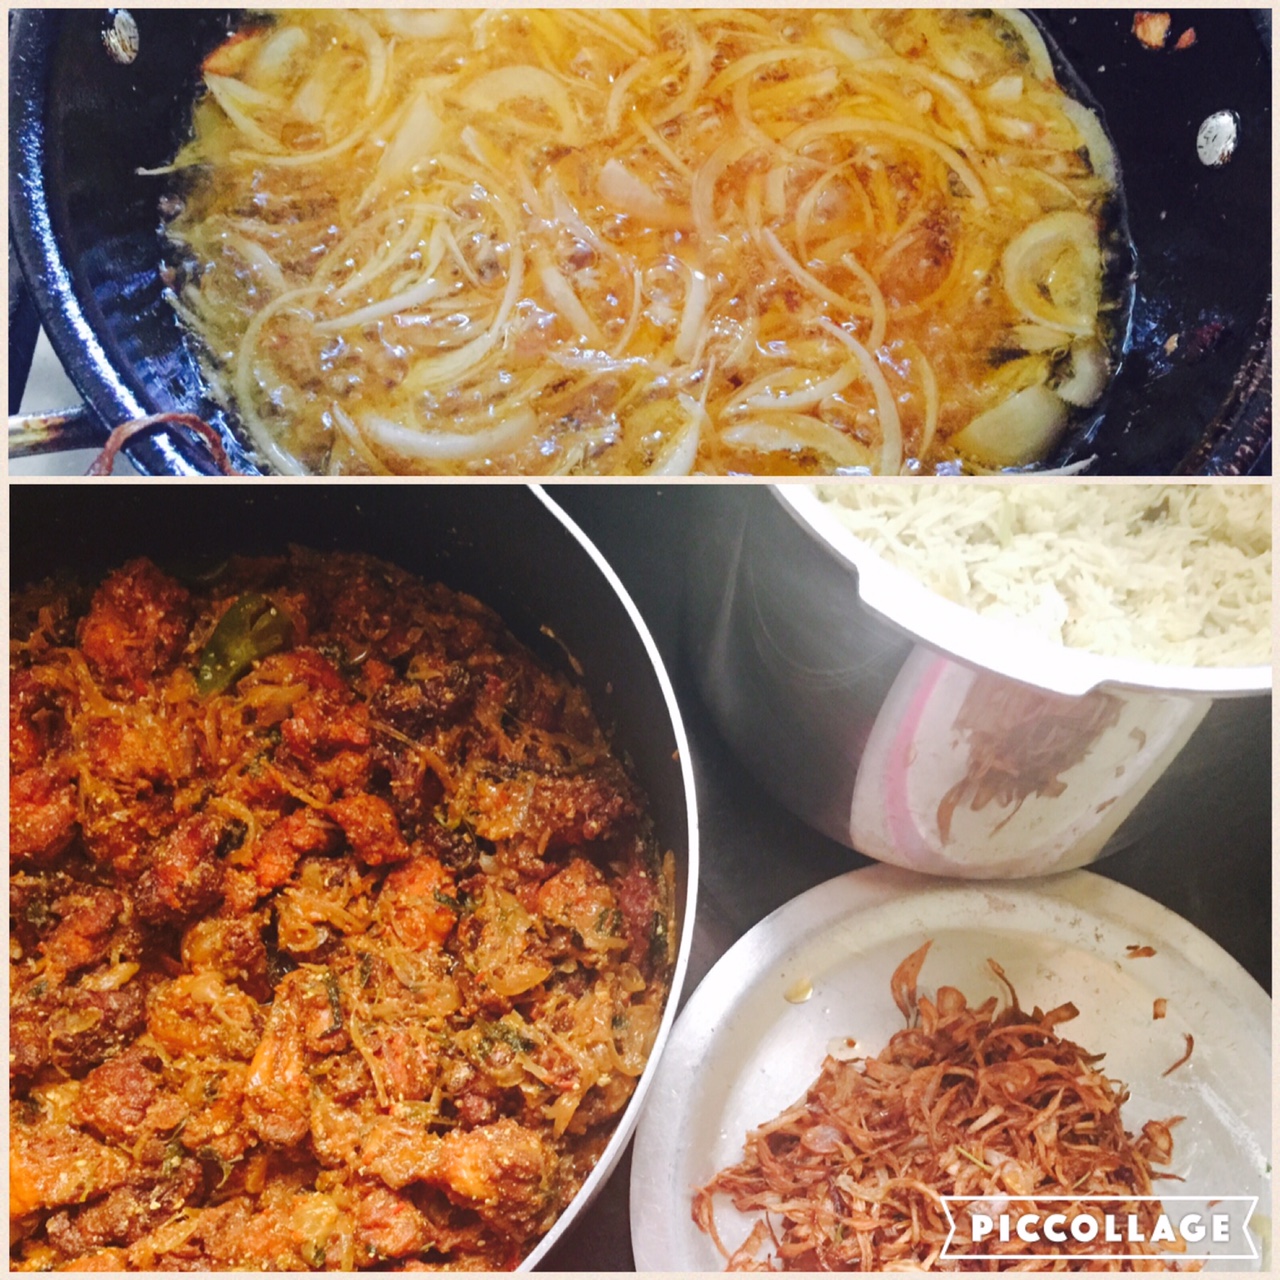
- Heat oil to deep fry. Drop the sliced onions in batches. Deep fry to golden in colour and crisp. Drain and keep aside.
- Take a wide mouthed heavy bottomed vessel. Layer 1/4 th of the pre – cooked rice equally in the bottom, top with 1/4 th of the crisp fried onions, sprinkle 1/4 teaspoon of garam masala powder. Pour 1/4 th of the chicken 65 gravy making sure to cover the rice layer below.
- Do the same until all the rice, fried onions, garam masala and chicken 65 gravy are over. Make sure to keep the rice layer the top most finally.
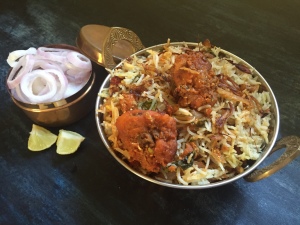
- Close the vessel with a tight lid . Keep over a hot griddle / tawa for fifteen minutes over low heat, letting all the flavors infuse together. Remove from heat.
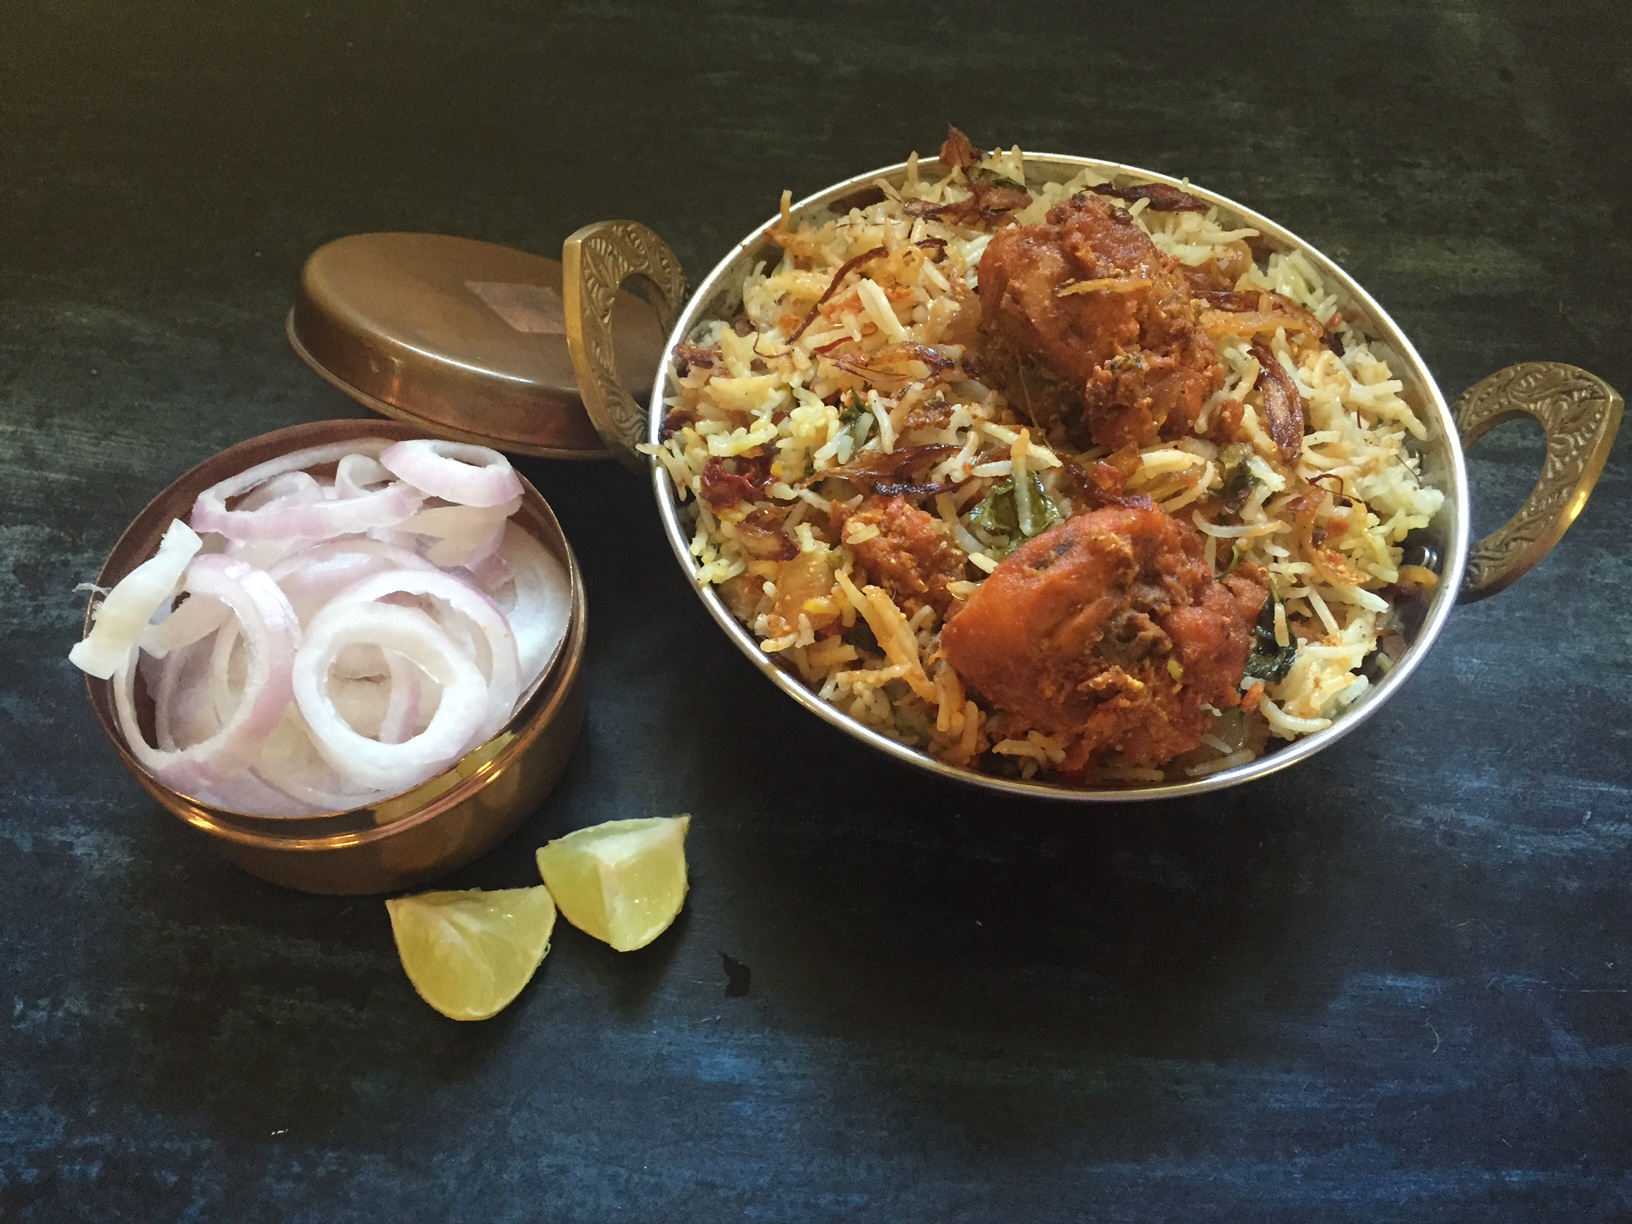
- Serve hot with onion raitha and papadam.