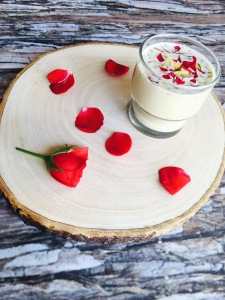
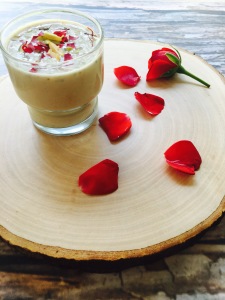
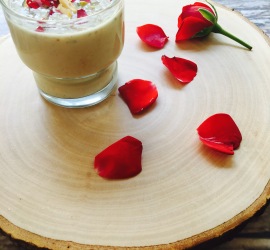
Doodh thandai

Share Button

image1

FullSizeRender (1)

FullSizeRender

Preparation time : 10 minutes + six hours of soaking the nuts
Cooking time      : nil
Serves                : 4 members

Description

A North Indian version of the South Indian masala paal ( masala milk ). Doodh thandai, which is made mostly during ravrathiri and holi festivals in the state of Rajasthan and utter Pradesh. The kick of pepper and the pale white colour is the only difference in this doodh thandai from the South Indian masala paal. Well the doodh thandai is served cold and masala paal hot. I hate to have any drink made with milk. Crazy breed me never has tea or coffee too. My children also fall into the same slot but my boy loves to have milk shakes. I served this doodh thandai to him and he loved it.

Ingredients

Ingredients
Quantity
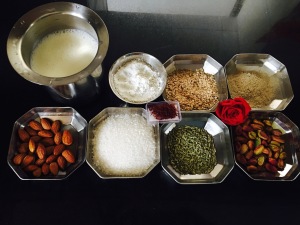
Milk1 and 1/2 litters
Sugar250 grams
Fennel seeds200 grams
Almonds150 grams
Cucumber seeds100 grams
Dried rose Patel's100 grams
White pepper50 grams
Pistachios25 grams
Cardamom powder1 teaspoon
Saffron1 teaspoon
Sugarto taste

Method

  • Soak the almonds in water for six hours and peel the skin. Keep aside. Soak pistachios, dried rose petals and fennel seeds separately in water for two hours. Strain and keep aside.
  • Dry roast cucumber seeds and white pepper for two minutes. Remove and cool completely. Then powder together to a smooth powder.
  • Grind soaked fennel seeds, almonds, sugar and rose Patel’s with 1/4 litters of milk to a smooth paste. Place in the refrigerator for one hour.
  • Mix in the remaining milk, cardamom powder and powdered cucumber seeds + white pepper. Mix well and Strain. Add saffron. Place in the refrigerator and serve chilled.

Panki

Share Button

image1 (2)

FullSizeRender (12)

FullSizeRender (11)

IMG_8577

FullSizeRender (10)

Preparation time : 15 minutes + one hour to stand by the flour mix
Cooking time      : 2 minutes for each panki
Serves                : 4 members

Description

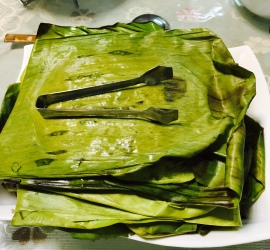
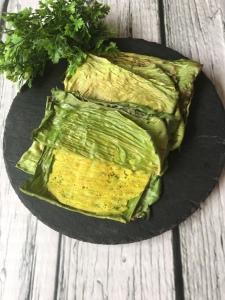
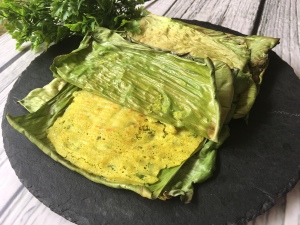
There is no more joy than to get a recipe that had very less oil used and is a healthy one too. This is one such authentic recipe from Gujarat ” the mighty panki “. Made with simple home friendly ingredients, easy to make and high on taste with no high end cooking steps needed. They don’t need much skill or any special equipment to pull off. The spongy yellow mass of tangy, sweet and hot pancake with the flavour of the plantain leaf infused is just lip smacking good. This has become a regular at home on my breakfast table and to dazzle guests as well at times. A simple dish that’s home made isn’t always a crime on the table to entertain.
Ingredients

Ingredients
Quantity
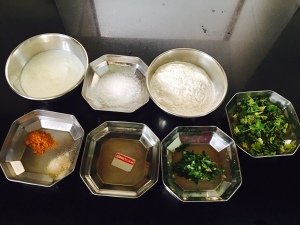
Rice flour1 cup
Sour curd1/2 cup
Green chillies ground1 teaspoon
Coriander leaves1/2 cup chopped
Oil2 tablespoons + to grease
Asafoetida1/4 teaspoon
Wateras required
Eno fruit salt1 tablespoon
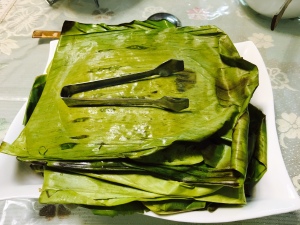
Banana leaf4 ( cut with out the middle stalk to equal squares that fit into your dosa tawa/ griddle )

Method

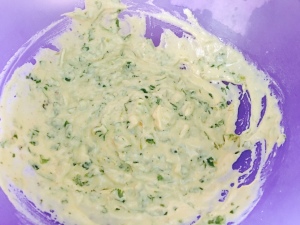
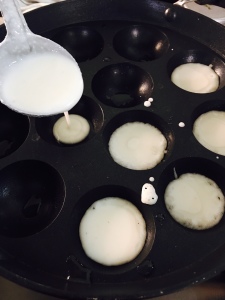
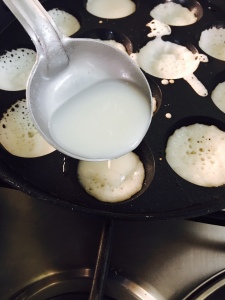
  • Mix rice flour, sour curd, ground green chillies, coriander leaves, oil, asafoetida and water together to a semi thick batter like dosa batter consistency.
  • Add the eno salt and mix well. Set aside to double for one hour.
  • Heat a dosa tawa / griddle. Grease the banana leaf squares on one side. Place the greased side of the banana leaf facing towards the top over the hot dosa tawa.
  • Pour a ladle of batter and spread it out leaving 1/4 inch space all over the banana leaf. Cover with another greased banana leaf facing the panki and cover.
  • Lower the heat, after 30 seconds turn over and cook further for another 20 seconds. Remove from heat. and serve hot with green chutney and sweet tamarind chutney.

Erachi ularthathu

Share Button

image1 (1)

FullSizeRender (9)

FullSizeRender (8)

FullSizeRender (7)

FullSizeRender (6)

IMG_0198

Preparation time  : 30 minutes
Cooking time       : 20 minutes
Serves                 : 8 members

Description

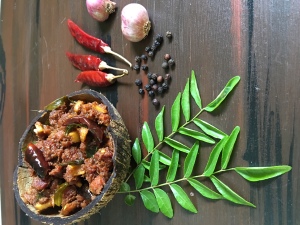
My carnivores son loves non vegetarian food. Him being a foodie, likes food that is cooked to perfection. His new fond dish is the Kerala style meat ularthiyathu with coconut bits in them. Hubby dear hates it when I make this dish, so I seldom make this dish. So he keeps bugging my mother in law asking her to cook and send over. Recently I made this and he was like,” mee – ( that’s how he calls me ), chellama’s ( my mother – law ) preparation was much better than your version. You know the rivalry in all homes to gain love treating your loved ones through food. Well that’s what creeped up into me now. I made sure to get the recipe from my mother – in – law and gave it a try again following her recipe religiously. Yet again the same comment from my boy with a grin. I looked at him and he’s like, I am kidding mom . This is yum. But I know he did mean what he told as there are a few dishes that we can not master like our elders do what so ever. This is one such. I guess the love she has over her grand son over powers through what she cooks.

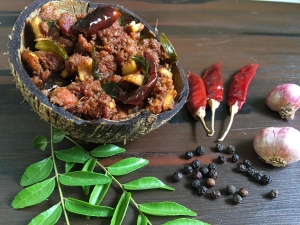
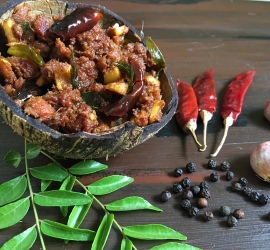
Kerala style mutton / beef roast with coconut bits

Step 1

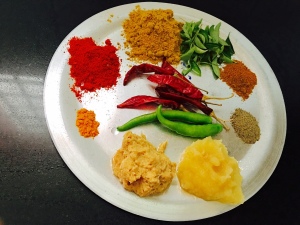
Ingredients to grind

Ingredients
Quantity
Cinnamon2 inch piece
Cardamom2
Cloves2
Coriander powder3 1/2 tablespoons
Dry red chillies 8
Pepper corns1 teaspoon
Cumin seeds1 tablespoon
Fennel seeds1 tablespoon
Coconut oil1 tablespoon

Method to grind

  • Heat coconut oil and sauté all the above ingredients separately until a good aroma arises making sure the ingredients do not burn . Cool completely and grind to a smooth paste.

Step 2 

Ingredients to pressure cook

Ingredients
Quantity
Mutton or beef1 kg
Small onions1 cup chopped
Ginger paste1 teaspoon
Garlic paste1 teaspoon
Saltto taste
Vinegar1/2 cup
Curry leavesfew

Method

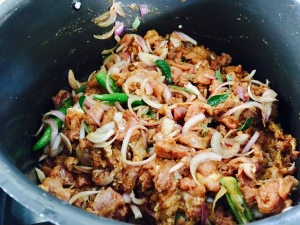
  • Mix all the above ingredients together along with the ground masala paste. Pressure cook for four whistles or more until meat is cooked and tender.
  • Once the whistle sound subsides, open the lid and reduce the water in the mutton to a thick gravy consistency by boiling in high flame.

Step 3 

Ingredients to temper

Ingredients
Quantity
Coconut oil5 tablespoons
Curry leavesfew
Dry red chillies4 torn
Coconut bits1/2 cup

Method

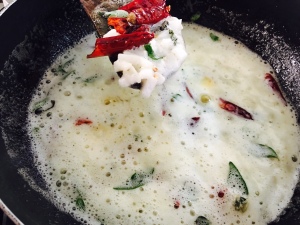
  • Heat coconut oil. Add coconut bits and sauté to golden. Top with the torn dry red chilies and curry leaves.
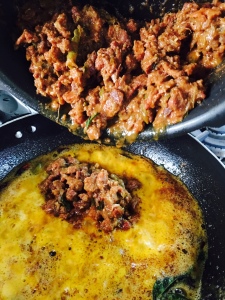
  • Once they crackle. Pour the reduced mutton gravy over.
  • Mix well and bring to boil. Reduce the flame to low and roast the mutton further for another 15 minutes in low flame stirring in between every three minutes once.
  • Serve hot with any thing and every thing.

Cornflakes Crusted Prawns

Share Button

image1

FullSizeRender (5)

FullSizeRender (4)

FullSizeRender (3)

FullSizeRender (2)

FullSizeRender (1)

FullSizeRender

Preparation time  : 30 minutes + one hour marination time
Cooking time       : 2 minutes for each batch deep fried
Serves                 : 6 members

Description

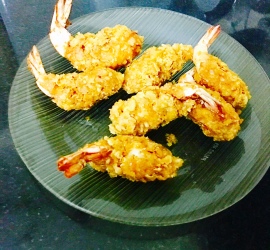
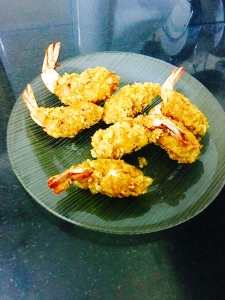
Prawns is a family favorite. Anything and everything made with them are always welcome in the table for any meal. Fed up with the regular ways I cook them, I wanted a crispy fried dish made that could be served as a starter. Batter friend prawns is done regularly so not that. My mind was digging for what might give a crispy result. Cornflakes popped up. I started with the recipe and made sure to give the prawn a cornflakes crust. My experiment didn’t go for waste as it was a super hit at home. The crispy crust with the juicy prawn inside was like a marriage made in heaven. Me being the match maker here, was sure over whelmed.

Ingredients  to marinate 

Ingredients
Quantity
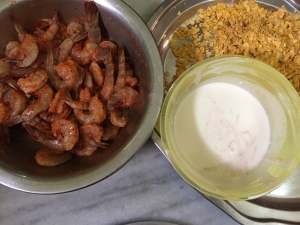
Prawns with tail20 cleaned
Red chilly powder1 teaspoon
Dried Oregano1/2 teaspoon
ginger and garlic paste1/2 teaspoon
saltto taste
lime juicea squeez
ajinomotoa pinch ( optional)

Method

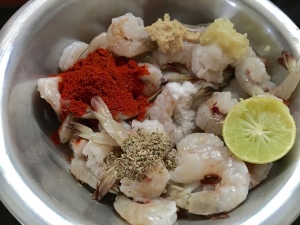
  • Marinate the prawn  in all the above ingredients for one hour or more.

Ingredients for the crust

Ingredients
Quantity
Flour / Maida1/2 cup
corn flour1/2 cup
saltto taste
waterlittle
Corn flakes3 cups
oilto deep fry

Method

  • Mix flour /maida and cornflour together along with salt to taste and water to get a thick gooey batter with no lumps.
  • Place the cornflakes on a flat plate or tray . Take the marinated prawn piece and dip into the batter and press the prawn towards the cornflakes.
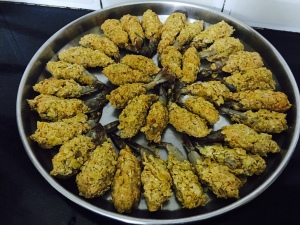
  • Make sure the cornflakes has coated the prawn well. Turn over and do the same. Repeat the same to all the prawn.
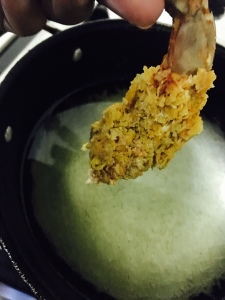
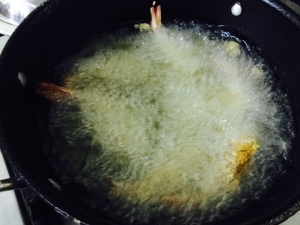
    Heat oil to deep fry.
  • Add the prawn pieces 5 to 6 at a time. Lower the flame and fry till prawn is crisp. Drain. Serve hot with tomato sauce and mayonnaise.

Guava shots

Share Button

FullSizeRender (17)

FullSizeRender (16)

FullSizeRender (15)

FullSizeRender (14)

FullSizeRender (13)

FullSizeRender (12)

Preparation time  : 30 minutes
Cooking time       : 2 minutes + setting time in the refrigerator
Serves                 : 6 members

Description

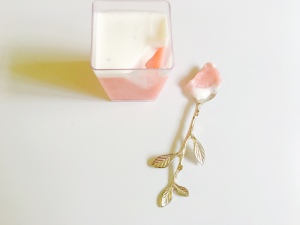
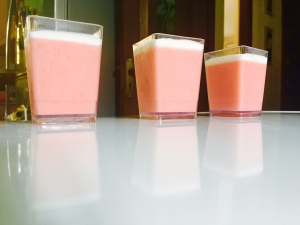
I see three guavas in my kitchen counter that are super ripe with their skin shrinking and dull. I could hear them say, “hello mam , can you put us to some good use before we die in no style”. It was a lazy day for me. Not wanting to cook much, I just wanted to grind the guava’s to make juice. But when I cut the guavas and got to see it’s pink fleas inside. I wanted to make a dessert but with no high end technical efforts to be put in. I just went with what I thought might work out. Set it in short glasses. The color was so welcoming but looked too pale. I added another layer to add more glamour. It work perfectly both visually and taste wise too. Having my friend and her daughter visit me with out notice. I ended serving then these guava shots that unnamed just as they asked me what it was. They told they will share one but ended up gobbling what was served to them. My friends daughter made sure to get the recipe from me too. I was happy I gave the dull going to die guavas a glamorous stylish death.

Ingredients

Ingredients
Quantity
Guava3 chopped that has pink flesh inside
Cream3 cups
Gelatin3 tablespoons
Water1 cup + 1/4 cup
Sugar1 and 1/2 cups
Vanilla essence1/4 teaspoon

Method

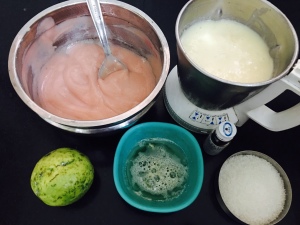
  • Grind the chopped guava with 1 cup water to a smooth paste. Strain and keep aside.
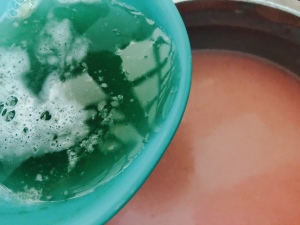
  • Soak gelatin in 1/4 cup water in a microwave safe bowl for five minutes. Then microwave it for 50 seconds to dissolve. Set aside to cool to room temperature.
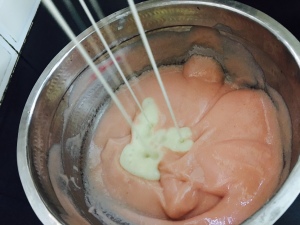
  • Blend cream, sugar and vanilla essence together until sugar dissolves. Set aside one cup of the cream mix and place in the refrigerator. Pour the remaining cream mix into the the guava purée and mix well.
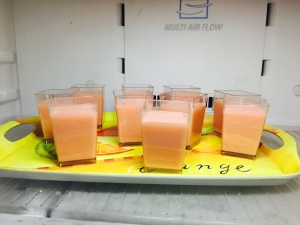
  • Add the cooled gelatin 3/4 th into the guava + cream mix and mix well. Pour into short glasses to 3/4 full evenly. Place in the refrigerator to set for one hour.
  • Microwave the remaining gelatin for 30 seconds as it would have set by now. Cool to room temperature. Mix the cooled gelatin with the remain one cup cream mixture from the refrigerator.
  • Spoon one tablespoon of the cream mixture over the set guava shots. Place the shots once again in the refrigerator for another one hour to set. Serve chilled .

Notes

  • In case you do not get pink flesh guavas add pink food color to the guava purée.

Thai khanom krok

Share Button

FullSizeRender (11)

FullSizeRender (10)

FullSizeRender (9)

FullSizeRender (8)

FullSizeRender (7)

FullSizeRender (6)

Preparation time : 39 minutes
Cooking time      : 5 minutes for each batch cooked
Serves                : 8 members

Description

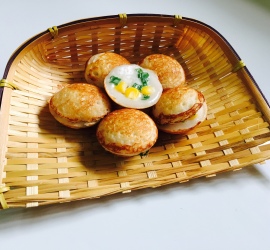
Any holiday destination we go to, I make sure to have a foodie day for myself. The others along with me are welcome to join me always. Two years back on my trip to London it was my day and I choose to visit the borough market in southwark. It is one of the oldest food market’s in London. In the year 2014, it celebrated its 1000 years of existence. I was blown away with the food counters from countries all over the world to their local fresh produce. I felt like a kid in a candy store. My mind had a million things running with in me with excitement taking note of so many new flavor’s, ingredients, and authentic cuisine of many countries. After a long three hour walk through out the entire market, just before we could leave. I was drawn towards a counter from where I could smell a sweet aroma filling the air. Checked to see what it was? Two Asian ladies were busy making something like our Tamil style Kuli paniyaram. I immediately placed an order for one plate. It was piping hot, so had to wait to gobble up a few to know its taste. They were sweet with the flavor of coconut over powering and a crunch from the sweet corn on top. It vanished with a few seconds time. After that it was a forgotten story but I made sure to talk about it when ever I shared my foodie experience in the borough market to friends. This year on my vacation to Bangkok in the floating market, me gazing at things around. I get to see a lady make the same sweet in a boat. I immediately buy two plates this time. I gave one with dad and I was relishing the other plate. Mom was waiting for her share once dad was done with the sweet but dad finished the entire plate leaving mom staring at him with a naive look. I gave her mine and we had a good laugh over this incident. Only then did I get to know this was a Thai dish. I took pictures of this and showed it to our cab driver and told him I want the recipe. He was so sweet to get a hand written note of the recipe in Thai from his wife which he translated to me in English with so much difficulty. I some how managed to take note and tried it out at my home kitchen. I was surprised with the results being pitch perfect just like what I had in London and Bangkok. I am totally in love with my journey of this khanom krok from London to Bangkok to my home kitchen.

Ingredients for the first layer

Ingredients
Quantity
Rice flour1 cup
Thick coconut milk1 cup
Cooked rice4 tablespoons
Grated coconut1/2 cup
Club soda1 cup
Sugar2 tablespoons
Salt1/2 teaspoon

Method for the first layer

  • Grind cooked rice + grated coconut and 1/4 cup of club soda to a smooth paste and keep aside.
  • Mix all the other ingredients mentioned under the first layer together.
  • Mix in the ground smooth boiled rice paste and keep aside.

Ingredients for the second layer

Ingredients
Quantity
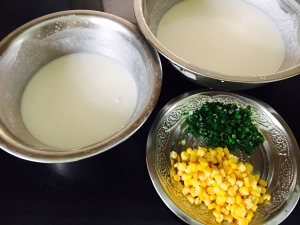
Thick coconut milk2 cups
Rice flour4 tablespoons
Sugar8 tablespoons
Salt1/4 teaspoon
Green onion1/4 cup chopped
Sweet corn kernels1/4 cup boiled

Method for the second layer

  • Mix all the ingredients together and mix well with no lumps.

How to proceed

  • Heat a kulipaniyaram pan / appi pan . Grease with oil dipped tissue into all the dents.
  • Pour around 1 tablespoon of the first layer batter into all the greased dents. Then swirl the pan in clock wise moment making sure the batter in all the dents cover to the top of the dent giving it a half circle cup shape.
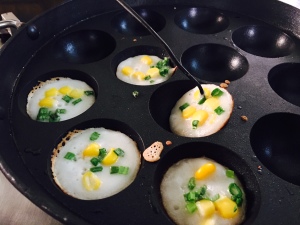
  • Pour 1 teaspoon of second layer mix over into each dent over the first layer.
  • Sprinkle chopped onion stem greens and cooked sweet corn kernels.
  • Cover and cook further for five to six minutes until cooked through and has a golden crust on the first layer.
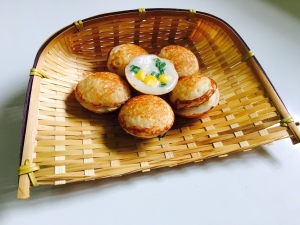
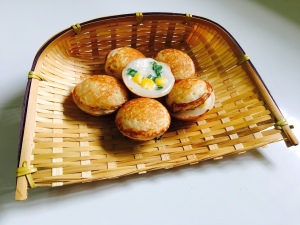
  • Remove with a spoon and serve hot with two cooked khanom krok paired together.

Prawn spaghetti in white cheesy sauce

Share Button

image1

IMG_9181

IMG_9182

IMG_9183

FullSizeRender (5)

FullSizeRender (4)

IMG_0999

image2

Preparation time : 30 minutes
Cooking time      : 30 minutes
Serves                : 4 members

Description

Once in a while , I get to a mode of clearing my pantry and end up cooking with the ingredients in hand. This spaghetti was one such try. I didn’t want to repeat with the red meat ball sauce I usually make. I had fresh prawns so I paired it up with a cheesy white sauce. Flavored it up with dried herbs, mushroom and capsicum. The sauce was yum, obviously with so much of cheese any thing would taste divine. The bite of the prawn with the spaghetti sure did hit on the right spot. Served it for dinner. My son in law was like ” please reserve the left overs for breakfast “. Which is a signal that the spaghetti was done to perfection. What more do I need. I smiled with a blooming heart.

Ingredients

Ingredients
Quantity
Spaghetti200 grams
Prawns1/4 kg
Garlic2 crushed
Butter2 tablespoons
Flour2 tablespoons
Saltto taste
Milk3 cups
Parmesan cheese1/4 cup grated
Chilly flakes1 teaspoon
Dried basil and dried oregano1 teaspoon
White pepper powder1/4 teaspoon
Capsicum1 cubes
Mushroom1 cup sliced

Method

  • Boil water with salt and add the spaghetti. Cook for ten minutes until cooked well. Strain and rinse in cold running water. Strain and keep aside.
  • Cook cleaned prawns with salt to taste and little water for five minutes and set aside.
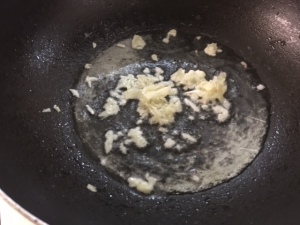
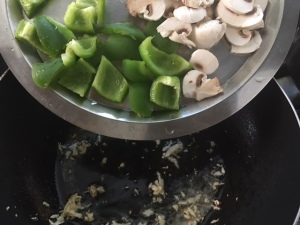
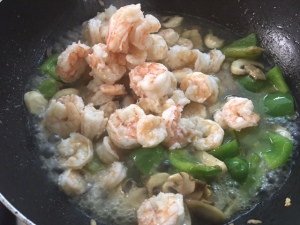
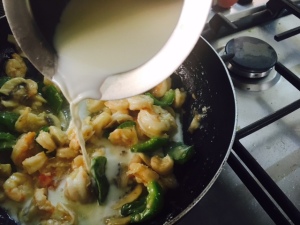
  • Heat and Melt butter, add garlic crushed. Sauté until golden in color. Top with capsicum and mushrooms. Sauté for a minute. Then add the cooked prawns with the water.
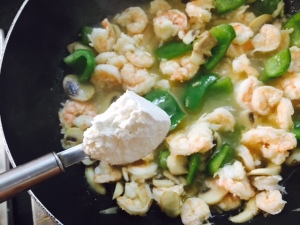
  • Add flour, saute a little and add the milk very gradually, stirring vigorously all the time making sure no lumps are formed.
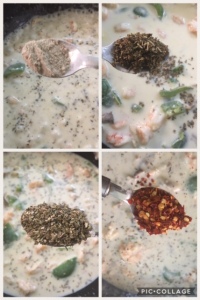
  • Bring to a boil, lower the heat and simmer for 1-2 minutes, add the salt, white pepper, chilly flakes dried herbs basil + oregano and 1/2 of Parmesan cheese. Mix well and boil till a thick gooey saucy consistency is obtained.
  • Add a little more milk if the sauce gets too thick. Taste and adjust seasoning.
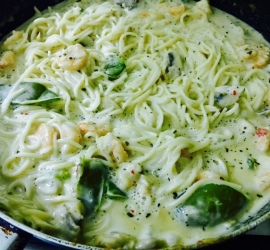
  • Add the boiled spaghetti and toss well in low heat for five minutes, letting all the flavor’s infuse together.
  • Serve hot with a generous sprinkle of Parmesan cheese over.

Crispy Bun Sandwich

Share Button

FullSizeRender (3)

FullSizeRender (2)

Preparation time : 25 minutes
Cooking time      : 20 minutes
Serves                : 4 members

Description

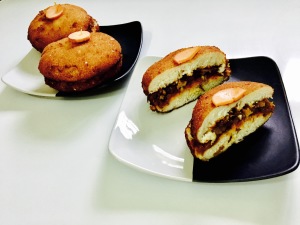
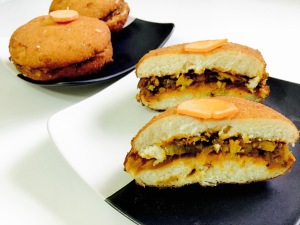
The mighty buns always bring in an nostalgic warmth to me. It was always fed to me as a sick little girl dunked into hot tea or sweet milk. I remember hesitating to eat it from any one other than my dad. He would make sure to feed me and then go for work. Every night before he is home myself and my brother would be in deep sleep. He would check us and then tuck in our bed sheets over us properly and then go to bed. This was a regular thing every night. Oops… my mind seems to be taking me away from the main content the bun here. I had a lot of left over buns at home. Here only my daughter enjoys eating them soaked in hot firni. Wanting to use them up in a different way.. my mind went to the cliche burgers .. then an idea popped up.. why not deep fry the buns. There I got hold of a good twist to be done. I did so and served it as an evening snack. They vanished with in seconds. Crispy crust with a soft inside along side the spicy filling with a slight burn on the tongue was a perfect like a match made in heaven. There after when ever I serve these buns.. I sure have raised eye brows following with a recipe please.

Ingredients for the filling

Ingredients
Quantity
Chicken or meat minceboiled 1/4 kg boiled
Ginger garlic paste1/8 teaspoon each
Saltto taste
Turmeric powder1/4 teaspoon
Onions5 big chopped
Green chillies4 chopped
Mixed vegetablesCarrots , beans , cabbage , green peas , capsicum ( red , green , yellow )
Mushrooms chopped and boiled in water with salt3 cups
CeleryChopped 1 teaspoon
Tomato sauce1 teaspoon
Light soya sauce1/4 teaspoon
Vinegar1/4 teaspoon
Red and green chilli sauce1/4 teaspoon each
Pepper powderto taste
Red chilli flakesto taste
Oil2 tablespoons

Method for  filling

  • Heat oil in a non stick pan. Add onions and fry to translucent.
  • Add green chilies, boiled chicken or minced meat, boiled chopped mixed vegetables, celery, salt, chilli flakes and pepper to taste.
  • Add all the sauces and vinegar.
  • Mix well and keep stirring for 3 minutes letting all the flavours infuse together.
  • Remove from heat, cool and set aside.

Other ingredients

Ingredients
Quantity
Buns4
Eggs2 beaten
Saltto taste
Pepperto taste
Bread crumbs1 cup
Butter3 tablespoons
Oilto deep fry

Method

  • Beat eggs with salt and pepper to taste. Dip the buns into beaten eggs and coat over bread crumbs making sure it’s coated well all around. Do the same to all the buns.
  • Heat oil to deep fry. Deep fry the bread crumbs coated buns in medium hot oil to crisp and golden. Strain and cool.
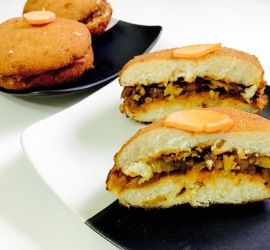
  • Cut the crispy, cooled deep fried buns into two equal halves horizontally. Spread butter on the inside cut parts. Spread 2 tablespoons of filling inside and close the bun. Insert a tooth prick in the center.
  • Decorate with a carrot slice on top of the tooth prick and serve warm with tomato sauce.

Chicken Nuggets

Share Button

FullSizeRender (1)

FullSizeRender

Preparation time : 15 minutes + 1 hour marinating time
Cooking time      : 20 minutes
Serves                : 6 members

Description

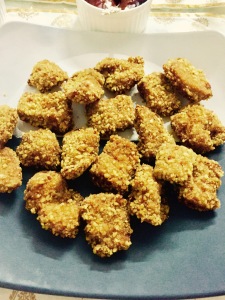
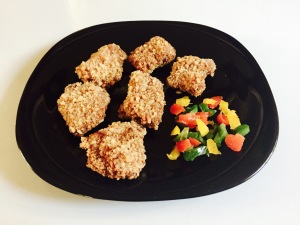
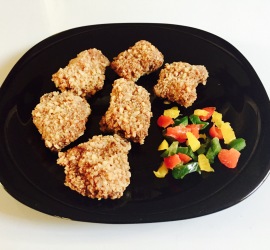
Men and cooking in our family are far apart from one another. I have never ever seen a single male member in our family do any thing related to food but I was surprised to have a chicken nuggets made by hubby dears uncle ( his dad’s younger brother ) once. The chicken was moist and juicy with a crispy crust and seasoned perfectly well. I kept asking repeatedly more than thrice if this was made by his uncle for sure as it was top notch in all means. His uncle is no more but those chicken nuggets still keep popping up in my mind. In remembrance of him, I tried replicating the same but with a healthy twist of baking the chicken nuggets instead of deep frying them. I just went ahead with my gut instincts with the recipe. The results were awesome with being nearly close to what he made. I guess his pinch of love for food was missing through my hands. I am sure he must be quietly taking note of my experiment from above with pride and his signature naive smile. my crazy mind has to relate with any thing and every thing through food alone. Crazy breed me.

Ingredients

Ingredients
Quantity
Boneless chicken cubes1/2 kg
Green chillies6 crushed
Dried herbs basil + oregano1/2 teaspoon each
Saltto taste
Pepper powderto taste
Garlic1 flake crushed
Egg1 beaten
Corn flakes1 cup crushed
Oats1 cup
Butterto grease

Method

  • Marinated boneless chicken with green chillies, garlic, salt, pepper and dried herbs for one hour.
  • Preheat the oven at 180 degrees Celsius for ten minutes. Grease a baking tray with butter.
  • Beat egg with salt and pepper to taste. Mix cornflakes and oats together. Dip each marinated chicken piece into beaten eggs and then roll over cornflakes and oats mixture making sure the chicken is coated well all around. Do the same to all the chicken pieces.
  • Place the coated chicken pieces over the greased baking tray, bake in the middle rack for twenty minutes until cooked through and has a crispy golden crust. Serve hot with dips of your choice.

Moong dal kachori

Share Button

IMG_8590

IMG_8474

IMG_8475

IMG_8477

image1

FullSizeRender (12)

FullSizeRender (11)

FullSizeRender (10)

IMG_8587

Preparation time : 40 minutes
Cooking time : 8-10 minutes
Serves : 4 members

Description

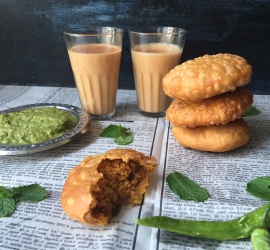
There are a few dishes which I feel nervous about when thinking of giving a try. Kachori is one such dish that always gave me shiver’s. Not sure why but it was so. I kept postponing my trial over the kachori’s always. One fine day when I had absolutely nothing to do at all and felt so useless about myself and life. That was the time I was craving for a challenge to be broken and the kachori popped up in my mind. With all the courage in me started to prep and go ahead with the dish. Through out having zero hopes of the kachori coming out well. The first batch of kachoris in the oil with me praying it must puff up, puff up, puff up… finally they did puff up . Then I went to say repeatedly.. please stay puffed up , puffed up , puffed up…
they did stay puffed up.. my heart smiled with joy of mastering and ticking another dish to be made in my bucket list. The real test was to get good remarks from my North Indian friend who I shared a few of the kachori ‘s with. She was all praises saying,”it tastes just like what we have in Delhi .you have blessed magical hands”. I was like ” why was I so nervous about making these kachori’s. Stop underestimating your self like this .” Well at times we need to motivate our own selves like so I guess.

Ingredients for the dough

Ingredients
Quantity
Wheat flour1/2 cup
Flour / maida1/2 cup
Saltto taste
Oil2 tablespoons
Ice wateras needed

Ingredients for the filling

Ingredients
Quantity
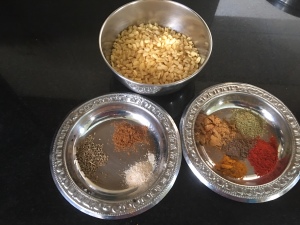
Moong dal namkeen ( deep fried crispy moong dal )1/2 cup
Asafoetida1/2 teaspoon
Cumin powder2 teaspoons
Coriander powder2 teaspoons
Red chilly powder2 teaspoons
Dry mango powder ( amchur powder)2 teaspoons
Fennel seed powder2 teaspoons
Dry anardhana powder ( dry pomegranate powder)2 teaspoons
Chat masala powder2 teaspoons
Oilto deep fry

Method for the dough

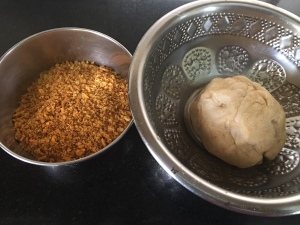
  • Mix wheat flour, flour, salt and oil together. Add ice water little at a time and knead well to get a soft but tight dough. Keep the dough covered for 15 minutes.

Method for the filling

  • Powder the moong dal namkeen to a coarse powder with out adding water.
  • Mix cumin powder, coriander powder, red chilly powder, dry mango powder, fennel seed powder, pomegranate powder and chat masala powder together.
  • To this mixed powder add the moon dal coarse powder and mix well. Taste and check seasoning. Keep aside.

How to proceed

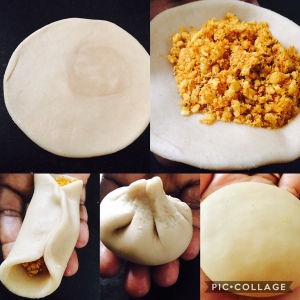
  • Knead the dough once again. Then roll into equal lemon size balls. Take one lemon size ball and press between your palms. Then flatten the edges alone leaving the middle part thick. The circle must be of 3 inch diameter.
  • Hold the edges together to get a cup shape. Fill the hollow dent in the middle with 1 teaspoon of moong dal namkeen mixture. Bring the edges together and roll into round ball gently. Do the same to all the dough and moong dal namkeen mix. Leave them aside for five minutes.
  • Place the edges together rolled side facing on top over a clean kitchen counter. Press gently with your palms to get a round shape of 3 inch diameter circle that is of one inch thickness. Do the same to all the lemon sized rolled balls.
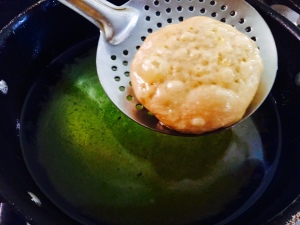
  • Heat oil to deep fry. Lower the flame to medium and deep fry in batches of two at a time for eight to ten minutes until they puff up to get crisp and golden in color.
  • Drain and serve hot with curd, sweet chutney and coriander chutney.