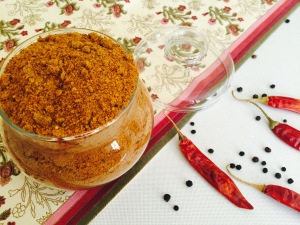
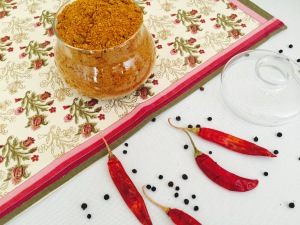
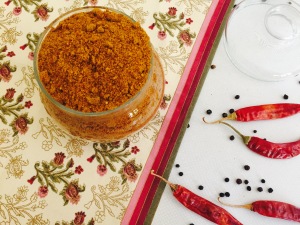
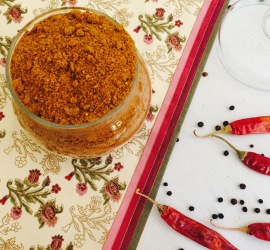
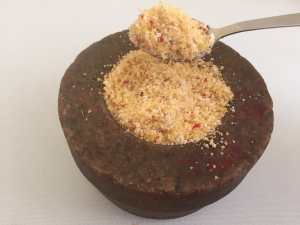
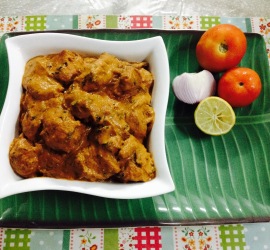
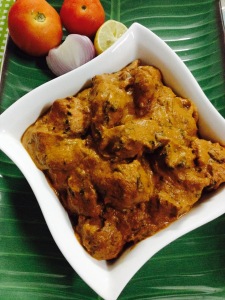
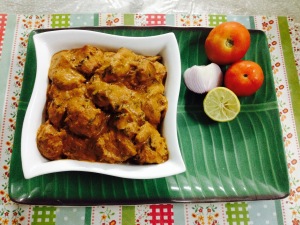
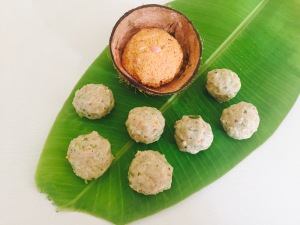
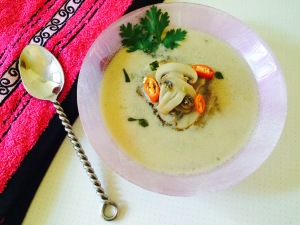
Flaxseed gun powder

Share Button

FullSizeRender (7)

FullSizeRender (6)

FullSizeRender (5)

FullSizeRender (4)

Preparation time  : 10 minutes
Cooking time       : 5-8 minutes
Serves                 : more than ten helpings

Description

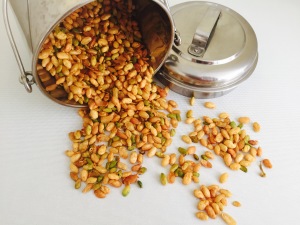
Two of my parental aunt’s ( eldest two ) come visiting for a days stay to my parents place. As always it’s non stop gossiping and exchanging update’s with in themselves with happenings of near and far relatives and friends . When dad is out of the house, my aunt’s automatically get into the kitchen and start to do some thing or the other to show case their culinary skills. Well now you all might know from where I get this craziness of loving to cook and entertain comes from . This flex seed gun powder was a recipe that my first aunt zohra ( Pappathi her pet name ) made that day. So easy to make, healthy, spicy and aromatic. The comfortable warmth of this beloved classic is matched by the accents of different spices that go into it to get a magical instant gun powder. I sure rely a lot on my aunts to steal smart ways to improve my kitchen skills. A sprinkle of this over your dosa, idli or kuli paniyaram’s will boost the flavour and delight you to eat more. So that’s what my parents and aunt’s did too.. Talking, eating and enjoying with this gun powder soaking up ways creating memories to be cherished latter.

Ingredients
Quantity
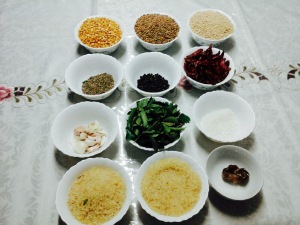
rice ( pacha arisi )2 cup
Asafoetida1 teaspoon
Curry leavesone hand full
Garlic1 pod peeled
Cumin1/4 cup
Black pepper corns1/4 cup
Dry red chillies15
Urad dal1 cup
Horse gram ( kollu - kaanam )1 cup
Bengal gram dal1 cup
Saltto taste
Flax seed1 cup

Method

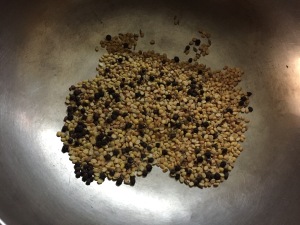
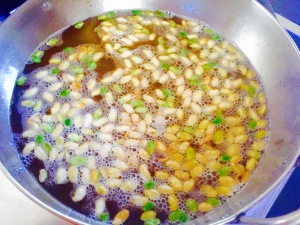
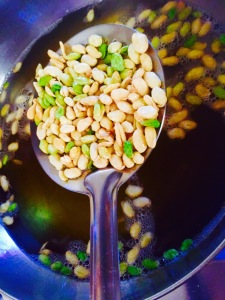
  • Dry roast all the ingredients separately until a nice aroma arises. Cool completely.
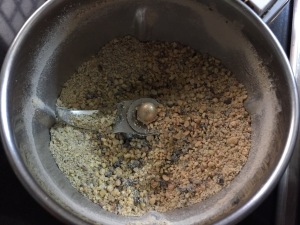
  • In a food processor powder the roasted ingredients together to a semi coarse powder with out adding water.
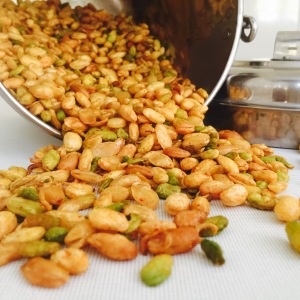
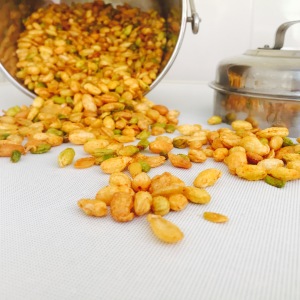
  • Taste and adjust seasoning. Store in an air tight clean bottle in room temperature.
  • Mix 3 teaspoons of idli powder with 1 teaspoon sesame seed oil or coconut oil and have with idli or dosa.

Carrot kheer

Share Button

IMG_5909

IMG_3892

IMG_3623

IMG_3624

IMG_3625

IMG_3628

IMG_3630

IMG_3631

FullSizeRender (3)

IMG_3633

FullSizeRender (2)

Preparation time : 10 minutes
Cooking time      : 25 minutes
Serves                : 8 members

Description

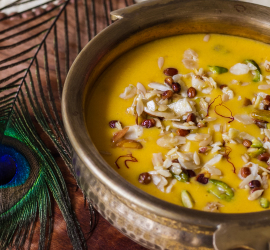
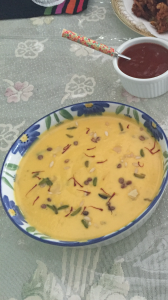
This dessert was the winning dish for the dessert category of sauté, fry n bake’s second anniversary recipe swap that took place in Coimbatore. This dish and recipe was shared by hamidha Shabeer who has been a follower of sauté, fry n bake from its initial days. The encouragement and love from such people is what keeps me going on till date. I remember the judge wanted to know what sara paruppu is known as in English or Hindi. All of us including me were clueless. This dessert is so easy to make, flavourful and has a lovely colour to it. Kids will sure enjoy not knowing a vegetable is added. What genius ideas we home chefs come up with.It’s a shame on me that it took me so long to share a winning dish. A big fat sorry from my side for that. This recipe has been with me ideal for more than a year.. So let’s all make it for the lost time and get ready to slurp it away.

Recipe source : hamidha shabeer

Ingredients
Quantity
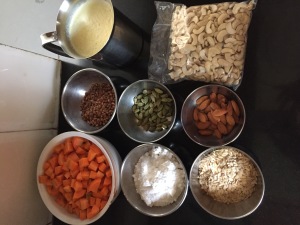
Carrots2 cups cut into cubes
Milk4 cups
Sugar4 cups
Cashew nuts10 numbers
Almonds10 numbers
Saffron1/4 teaspoon soaked in 1/4 cup warm milk
Cardamom powder1/2 teaspoon
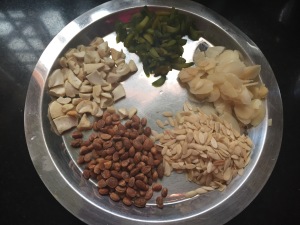
Nutsof choice to garnish ( almonds , cashew nuts , pistachio , cucumber seeds , chironji seeds - saara paruppu in Tamil )
Ghee1 tablespoon

Method

  • Cook the carrots with 1 1/2 cups of water to tender. Cool completely.
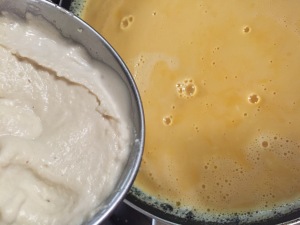
  • Blanch the almonds, peel and grind with the cashew nuts and boiled carrots to a smooth paste.
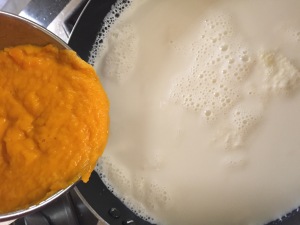
  • Mix the ground nuts and carrot paste with the milk and boil over medium flame making sure not to burn the bottom by stirring occasionally for five minutes until slightly thick.
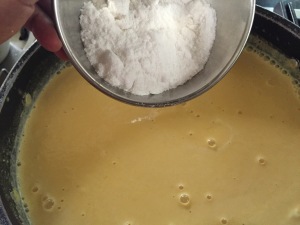
  • Reduce heat and add sugar little by little. Cook until sugar dissolves and kheer has reached the desired consistency.
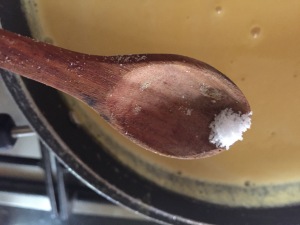
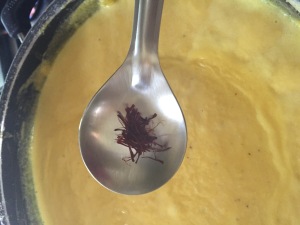
  • Top with soaked saffron and cardamom powder. Mix well, taste and adjust. Remove from heat.
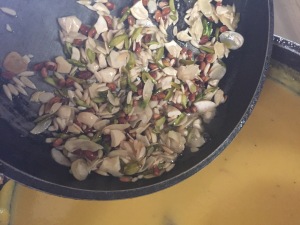
  • Heat ghee and fry nuts of choice to a light golden colour. Pour into the kheer, mix well and serve warm or chilled.


Panang kilanzgu kara podi

Share Button

image1 (2)

image2

image3

image4

image5

image6

Preparation time : 10 minutes
Cooking time      : 30 minutes
Serves                : 4 members

Description

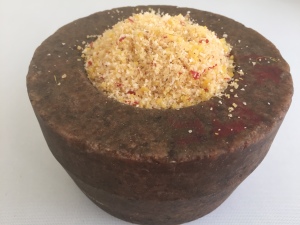
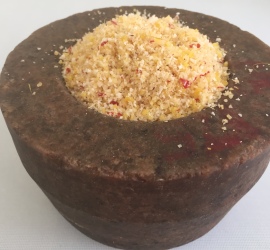
Sprouts of Palm have always being in ample at home here at hubby dears place and back at moms place too. Always treated as a snack to munch and pass your time. Usually not liked but is there for you when in season. All they do is just boil it with salt and turmeric powder. Once on a visit to my father-in-laws elder brothers home. They offer me a powder form of snack with a spoon that looks fibrous too. Before I could taste, I asked my elder mother-in-law what it was and she’s like panam kilanzgu ( sprouts of Palm ). I took a mouth full not wanting to say no to it as it looked different. My eye brows raised as it was delicious. I immediately did take note of how it was made. My mother-in- law did make fun of me saying .. Chef does not know this simple village snack recipe.. Shame shame puppy Shame . At times we tend to focus on too many complicated things that are far away and beyond us forgetting the simple things which is what we are. This sure was an alerting call signaling me to focus more on our local simple food than the out of the box international fare. So holding on tight to our roots here is a simple, healthy snack from my home town Tirunelveli .

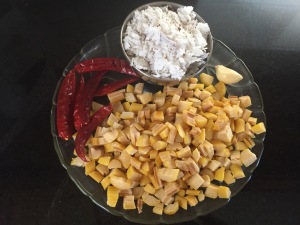
Sprouts of Palm seeds spicy powder

Ingredients
Quantity
Sprouts of Palm seeds5
Dry red chillies3
Garlic1 flake peeled
Grated coconut3/4 cup
Saltto taste
Turmeric powder1/4 teaspoon

Method

  • Peel and wash the sprouts of Palm seeds.
  • Pressure cook for seven whistles adding water to immerse, salt to taste and turmeric powder.
  • Remove and drain. Cool completely. Peel the fibrous skin and chop to bite size pieces.
  • Pat dry the pieces making sure no moister is left.
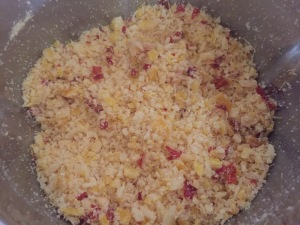
  • In a food processor powder dry red chillies, grated coconut and garlic together with out adding water.
  • Mix well to get a coarse powder.
  • Top with the sprouts of Palm seeds pieces and powder further with out adding water.
  • Open the food processor lid, mix well with a spoon. Blitz again to mix well.
  • Taste and adjust seasoning. Serve as a snack.

Murg methi tikka masala

Share Button

FullSizeRender (26)

image1 (1)

FullSizeRender (25)

Preparation time  :  25 minutes + 4 hours marination
Cooking time       :  15-20 minutes
Serves                 :  6 members

Description

Social media. Now what about it ? The main reason for me to get in touch with my long lost relatives, friends and Unkown new social media friends too. The last “new social media friends” list is getting bigger day by day and Ayesha Nazreen is one such friend of mine. My sister-in-law wahitha was surprised on her trip to the USA when Ayesha enquired about me there. From then we have come a long way chatting, exchanging messages, recipes though not met in person yet. This recipe was one such that she passed over when I had fresh fenugreek grown in the back yard at home. The gravy was velvety oozing with North Indian flavors and the tang of curd used sure did justice to balance the dish well. I am waiting for my next try as here it’s very rare to get fresh fenugreek leaves. So I guess I have to grow them and give a try the old school way which makes it even the more glamorous. This recipe is for sure keeps as it adds oomph to your table. I realized how this dish makes me think of Nazreen when ever this dish pops up in mind. Then I was like.. Hey so this must be the very same thing, all those who cook or read your recipes must be going through too. Happy me as we all loved to be remembered and thought of for sure no matter what for good deeds.
Ingredients for the marinate

Ingredients
Quantity
Boneless chicken1 kg
Red chilli powder3 teaspoons
Ginger and garlic paste1 teaspoon
Coriander powder2 teaspoons
Cumin powder1 teaspoon
Garam masala powder1/2 teaspoon
Mint leaves2 teaspoons
Saltto taste

Ingredients to sauté and grind

Ingredients
Quantity
Onion2 big chopped
Tomatoes3 big chopped
Ginger and garlic paste1 teaspoon
Fresh fenugreek leaves1 cup full ( 1/2 bunch )
Coriander leaves1/4 cup
Red chilli powder1 teaspoon
Coriander powder2 teaspoon
Pepper powder1/4 teaspoon
Saltto taste
Curd1/4 cup
Oil2 tablespoons
Orange red Food colour a pinch ( optional)

Other ingredients

Ingredients
Quantity
Oil1 tablespoon
Heavy cream1/4 cup

Method

  • Grind all the ingredients together mentioned under to marinate except for boneless chicken.
  • Marinate the boneless chicken in the ground paste for 3 to 4 hours .
  • In a kadai heat oil, add roughy chopped onions and sauté until translucent. Top with ginger and garlic paste,sauté for 5-7 mins to crisp. Add roughy chopped tomato.
  • When the tomato becomes mushy add 1/2 bunch of fenugreek leaves, coriander leaves , red chili powder, pepper powder, coriander powder, salt to taste, curd and red food colour.
  • Sauté well until oil floats on top. Remove from heat and cool completely. Blend to a smooth paste.
  • Preheat an oven to 180 degrees Celsius. Grill the marinated chicken for 10 minutes over a greased baking tray.
  • Turn each chicken piece and grill further for another 5-8 minutes. Remove from grill and keep aside.
  • Heat 1 tablespoon oil, top with the ground masala paste. Mix well adding little water.
  • When it starts to boil add the grilled chicken and cook in low flame for 10 minutes until oil floats on top . Add heavy cream. Mix well.
  • Taste and adjust seasoning. Serve hot with any type of roti, chapathis or poori.

Samai vegetable kolukattai

Share Button

image1

FullSizeRender (24)

FullSizeRender (23)

IMG_9655

IMG_9656

IMG_9657

IMG_9658

IMG_9661

IMG_9664

IMG_9665

FullSizeRender (22)

Preparation time :  20 minutes + over night soaking of millet’s
Cooking time      :  15-20 minutes
Serves                :  6 members

Description

I had no knowledge about millet’s and its benefits until recent when I went to a naturopathy hospital for a body detox where they used just millet’s for all meals. This sure was an awakening up grade to me. Took note of all the recipes from there and tried it out at home with results being great but a sure fail on the table with long faces. So all those recipes seem to be on rest in the hand written cook book as it is. But I was not ready to give up and what do I do with all the millets in my pantry. So every alternative day is a recipe trial day with millets keeping in mind it has to taste good and must be of an reinterpretation of any Indian main course that’s usually had for breakfast. This versatile kolukattai also is one such recipe that developed just like that in my mind. These novel tea time kolukattai’ are loaded with the Goodness of vegetables, dal and millet. It is a hard feat to come up with great vegetarian dishes for me. Here I some how cracked it, guess it was sheer fluke.. What ever let’s all celebrate the joy of healthy cooking by making this dish at all our homes.

Ingredients
Quantity
Little millet / samai arisi2 cups
Moong dal6 tablespoons
Whole pepper corns 2 teaspoons
Cumin seeds2 teaspoons
saltto taste
water3 cups
onion1 chopped
carrot1 chopped
beans4 chopped
cabbage1/4 cup chopped
green peas1/4 cup
Oil1 tea spoon
mustard seeds1/4 tea spoon
urad dal1/4 tea spoon
curry leavesfew
Grated coconut1 table spoon

Method for kolukattai

  • Wash and soak little millet in water overnight. Drain and grind to a coarse paste adding little water the next morning.
  • Dry roast moong dal to light golden in colour. Remove, cool completely and grind to a coarse powder with black pepper corns and cumin seeds.
  • Heat a non stick kadai with oil, add the mustard seeds, urad dal and curry leaves. Once they splutter top with the powdered moong dal mix and sauté for a minute.
  • Add chopped vegetables and onion. Sauté with salt to taste till half cooked with a sprinkle of water.
  • Add the coconut and mix well. Pour the soaked ground little millet mixture with water and keep stirring till it gets to thick dough consistency in medium heat for about 10-15 minutes.
  • Take out and roll into lime size balls and steam in a greased base for 8 to 10 minutes, like for idle or ediappam. Serve hot with chutney.

Chutney ingredients

Ingredients
Quantity
Coconut grated3/4 cup
Fried dried red chillies4
Tamarindgoose burry size ball
Saltto taste
Water very little
Small onions1/2 hand

Method for chutney

  • Grind all ingredients together except for small onions to a coarse paste adding very little water.
  • Add the small onions and grind just to crush them coarsely. Mix well. Taste and adjust seasoning. Remove and serve with kolukattai.

Narthang Kaaei Rasam

Share Button

FullSizeRender (21)

FullSizeRender (1)

FullSizeRender (20)

FullSizeRender (19)

FullSizeRender (18)

FullSizeRender (17)

FullSizeRender (16)

FullSizeRender (15)

Preparation time :  20 minutes
Cooking time      :  10-15 minutes
Serves                :  5 members

Description

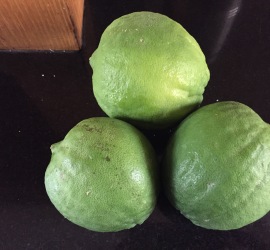
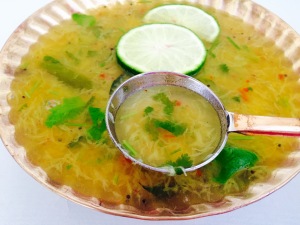
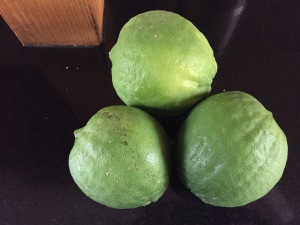
Living the old school way of managing an edible garden at home that teaches you patience and great watchfulness. The joy you get when it gives back through those edible jewels which is when you realize it’s worth all the sweat under the sun, watering done to it and so on and so forth. Blessed me, did get three citron’s from my back yard. Usually it’s always pickled. But this time having a lot of pickle at home opted to do some thing else. So planned to make rasam with them which is a regular on the table for lunch every day. My true blue South Indian hubby dear always has rasam for his second helping alone. But with this rasam it continued for a third helping, omitting the last helping of rice with curd and finishing off with a cup of the rasam to drink as well. My mind did go to the days of me planting the citron first to it growing , then blooming with flowers to give these citron’s. What a long journey it has been and to see it satisfying all of us through our tummies was pure bliss. The earth has so much to provide our needs, let us humans not destroy it with our greed. Take care of it and it will give back in ample as always.

Ingredients
Quantity
Thoovar dal1/4 cup
Tomato1 big chopped
Turmeric powder1/4 teaspoon
Saltto taste
Citron juice2 tablespoons
Asafoetida1/4 teaspoon
Coriander leavesfew chopped

Ingredients for rasam powder

Ingredients
Quantity
Coriander seeds3 teaspoon
Thoovar dal1 teaspoon
Black whole pepper corns1 teaspoon
Cumin seeds1/2 teaspoon
Red dry chillies4

Ingredients to temper

Ingredients
Quantity
Oil1/4 teaspoon
Mustard seeds1/4 teaspoon
Curry leavesfew

Method

  • Powder all the ingredients mentioned below the rasam powder ingredients together to a fine powder with out frying.
  • Cook Thoovar dal with turmeric powder adding 3 cups of water.
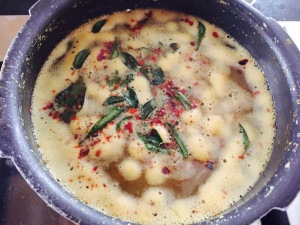
  • Boil chopped tomatoes with 1 cup water. Add salt, asafoetida and cooked Thoovar dal. Mix well and bring to boil.
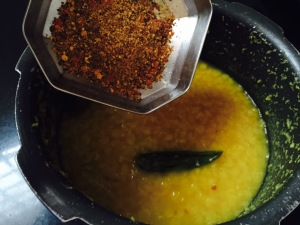
  • Add the rasam powder and boil further for five minutes.
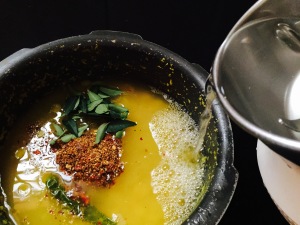
  • Heat oil, crackle mustard seeds and curry leaves. Pour over the rasam.
  • Garnish with chopped coriander leaves. Add the citron juice. Mix well, taste and adjust seasoning. Serve with rice.


Molagu Kari

Share Button


FullSizeRender

FullSizeRender (14)

FullSizeRender (13)

FullSizeRender (12)

FullSizeRender (11)

FullSizeRender (10)

FullSizeRender (9)

Preparation time :  15 minutes
Cooking time      :  15 -20 minutes
Serves                :  5 members

Description

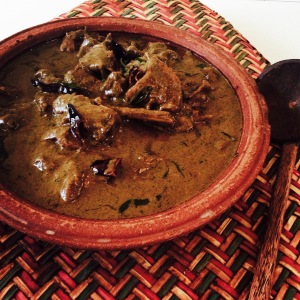
Nothing can beat authentic recipes that our grand mother’s, mothers and aunts fed us with. Like wise this is one recipe that was and still is on the table every alternative day at our homes evoking childhood memories. A simple dish made with cupboard friendly ingredients that’s undoubtedly on my list of top comfort foods. The magic of this dish is in the art of balancing the spice powders used to bring out the maximum flavors. Sesame seed oil is used only for pickles at mom’s place. But surprisingly this one dish also has to be made with sesame seed oil. While this dish has been adapted in many ways , the original will always be my favorite especially since I am so far away from my native place. The picture of my grand mother, mom and aunts making this dish is crystal clear in my mind , with all of them being so noisy when in the kitchen. My grand mother would taste the dish with a large spoon and share a sip of the magic with me as the final test before she turned the heat down. Pour the prepared dish into a serving bowl. Then two ladles of hot rice was put into the vessel that was used to make this dish. Mix the rice making sure it soaks up all the remaining gravy and coats the rice well leaving the vessel clean. One teaspoon of ghee added, mixed well. She makes balls of this mix with her hands. We cousins sitting around her, we are fed each a ball as a teaser before lunch in between us playing in the hot sun. So this is how my love affair with this dish began. Please try this recipe and fall in love as I did too .

To Grind ingredients

Ingredients
Quantity
Small onion1 and 1/4 cup
Green chilli1
Tomato1 medium size
Ginger1/2 inch piece
Garlic7 flakes peeled
Curry leaves1/2 hand

Other ingredients

Ingredients
Quantity
Mutton1 kg
Dry red chillies6 , each torn into two pieces
Curry leavesfew
Pepper powder6 tablespoons
Turmeric powder1/2 teaspoon
Coriander powder3 tablespoons
Cinnamon powder1/4 teaspoon
Cloves powder1/8 teaspoon
Sesame seed oil4 tablespoons
Saltto taste

Method

  • Grind all the ingredients together mentioned under the to grind column to a smooth paste.
  • Heat Sesame seed oil in a pressure cooker. Add torn dry red chillies and curry leaves. Sauté until they crackle.
  • Top with cleaned mutton and salt to taste. Sauté for five minutes in medium heat until the colour of the meat changes.
  • Add the ground masala and sauté further for another five minutes. Top with pepper powder, turmeric powder and coriander powder. Sauté for three minutes.
  • Pour around 3 cups of hot water. Mix well and pressure cook until the meat is cooked and tender.
  • Finally garnish with cinnamon and cloves powder. Mix well and serve hot with rotis, chapathis, idli, dosa, appam or boiled white rice.

Pacha avarai varuthathu

Share Button

FullSizeRender (8)

FullSizeRender (7)

FullSizeRender (6)

FullSizeRender (5)

FullSizeRender (4)

FullSizeRender (3)

FullSizeRender (2)

FullSizeRender (1)

Preparation time : 2 hours + over night soaking
Cooking time : 30 minutes
Serves : 10 members

Description

Hyacinth beans are a seasonal produce that is usually available in the market only twice in a year. My entire aadhi ( family name ) clang is crazy about these beans. We make sure to use it to the maximum and what ever is done to it is enjoyed by all. It’s not the same at hubby dears place as these hyacinth beans are not known much in this southern tip of Tamil Nadu. My parental uncle comes home to visit me after a long time with his family. I get a call from my aunt asking me what I want from Coimbatore. I requested her to get the seasons fresh produce from the local market. I was awe struck with the two sacks of fresh produce that they got for me. I made sure to share it with my cousins and in-laws here but still there was way too much hyacinth beans left behind. Not wanting to waste these gems that were brought with love. I made up my mind to finish it of. I did do all the recipes I know and finished half of them. The remaining were looking sad and altering me saying we will not last long.. Use us, use us..
Then I remembered about the hyacinth bean chips my mom goes bonkers over when visiting Bangalore. Googled for a recipe not knowing how they call it in Karnataka. Some how managed and got to see a few recipes. Seemed very simple to follow. Omitted a few ingredients and added a few to my liking. Made them and believe me this was the best hyacinth chips I have ever tasted till date. My parents were on a holiday to Thailand. Send the images to my mom and she was like, stop tempting me. Made sure to pack some for mom. Gave it to her and she loved it. Her surprised look with every mouth full just melted my heart. My son-in-law who was around did taste it but said nothing. Then my girl Anisha goes on to say, his mom used to make it for him and he wants a batch done next time. I did do so immediately in a weeks time. Awaited for his verdict which was silence with a smile meaning it’s good but my mother’s love is missing in this.

Ingredients
Quantity
Hyacinth beans2 kg
Oilto deep fry ( 1/2 litter )
Saltto taste
Turmeric powder3/4 teaspoon
Red chilli powder3 teaspoons or more to taste

Method

  • Peel the hyacinth beans and reserve the tiny green beans inside.
  • Wash the beans well and soak with water over night.
  • With the help of your forefinger and index finger press the soaked bean and remove the skin .
  • Do the same to all the hyacinth beans. (quite a pains taking job to be done)
  • Heat oil to deep fry at medium heat. Pat dry the peeled hyacinth beans.
  • Drop the peeled hyacinth beans in batches over medium heat to crisp and lightly golden.
  • As you drop the beans in hot oil, the oil tends to raise above so be very careful while deep frying.
  • Once the hyacinth beans start to float on top it’s a sign that it’s cooked. Drain and keep aside to cool and get crisp.
  • Once all the peeled hyacinth beans are deep fried and cooled to crisp.
  • Add turmeric powder, salt and red chilli powder to taste. Mix well.

Sweet potato pudding

Share Button

IMG_9932

IMG_9859

IMG_9861

IMG_9862

FullSizeRender

IMG_9864

IMG_9867

IMG_9933

IMG_9934

Preparation time : 20 minutes
Cooking time      : 25 – 30 minutes
Serves                : 10 members

Description

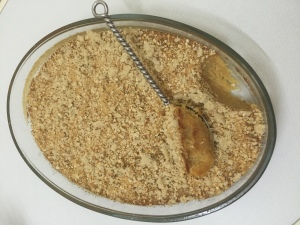
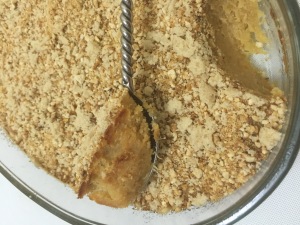
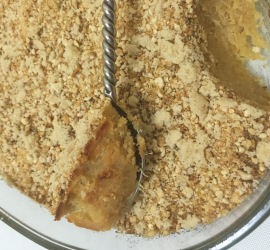
Having a lot of sweet potatoes in my pantry and fed up with doing the usual two to three things I do with them always. Wanted to come up with something new as I had my uncle’s family visit me after a long time. The bulb moment happened when I thought about making a pudding with the sweet potatoes. Added ingredients that I thought would be a killer combination with the sweet potatoes. Baked it. The aroma that waft out of the oven was heady. Tasted but felt the taste was not sublime for a new attempt. So to add more glamour to the pudding came up with a topping idea that would go well with the pudding’s taste. Mixed the topping ingredients together. Tasted and it was spot on genius invention that brought a melange of flavor’s in sorting out the pudding from nice to delicious. Served the pudding after a heavy meal. To my surprise, this pudding was a stunner with every one giving a thumbs up and wanting a second helping as well. My quest to finish off the sweet potatoes was done in style on a satisfying note. I did a big fat cheers to myself with a smile .

Ingredients
Quantity
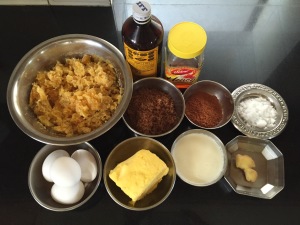
Sweet potato2 1/2 cups boiled , peeled and mashed
Jaggery1/2 cup powdered
Eggs4
Thick Coconut milk extract1/4 cup
Melted Butter2 tablespoons
Vanilla essence2 teaspoons
Honey1 tablespoon
Salta pinch
Cinnamon powder1/2 teaspoon
ginger1/2 teaspoon grated

Topping ingredients

Ingredients
Quantity
Candied Ginger1/2 cup ( I used locally available inji parappa)
Roasted Ground nuts1/2 cup
Jaggery1/2 cup powdered
Butter2 tablespoons

Method

  • Preheat oven to 180 degrees Celsius. Grease a baking dish generously with butter.
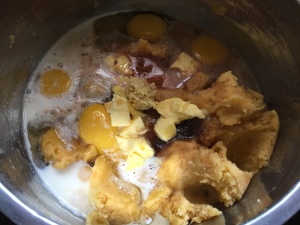
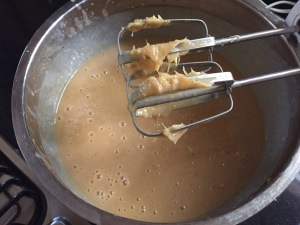
  • Mix all the ingredients for the pudding together with the help of an electric egg beater to smooth.
  • Pour into the greased baking dish.
  • Bake for 25-30 minutes in the middle rack of the oven. Remove and cool.

Topping method 

  • Mix all ingredients together. Taste and adjust sweetness.
  • Sprinkle the topping over the baked pudding.
  • Serve warm or at room temperature.


Thai mushroom coconut soup

Share Button

image1 (1)

image2 (1)

Preparation time :  10 minutes
Cooking time      :  15 minutes
Serves                :  4 – 6 members

Description

Thailand always relate’s to sun, light green sea, crowded, hot and traffic to me. It was one among the few countries I got to visit as a newly married 14 year old innocent girl. Days of being nothing, not knowing your likes, passion and mainly your own self. I remember eating Indian food through out the trip. So my knowledge of Thai food was nil until recent when I first got to try Thai red curry at a restaurant. I did try making Thai green curry at home later and that was it. My previous trip to London, my brother did take us out for dinner to a Thai restaurant named champor champor at Weston street. A cozy small eat out that served authentic Thai food. Everything we ordered was excellent. The soup sure did pop in my mind every now and then. So this recipe is just my interpretation of the soup I had there. Pretty close but yet to perfect the soup though. Tangy with the scent of lemon grass and the flavor of coconut milk sure makes you want to have more soup. Now the crazy part of how the world connects from a Thai dish had in London that is being tried out in a South Indian home and finally being shared to the world at large. Amazing isn’t it?

Ingredients
Quantity
Water7 cups
Maggi stock cube1
Lemon grass1 stalk crushed
Lime leaves2 thinly sliced ( leaves from the lemon plant )
Ginger1/2 inch piece crushed to small bits
Red chilly1 sliced
Mushrooms10 sliced
Thick Coconut milk 1 cup
Saltto taste
Fish sauce1/4 teaspoon
Lime juice1 tablespoon
Coriander leavesfew to garnish

Method

  • Boil water, stock cube, lemon grass, ginger and chilly together for five minutes.
  • Add sliced mushrooms and cook further until cooked.
  • Stir in thick coconut milk, fish sauce and lime juice. Continue cooking for another 3 minutes.
  • Taste and adjust seasoning and lime juice. Remove the lemon grass stalk.
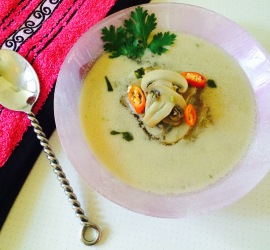
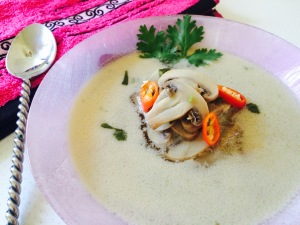
  • Serve hot with a garnish of red chilly slices and chopped coriander leaves.

Notes

I used dried lemon grass stalks as fresh ones are not available at my home town. At times I do substitute with lemon rind as well but the flavor does differ.