Bread pizza muffins

Share Button

image2

IMG_6253

IMG_6256

IMG_6258

image1 (3)

FullSizeRender (13)

FullSizeRender (12)

FullSizeRender (11)

FullSizeRender (10)

FullSizeRender (9)

FullSizeRender (8)

FullSizeRender (7)

FullSizeRender (6)

Preparation time : 10 minutes
Cooking time      :  8- 10 minutes
Serves                :  8 members

Description

Reconstructing a dish by fusion method is so in now a days. This is very popular at up market restaurant’s and private parties. These sort of short eats have risen with the influence of foodies and world cuisine being experimented by all. The twist here is to be really clever in doing the fusion. I tried a fusion of pizza in a muffin tray with a million doubts in me when I had a friend visit me at home. They turned out super cool and looked so pretty. My friend Sheela loved the dish and made sure to ask for the recipe. The next day she made the same to entertain her guests at home. So the pizza muffin’s journey started immediately and now it’s all ready to hit your homes too.. Welcome it, make it and celebrate it in style.

Ingredients for the base

Ingredients
Quantity
Bread12 slices
Milk1 and a 1/2 cups
Saltto taste
Whit pepperto taste ( optional )

Filling ingredients

Ingredients
Quantity
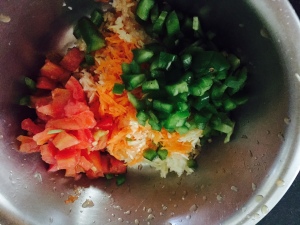
Carrots1 big grated
Cabbagegrated 1/4 cup
Tomato1 big chopped
Onions1 big chopped
Capsicum1 big chopped
Saltto taste
Pepperto taste
Grated cheese4 cubes ( I used Amul )
Dried Oregano and basil1/2 teaspoon each
Red chilly flakesto taste

Other ingredients

Ingredients
Quantity
Butter / oil- to grease1 teaspoon
Mozzarella cheesegrated to garnish 1/4 cup
Tomato sauceto dot 1/4 cup
Coriander leavesto garnish few

Equipments – Oven , Muffin tray

Method

  • Preheat an oven for ten minutes at 180 degrees Celsius. Grease the muffin tray generously with butter or oil.
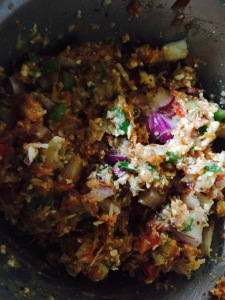
  • Mix all the ingredients together mentioned below the filling ingredients. Taste and adjust seasoning. Keep aside.
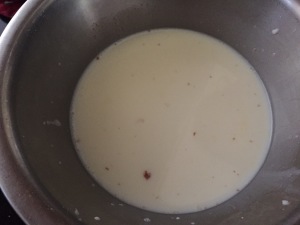
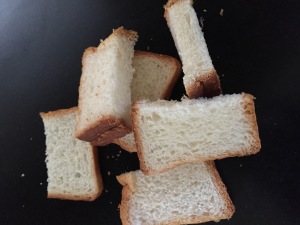
  • Mix milk, salt and pepper together. Dip each bread slice into the milk mixture. Remove and squeeze between your palms.
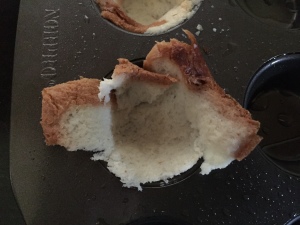
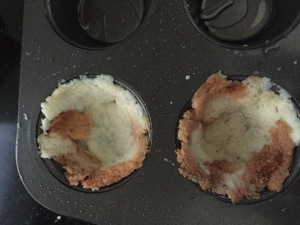
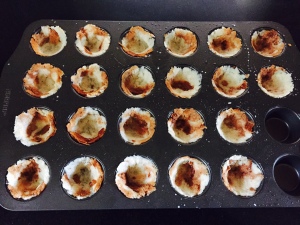
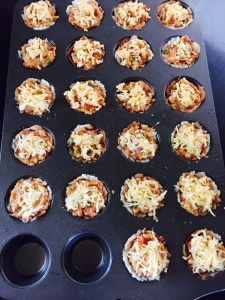
  • Spread the squeezed bread into the greased muffin tray debt and press to get an even cup shape. Do the same with all the bread slices.
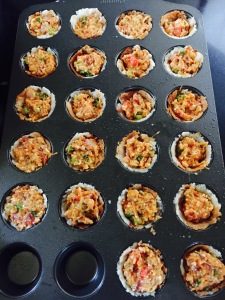
  • Fill each bread cup with filling. Top with grated mozzarella cheese.
  • Bake in the preheated oven for eight to ten minutes. Remove from the oven and cool a bit for five minutes.
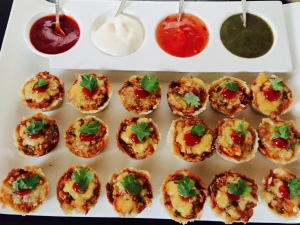
  • Remove the pizza muffins with the help of a sharp knife or a spoon. Dot with tomato sauce. Garnish with a coriander leaf. Serve in style and enjoy.

Notes

Non – vegetarian’s can add boiled chicken, mutton mince, prawn or fish to the filling.


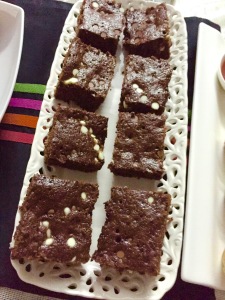
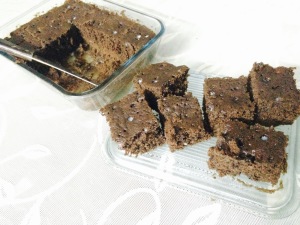
Five minute microwave eggless chocolate chip brownies

Share Button

image1

FullSizeRender (3)

IMG_6028

IMG_6029

IMG_6030

IMG_6031

IMG_6032

IMG_6034

IMG_6064 (1)

IMG_6064

Preparation time : 10 minutes
Cooking time      : 5- 6 minutes
Serves               :  8 members

Description

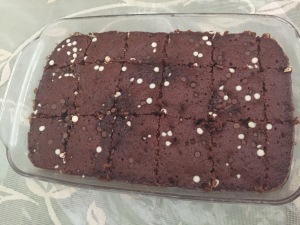
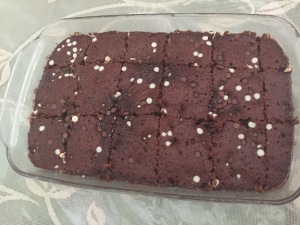
There are a few desserts I rely on for a quick fix and this is my favourite among the lot. Hassle free with no eggs but over whelming.. out of the way.. drop dead delicious.. Over loaded with chocolate too. What more do you need in a good dessert?  In general this fool proof recipe is almost impossible to make an inedible batch of brownies. How ever made, they are lip smacking good.  I could get these brownies done blind folded and still it will taste divine. Make them once and you will immediately want to add them to your list of tried and – true stand by’s. These modern day sweet assassin marvels are super simple to make. when chocolate is the answer who cares about the question ..

Ingredients
Quantity
Sugar3/4 cup
Vegetable oil1/4 cup ( I used sunflower oil )
Milk1 cup
Vanilla essence1 teaspoon
Lemon juice2 tablespoons
Flour1 and 1/4 cups
Cocoa powder4 tablespoons
Baking powder1/2 teaspoon
Baking soda1/2 teaspoon
Salt1/2 teaspoon
White chocolate chips1/3 cup
Brown Chocolate chips1/3 cup
Butterto grease the microwave pan

Method

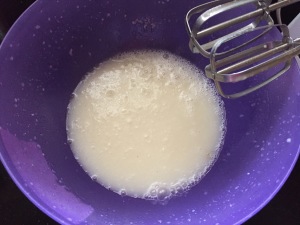
  • Measure the sugar and powder to fine. Mix powdered sugar, vegetable oil, milk, vanilla essence and lemon juice until the sugar dissolves and blends well with an electric egg beater.
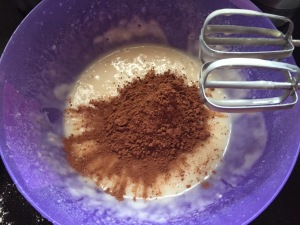
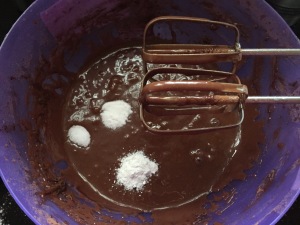
  • Add flour and cocoa powder. Mix well. Then top with baking powder, baking soda and salt. Mix well.
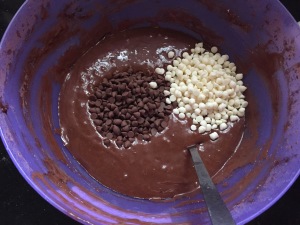
  • Grease the microwave safe pan with butter. Add both the chocolate chips keeping aside 2 tablespoons each to drizzle on top finally. Mix well with the brownie batter.
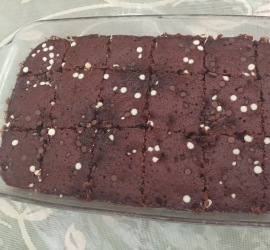
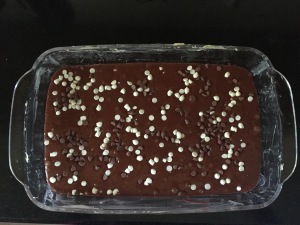
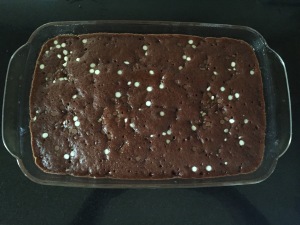
  • Pour into the greased pan and microwave for five to six minutes. Remove and cool completely. Cut into equal squares and serve. Can store in air tight containers at room temperature for two days.

Notes

  • Each microwave the time differs so check after five minutes and microwave further if needed checking every 30 seconds once.
  • My microwave took 6 minutes.


Guava Pear Mock – Tini

Share Button

image1 (3)

FullSizeRender (20)

FullSizeRender (19)

FullSizeRender (18)

FullSizeRender (17)

FullSizeRender (16)

IMG_4154

IMG_4155

FullSizeRender (15)

Preparation time  : 5 minutes
Cooking time       : 5 minutes
Serves                 : 4 members

Description

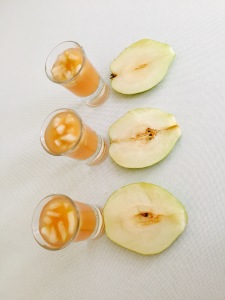
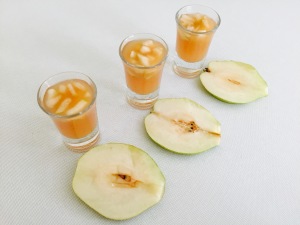
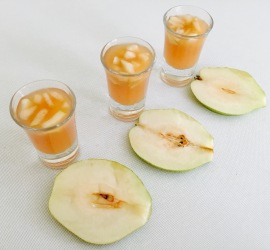
The on going summer heat just wants me to have more and more liquid’s alone. My mind for sure is working wonders with mock tails which is so perfect to beat the hot heat. All I had in my refrigerator was one guava and one pear. I had to come up with a mock tail with theses two fruits. I love incorporating every day flavors into a mock tail. It brings a surprise element yet the taste is familiar and comforting. This mock tail combines two of my favorite fruits guava and pear. It couldn’t get better right? I bought in the trademark Indian twist by an addiction of jaggery and spices which suits me as I love bold flavors. This reflects my love for using our Indian every day ingredients in a really interesting way bringing a new challenge to find ways to use them, leaving way for a journey of a thousand dishes….. Coming to the mock tail.. Its brilliant coolness and thirst – slaking qualities helps replenish all the energy lost in the sweltering heat and instantly restores all the energy lost in the heat. Takes little time to make and even less time to polish it off. Happy mock tini to all…
Ingredients
Quantity
Guava1 big chopped
Jaggery1 /2 cup
Whole crushed coriander seeds2 tablespoons
Whole crushed pepper corns1 teaspoon
Salta pinch
Pink food colourfew drops
Pear1 chopped

Method

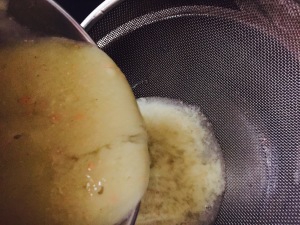
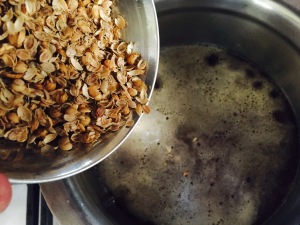
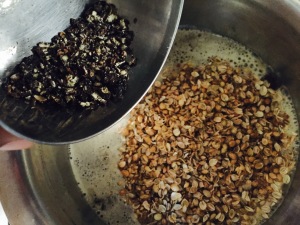
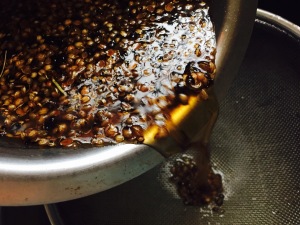
  • Boil jaggery with 1 cup of water. Once it dissolves add crushed coriander seeds and pepper seeds.
  • Boil for five minutes. Remove from heat. Cool completely.
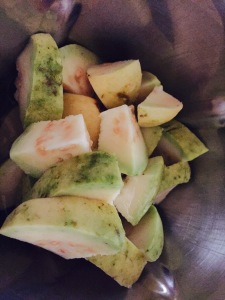
  • Grind guava with 2 glasses of water to a smooth running paste.
  • Strain the jaggery syrup into the guava juice. Add salt and food colour. Mix well.
  • Taste and adjust sweetness, consistency and colour of the mock – tini. Chill in the refrigerator until serving time.
  • Pour into glasses, top with chopped pears and serve chilled.

Palli palayam chicken

Share Button

image1 (2)

FullSizeRender (14)

FullSizeRender (13)

FullSizeRender (12)

FullSizeRender (11)

Preparation time : 15 minutes
Cooking time       : 20 minutes
Serves                 : 4 members

Description

When you have both your children coming home to you after a long while, the excitement level is way too much and gets you confused in setting a good menu to be cooked. My elder one Anisha being a vegetarian and my second one Afzar a hard core non – vegetarian. The challenge of a balanced spread on the table will sure be judged by them. So keeping that in mind, I had planned a menu accordingly. Now a chicken dish for my carnivores boy. He loves any thing that is done in south indian style. I wanted to surprise him with a new dish and the one dish that came to my mind was Palli palayam chicken . A typical Tamil style chicken that sure will be approved by him. Got the recipe from one of my cousin sisters and started. As cooking, my mind went back to days of packing food in lunch boxes for my loved ones to school. I made sure they had turns every alternative day to select what they wanted. The long face both of them used to have when it was not their day of selected food packed. Good old days … Well today all I wanted was a beaming smiles on the faces of my beloved kids and this chicken recipe sure did it as my fussy vegetarian girl also enjoyed the gravy part of the chicken dish. My mission accomplished. Now typing all this, my heart bleeds with missing both my kids. I know this sounds so cliche but only mothers know the vacuum felt with in when her children are not around.

Ingredients
Quantity
Chicken1/2 kg cut into medium sized pieces with bones
Ginger1 inch piece chopped
Garlic6 flakes chopped
Small onion2 hands full chopped
Dry red chillies15 , each torn into three or to taste
Curry leavesfew
Mustard seeds1/4 teaspoon
Cumin seeds1/4 teaspoon
Sesame seed oil2 tablespoons
Turmeric powder1/4 teaspoon
Saltto taste
Grated Coconut2 teaspoons ( optional - I didn't use it here )

Method

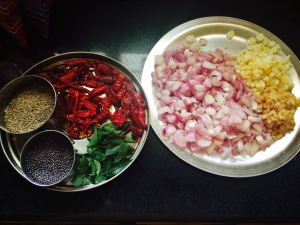
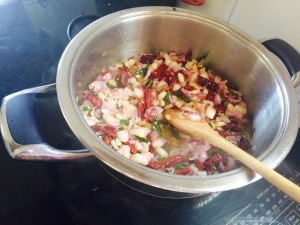
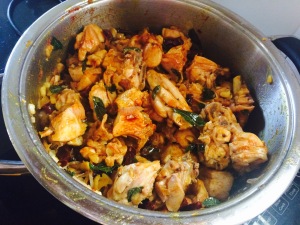
  • Heat oil in a wide vessel. Add mustard seeds and cumin seeds. Once it crackle’s, top with torn dry red chillies and curry leaves.
  • Sauté until the dry red chillies turn crisp.
  • Add ginger, garlic and small onions. Sauté to translucent.
  • Top with the cleaned chicken, turmeric powder and salt to taste. Sauté in medium heat until the colour of the chicken changes.
  • Add little water and cook until chicken is done.
  • Garnish with chopped coriander leaves and grated coconut. serve hot.

Herby green vegetable stir fry

Share Button

image1 (1)

FullSizeRender (10)

IMG_6051

IMG_6052

FullSizeRender (9)

FullSizeRender (8)

FullSizeRender (7)

FullSizeRender (6)

Preparation time  : 15 minutes
Cooking time       : 8- 10 minutes
Serves                 : 5 members

Description

Any dish I eat, the first thing is to feel the taste of it. Then my mind goes into what ingredients are used and how it is made to what technique of cooking is used. In case I find the guess interesting, I store it in my mind and use it later when I want to. This is one similar stored dish guess from a restaurant in my home town . Having to entertain with new vegetarian dishes is always stone breaking task for me. This came in handy when I had to pack a picnic lunch for a few vegetarian friends. I wasn’t sure about how this cook something new dish would be rated. To my surprise, this dish was a stunner, as it bought with it a melange of herby flavors. I was complimented so many times repeatedly following with a recipe please. As it is a hard feat to come up with vegetarian dishes for me, their compliments and recipe please sure made me think if this is possible. Food has its own way of charming me as always.. Guess that’s why I am madly, deeply in love with it no matter what..

Ingredients
Quantity
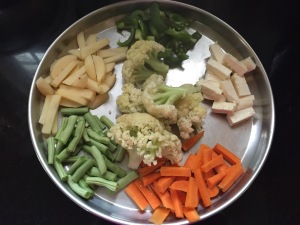
Carrot1 big cut into finger size strips
Beans8 cut each cut into two to get finger long pieces
Potatoes2 cut into finger size pieces
Capsicum1 big cut into finger long pieces
Cauliflower1 cup flower lets
Panner200 grams cut into finger size pieces ( I used one packet of store bought panner )

Ingredients for the batter

Ingredients
Quantity
Cornflour1 cup
Flour / maida1 cup
Saltto taste
White pepperto taste
Wateras needed to get semi think loose batter

Ingredients for the green sauce

Ingredients
Quantity
Mint leaves1/2 cup
Coriander leaves with stem1/2 cup
Green chillies4 to 6
Fresh basil / thulasi leaves6
Onion stem1/4 cup
Green food coloura pinch or more
Lemon juice1/2 a lime
Saltto taste

Other ingredients

Ingredients
Quantity
Oilto deep fry + 1 teaspoon to stir fry

Method

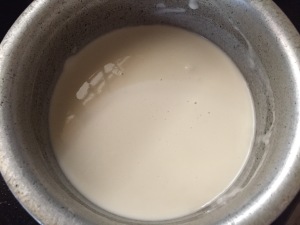
  • Mix all the ingredients together mentioned under the batter category to get a semi thick loose batter with no lumps.
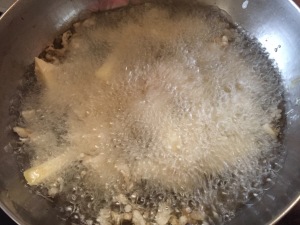
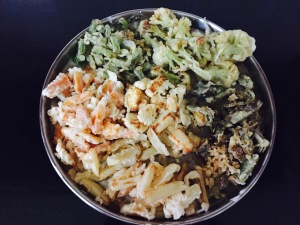
  • Heat oil to deep fry. Dip each cut vegetable and panner separately in to the batter and deep fry to golden and crisp. Drain and keep aside.
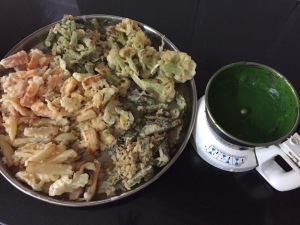
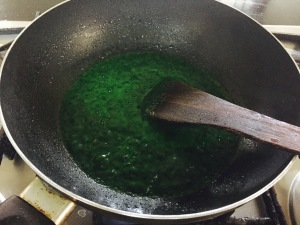
  • Grind all the ingredients mentioned under the green sauce together. Taste and adjust seasoning.
  • Heat a wide kadai / wok with oil to stir fry. Add the ground green sauce. Sauté until oil separates.
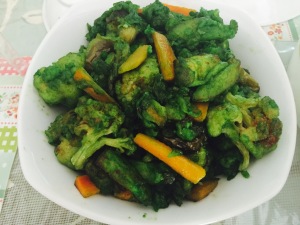
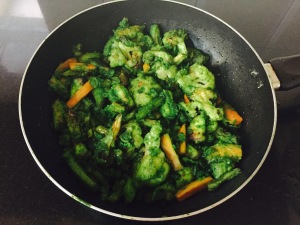
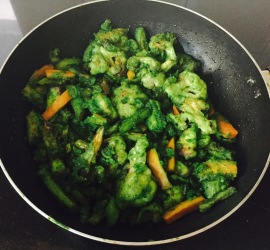
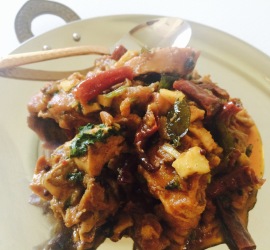
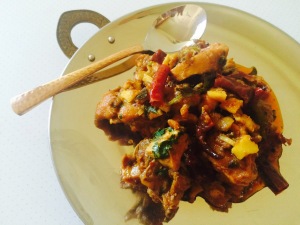
  • Top with the fried vegetable’s and panner. Toss well making sure all the sauce coats around the vegetable’s and panner well in Low flame.
  • Taste and adjust seasoning. Serve immediately as a side dish. Best served with pulao, biriyani, fried rice, chapathis and any type of rotis .
Notes

  • Best to do the last fourth step just a few minutes before serving as the vegetable’s tend to get soggy if done before.

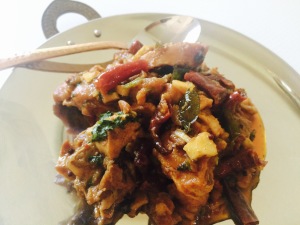
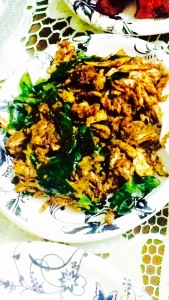
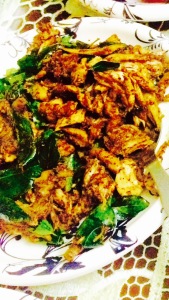
Pichupotta Milagu kozli roast / shredded pepper chicken roast

Share Button

FullSizeRender (5)

FullSizeRender (4)

Preparation time  : 20 minutes
Cooking time       : 20 minutes
Serves                 : 6 members

Description

I just love the aroma from the road side parotta stalls. As a kid I remember we used to dine in these small eat outs on our way back from Bangalore to Coimbatore near hosur. I used to always order for don don parotta… That Was my nick name for kotthu parotta. The music and sizzle it generated while it was made used to melt my heart. Then came the Burma Bhai eat outs in Coimbatore with its authentic tasting yummy food. That is where I got to taste this pichu poota chicken pepper roast. Pichu poota in Tamil means shredded. This eat out street stall was located in a dark place and quite difficult to see how things are done. So just eating and tasting was done always. Then in the famous coutralam border kadai when waiting outside for a seat in the restaurant ( it’s just a shed with tables and stools ) near the parotta griddle. I got to see them make this pichu potta pepper chicken roast. I did save it in my mind. who will miss the opportunity of getting an easy to follow recipe for free. Back home. I made sure to give it a try when I had guests for dinner. I made slight changes by adding a few ingredients. The final result was wonderful making me realise Indian food is delicious as it is varied. The beauty of this dish is that it doesn’t require fancy ingredients to be impressive. To me , the best kind of cooking involves experimenting with every day common ingredients you are sure to find in your pantry. A dash of this, a spoonful of that and you have got yourself a meal with just a few ingredients. The key is minimalism. The more you let each individual ingredient shine, the greater your chances are of ending up with a winning dish. Maximum flavour with minimum fuss. Make sure to try this simple rustic wonder of our street stalls and I assure you it will be added to your regular menu at home.

Ingredients
Quantity
Chicken1 kg
Ginger and garlic paste1/2 teaspoon each
Turmeric powder1/4 teaspoon
Saltto taste
Lemon1/2 a lemon
Garam masala1 teaspoon
Coconut oil3 tablespoons
Curry leavesone hand full
Pepper powder2 tablespoons or more to taste
Cumin powder1 teaspoon

Method

  • Pressure cook 1 kg chicken with bones ( only then it tastes good ), ginger and garlic paste, turmeric power and salt with little water for one whistle.
  • Once the whistle sound subsides. Open lid and cool completely, shred the meat from the bones. Squeeze 1/2 a lemon over the chicken and mix with Garam masala powder.
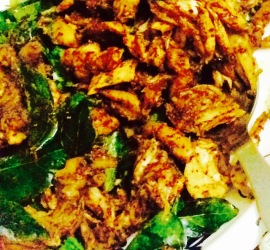
  • Heat coconut oil, top with curry leaves. once they crackle. Add shredded chicken, pepper powder and cumin powder.
  • Roast in high flame for 5 minutes, then in low flame for another 5 minutes letting all the flavours infuse together. Check seasoning, remove and serve hot.

Ellu thovayal

FullSizeRender (3)

image1

Preparation time : 5 minutes
Cooking time      : nil
Serves                : 6 members

Description

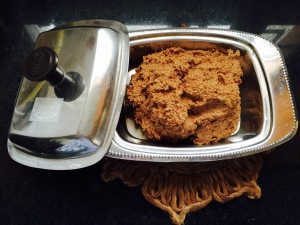
I got to know the word thovayal only after I was married to Deep South Tamil Nadu. Thovayal means a thick form of chutney. Back home the semi thick, runny or thick paste form every thing is addressed as chutneys. Here at hubby dear’s place they have loads of thovayal’ s in their every day meals and the best part each thovayal is supposed to be had with a particular combination of curries and dishes. This sesame seed thovayal is had with kootaan choru ( a poor man’s version similar to the sambar saadam ) and palaya choru ( left over rice soaked in water over night ). This thovayal looks less appealing to the eyes as its colour is such but tastes divine. Perfectly tart, spicy with the roasted aroma of the ingredients is a umami packed wonder. In between your meals, a slight touch of this thovayal in your tongue sure helps to gulp in more food. This acts as a teaser to your taste buds adding more glamour to the blah food served along with it. Some food tradition’s never go out of style. I end up licking the thovayal bowl usually. Shameless breed me .Well these are time’s I rediscover the joy of the real me. Gear up people to do the same.

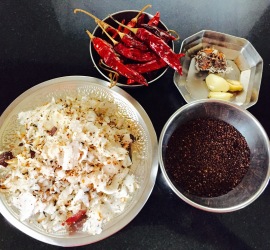
Black sesame seeds thick chutney

Ingredients
Quantity
Black sesame seeds1/2 cup
Grated Coconut1/2 a coconut
Red dry chillies15
Garlic3
Tamarindgoose burry size ball
Saltto taste
Oil1 teaspoon

Method

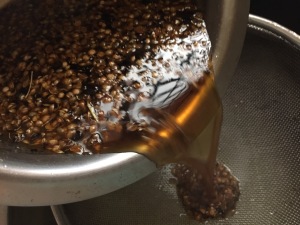
  • Heat oil and roast all the ingredients to golden except salt making sure not to burn. Cool completely.
  • Grind together adding very little water to a smooth thick paste.
  • Taste and adjust seasoning. Serve as a side.

Prawn Varatiyathu

Share Button

FullSizeRender (2)

Preparation time : 20 minutes
Cooking time      : 15 minutes
Serves                : 5 members

Description

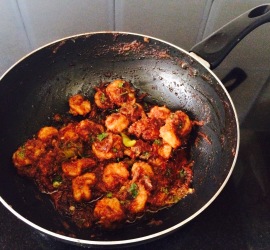
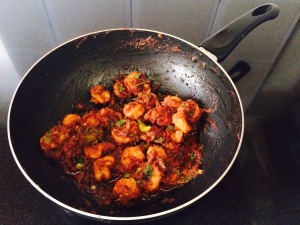
Prawn’s always reminds me about a story my cousin sister told me. Her favourite source of protein is prawn’s. Being a newly wedded bride, she had a big doubt about prawns. That at her in – laws place the prawns are never round like at her mom’s place. She did ask her mother about this and the answer she got was when cooked prawns get round . Her million dollar doubt was cleared only when she keenly took note of each prawn being cut into three pieces by her mother – in – law before being cooked . For lunch each person is served just three pieces which means each person gets just one prawn to eat .Her co sister a sweet girl would offer her share to my cousin who loved prawns. Every time I cook or clean prawns this story of my cousin pop’s up in my mind. Food and the stories it brings along with it. Coming to this dish. It is an authentic dish that I learnt from my mother- in – law. A never fail recipe that’s so easy to make with in minutes. I get a bowl full from next doors where my in – laws live every time it’s made. The culinary power house I have near me .. Simplicity is key for this slow cooked rustic dish. This side dish can be adapted to be eaten at breakfast, lunch or dinner . They are versatile, changing their character according to the accomplishments like bread, rice or rotis. So create a difference to eat, to live, breathe and feel this master piece.

Ingredients
Quantity
Prawns1 kg cleaned
Small onions2 hands full chopped
Curry leavesfew
Green chillies4 slit
Ginger and garlic paste1 teaspoon
Tomato2 big chopped
Red chilly powder2 teaspoon
Turmeric powder1/8 teaspoon
Saltto taste
Coconut oil4 tablespoon
Coriander leavesfew chopped

Method

  • Heat coconut oil in a heavy bottomed vessel. Add small onions and green chillies.
  • Sauté to translucent. Top with curry leaves. Toss well.
  • Add Ginger and garlic paste. Sauté to crisp. Top with tomatoes and sauté until it break down and let’s it’s juices out.
  • Add prawns, red chilly powder, turmeric powder and salt to taste.
  • Sauté for five minutes letting all the flavors infuse together.
  • Cover and cook to done adding very little water.
  • Once cooked and gets to a gravy consistency. Simmer for five minutes letting the oil float on top.
  • Garnish with chopped coriander leaves. Serve hot as a side with rice or chapathis.

Fruit stick

Share Button

FullSizeRender (16)

FullSizeRender (15)

FullSizeRender (14)

Preparation time  : 20 minutes
Cooking time       : nil
Serves                 : 8 members

Description

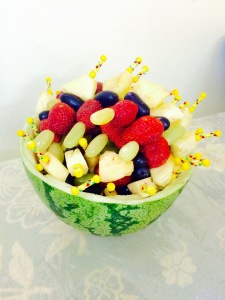
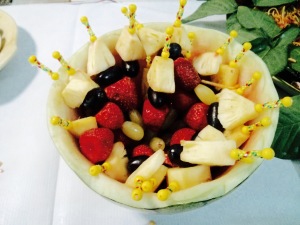
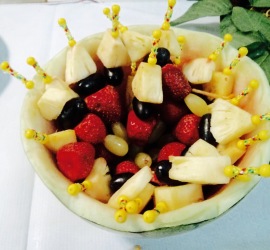
Discovering Simple, clever tricks that help to add more glamour to entertain and host people for a feast at home with truly scrumptious ideas is always a crab from my side. This beautiful fruit stick line up is one such idea I took from an image from the world wide net. Ever since then, I never place plates of chopped fruits for dessert instead it’s all skewered alternatively with contrasting colour combination of the fruits of the season. The big difference of presentation is what helps in high lighting a dish to another level. I always try to leave the fruits as it is to enhance crunch and nutrition where health freaks get to treat on these guilt free jewels. The only work to be done is the skewering part. This is so handy as it can be done ahead and placed in the refrigerator to chill until the time of serving. This is perfect for a hot sultry summer day snack, a great side for a potluck or picnic too. This simple fruit stick sure does make all my guests feel special, excited and fulfilled. Follow the same and make all your loved ones feel the same too..

Ingredients and things needed

Ingredients
Quantity
Fruits of the seasonto choice
Here I have used pineapple chunks , green + black grapes and strawberries2 cups mixed
Long tooth picks10

Method

  • Skewer the fruits alternatively in contrasting colours into the tooth pick.
  • Serve at room temperature or chilled.

Notes

  • Avoid using banana and apples as they tend to turn brown.
  • Always use colourful fruits to add more glamour.

Kokum bonkers

Share Button

IMG_3771

FullSizeRender (13)

FullSizeRender (12)

IMG_3901

IMG_3902

IMG_3600

IMG_3601

FullSizeRender (11)

FullSizeRender (10)

FullSizeRender (9)

FullSizeRender (8)

Preparation time  : 10 minutes + soaking of basil seeds for one hour
Cooking time       : 10 minutes
Serves                 : more than ten helpings

Description

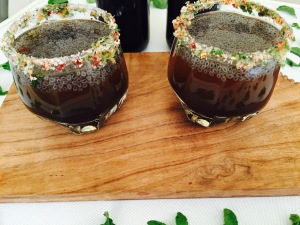
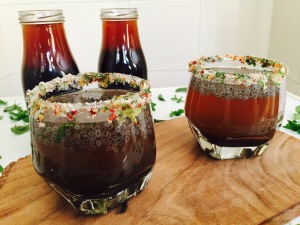
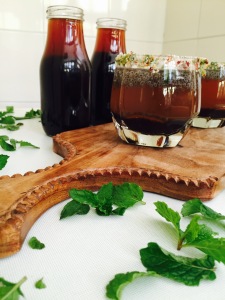
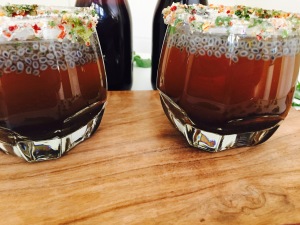
Summer is back with the sun shining bright with us getting dehydrated often. So I made up my mind to make a mock tail. I check my refrigerator and find nothing at all. Take a walk into my pantry and find basil seeds.. I dig further to see a packet of Kokum. The bulb moment happened when I saw the Kokum which reminded me of having a rasam sort of a drink in goa made with Kokum and coconut milk. Not wanting a heavy drink, I omitted the coconut milk and went ahead with what I thought would pair well with Kokum. I was expecting a pale pink colour drink but it was a pitch dark brown colour instead. The final result was a pungent, flavourful drink that was tangy, sour, sweet and salty in one shot. I took it as a surprise treat to my fellow Zumba class mates. Every one enjoyed their glass of this cooler going on to say they feel so energetic and cool. I made sure to google and see the health benefits of Kokum and that’s when I got to know it’s a cooling agent and has so many other healing benefits too. A new recipe tried and learnt with awesome results and a bonus of knowing more about an ingredient. Now isn’t that a wow factor for a day well spent.

Ingredients to boil and grind

Ingredients
Quantity
Kokum1/4 cup
Green chillies2 chopped
Water1 litter
Salt1/2 teaspoon
Cumin powder1 teaspoon
Black salt1/4 teaspoon
Asafoetida1/4 teaspoon
Mint stem5
Sugarto taste

Method

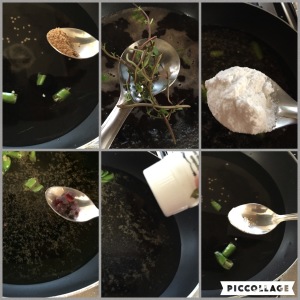
  • Mix all the above ingredients together and boil for ten minutes. Remove from heat and cool completely.
  • Strain and grind the Kokomo and other ingredients together adding little of the strained water to a smooth paste.
  • Mix the paste to the reserved boiled water and mix well.
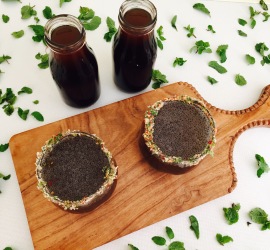
  • pour this mix into clean bottles and store in the refrigerator for further use as a crush when needed. Keeps well for two weeks.

Other ingredients

Ingredients
Quantity
Mint leaves2 tablespoons chopped
Coriander leaves2 tablespoons chopped
Sugar powder1 cup
Whole coriander crushed2 tablespoons coarsely
Red chilli flakes2 tablespoons
Chat masala powder1 teaspoon
Basil seeds ( sabja seeds )3 tablespoons soaked in water for one hour.

How to proceed

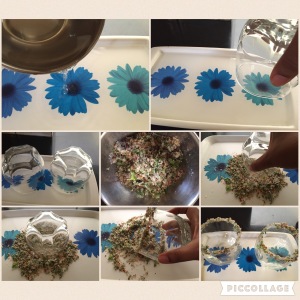
  • Place two tall clean glasses in the refrigerator.
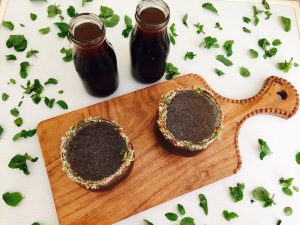
  • Mix chopped mint leaves, coriander leaves, powdered sugar, coarsely crushed whole coriander seeds and red chilli flakes together in a flat tray.
  • Fill a flat shallow tray with 1 1/2 cups of water and keep aside.
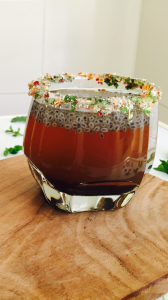
  • Remove the tall glass from the refrigerator. Dip the top mouth of the glass into the flat shallow tray with water, wetting the rim of the glass all around.
  • Remove the glass in a inverted way and press over the sugar mix tray, making sure the sugar mix forms a border on the rim of the glass. Do the same with the other tall glass as well.
  • Add chilled water, sugar, chat masala powder, the remaining mint – coriander – sugar mix used to rim the glasses and salt to taste to 1 cup of Kokum juice. Taste and adjust sweetness.
  • Care fully pour in equal amounts of the Kokum juice into the two tall glasses making sure the sugar border does not get disturbed using a funnel 3/4 way full.
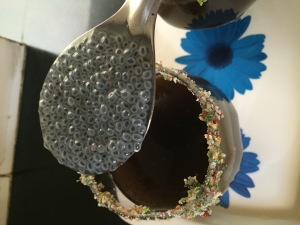
  • Top with 2 tablespoons of soaked basil seeds and serve chilled.