Monthly Archives: November 2013


chinese egg plant stir fry

Share Button

Photo: Chinese  egg plant stir fry , a recipe I came across in the telly where a Chinese chef prepared this dish with chicken powder and cooking wine as ingredients . I have substituted chicken powder with chicken stock cube and omitted the cooking wine . tweaked the recipe to suit our times . so I guess my version must be a bit different in taste from the  original version but not to complain at all . I did take note of one thing  , every time I post a recipe with egg plant the number of likes the post gets is just in single digits  .  Well , I am not ready to give up as this local produce is a staple through out our country in all regions and things have changed from the way we eat to think about food . Even if it's a simple family gathering or a grand celebration in any corner of the globe , we Indians are sure to find the egg plant in the menu adding to every moment of it ... Isn't  it ????

Preparation Time : 10 minutes

Cooking Time : 15 minutes

Serving : 4 members

Description

Chinese egg plant stir fry , a recipe I came across in the telly where a Chinese chef prepared this dish with chicken powder and cooking wine as ingredients . I have substituted chicken powder with chicken stock cube and omitted the cookin…g wine . tweaked the recipe to suit our times . so I guess my version must be a bit different in taste from the original version but not to complain at all . I did take note of one thing , every time I post a recipe with egg plant the number of likes the post gets is just in single digits . Well , I am not ready to give up as this local produce is a staple through out our country in all regions and things have changed from the way we eat to think about food . Even if it’s a simple family gathering or a grand celebration in any corner of the globe , we Indians are sure to find the egg plant in the menu adding to every moment of it … Isn’t it ????

Chinese egg plant stir fry

Ingredients

Ingredients
Quantity
Big violet egg plants2 cut into finger size long pieces
Dry red chillies6 to 8
Vinegar1 1/2 tablespoon + 1/4 teaspoon
Sugar1 tablespoon + 1 /2 teaspoon
Oilto deep fry + 1 teaspoon
Ginger1 /2 inch piece cut into thin strips
Garlic flakes3 cut into thin strips
Spring onion1 teaspoon chopped + 1 teaspoon chopped to garnish
Cooking wine3 teaspoons ( optional – I , myself didn’t use it )
Chicken or vegetable stock1 cup
Saltto taste
Chicken or vegetable stock powder1/2 cube
Light Soya sauce1 teaspoon
Corn flour1 1/2 teaspoon diluted in 1/4 cup water


Method

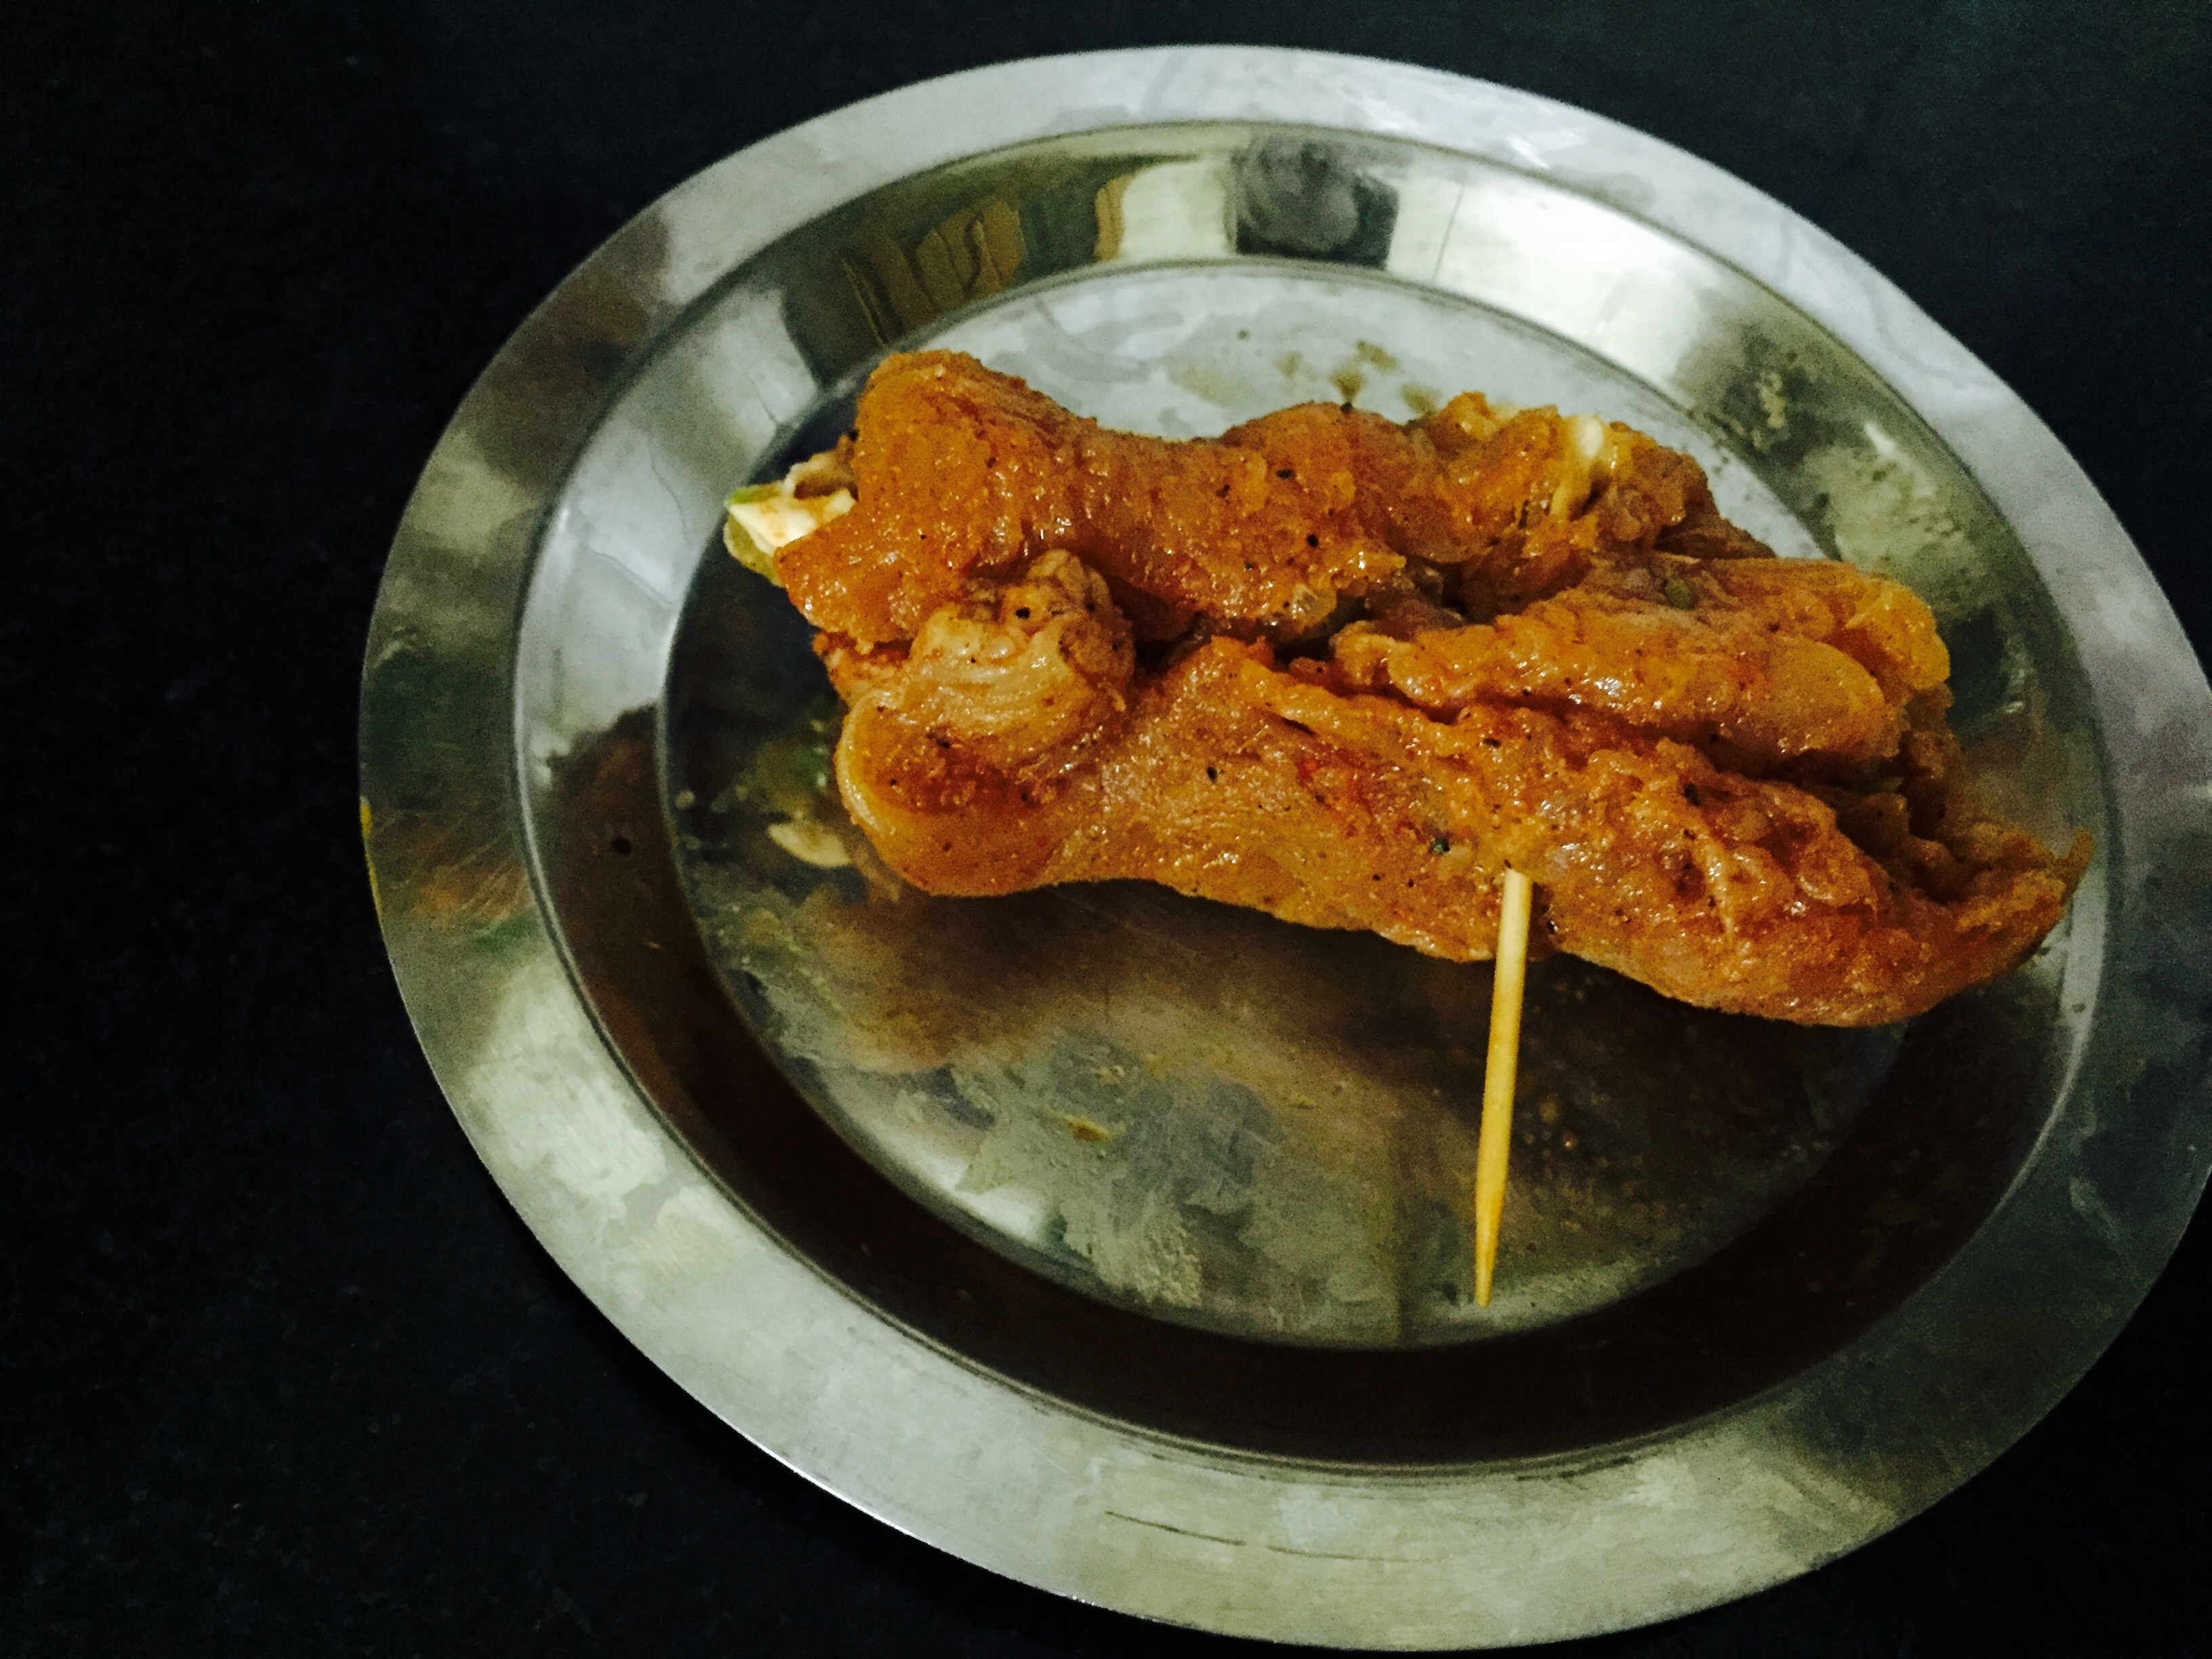
  1. Marinate dry red chillies in 1 1/2 tablespoon of vinegar for an hour . Add 1 tablespoon of sugar and grind to a smooth paste . Heat oil to deep fry .
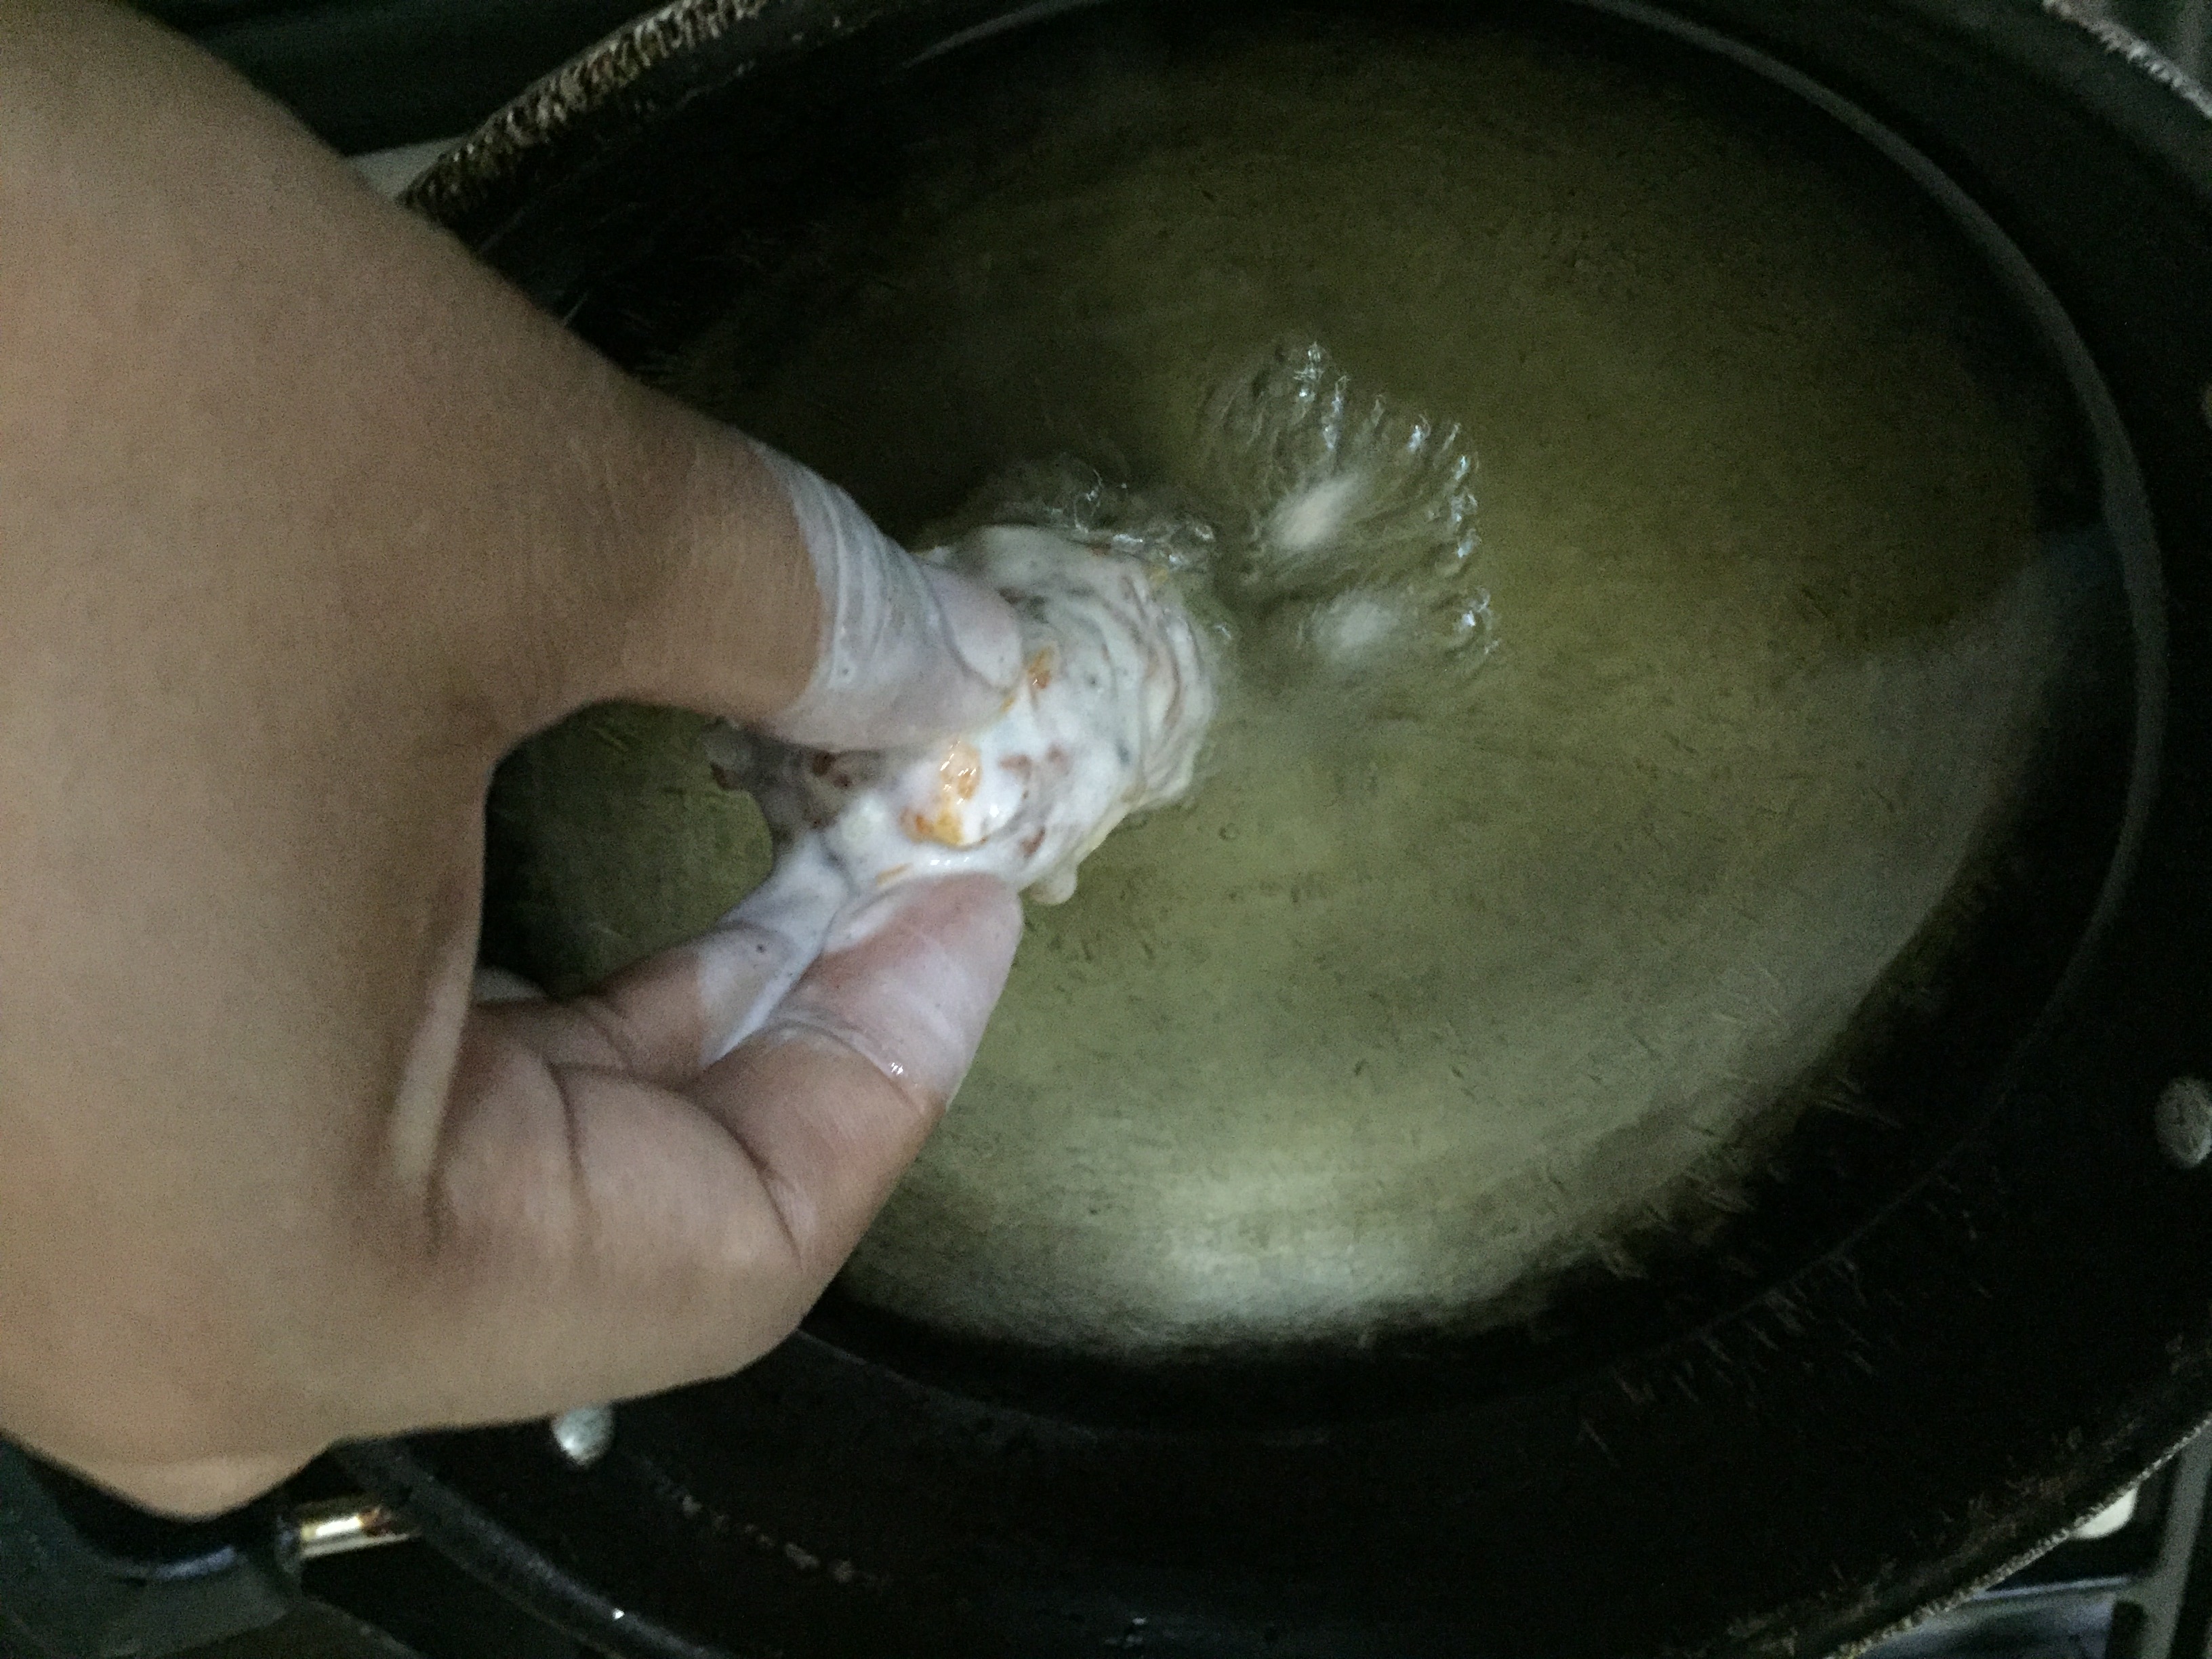
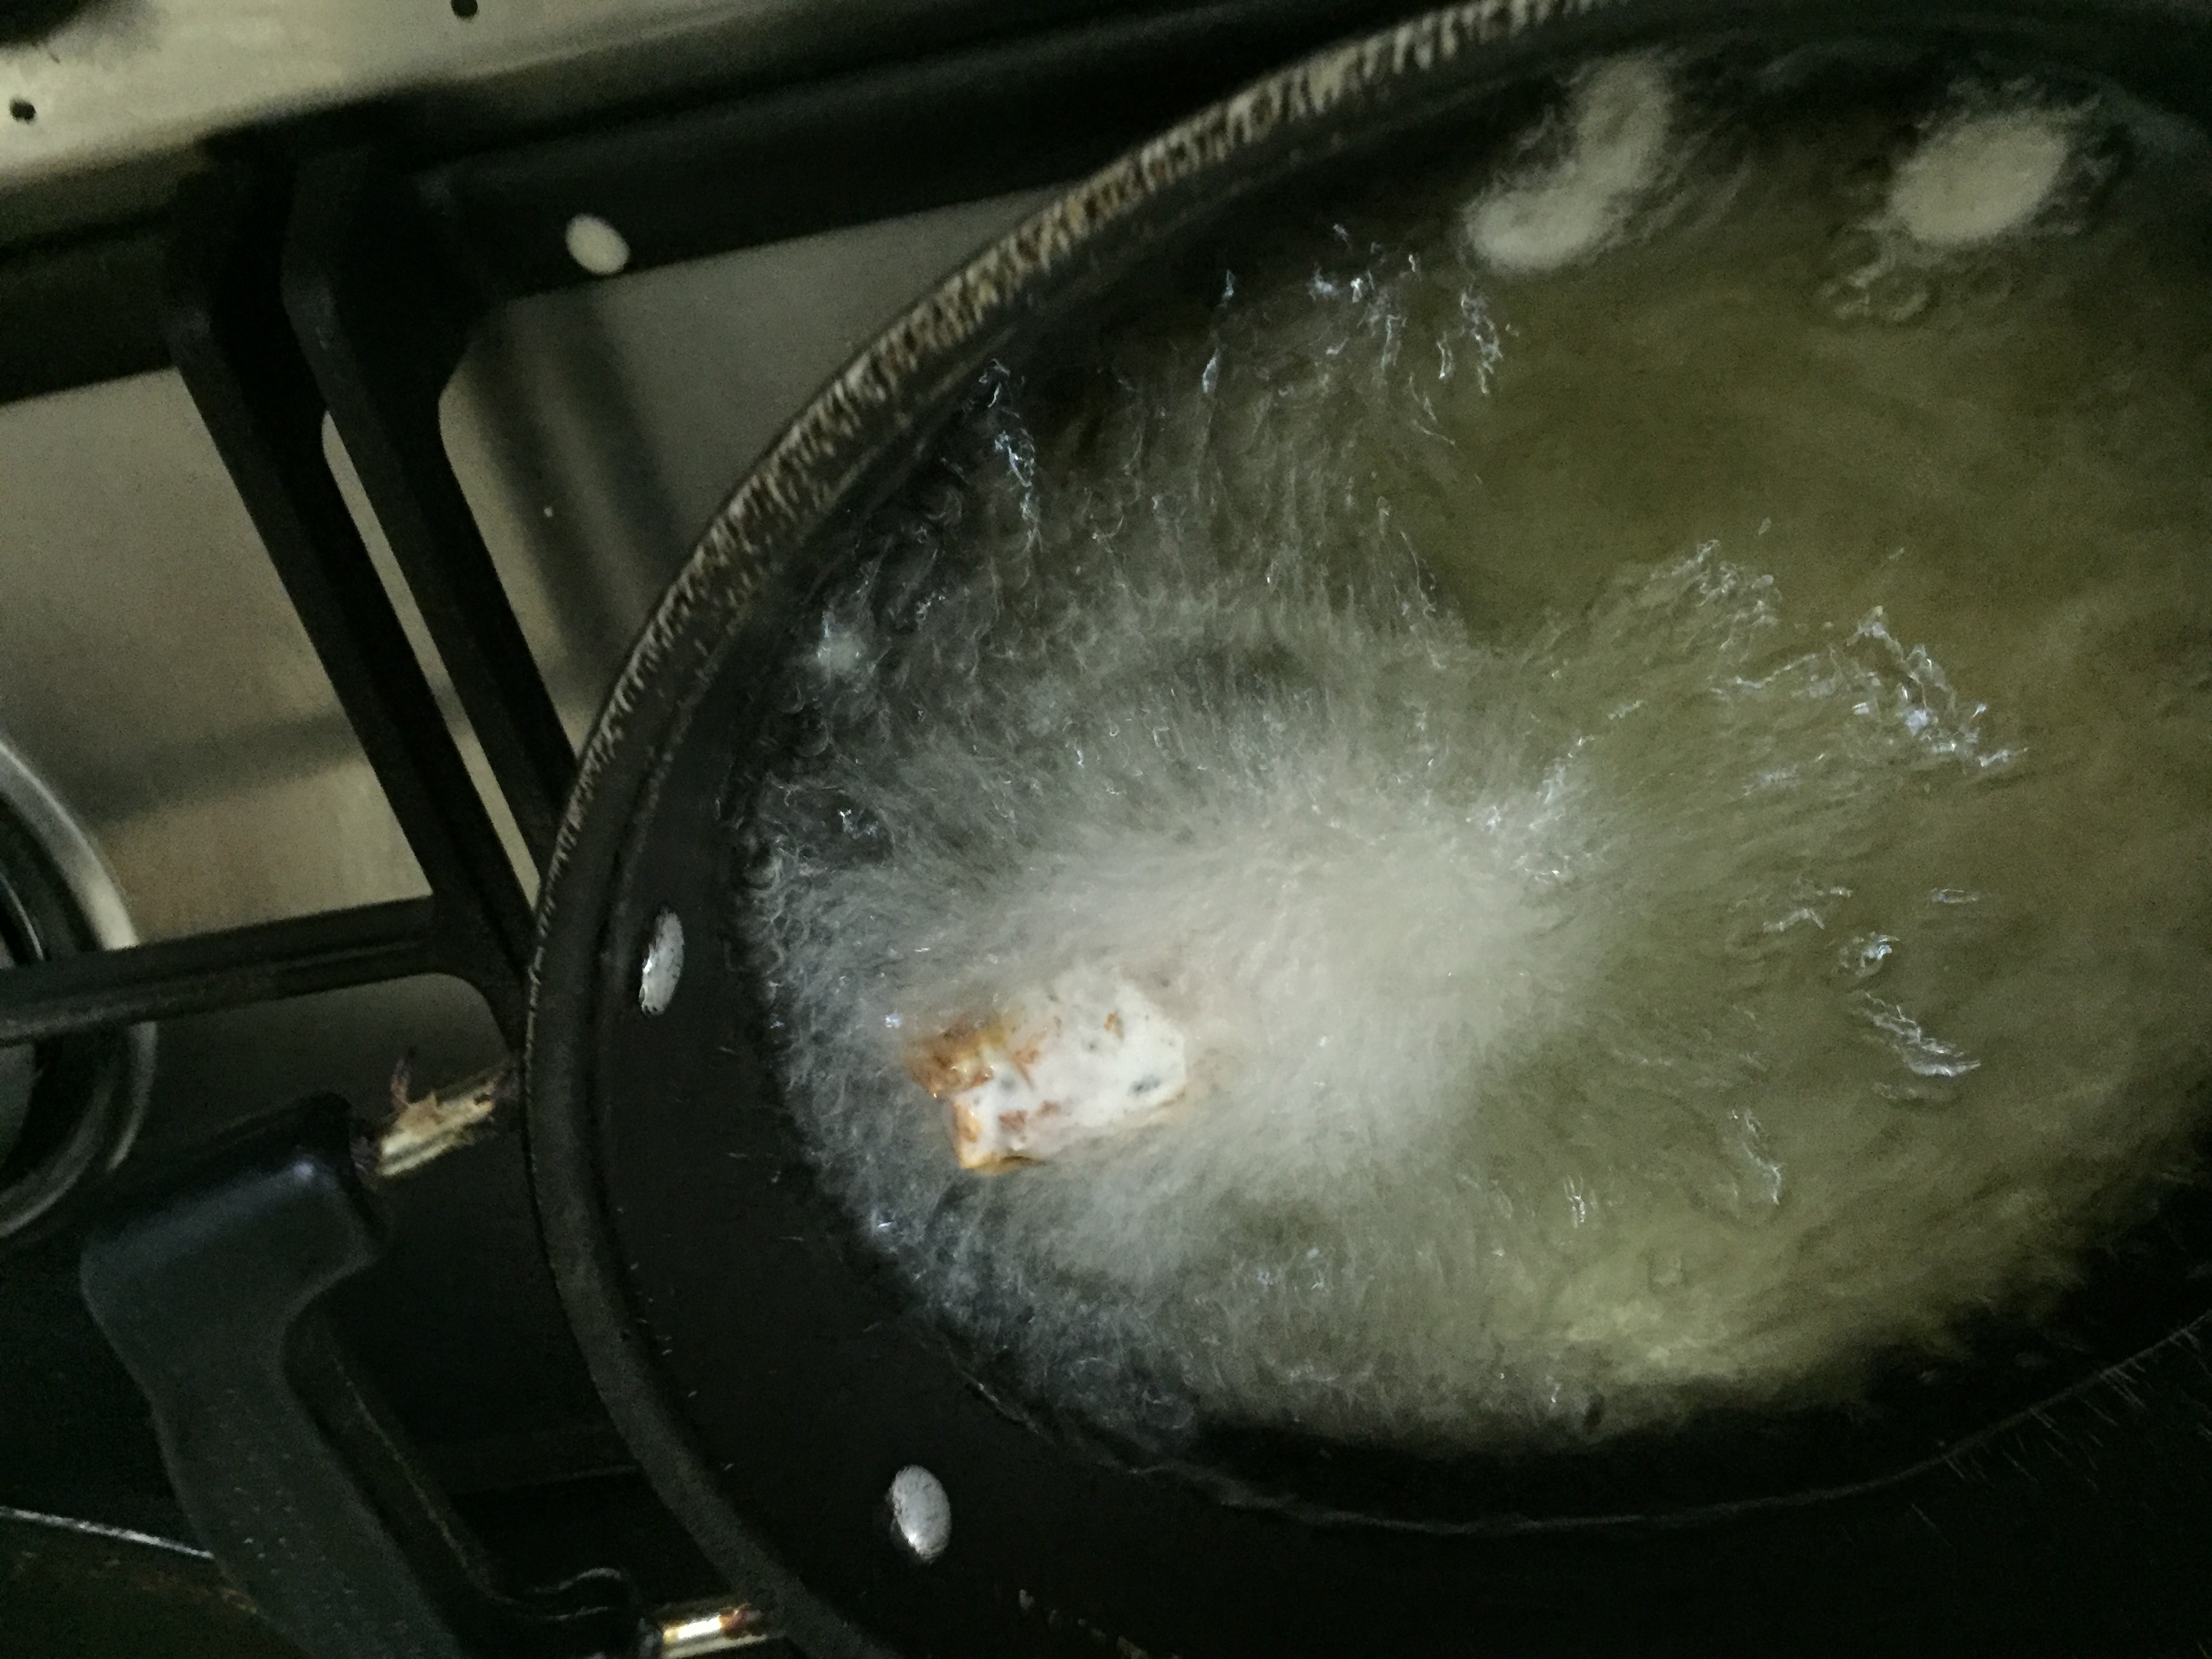
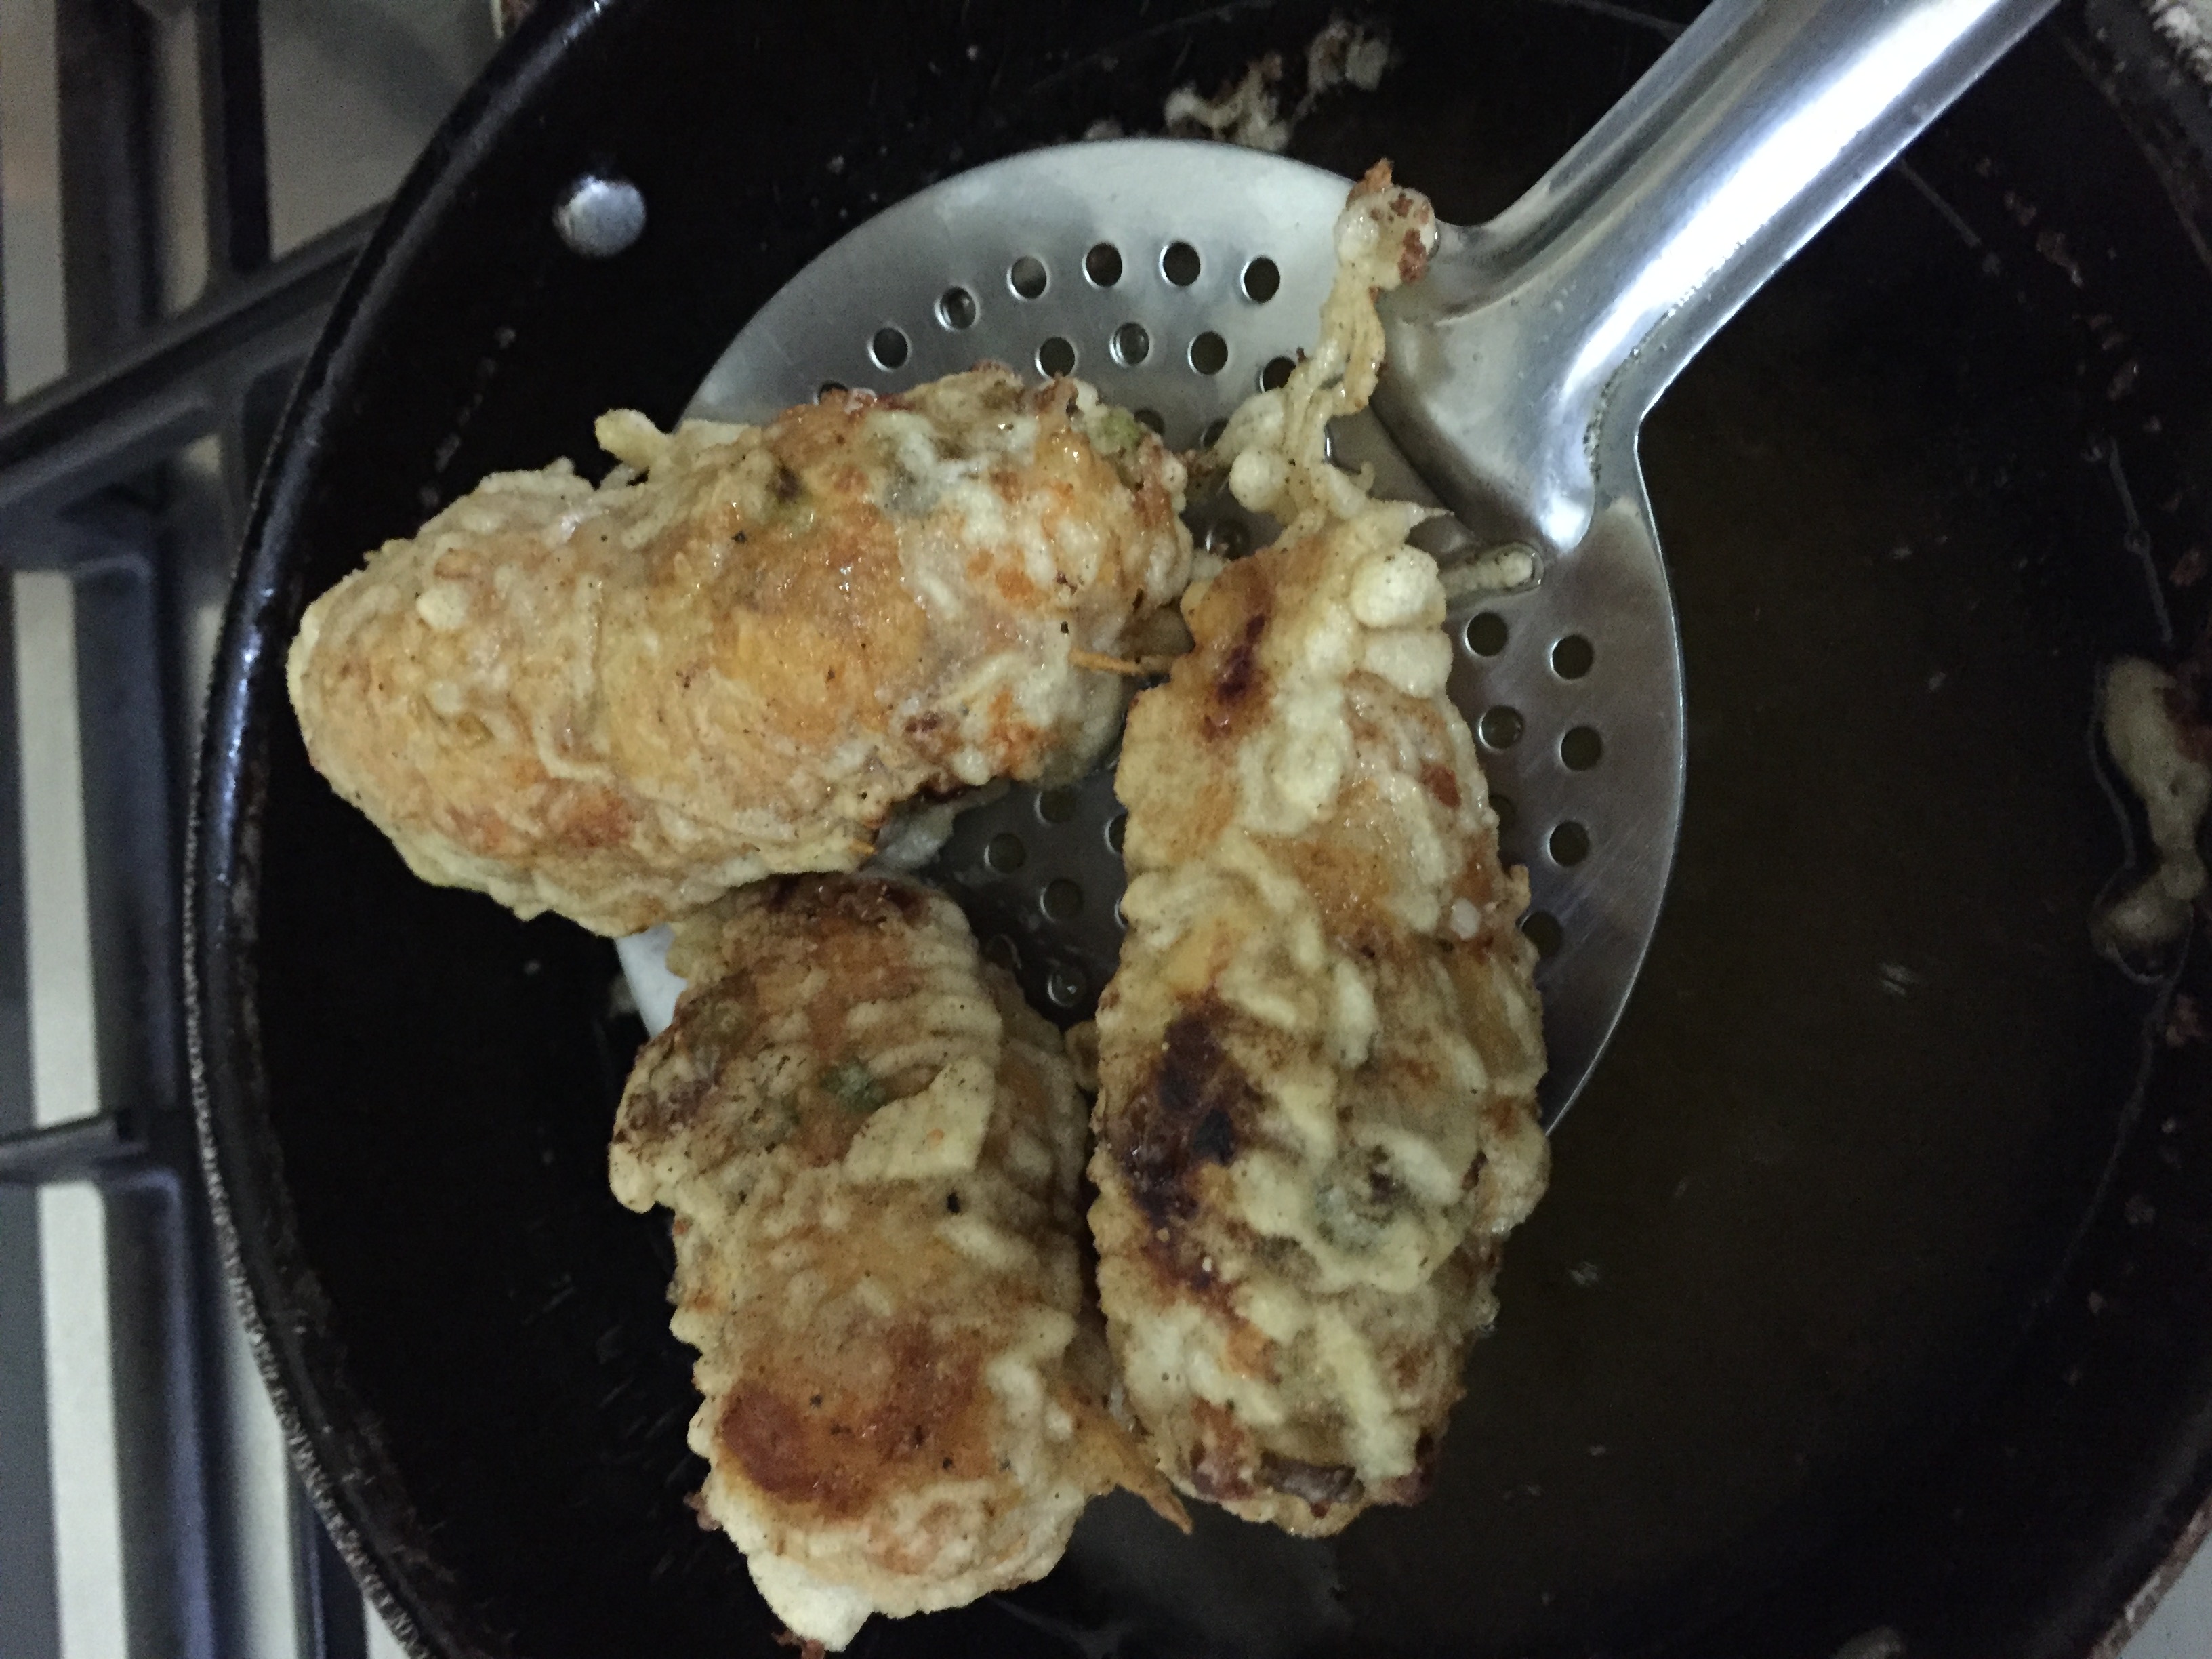
  2. Deep fry the egg plant fingers to a golden brown colour and crisp . Drain and set aside .
  3. Heat 1 teaspoon of oil in a non – stick wok . Add the ginger , garlic strips and chopped spring onion 1 teaspoon and toss well for 20 seconds .
  4. Add the red chilli vinegar paste and stir fry for 30 seconds . Pour cooking wine over ( optional ) along with one cup of the chicken stock .
  5. Bring to boil , add the fried egg plant strips , sugar 1/2 teaspoon ,the chicken or vegetable stock cube and light soya sauce . Cook for two minutes in low flame .
  6. Taste and adjust seasoning as we have not added salt yet but be careful with salt as the chicken or vegetable stock cube and soya sauce contain a lot of salt .
  7. Pour the diluted corn flour and let the gravy thicken and stick to the egg plant strips . Garnish with chopped spring onion and serve hot as a side dish .

Notes 

  1. Vegetarians can stick on to vegetable stock and vegetable stock cube for the vegetarian version .

winter pumpkin soup

Share Button

Photo: As usual , I was just going through one of the foodie groups I am a member of ( chef at large ) and came across a post where they had baked bread cups to serve soup in . Just went head over heels with the idea , scrolling down another post with a soup bowl made with buns . This version seemed better practically , visually and make cooking fun . Already it was soup and sandwich for dinner so just added the soup bowl bun as well . Made the soup bowl with burger buns and did a little thinking to get the bun crisp and a bit hard to stand and hold the soup in it . Finally brushed with butter and baked to crisp and it worked perfect . I recommend these soup bowl buns to impress your guests  .  Made pumpkin soup to celebrate the short span of winter we have at my place as its cold now .  ( I know it sounds wired as Nellai and the word cold are far apart from each other ) . The pumpkin soup recipe is Donna hays which I had  hastily transcribed from one of her telly shows . The soup was warm , smooth , velvety and a perfect comfort winter soup . The caramelised ingredients mingle beautifully with the slight sweetness of the honey .The hot soup just gets soaked in to the side walls of the soup bun giving a soft gooey melt in mouth bread and breaks down to bits of crisp bread that can be dipped into the soup and had .  Who ever said " stylish meals have to cost the earth " try out this versatile winner with oohs and aahs guaranteed .

Preparation Time : 30 minutes

Cooking Time : 15 minutes

Serving : 4 to 6 members

Description

As usual , I was just going through one of the foodie groups I am a member of ( chef at large ) and came across a post where they had baked bread cups to serve soup in . Just went head over heels with the idea , scrolling down another post …with a soup bowl made with buns . This version seemed better practically , visually and make cooking fun . Already it was soup and sandwich for dinner so just added the soup bowl bun as well . Made the soup bowl with burger buns and did a little thinking to get the bun crisp and a bit hard to stand and hold the soup in it . Finally brushed with butter and baked to crisp and it worked perfect . I recommend these soup bowl buns to impress your guests . Made pumpkin soup to celebrate the short span of winter we have at my place as its cold now . ( I know it sounds wired as Nellai and the word cold are far apart from each other ) . The pumpkin soup recipe is Donna hays which I had hastily transcribed from one of her telly shows . The soup was warm , smooth , velvety and a perfect comfort winter soup . The caramelised  Ingredients mingle beautifully with the slight sweetness of the honey .The hot soup just gets soaked in to the side walls of the soup bun giving a soft gooey melt in mouth bread and breaks down to bits of crisp bread that can be dipped into the soup and had . Who ever said ” stylish meals have to cost the earth ” try out this versatile winner with oohs and aahs guaranteed .

Ingredients
Ingredients
Quantity
Pumpkin2 wedges seeds removed
Onion1 large whole with the skin
Olive oil1 tablespoon
Saltto taste
Garlic flakes3 whole with the skin
Chicken stock4 1/2 cups , ( dilute 2 chicken stock cubes ( i used maggi chicken stock cubes ) in 4 1/2 cups of warm water )
Cream1 cup
Honey1 tablespoon
Pepperto taste
Coriander leavesto garnish
Sour cream / hung curdto garnish

Method

  1. Apply olive oil over the cut pumpkin , onion and garlic flakes .
  2. In a greased baking tray , place the pumpkin , onion and garlic . Sprinkle salt to taste over and bake in a pre heated oven at 220 degree Celsius for one hour .
  3. The pumpkin , onion and garlic should be caramelised nicely . Scoop out the flesh of the pumpkins . Peel the onion and garlic flakes and set aside to cool .
  4. Blend the pumpkin flesh , onion , garlic with one cup of chicken stock to a smooth gooey textured purée .
  5. Pour the purée into a non – stick sauce pan and add the remaining chicken stock , cream and honey . Mix well and bring to boil .
  6. Keep stirring . Season with salt and pepper to taste .
  7. Serve hot with a garnish of coriander leaves and sour cream .

Soup Bowl Buns
  1. Cut the top of a burger bum horizontally to get a thin lid .
  2. Scoop out the inner flesh of the buns lower part creating a hollow well but with a thick base and sides .
  3. Butter the lid on both aides and the hollow bowl of the bun inside , out , all around , bottom and the base .
  4. Preheat the oven to 200 degree Celsius and bake the buttered buns and lid for 10 – 15 minutes until the lid and hollow base gets crisp and a bit brown .
  5. Remove and keep covered in a foil paper until required to serve .
  6. Pour the hot soup and garnish , serve and enjoy .


Note

Can grease the Bun with olive oil as well .

kumbliappam

Share Button

Photo: Kumbliappam . An authentic kerela sweet recipe that I first got  to know about through the face book page notes from a Mallu kitchen where a picture was posted with out a recipe . This authentic sweet did excite me a lot as it was the first time I got to see such a dish that I have never heard of before . Once on my visit to Cochin to bid bye to my brother Darvesh and family who were returning back to London after their 2 weeks holiday in India , my uncle jaffer chacha got a huge parcel from a local small tea stall  ( thattu kada / potti kadai ) full of kumbliappam made with ripe bananas .  All of us just gobbled it up in minutes . Even then none of us knew what the name of the dish was . I did take note of the recipe from not sure where in one of my hand written recipe book and did try it out at home when we had a huge jack fruit at home from our farm . Not having the vazhana leaves which is used authentically , I substituted the poo arasa maram Leaf ( don't know the english name , sorry ) instead which I got from my neighbours house . Made this  for breakfast when my daughter anisha was here . The clarity and perfection of the jackfruit speaking for itself in the dish was a dose of freshness .Fussy   Anisha didn't fancy it much , but it was devoured by the rest of us . I just could not control myself to stop eating it and forcefully had to parcel the rest to my in - laws place :-)) .  I made up my mind to post this recipe last night but not knowing the name of this dish , how is it possible to post . Well I had to re - check by logging into notes from a Mallu kitchen to get the name . Thanks to notes from a Mallu kitchen to have introduced  me to yet another authentic Kerala dish .  Although trends come and go , these sort of authentic treats never fail to impress and we all finally get back to our roots .

Preparation Time : 40 minutes

Cooking Time : 10 minutes

Serving : 6 members

Description

Kumbliappam . An authentic kerela sweet recipe that I first got to know about through the face book page notes from a Mallu kitchen where a picture was posted with out a recipe . This authentic sweet did excite me a lot as it was the first… time I got to see such a dish that I have never heard of before . Once on my visit to Cochin to bid bye to my brother Darvesh and family who were returning back to London after their 2 weeks holiday in India , my uncle jaffer chacha got a huge parcel from a local small tea stall ( thattu kada / potti kadai ) full of kumbliappam made with ripe bananas . All of us just gobbled it up in minutes . Even then none of us knew what the name of the dish was . I did take note of the recipe from not sure where in one of my hand written recipe book and did try it out at home when we had a huge jack fruit at home from our farm . Not having the vazhana leaves which is used authentically , I substituted the poo arasa maram Leaf ( don’t know the english name , sorry ) instead which I got from my neighbours house . Made this for breakfast when my daughter anisha was here . The clarity and perfection of the jackfruit speaking for itself in the dish was a dose of freshness .Fussy Anisha didn’t fancy it much , but it was devoured by the rest of us . I just could not control myself to stop eating it and forcefully had to parcel the rest to my in – laws place  ) . I made up my mind to post this recipe last night but not knowing the name of this dish , how is it possible to post . Well I had to re – check by logging into notes from a Mallu kitchen to get the name . Thanks to notes from a Mallu kitchen to have introduced me to yet another authentic Kerala dish . Although trends come and go , these sort of authentic treats never fail to impress and we all finally get back to our roots .

Ingredients

Ingredients
Quantity
Ripe Jackfruit Bulbs(chopped finely) 2cups
Jaggery(scraped)1 cup or to taste
Freshly grated coconut1cup
Rice flour (iddiappam rice flour )2cups
Cardamom powder1/2tsp
Vazhana Ela or Banana leavesas required


Method

  1. Melt jaggery in 1/2 cup of water.Remove the impurities.
  2. Make a smooth paste of jackfruit pieces without adding any water in a food processor .
  3. In a big bowl add jackfruit paste,jaggery syrup and coconut.Mix well with your hands.
  4. Add rice flour little by little and make a smooth dough.It should not be too thick or too loose.
  5. Now take the leaf(Vazhana leaf or banana leaf) and make cones with it and fill the dough inside.
  6. Bend the top of the leaves and press inside to cover the top or Use toothpicks to keep the leaves closed.
  7. Steam it around 30 minutes or till a tooth pick inserted comes out clean .


Notes

* You can prepare this appam with Chakka varatti /jackfruit jam as well ( available in all super markets , i recommend double horse brand ) add some rice flour and grated coconut to the chakka varatti and follow the above recipe .

If jackfruit is not available ,try this recipe with ripe bananas.*


channa pulao

Share Button


channa

Preparation Time : 30 minutes + soaking of chick peas over night and pressure cooking them.

Cooking Time : 30 minutes

Serving : 4 to 6 members

Description
Channa pulao . Once in a while I do serve boiled white chick peas for breakfast . On a similar day as such, my mother – in – law sent over some katti rolls and the boiled white chick peas were un touched . Wanting to use the left overs in …a new way as I only make channa masala or kadala curry with them . Out of a sudden , I thought why not make a pulao ? Surfed through the world wide net and found most of the recipes to be just like ghee rice with boiled chick peas added . finally liked one recipe which was to my likening that I got from Sify . Com . Experimented and the results were awesome with fragrant flaky rice with soft boiled chenna and the flavour of coconut milk high lighting the pulao . As hubby dear does not have a liking towards pulaos , it was left to me to relish and enjoy . This pulao is ideal for us home cooks , when we look to Russell up a meal of comfort food for the family or host a gathering .


Ingredients for Main Dish
Quantity
Basmati Rice1 cup
white kabuli channa 1/2 cup
tomatoes 3
onions2 (medium sized)
garlic8 flakes
green chillies4
Coconut milk1 1/ 2 cups
kasoori methi1 tablespoon
Garam masala powder 1/2 teaspoon
Sugar1/4 teaspoon
cinnamon 1 inch piece
cardamoms 2
cloves 2
bay leaf 1
Ghee3 teaspoons
Saltto taste
coriander leaves1/ 4 bunch chopped


Ingredients to Grind
Quantity
Onion1 Large
Dry Red chillies8
Cumin Seeds1 Teaspoon
Garlic 5 Flakes
Grated fresh coconut2 tablespoons


Method

  1.  Soak channa in water for 10 hours or over night and then pressure cook it.
  2.  In a pan, take a teaspoon of oil and fry red chillies, cumin seeds, garlic and onion for few minutes .

  3.  Allow it to cool down and then grind it along with coconut and keep aside.Blanch tomatoes in hot water for few minutes and remove the skin .Grind it into a smooth paste and set aside .

  4.  Peel garlic and chop them finely.Soak rice in water for 10 mins and then drain it completely.

  5.  Heat one teaspoon ghee in a pan and fry the rice for few minutes till all the moisture is absorbed.

  6.  Heat oil in a pressure cooker and fry cardamom, cinnamon, cloves and bay leaf.Add the chopped garlic and fry till brown.

  7.  Now add slit green chillies and finely chopped onions and fry for few minutes and then add the ground paste.
    Simmer and fry till the aroma rises.

  8.  Now add tomato paste, kasoori methi, salt, little sugar, garam masala powder and allow it to boil for few minutes . Then add the cooked channa and 1 1/2 cups of coconut milk to it.

  9.  When it starts to boil, add the rice and mix well.taste and adjust seasoning . Now close the pressure cooker and allow it to cook up to one whistle. (timing can vary on different parameters).

  10. Wait till the whistle subsides and then Garnish with finely chopped coriander leaves .serve hot with potato chips and onion raitha .


Notes 

*Can garnish with fried cashew nuts as well . I didn’t do so to reduce the calorie content in the dish.


Roomali roti

Share Button

Roomali roti

Preparation Time : 1 Hour 15 minutes

Cooking Time : 15 minutes

Serving : 4 members

Description

A very thin soft white colour roti which is my favourite . I first got to taste this in surya hotel in Coimbatore ( now the vivantha taj ) . I think , I was in the 4 th standard then . During holidays every Sunday lunch we used to go out . ( mostly to surya hotel as it was the best then ) surya hotel was one place that introduced me to a lot of new North Indian and Chinese dishes . Recipe and picture courtacy my daughter ANISHA .

Ingredients

Ingredients
Quantity
wheat flour1 1/2 cups
maida50 gm
baking powder1/2 teaspoon
oil2 table spoons
waterto knead
saltto taste
soda – bi – carbonatea pinch
milk2 table spoons
  

Method 
  1. Sieve wheat flour , maida , salt , baking powder and soda- bi – carbonate together . Pour oil , milk and water little by little to get a smooth elastic dough . Set aside covered with a wet cloth for one hour .
  2. Make small balls (lemon size ) out of the dough . Take 3 balls , flatten each ball with palms .
  3. Apply oil on one ball , dust flour over . Top with the second ball and apply oil sprinkling flour over . Cover with the third ball and sandwhich the balls together .
  4. Roll out the sandwhiched balls very thinly with the help of dry flour like tissue paper .
  5. Stretch a little on all sides . Heat a inverted griddle ( up side down tawa ) . Place the rolled romali roti carefully over it and cook till done for about 1/2 a minute on both sides .
  6. Remove , peel the romali roti into 3 seperate pieces . Fold like a handkerchief .
  7. Serve hot with butter chicken or kadai chicken .

Chicken cheese savory

Share Button

image1

FullSizeRender

FullSizeRender (1)

FullSizeRender (2)

FullSizeRender (3)

image2

image3

IMG_4332

IMG_4334

IMG_4335

IMG_4337

Preparation Time : 45 minutes + 2 hours to be kept in the refrigerator .
Cooking Time : 10 minutes for each batch of cheese savoury chicken
Serving : 4 to 5 members

Ingredients for step 1

Ingredients
Quantity
Chicken breast2
red chilli powder2 teaspoons
garam masala powder 1/4 teaspoon
pepper powder1/4 teaspoon
ginger garlic paste1 tablespoon
fenugreek powder a pinch
saltto taste
vinegar1 teaspoon
oil2 teaspoons

Method for Step 1

  1. Mix all the above ingredients together with oil to get a smooth paste , except for chicken breasts .
  2. Slit the chicken breasts from the sides , open out and flatten with a steak hammer without rupturing the flesh .
  3. Marinate the chicken breasts in the paste evenly for two hours or more .

Ingredients for step 2

Ingredients for Filling
Quantity
cheese3 cups grated
raisins 3 1/2 tablespoons
cashewnuts3 1/2 table spoons chopped
green chillies2 tablespoons chopped
chicken tikkas1 cup chopped ( I didn't use them )
corriander leaves2 teaspoons chopped

Method for step 2

  1. Mix all the above ingredients together . Divide into 2 equal portions .
  2. Place in the Center of each chicken breast piece . Roll the breasts firmly over the filling .
  3. Secure the filling by useing tooth picks . Refrigerate for two hours or more . I left it over night .

Ingredients for Batter

Ingredients for Batter
Quantity
cornflour1 cup
maida1 cup
vinegar1 teaspoon
egg whites2
white pepperto taste
salt to taste
ginger garlicv
oilto deep fry

Method for Batter

  1. Mix all the above ingredients together to form a smooth batter , except for oil to deep fry .
  2. Heat oil to deep fry . Remove the tooth picks from the chicken breast rolls .
  3. Pour the batter over the chicken breast rolls and turn them around making sure the batter has coated the chicken breast roll all around and sides .
  4. Drop it into the hot oil and fry in medium heat for 10 minutes to a golden brown colour .
  5. Make sure it’s cooked through . ( my first one was raw , had to fry it again ) . Drain . Cut into one inch thick pieces and serve hot .

Ada payasam

Share Button

Ada payasam

Preparation Time : 10 minutes

Cooking Time : 30 minutes

Serving : 8 to 10 members

Description

A yummy payasam very own to Kerala . Every house hold has its own version . I guess mine is fusion of Kerala payasam and Tamil Nadu Payasam together . I made it yesterday for my friends Priya and neetha ( both are vegetarians ) and packed it of to their respective homes . Have to mention about the bronze vessel in the picture . It was gifted to my mother – in – law for her wedding by her grand mother . It is actually a bettal leaf stand . My mother – in – law gifted me four things ( very sentimental to her ) to me when I moved in to a seperate house . One this bettel leaf stand , another mortal / pastel and ammi / sil pata ( South Indian grinder made with stone ) gifted to her by her mother and one ceramic plate from Colombo her father had gifted her . All the four gifts are kept with care and respect till date at home . These are a few antique treasures I own .

Ingredients 
Ingredients
Quantity
Ada250 gm packet
water6 cups
jaggery1/2 kg
coconut milk 1/2 litter
salta pinch
Bengal gram (boiled)50 gm
cardamom10 powdered
rice flour5 table spoons
ghee3 tablespoons
cashewnuts2 table spoons
raisins1 table spoon
cinnamon I piece
clove1
coconut bits1 table spoon
Method
  1. Boil the Ada in water for 15 minutes or until cooked through .
  2. Add the boiled Bengal gram , coconut milk , jaggery , cardamom powder and mix well . Bring to boil stirring now and then .
  3. Dilute the rice flour in little water and pour over the boiling payasam , stirring continuously till a thick flowing consistency is obtained . Remove from heat .
  4. Heat ghee , add cinnamon , clove , cashewnuts , raisins and coconut bits . Fry till the cashewnuts are brown .
  5. Pour over the payasam and mix well . Serve hot .

Masala Fish fry

Share Button

Masala Fish fry

Preparation Time : 15 minutes + marination time

Cooking Time : 8 minutes

Serving : 4 members

Description

This masala is what my mother uses to fry fish . Really tasty . Back home in Coimbatore it’s really difficult to get fresh fish so my liking towards fish was less but once I got married to Tirunelveli the quest for fresh fish was over . any guests from Coimbatore when ever fish is served they go head over heels about the fresh fish . happy fishy Sunday .

Ingredients

Ingredients
Quantity
Fish1/4 kg
green chillies4
chilli powder1 teaspoon
turmeric powder1/4 teaspoon
cumin powder1/4 teaspoon
pepper powder1/4 teaspoon
saltto taste
small onion3
juice of lime1/2
curry leavesfew
ginger garlic paste1/2 tea spoon each
egg1 beaten ( use 1/2 of the beaten egg )
coconut oil1 tablespoon to shallow fry each piece of fish

Method 

  1. Grind all the ingredients together except for fish and coconut oil to shallow fry to a nice smooth paste . Taste and adjust .
  2. Marinate fish in this masala and top with few whole curry leaves for 2 hours or more . ( My mom keeps it closed with a mesh lid under the sun till it has to be fried ) heat coconut oil to shallow fry .
  3. Shallow fry the fish to get a crisp crust on top and a soft inside on both sides . Serve hot .

Chinese Noodles

Share Button

Chinies noodles

Preparation Time : 15 minutes

Cooking Time : 10 minutes

Serving : 4 members

Description

My kids both of them love it but then have to make 2 versions always one veg for my veggie gal ANISHA and non – veg for the rest of us . I used to like noodles but in between started prefering fried rice but now it’s back to noodles . As I mentioned before my entire schooling was in good shepherd public school in ooty . We were fed so well but not allowed to keep snacks or chocolates . Still we ( sindhu , sulu my best buddies and myself ) used to manage to have snacks through out the academic year . Our main staple snack was maggie noodles . Catch hot water from the hot water tap in our toilet mug . Run to our secret place near the trunk room . Break the noodles with the masala packet and wait for 3 minutes for it to cook . The longest 3 minutes of our lives . Gobble it out with the runny watery liquid and the noodles . Life was fun fun fun..

Ingredients 
Ingredients
Quantity
Chinese noodles200 gm
carrots2 juliens
capsicum1 big juliens
cabbage100 gm shredded
beans1/4 cup cut slanting long strips
spring onionfew chopped
onion1 sliced
ajinomoto3/4 teaspoon ( optional )
oil4 tablespoon
light soya sauce 1 teaspoon
tomato sauce1 1/2 table spoon
sugar 1 teaspoon
salt and white pepper to taste
vegetable or chicken stock 1/2 cup
Method
  1. Heat water in a large heavy bottomed vessel .
  2. When boiling add salt , 1 teaspoon oil and broken noodles .Cook till noodles are just soft . Do not over cook .
  3. Drain and rinse in cold water to prevent noodles from sticking to each other . Heat oil in a large wok .
  4. Add one garlic flake crushed , top with onion and all the vegetables except for onion stem . Stir on high flame for 3 minutes .
  5. Add ajinomoto , salt and sugar . Keep stiring till vegetables are 3/4 cooked still having a bit of crunch in them . Add all the sauces , white pepper and onion stem . Mix well . Taste and adjust .
  6. Stir in the cooked noodles along with the stock and fry till the stock has been absorbed into the vegetables and noodles .
  7. Once all the flavours have infused together and is dry remove from heat and serve hot with tomato ketchup .

Vegetable Rawa Kichadi

Share Button

Vegetable rawa kichadi

Preparation Time : 15 minutes

Cooking Time : 15 minutes

Serving : 2 to 3 members

Description

Uppuma is one breakfast dish no one at home likes . So any day planing to have a heavy lunch , breakfast at home is always Uppuma . Every one has it with a frown on their face . My hubby just has a look and leaves skipping breakfast . ( as I do and my maids too ) but when it’s vegetable kichadi every one loves it . We end up with an empty vessel always .

Ingredients

Ingredients
Quantity
Rava/Sooji/Semolina1 cup
Onion3/4 cup finely chopped
Ginger paste1/4 teaspoon
Garlic paste1/4 teaspoon
Green chillies2 slit
Vegetables3/4 cup ( mix of beans, carrot, peas and capsicum )
tomato1 small chopped
Turmeric powder1/4 teaspoon
Chilli powderto taste
Curd2 teaspoons
Lime juicea squeeze
Water3 cups
Mint leavesfew
Coriander leavesfew chopped
Ghee1 1/2 tablespoon
Cinnamon1 inch piece
Cloves2
Cardamom1

Method 

  1. Heat ghee in a pressure cooker adding cinnamon , clove and cardamom . Fry till fragvent .
  2. Top with onions and fry to brown . Add ginger garlic paste and fry to brown .top with mixed vegetables , green chillies , tomatoes , coriander leaves , mint leaves and salt to taste .
  3. Sauté for 5 minutes . Add curd , turmeric powder , chilli powder and stir well and cook for 3 minutes .
  4. Pour water and pressure cook for 1 whistle . Add a squeeze of lime and bring to boil . Taste and adjust .
  5. Add sooji little by little stirring continuously in reduced flame making sure no lumps are formed .
  6. When moisture is adsorbed and kichadi is cooked , remove from flame and serve hot .